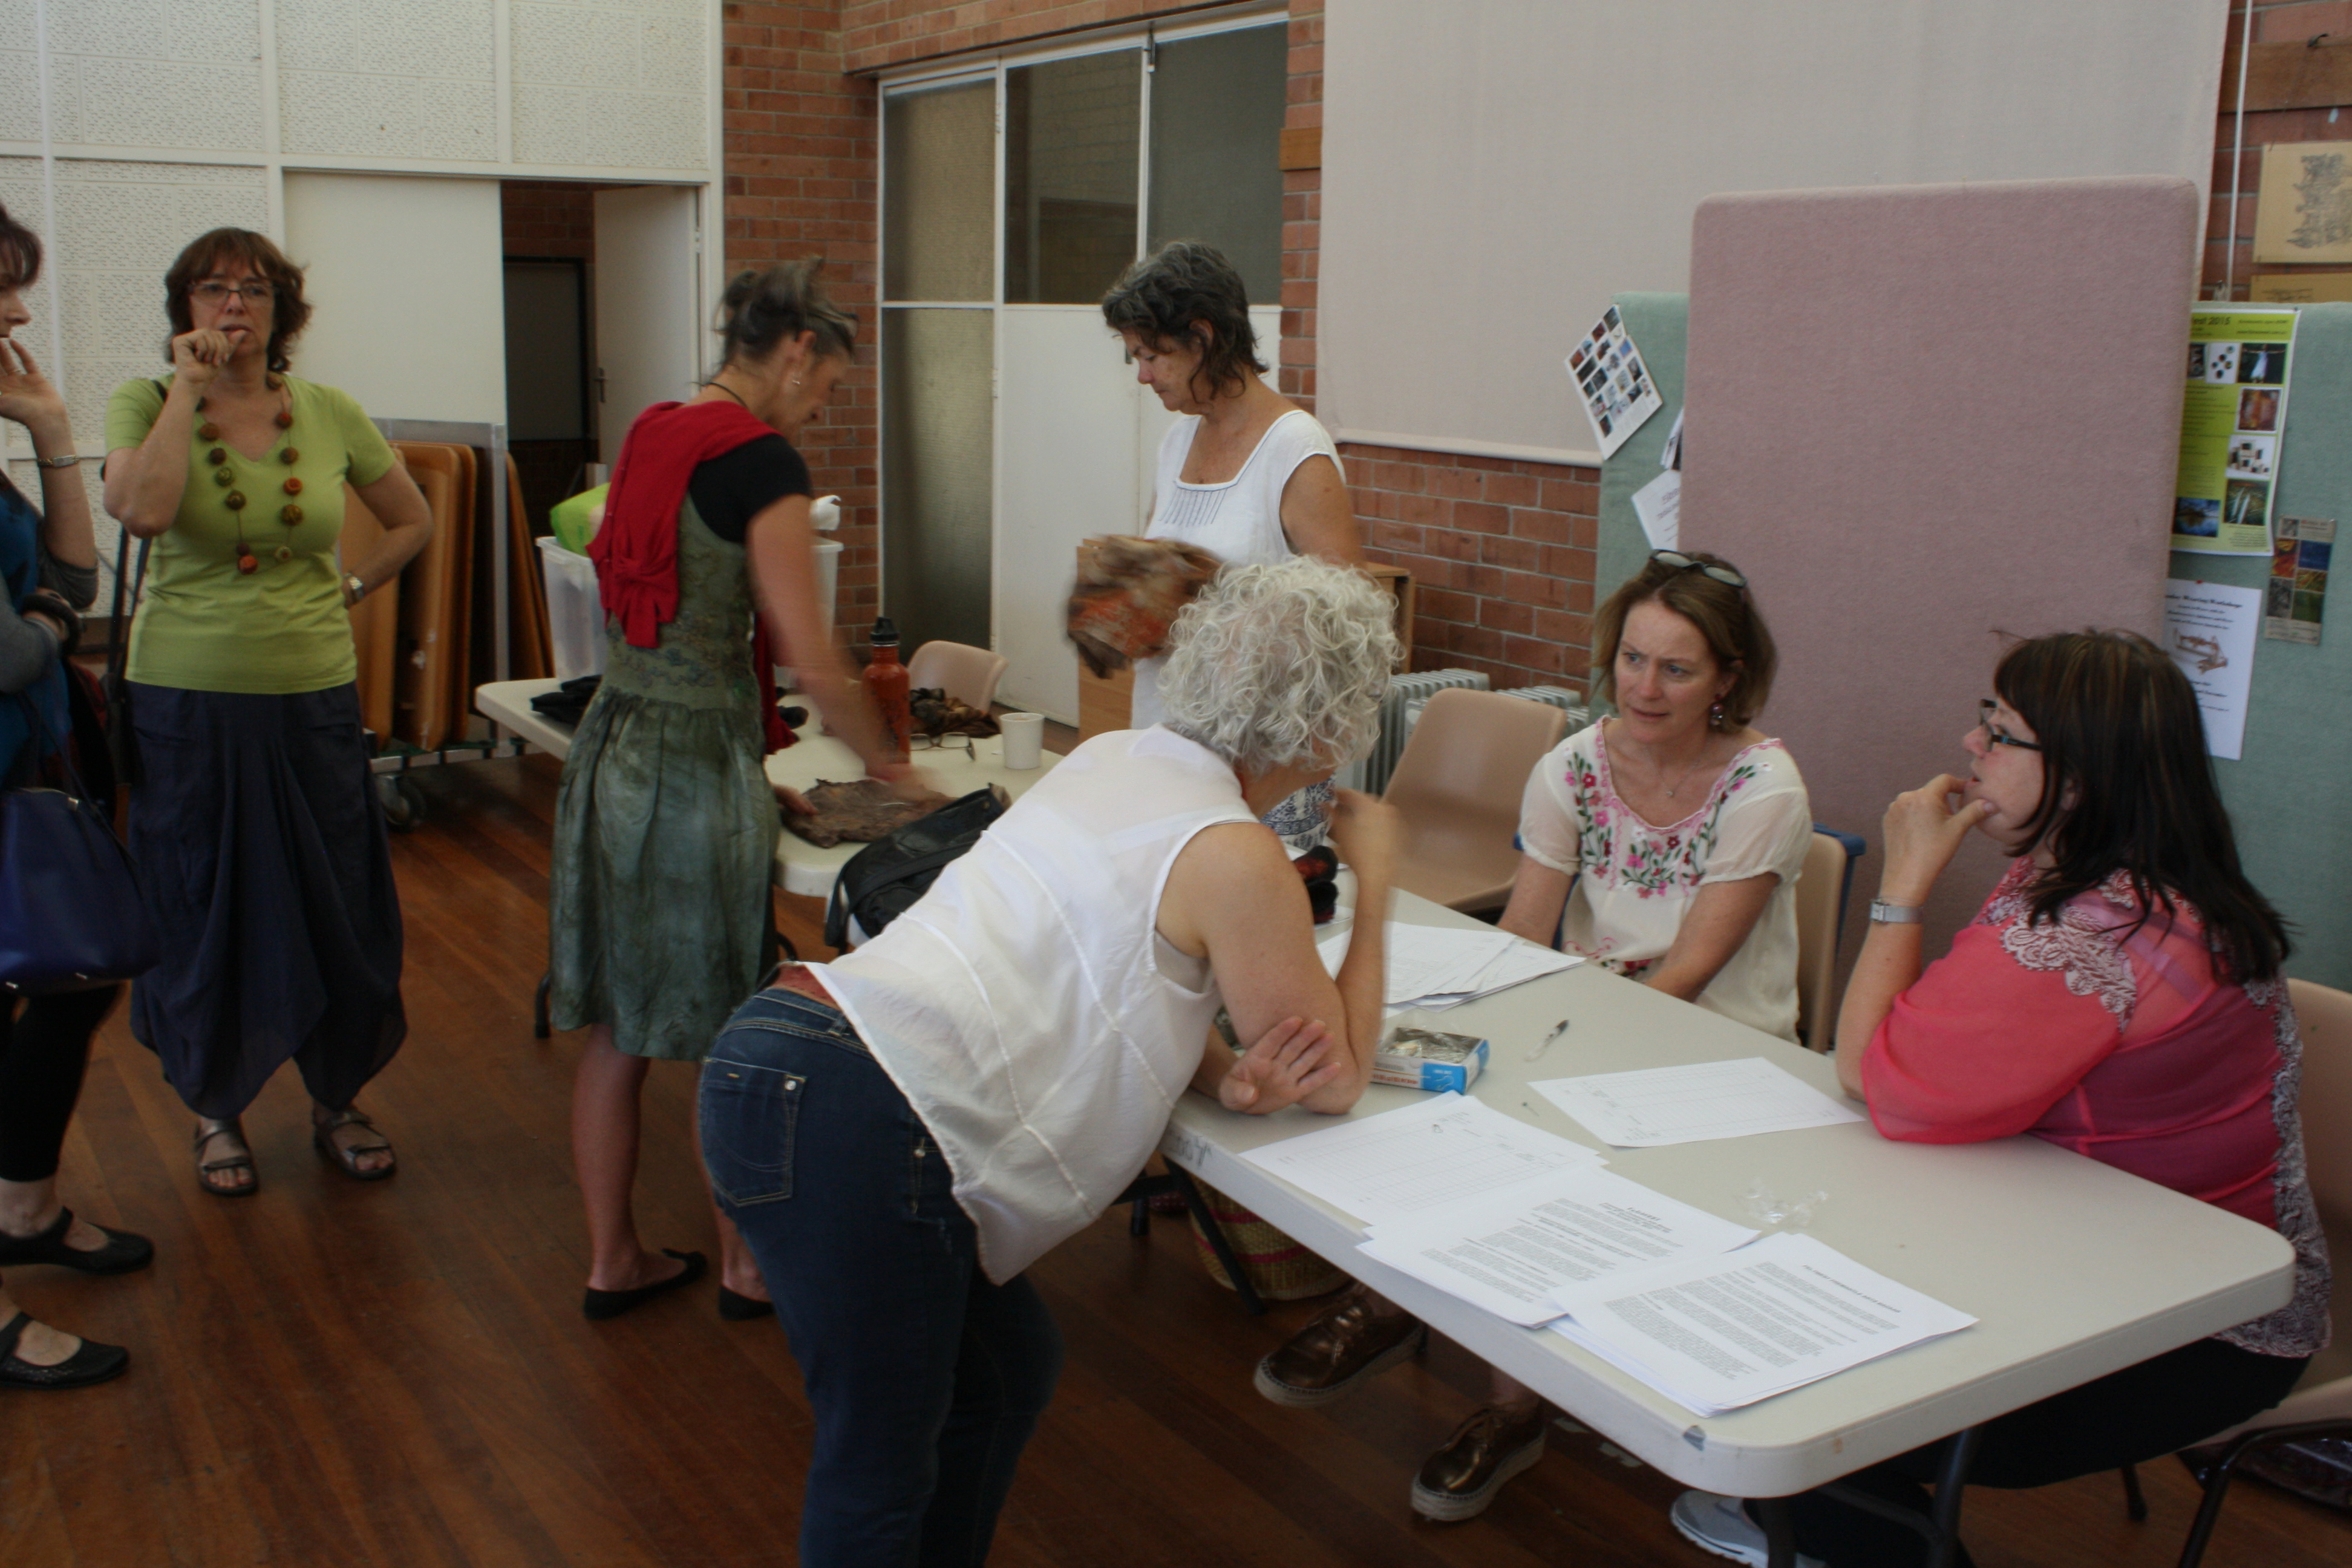
Last TnT for the year….what a great year it has been, with the effort of devoted Committee members and dedicated club members making Feltwest the club that it is….
At this last TnT New and Regular members were busy making new creative pieces, while others wire busy chatting, catching up and helping with the setting up for our Xmas party.
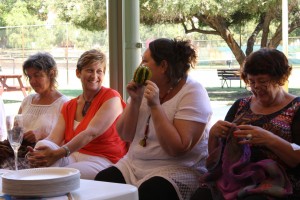
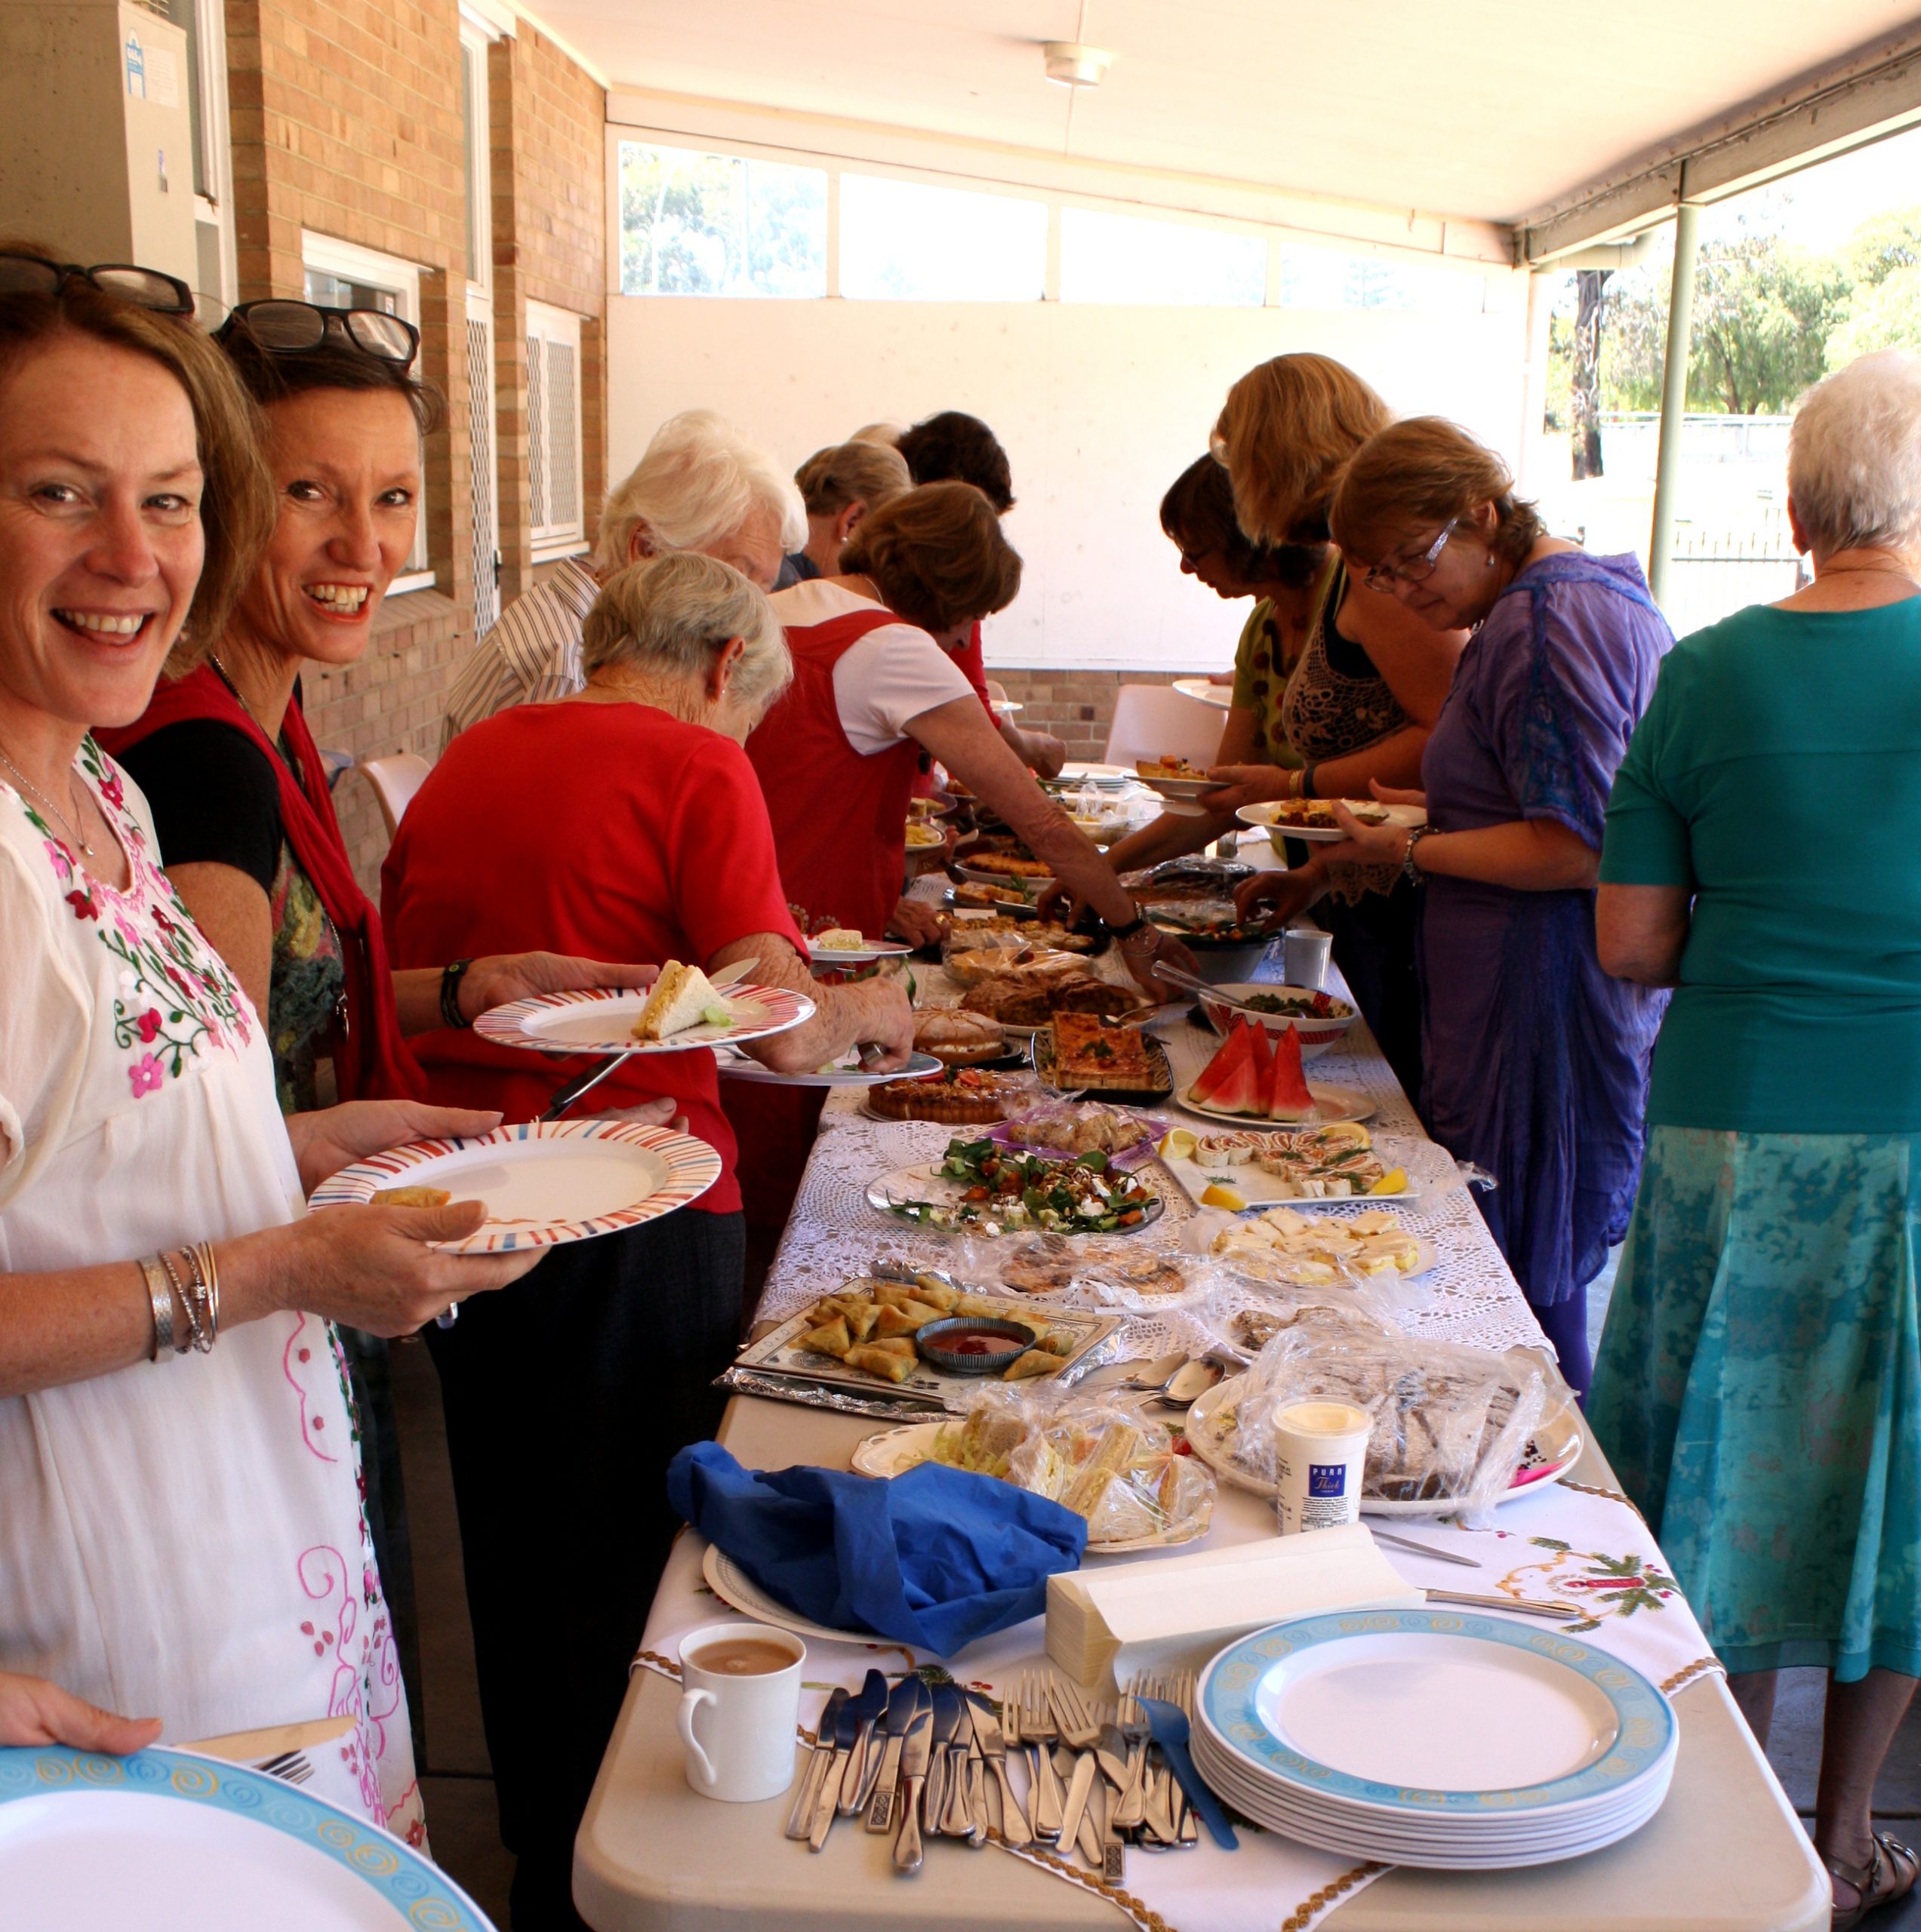
It was so good to have once again the diverse culinary delights, everyone excelled in the preparation of Savory and Sweet treats, making it a very successful Xmas party.
We started lunch at 1.00pm; we all enjoyed the sharing of this amazing feast. Being able to catch up again and chat gave a real buzz to the day.
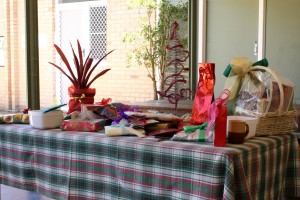
After this lovely lunch, we were all delighted to exchange gifts, which each of us had brought in.
We were so eager to see what surprise was in the beautifully wrapped gifts that we had chosen.
Show and Tell was next on the agenda, most of us showing the work that they had accomplished with pride, while others talked about the gifts that they had chosen.
May I say there is some amazing talent among us.
Next we were addressed by Sue, the President, thanking everyone for attending this last meeting and providing the lovely lunch.
Sue also talked about the Subiaco Fair and the upcoming Felting Frenzy being held at the weekend, wishing everyone a good time.
Sue also reminded everyone of the Fremantle Art Centre Bazaar in December, which is always so successful.
The meeting being held this Saturday 22nd Nov to plan the workshops for the year ahead and to discuss the events taking place was mentioned and the members were asked if there was any idea they would like to have incorporated in next year’s workshops.
We ended this great day by wishing each other a Safe and Happy Holiday.
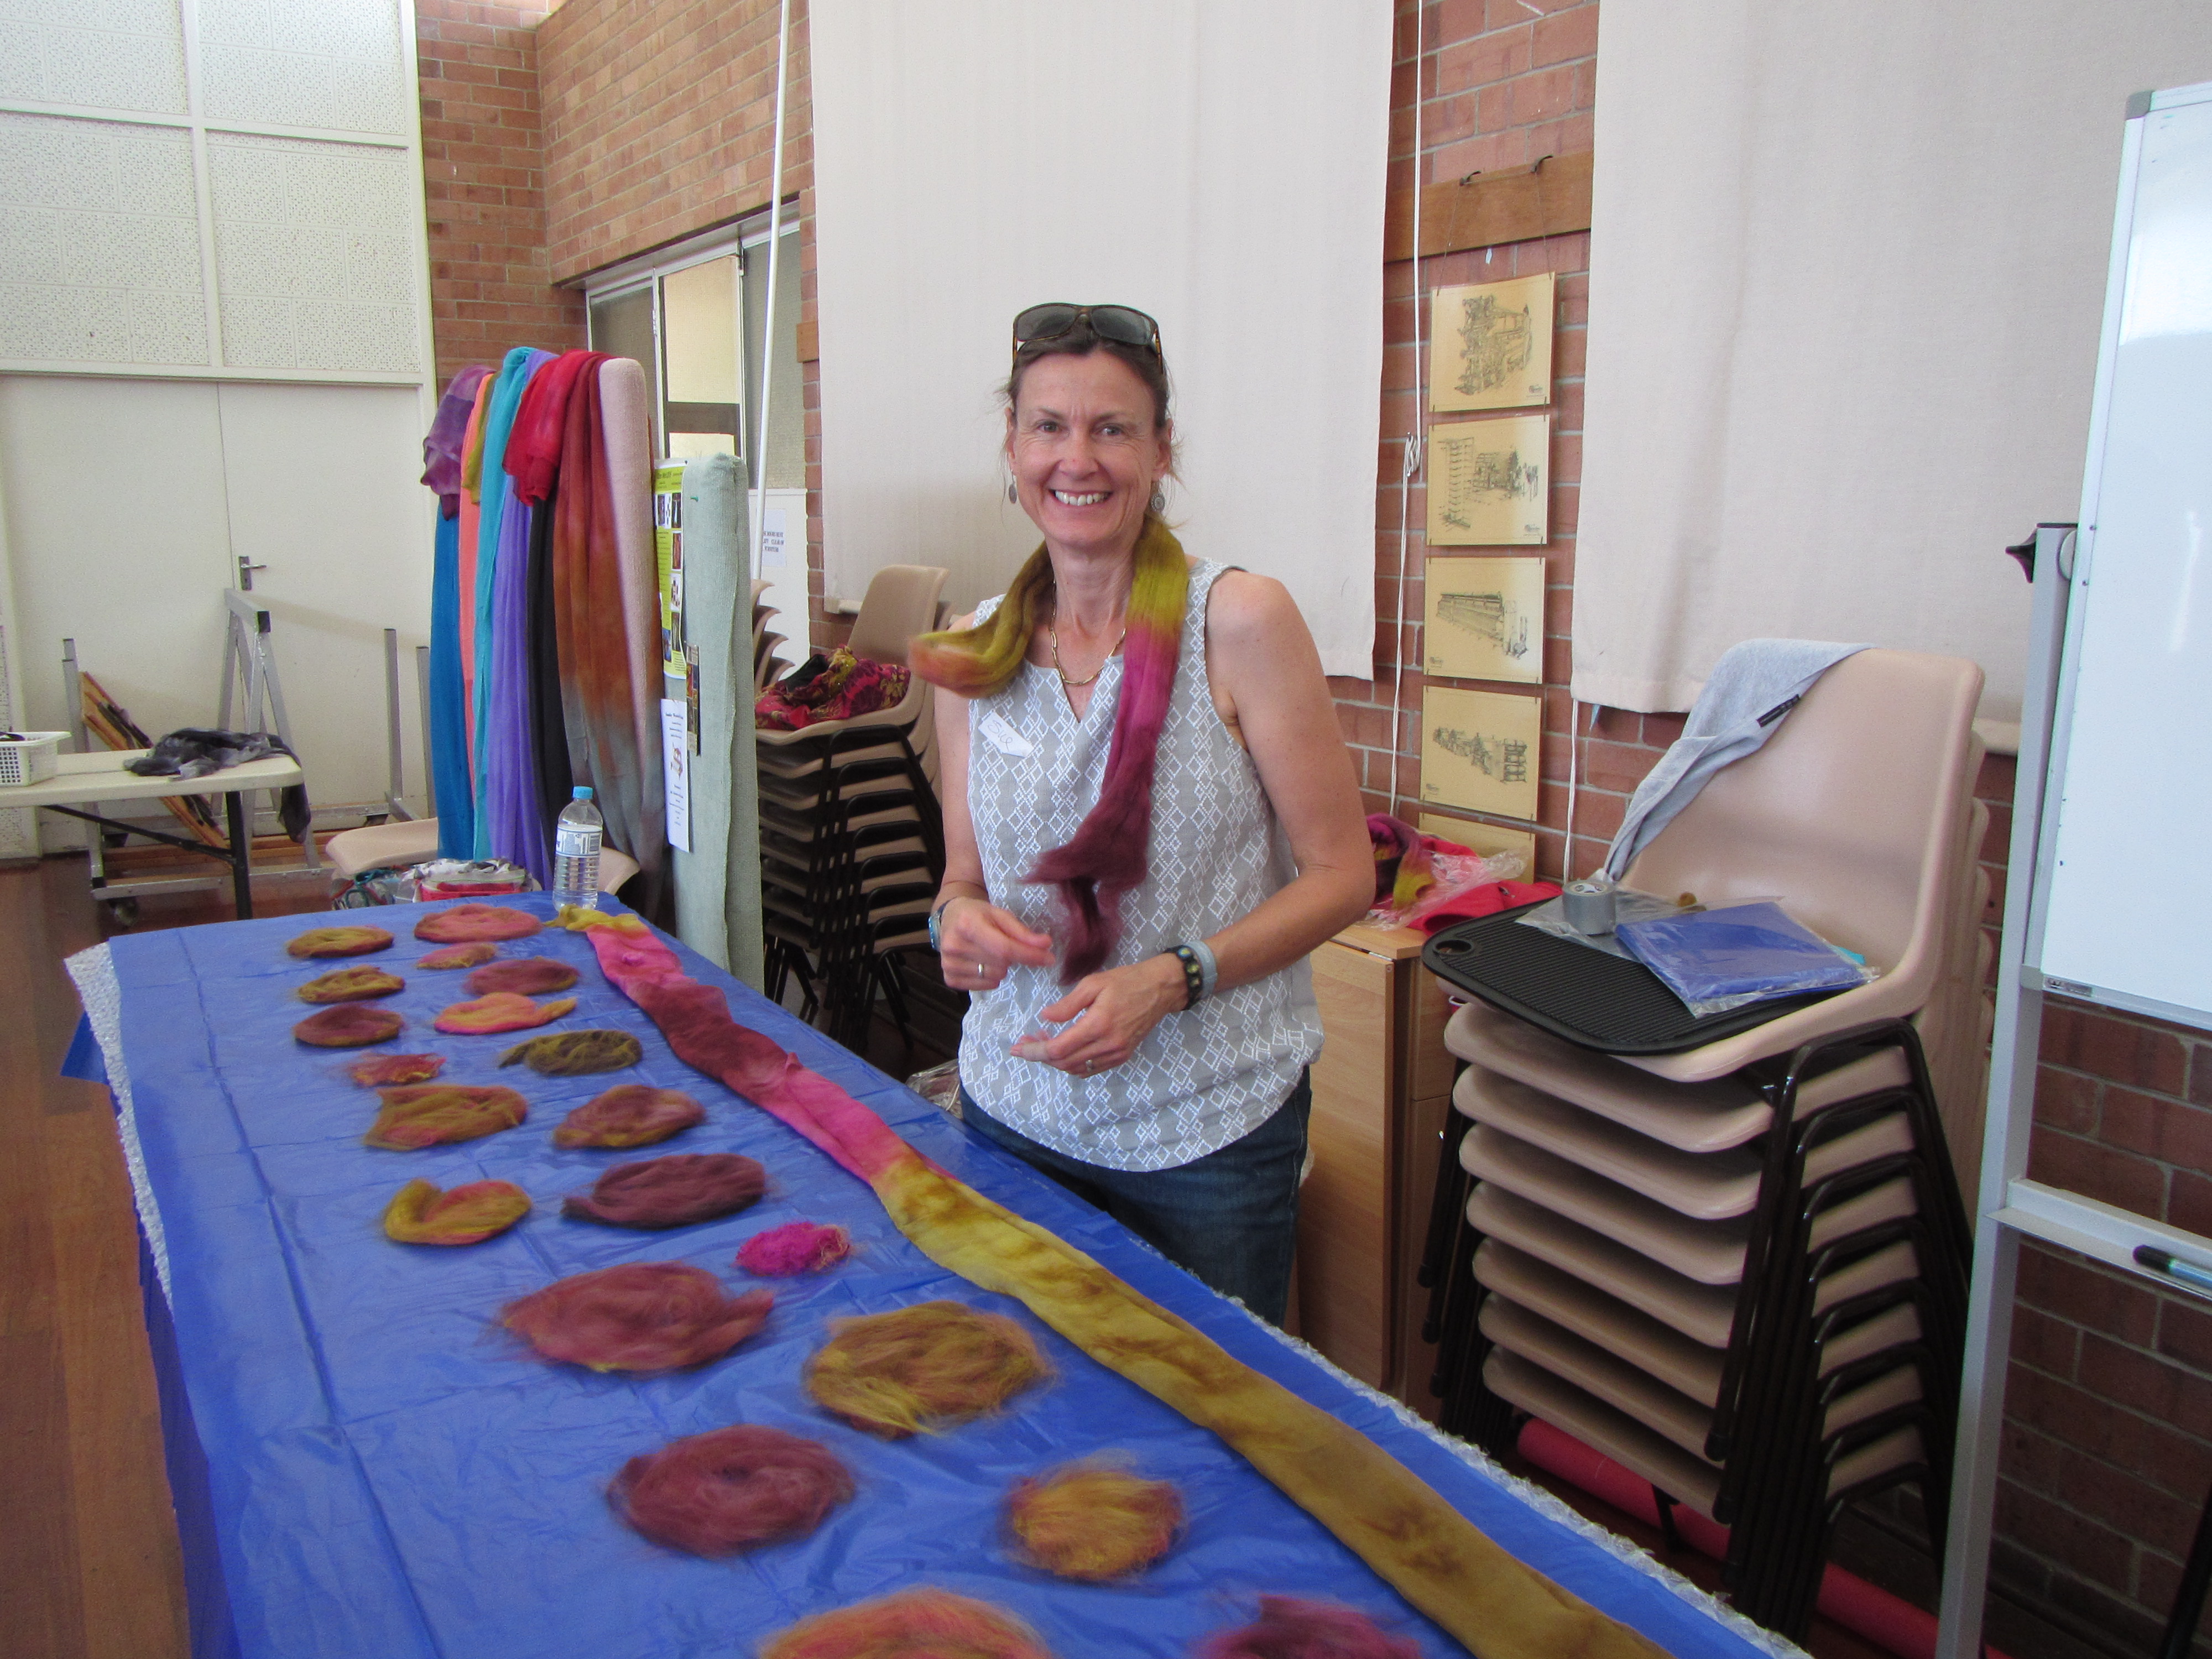
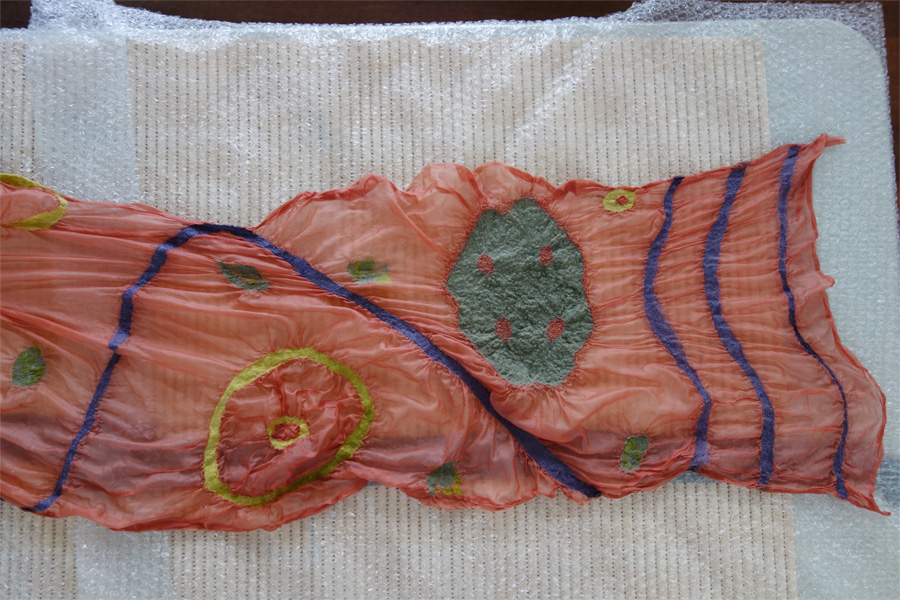
In this 1 & ½ day workshop, Nancy provided us with a number of techniques and engaging ideas for how to use silk hankies to create a scarf.
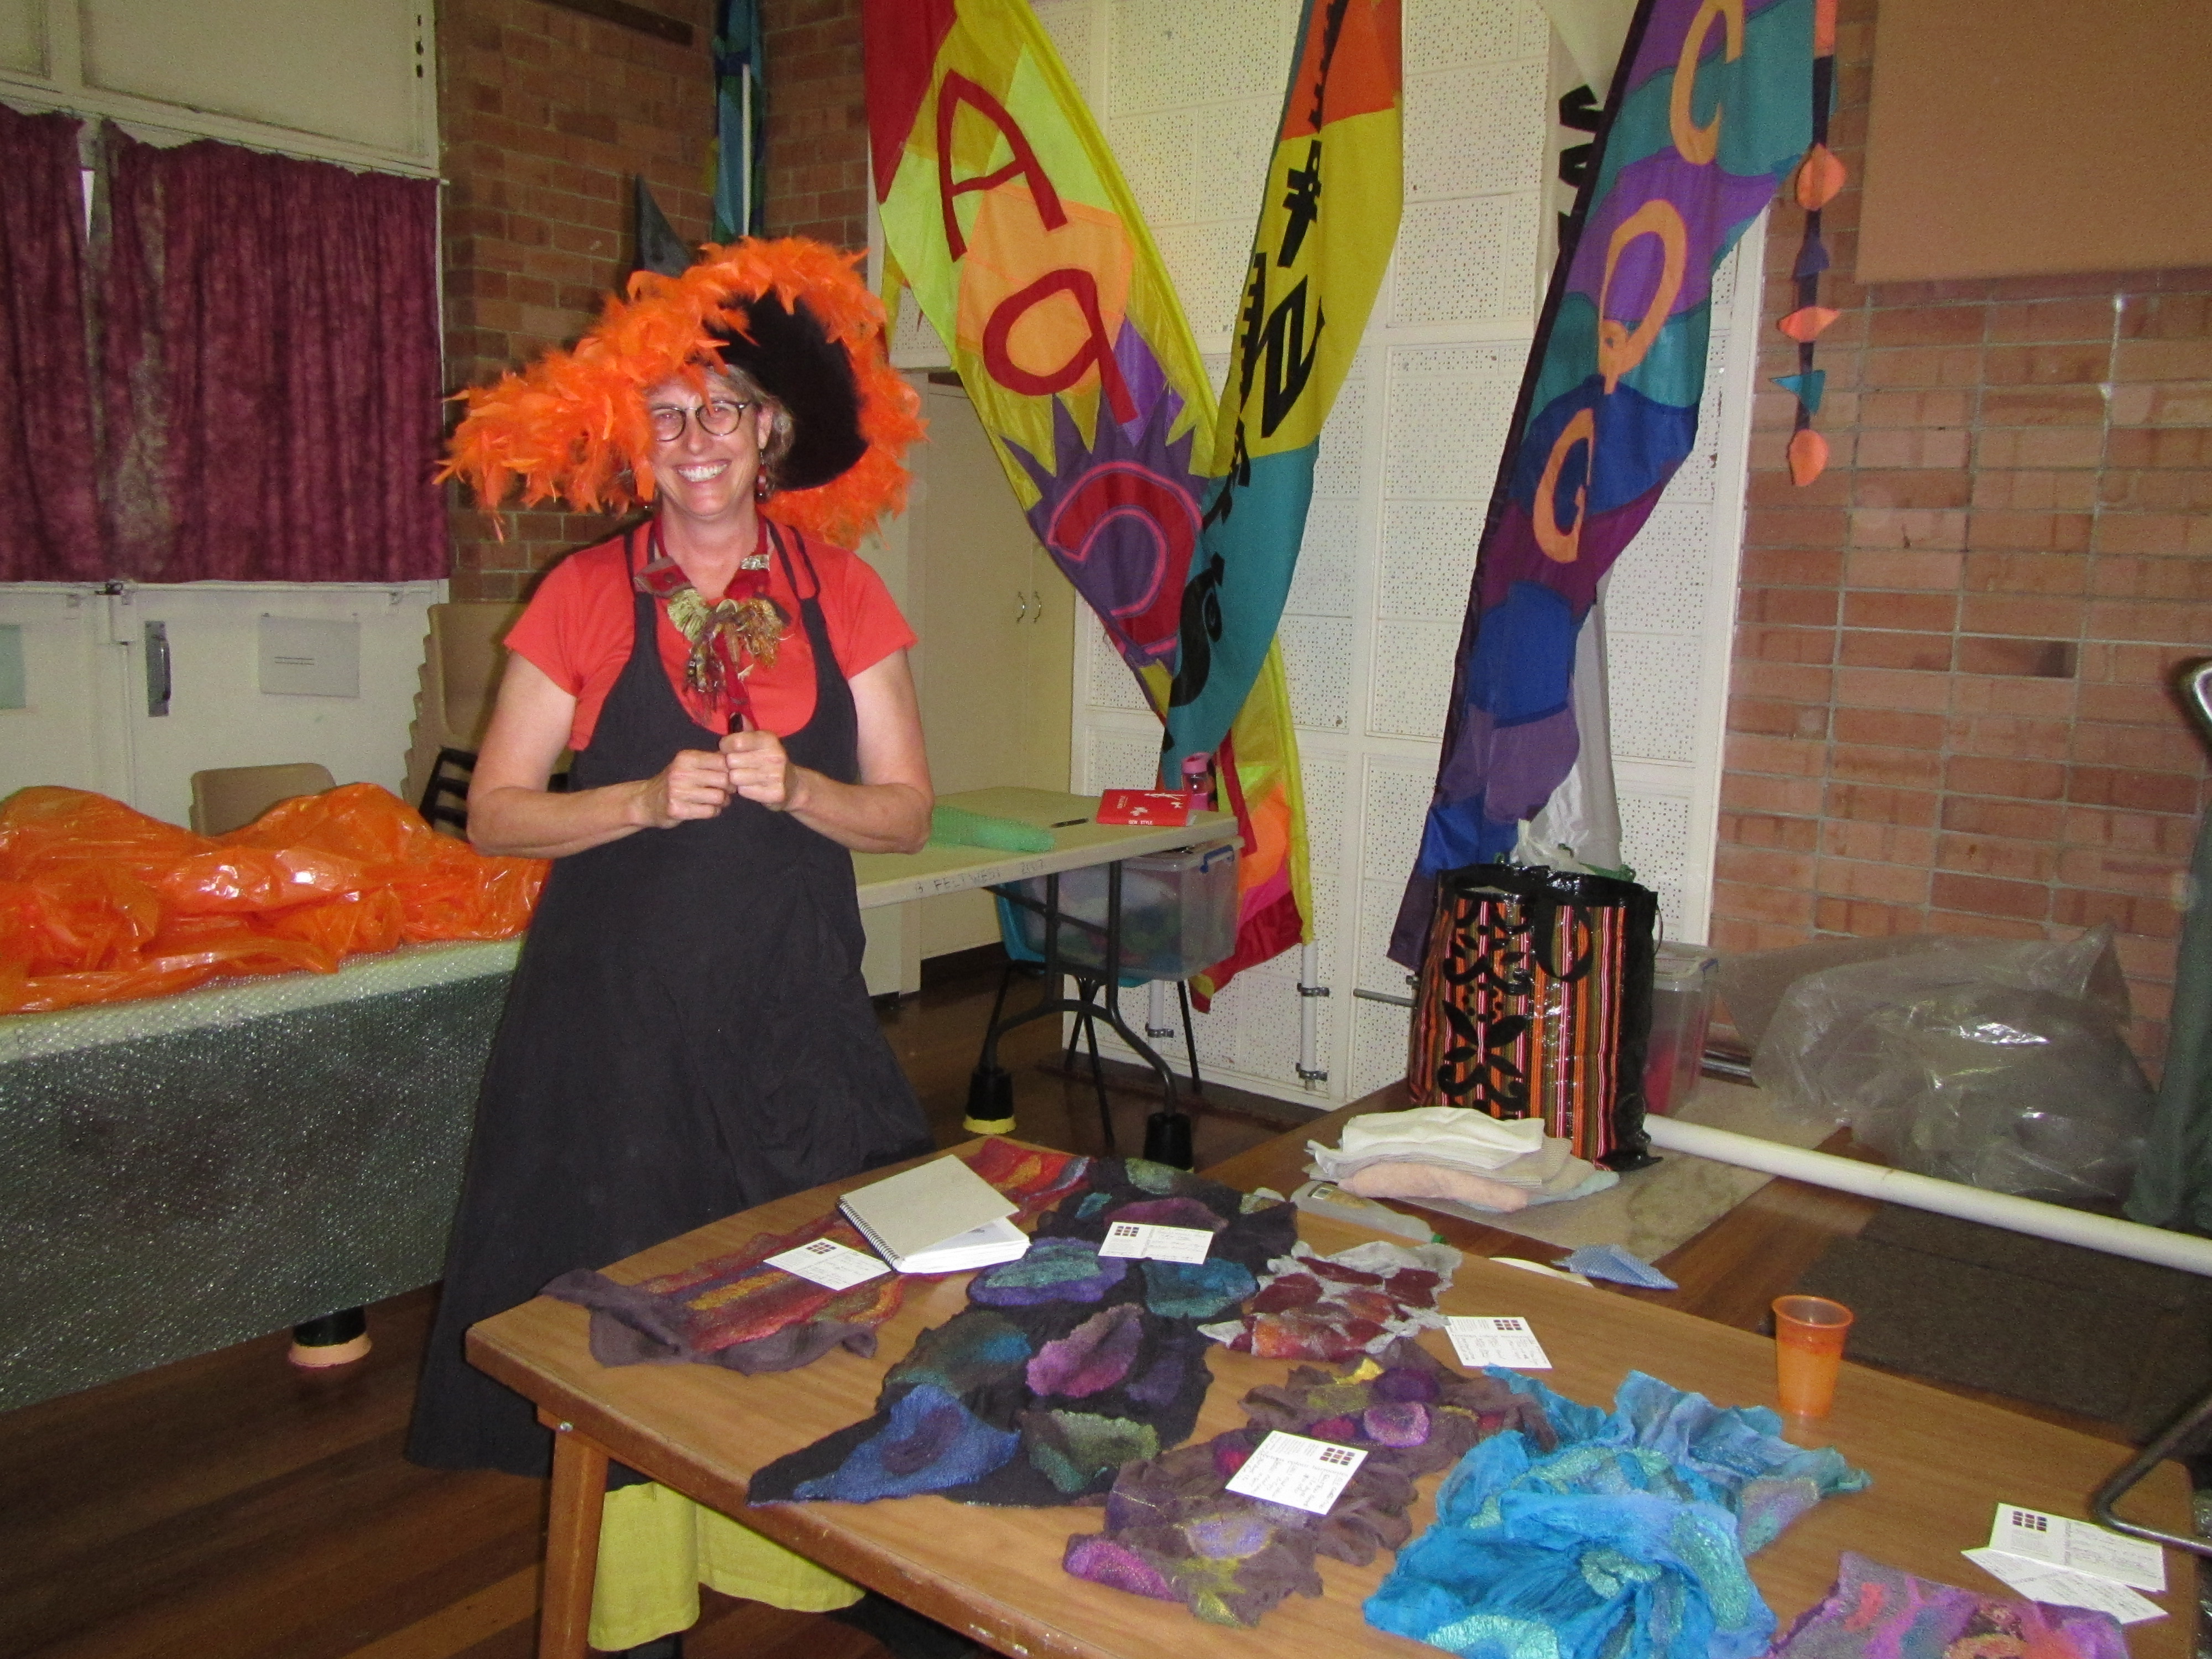
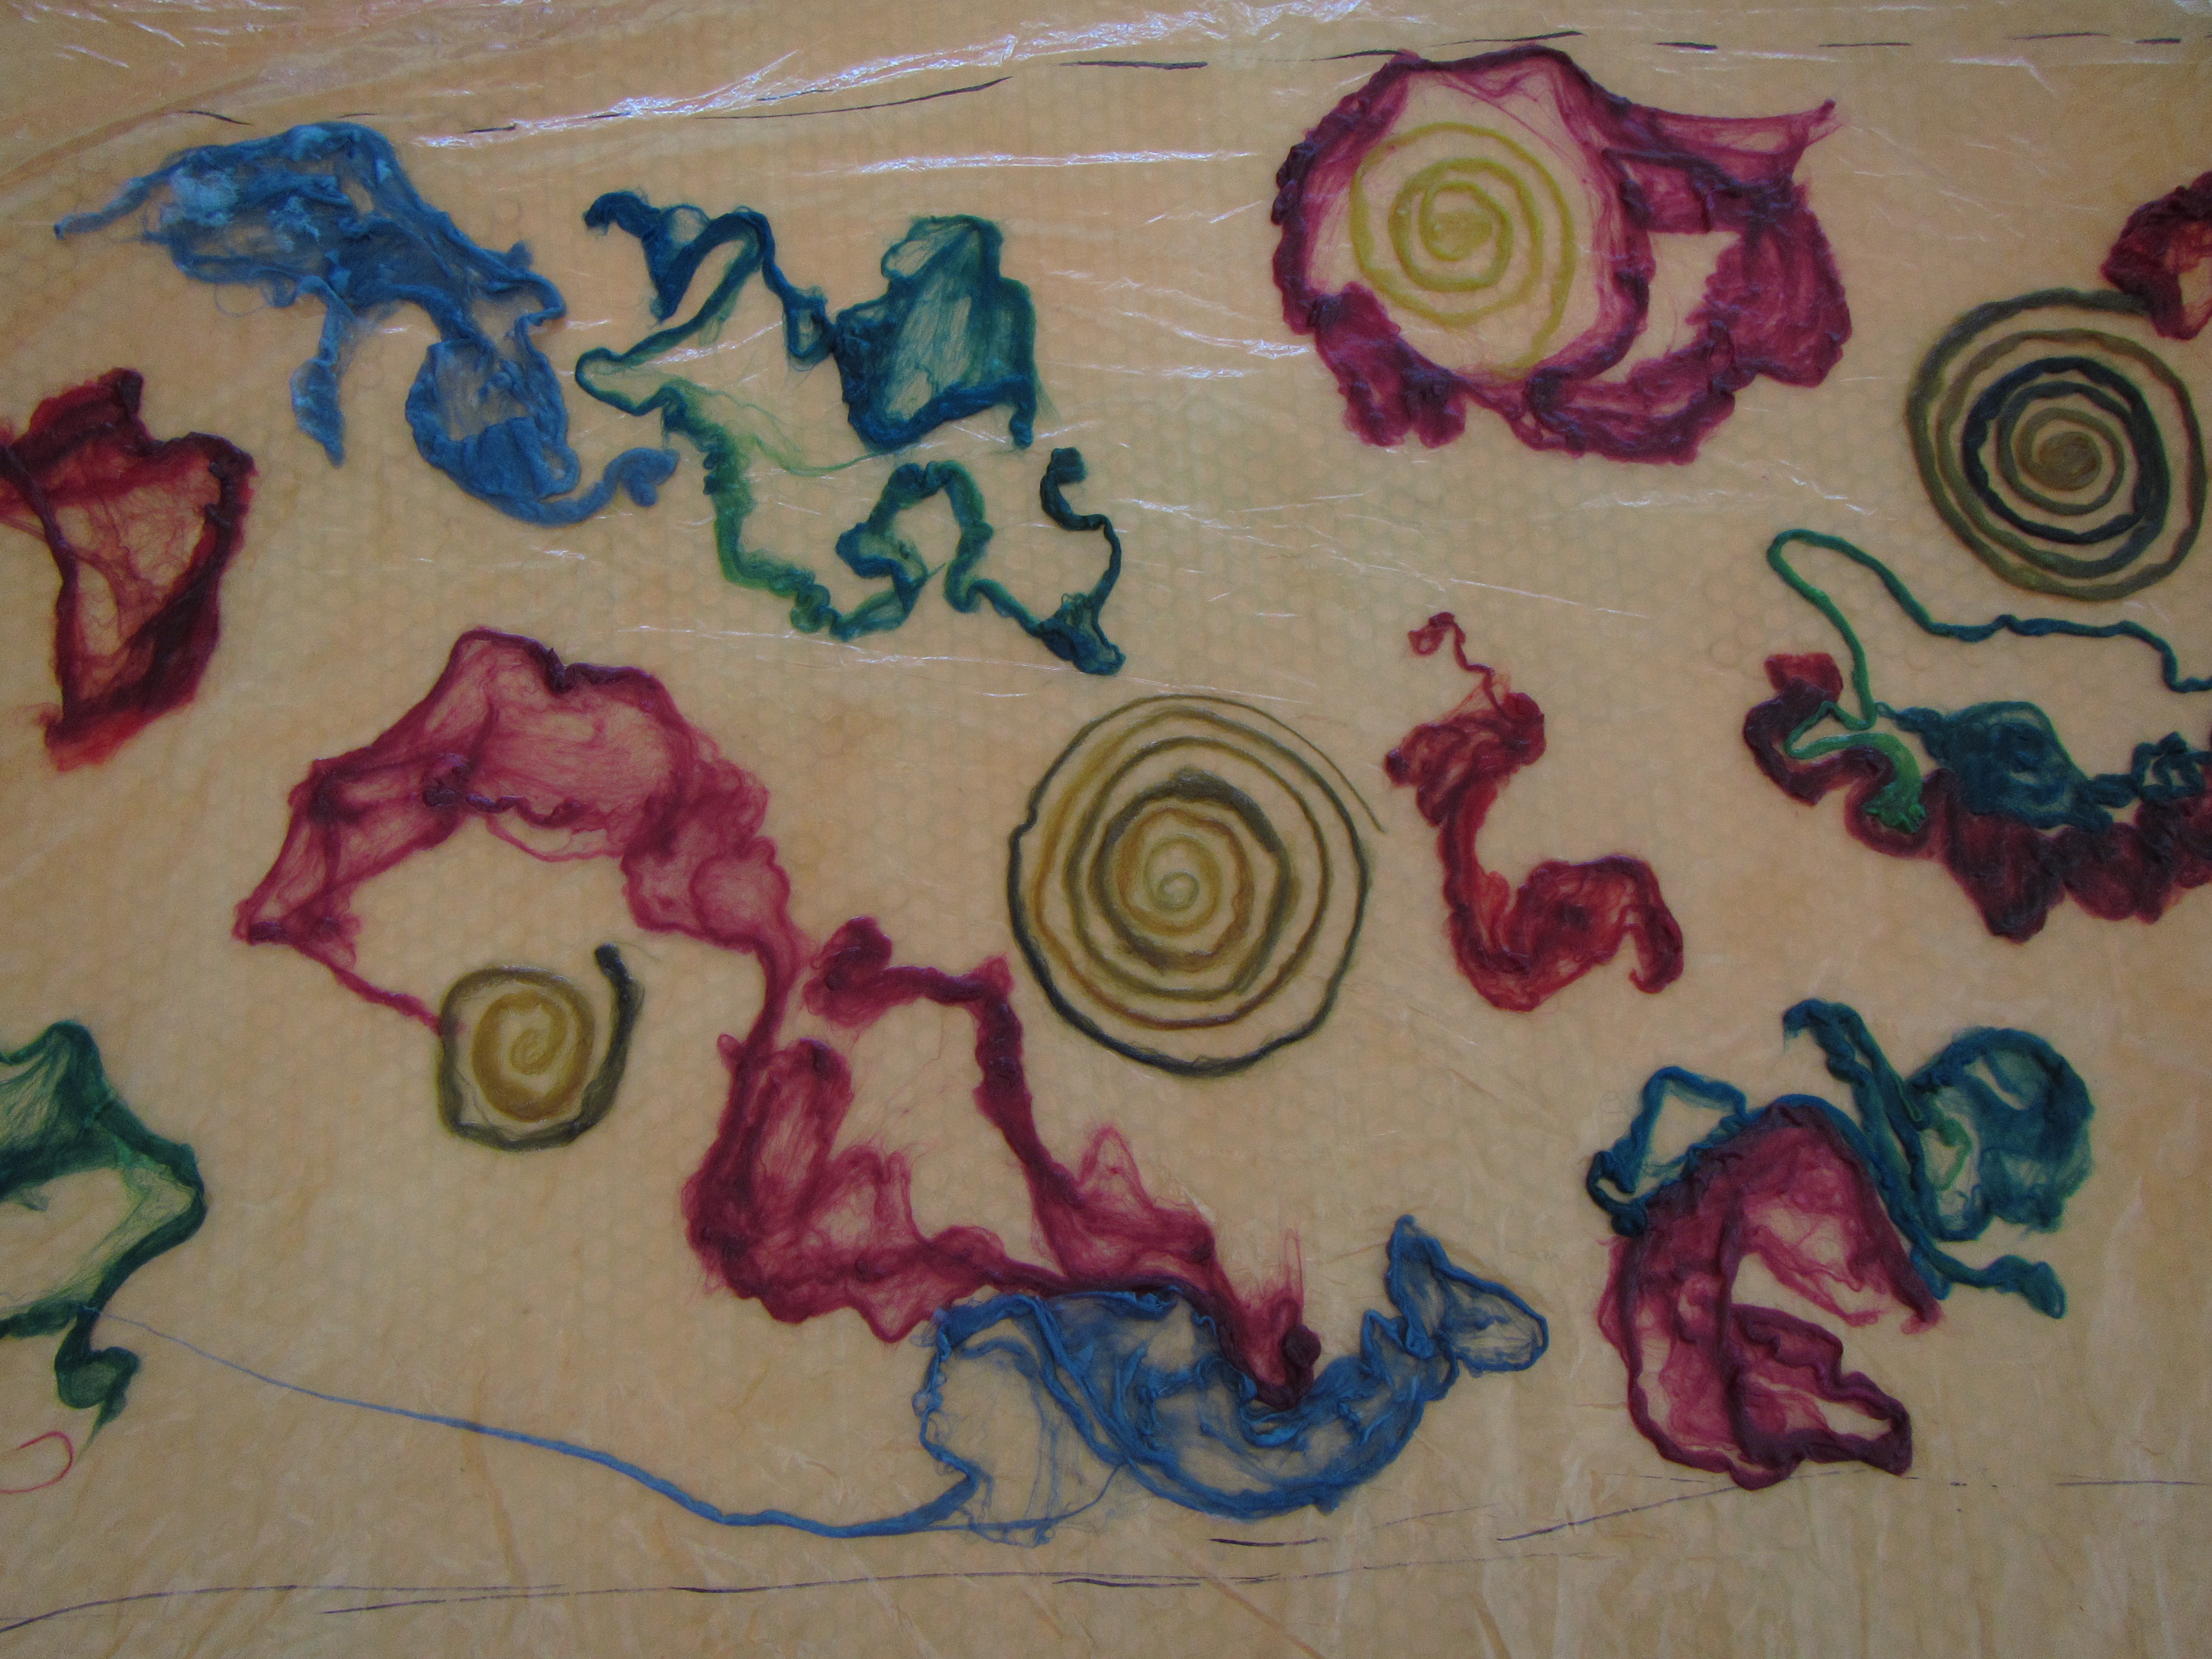
Friday night, complete with witch’s hat, champagne punch and treats (that we didn’t even have to trick for!), Nancy showed us several different shapes to make from silk hankies: squares, oblongs, spirals, doughnuts and stripes, as well as several examples of the effects from her own work. Then we learned how to wet the hankies after you’d formed them, how to sandwich them with wool and then apply the silk georgette. The rest of the evening we spent deciding what shapes we wanted to use, preparing the hankies, laying out our design, drinking punch and gobbling chocolate.
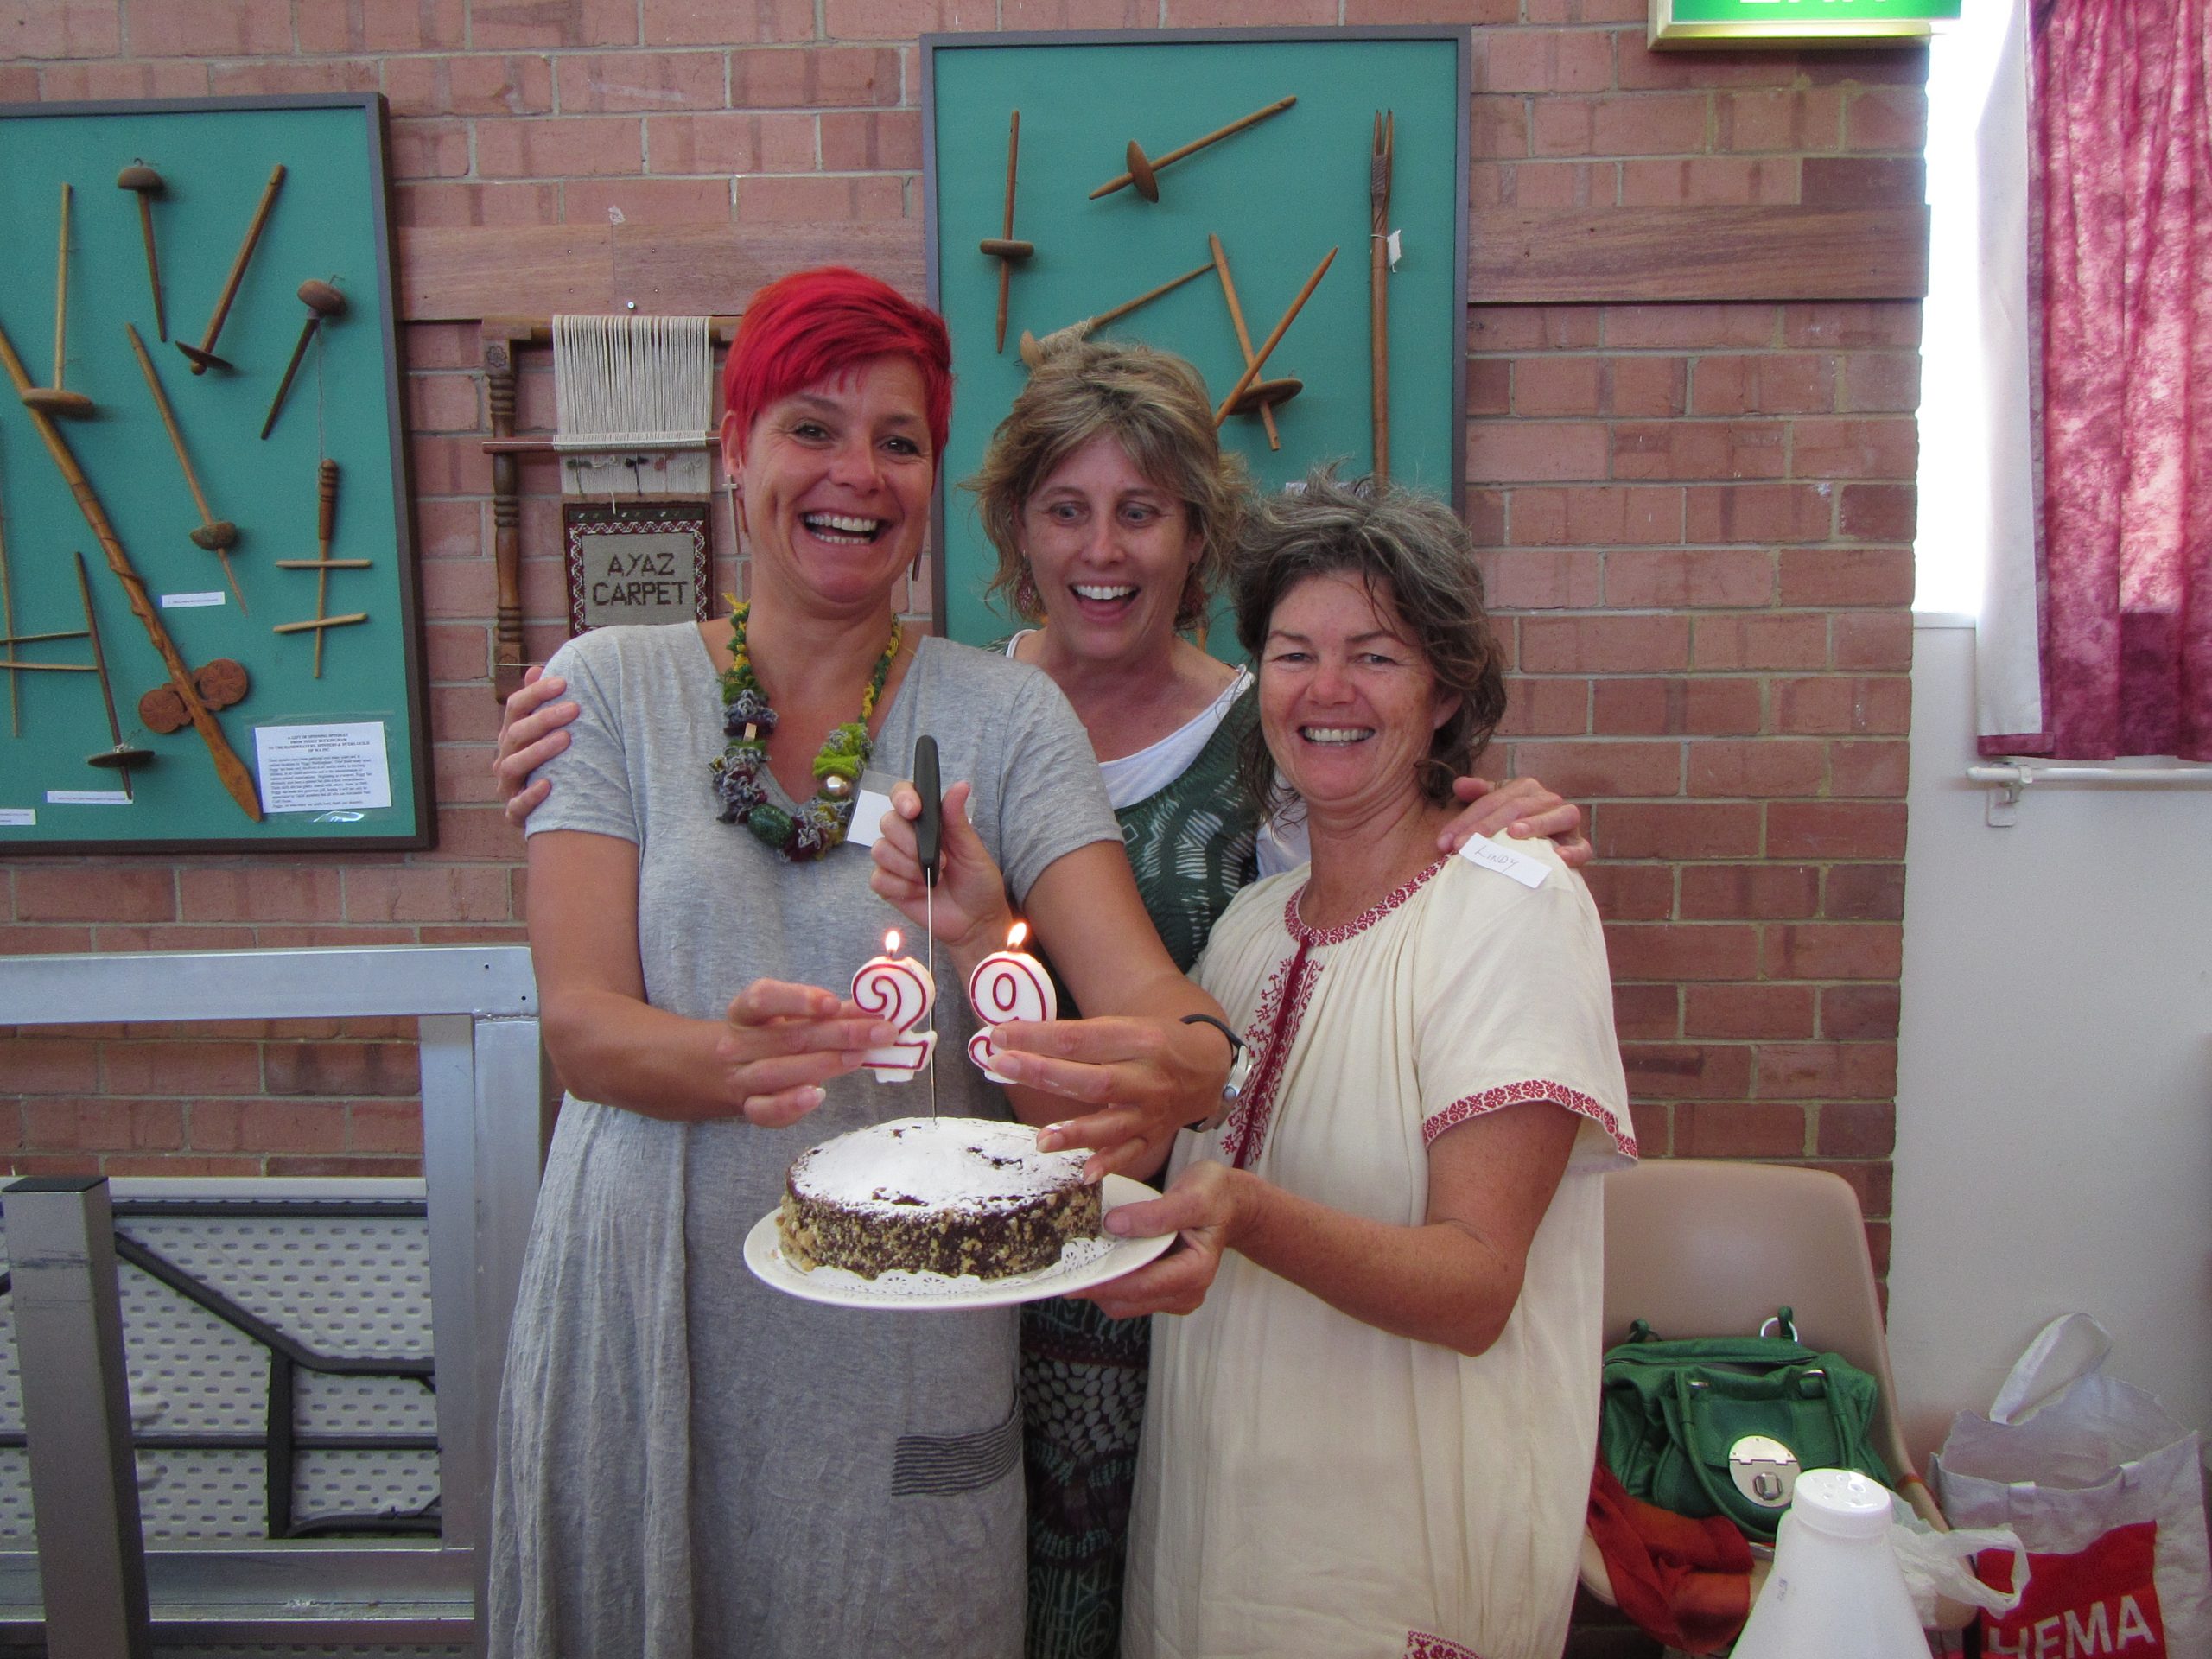
Because we’d set up the night before, all of us got started straight away on Saturday morning. Throughout the day, Nancy demonstrated proper rolling and fulling steps to achieve the best results for getting the silk hankies to adhere to the fabric and be properly, fully felted. We stopped to sing an enthusiastic Happy Birthday to Nancy, with a delicious cake provided by Lindy Frayne.
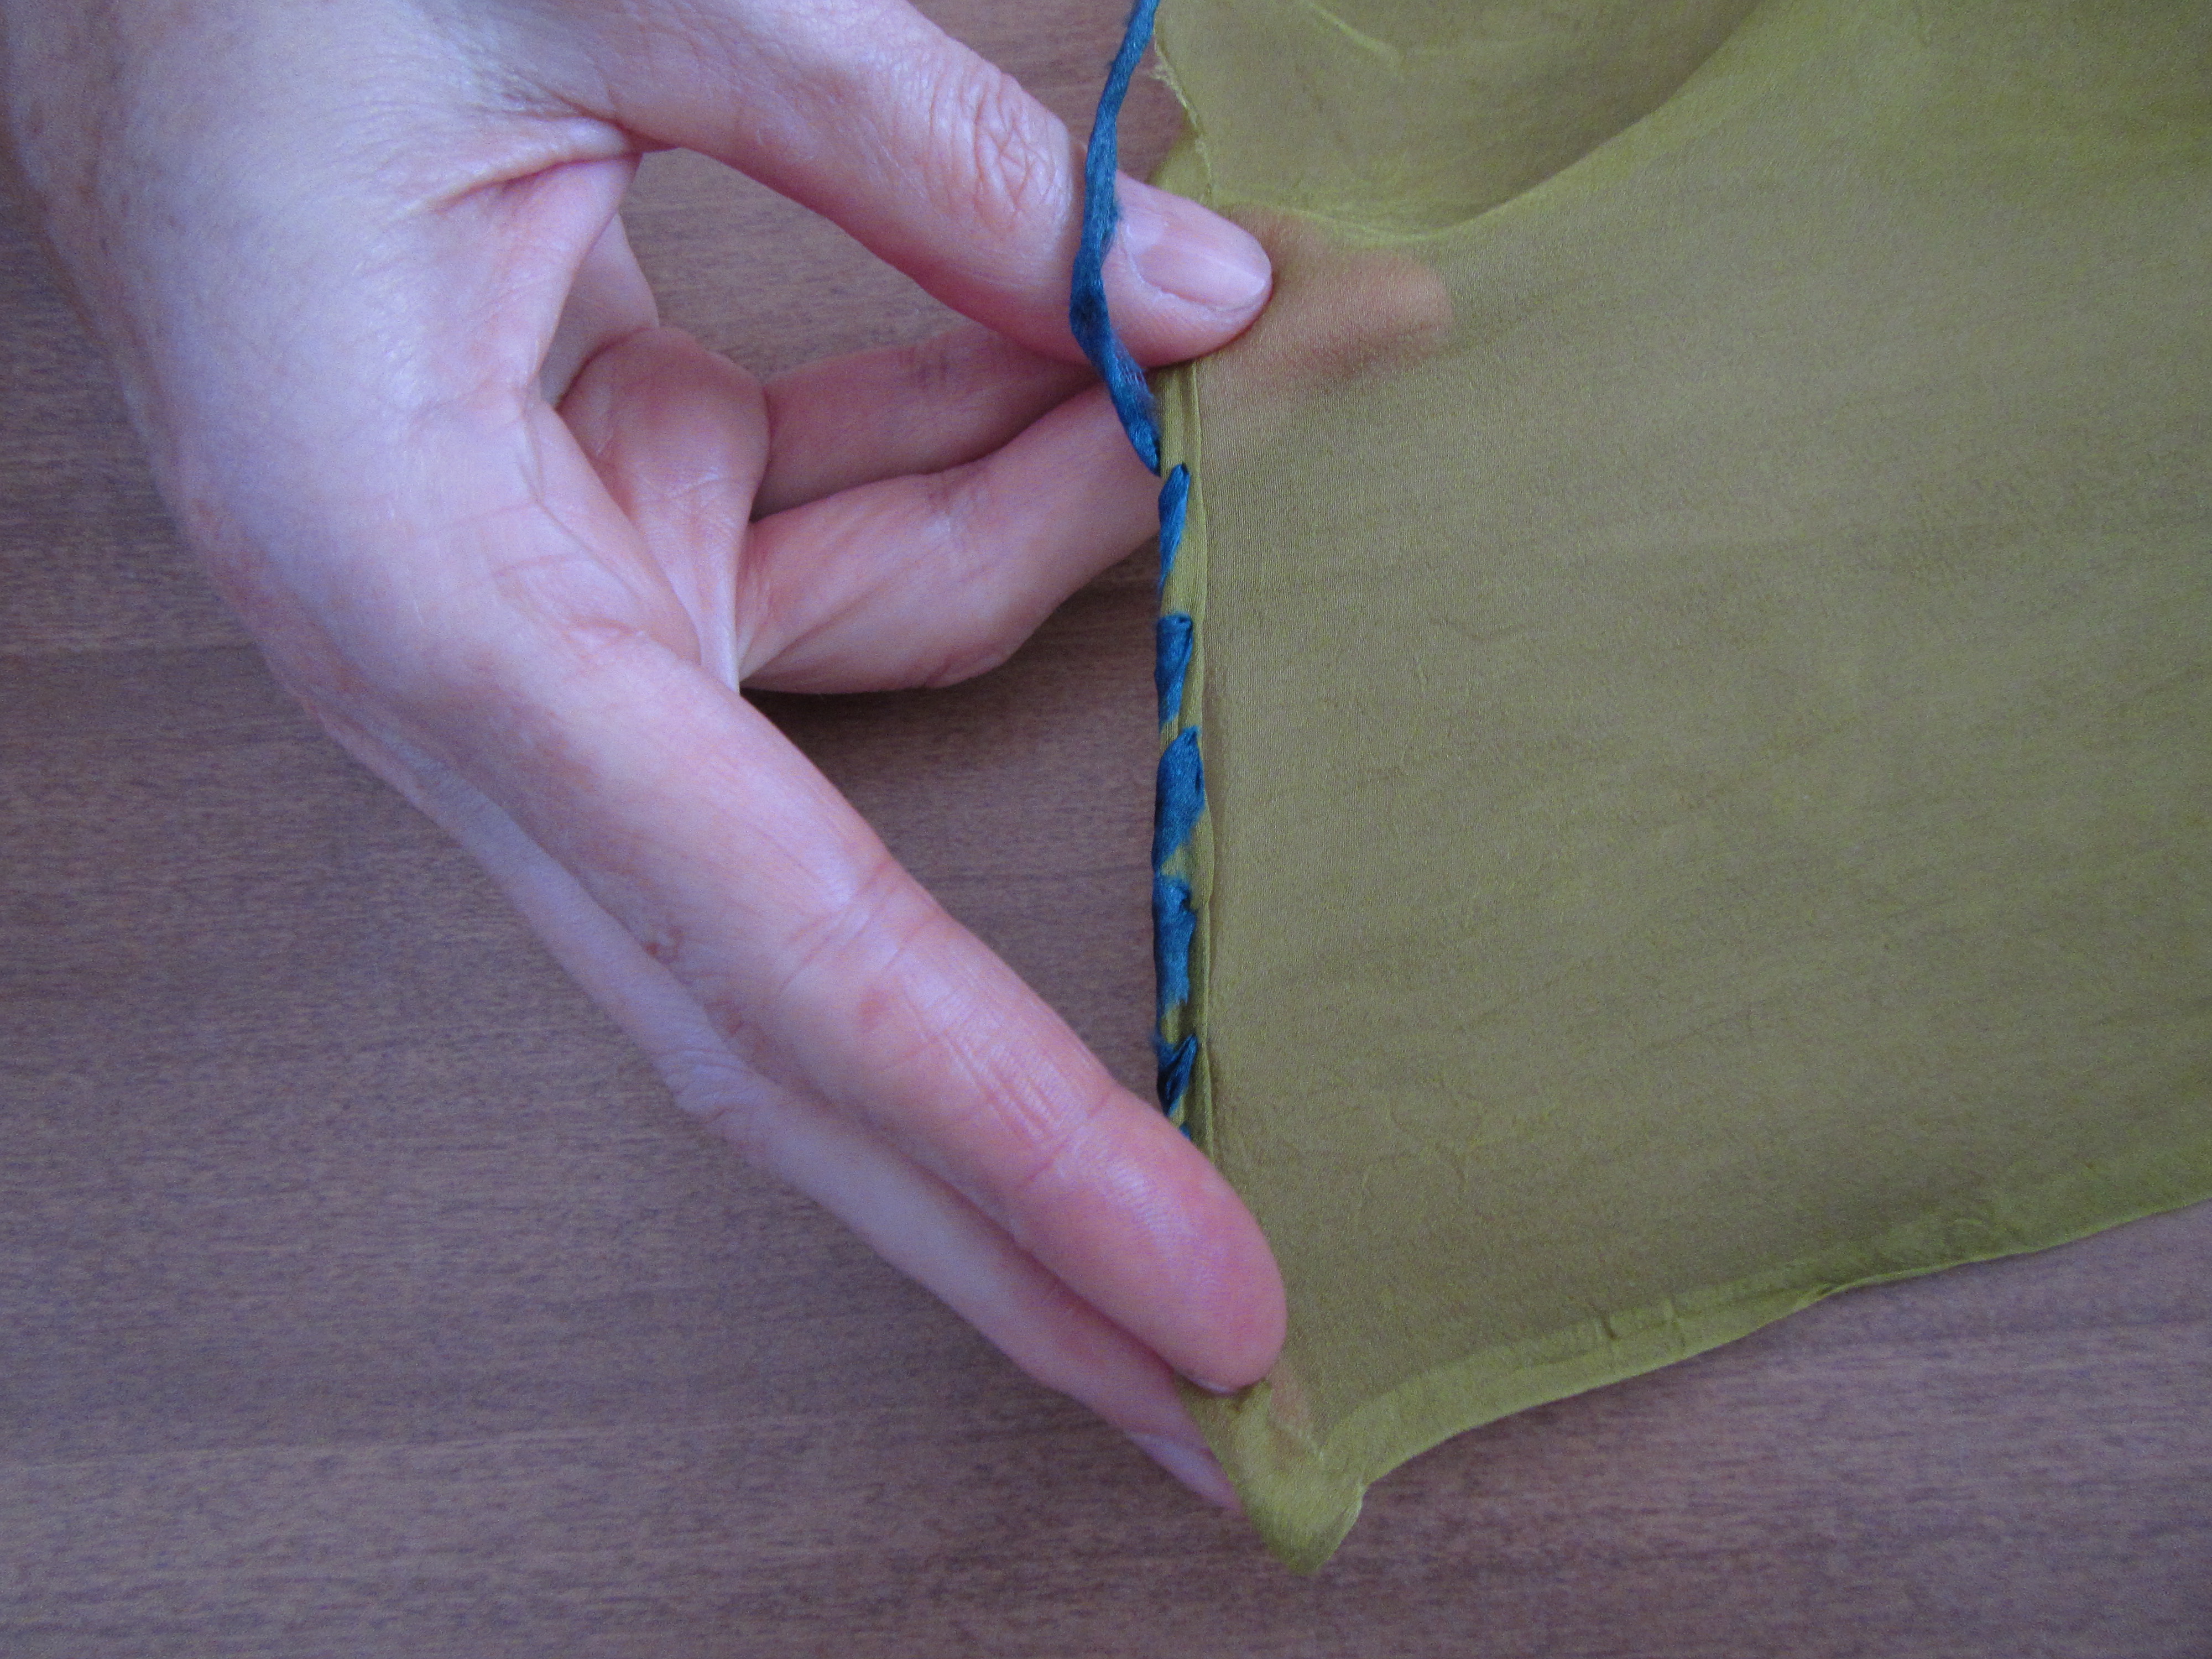
Throughout the day, Nancy circled the tables, giving advice and contributing reassurance. It was fascinating to see so many different designs from a few different techniques. The last technique Nancy demonstrated was how to use a narrow piece of silk as a ‘thread’ to hem the rough edges of your scarf. At the end of the day, whether we finished or not, we all learned what an inspiring variety of effects those little flat squares of silk can create. Thank you, Nancy!
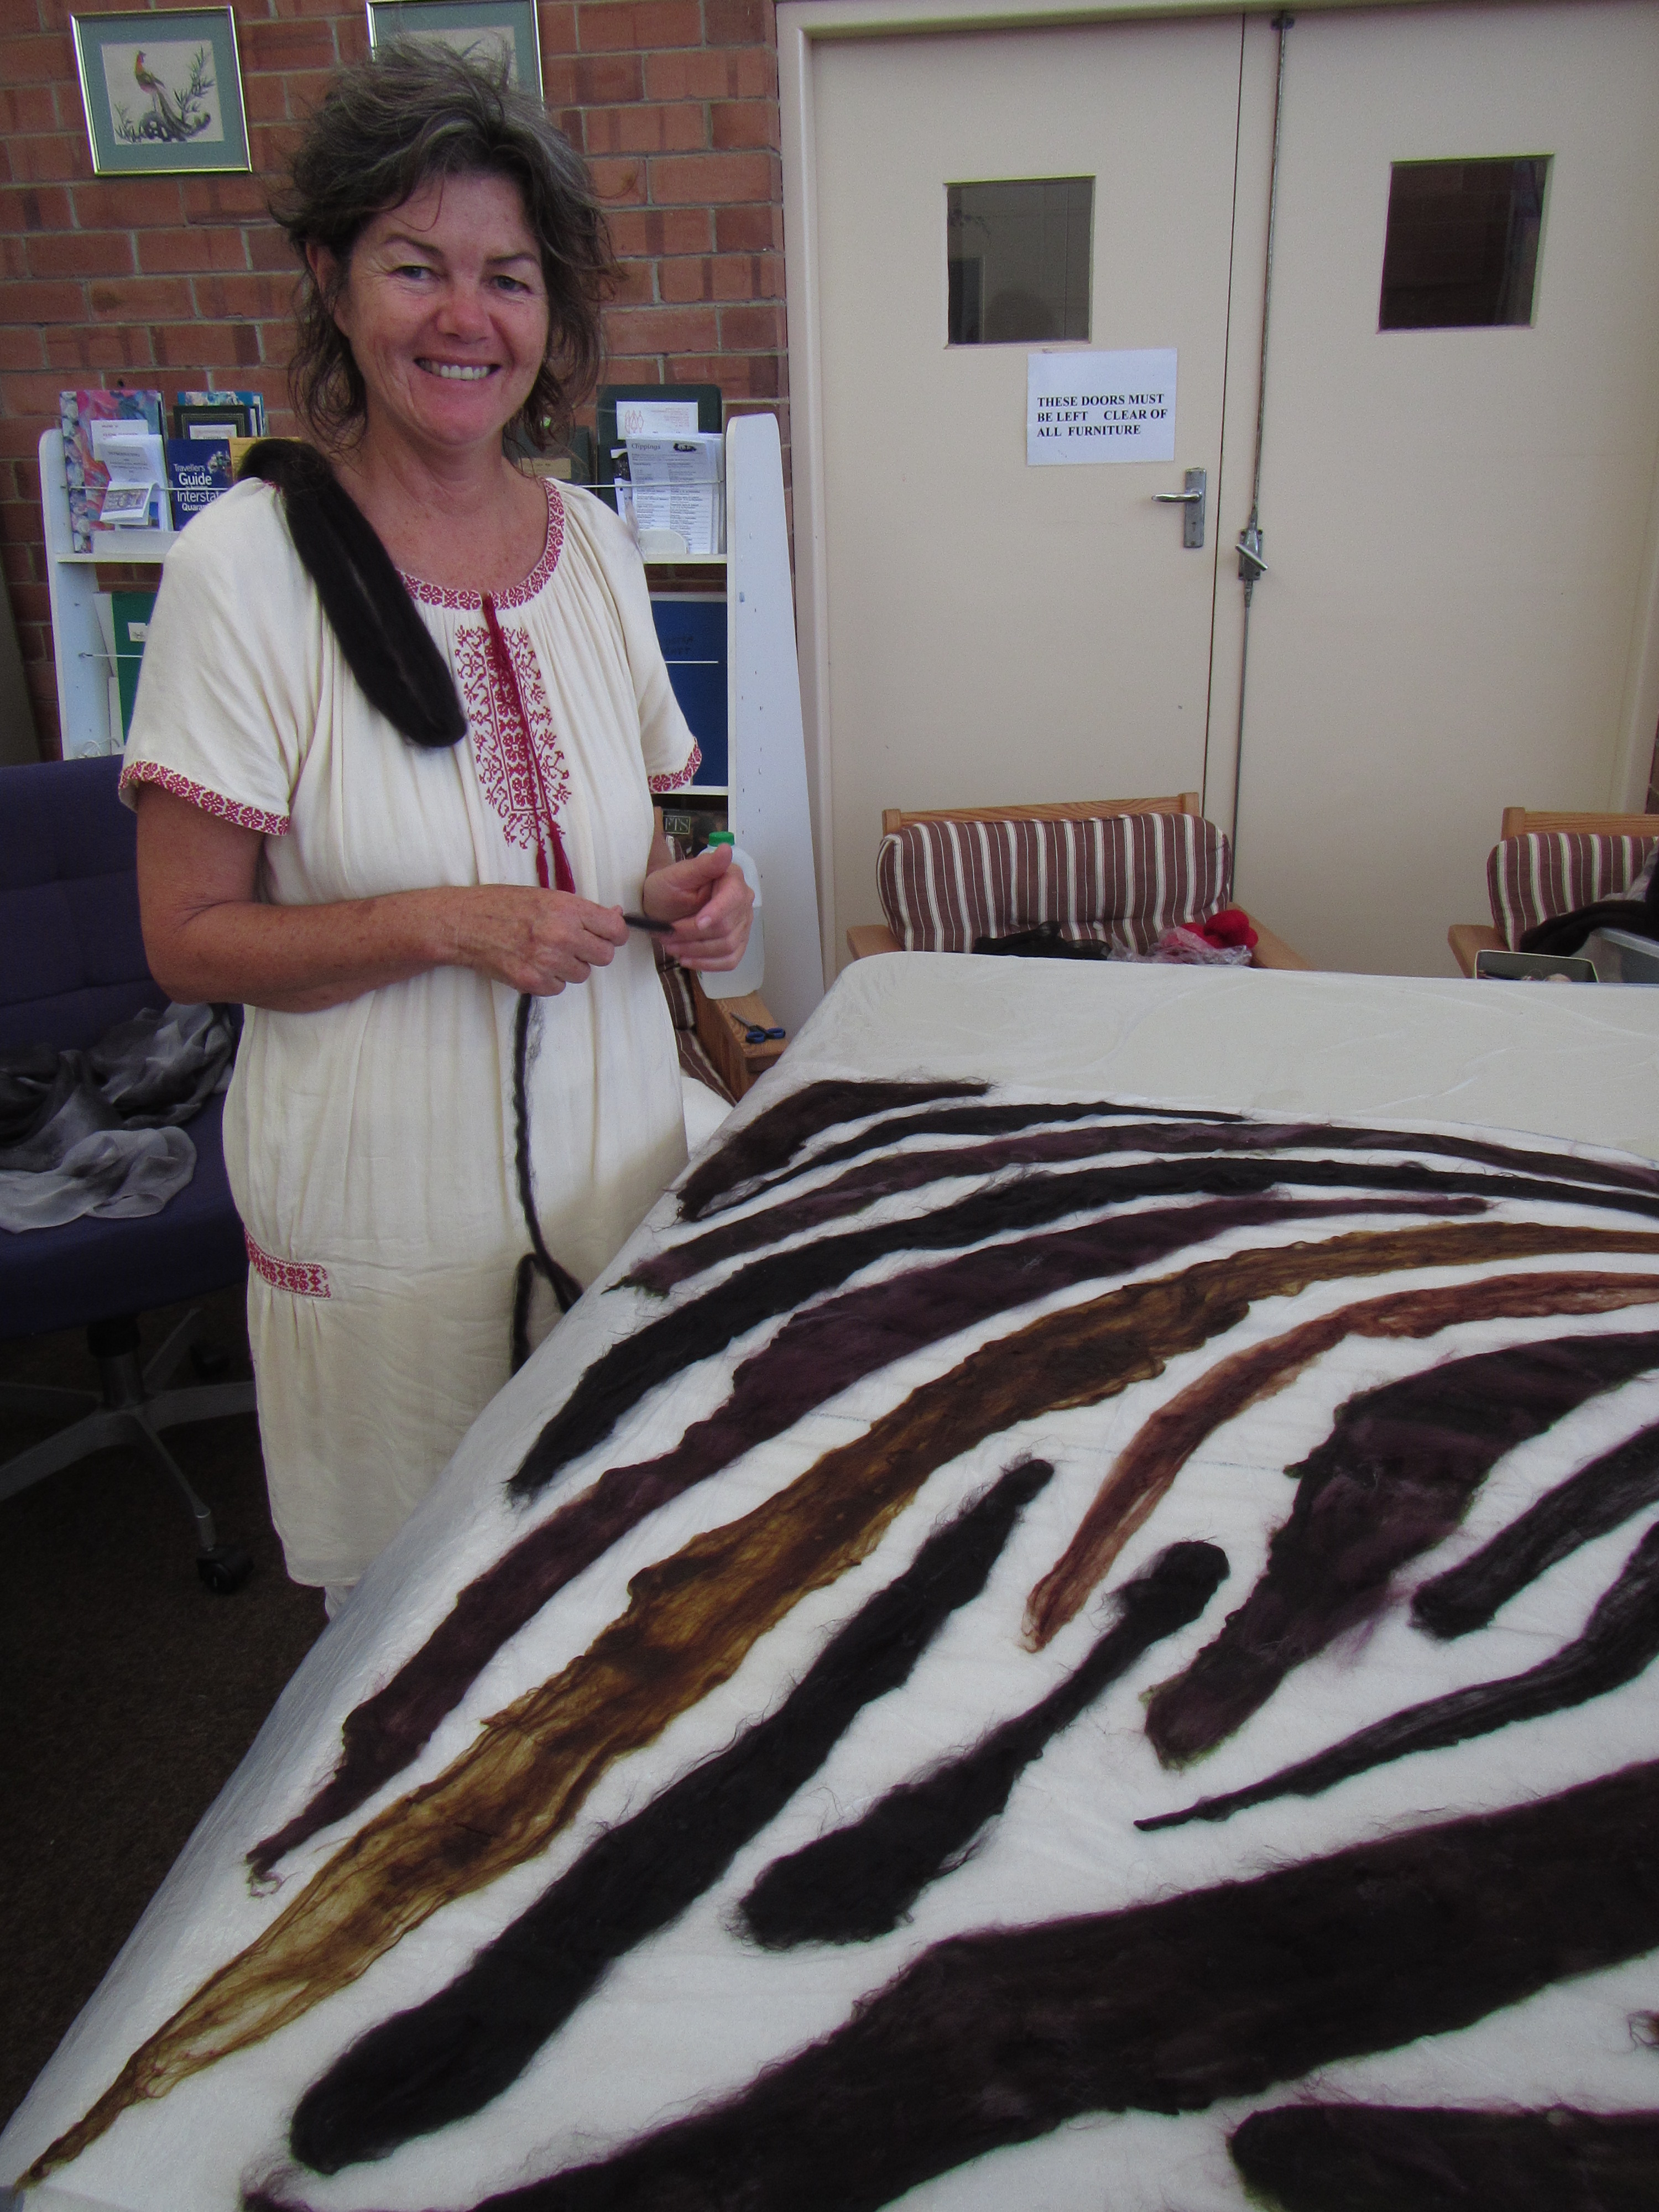
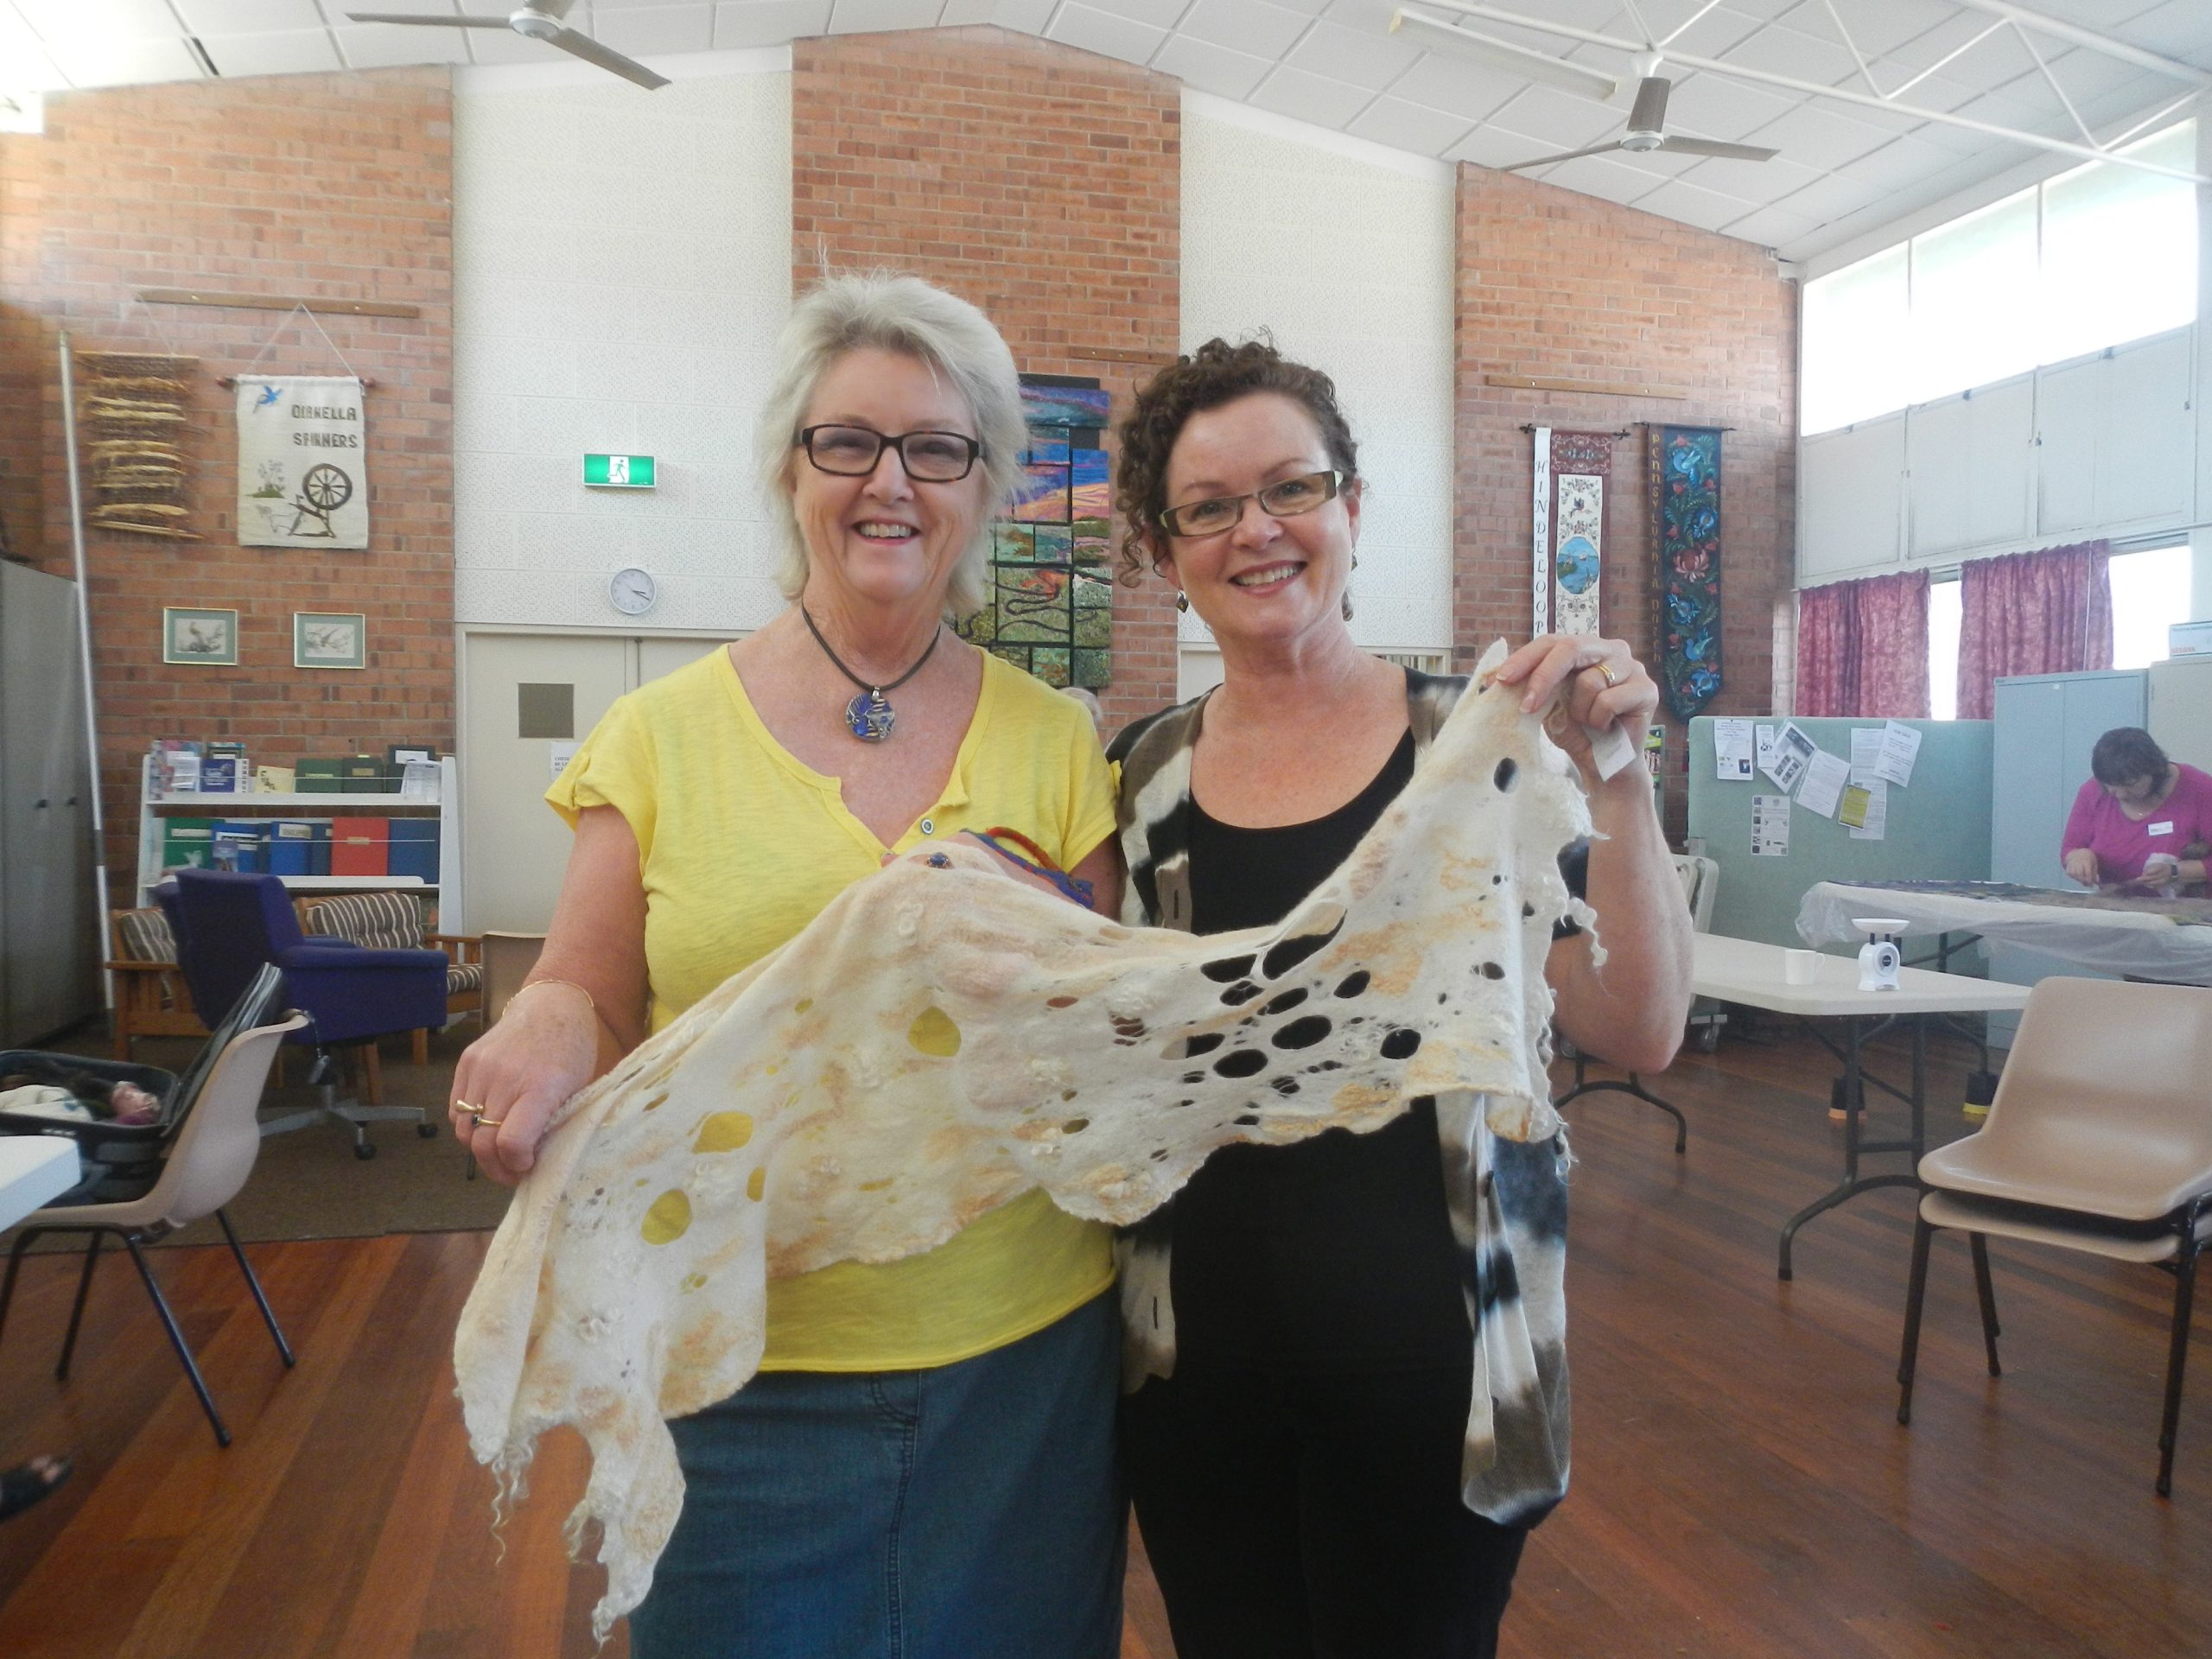
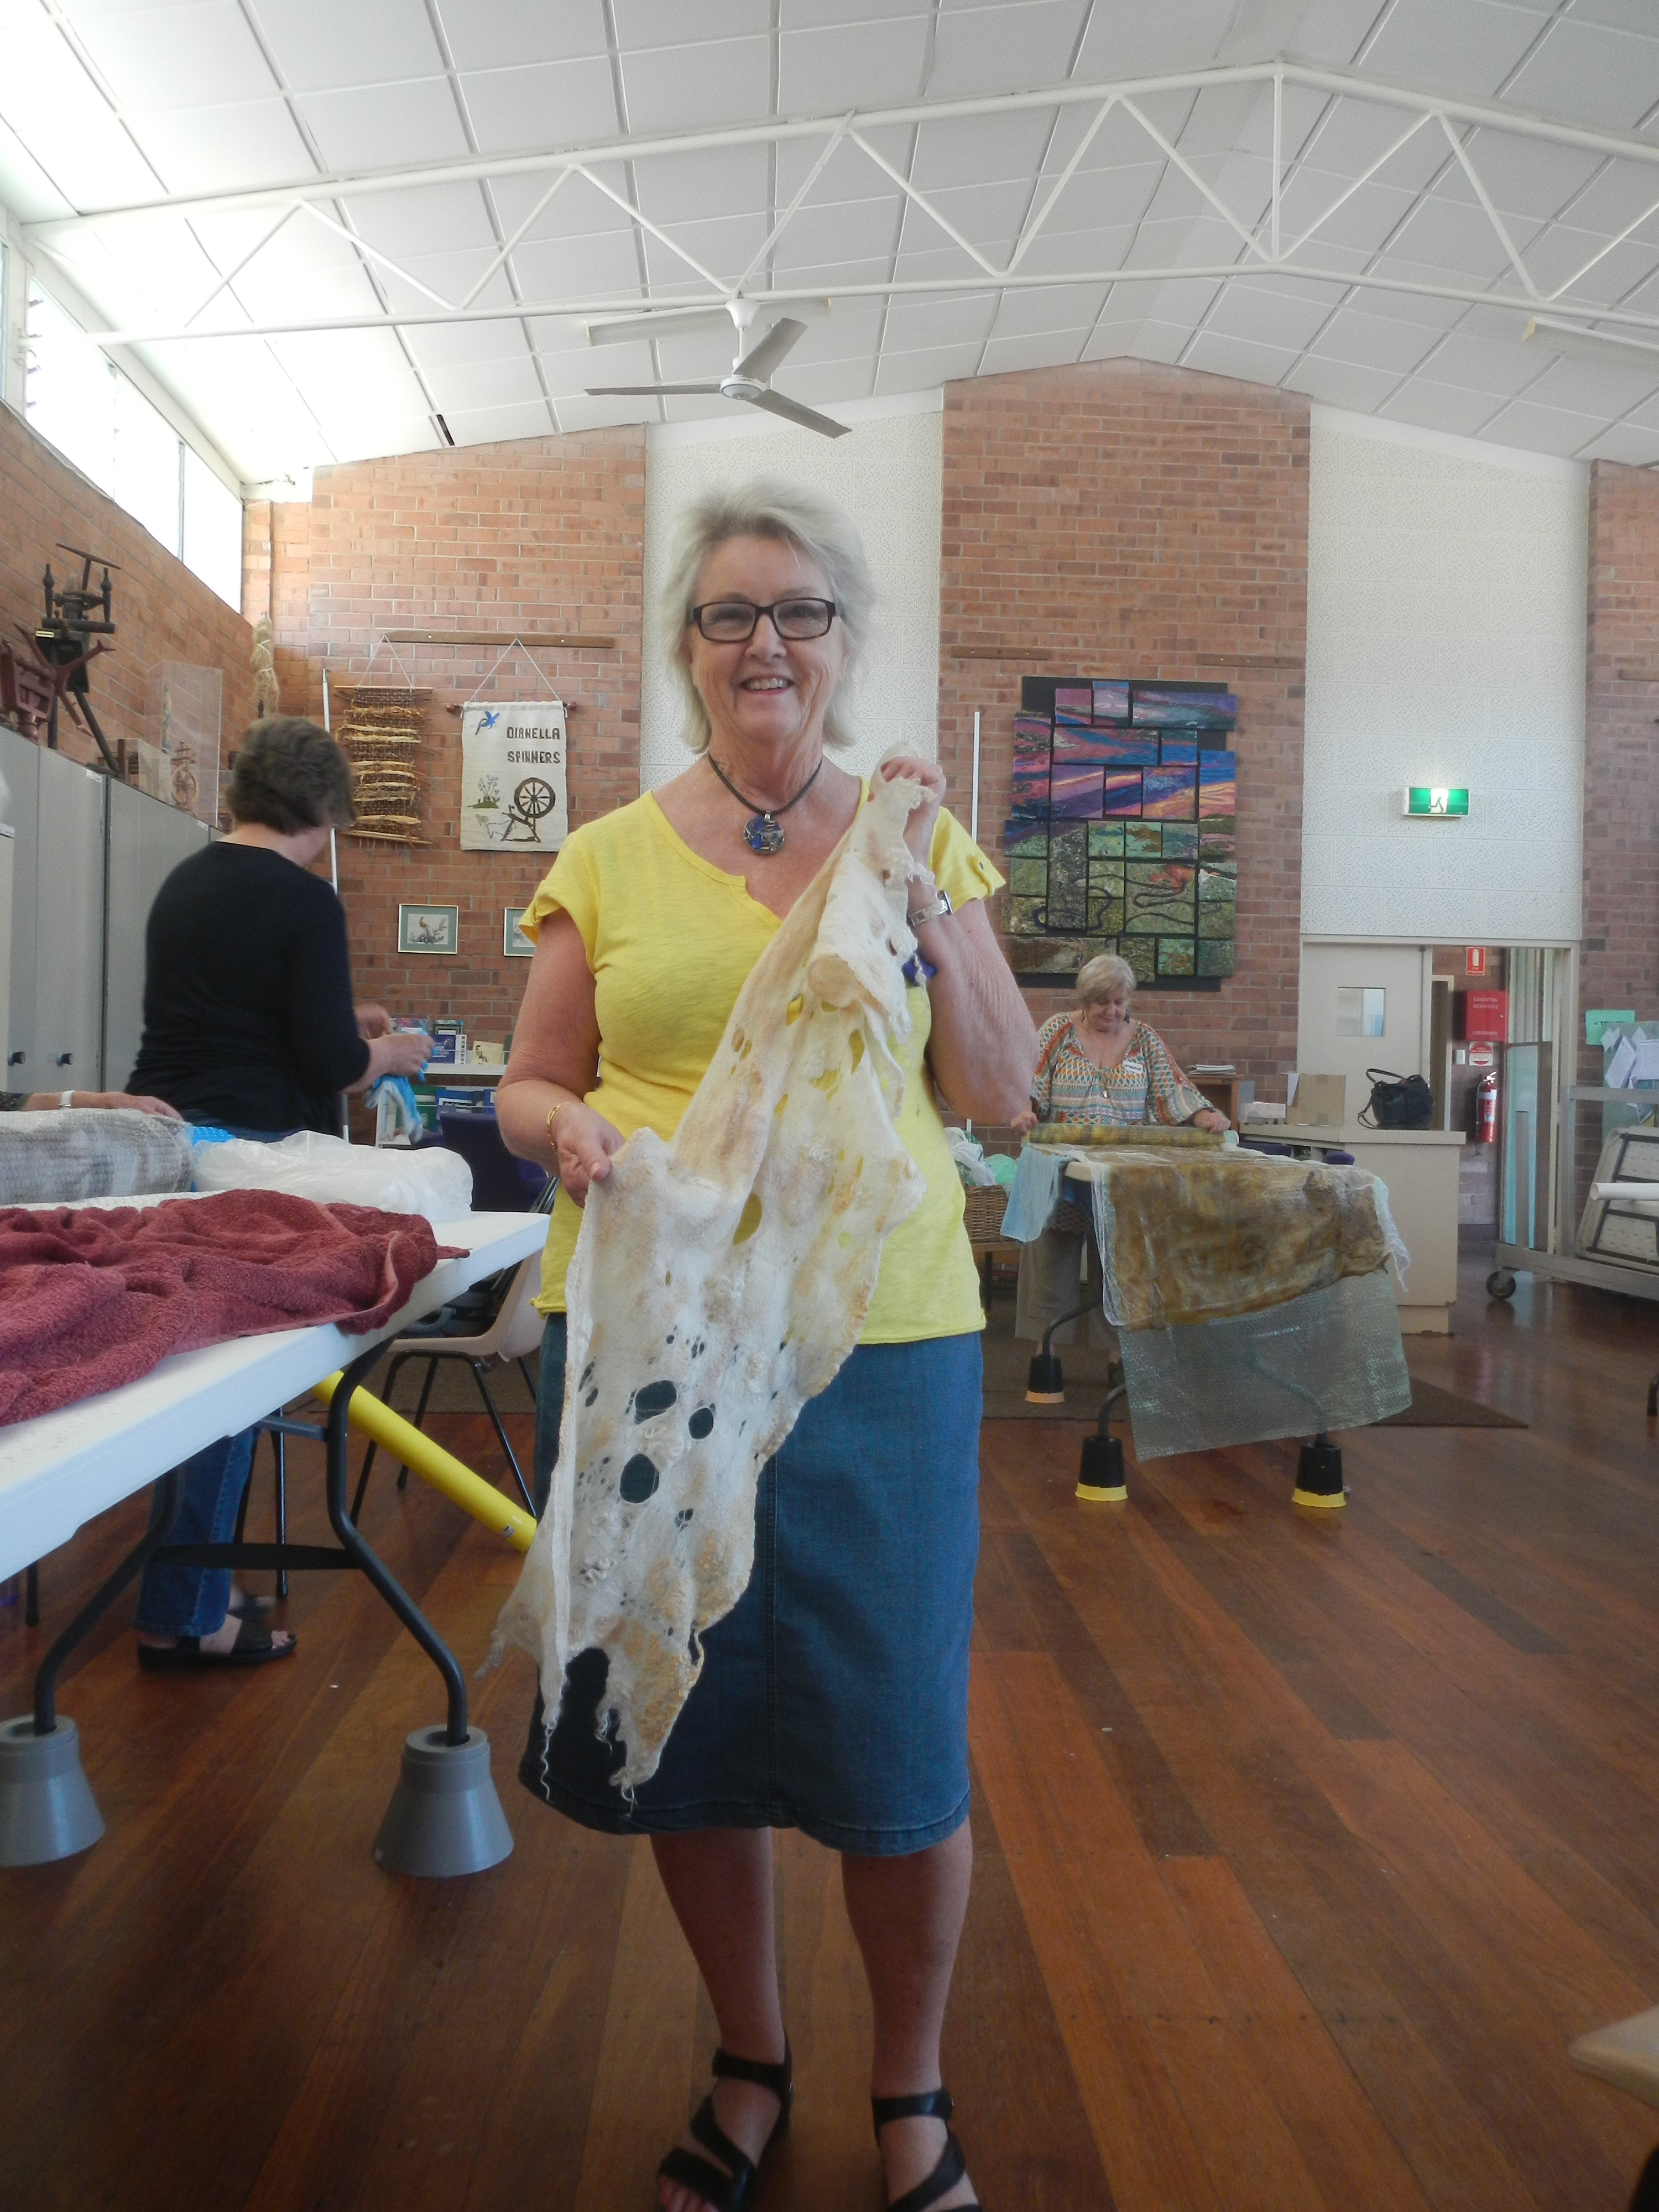
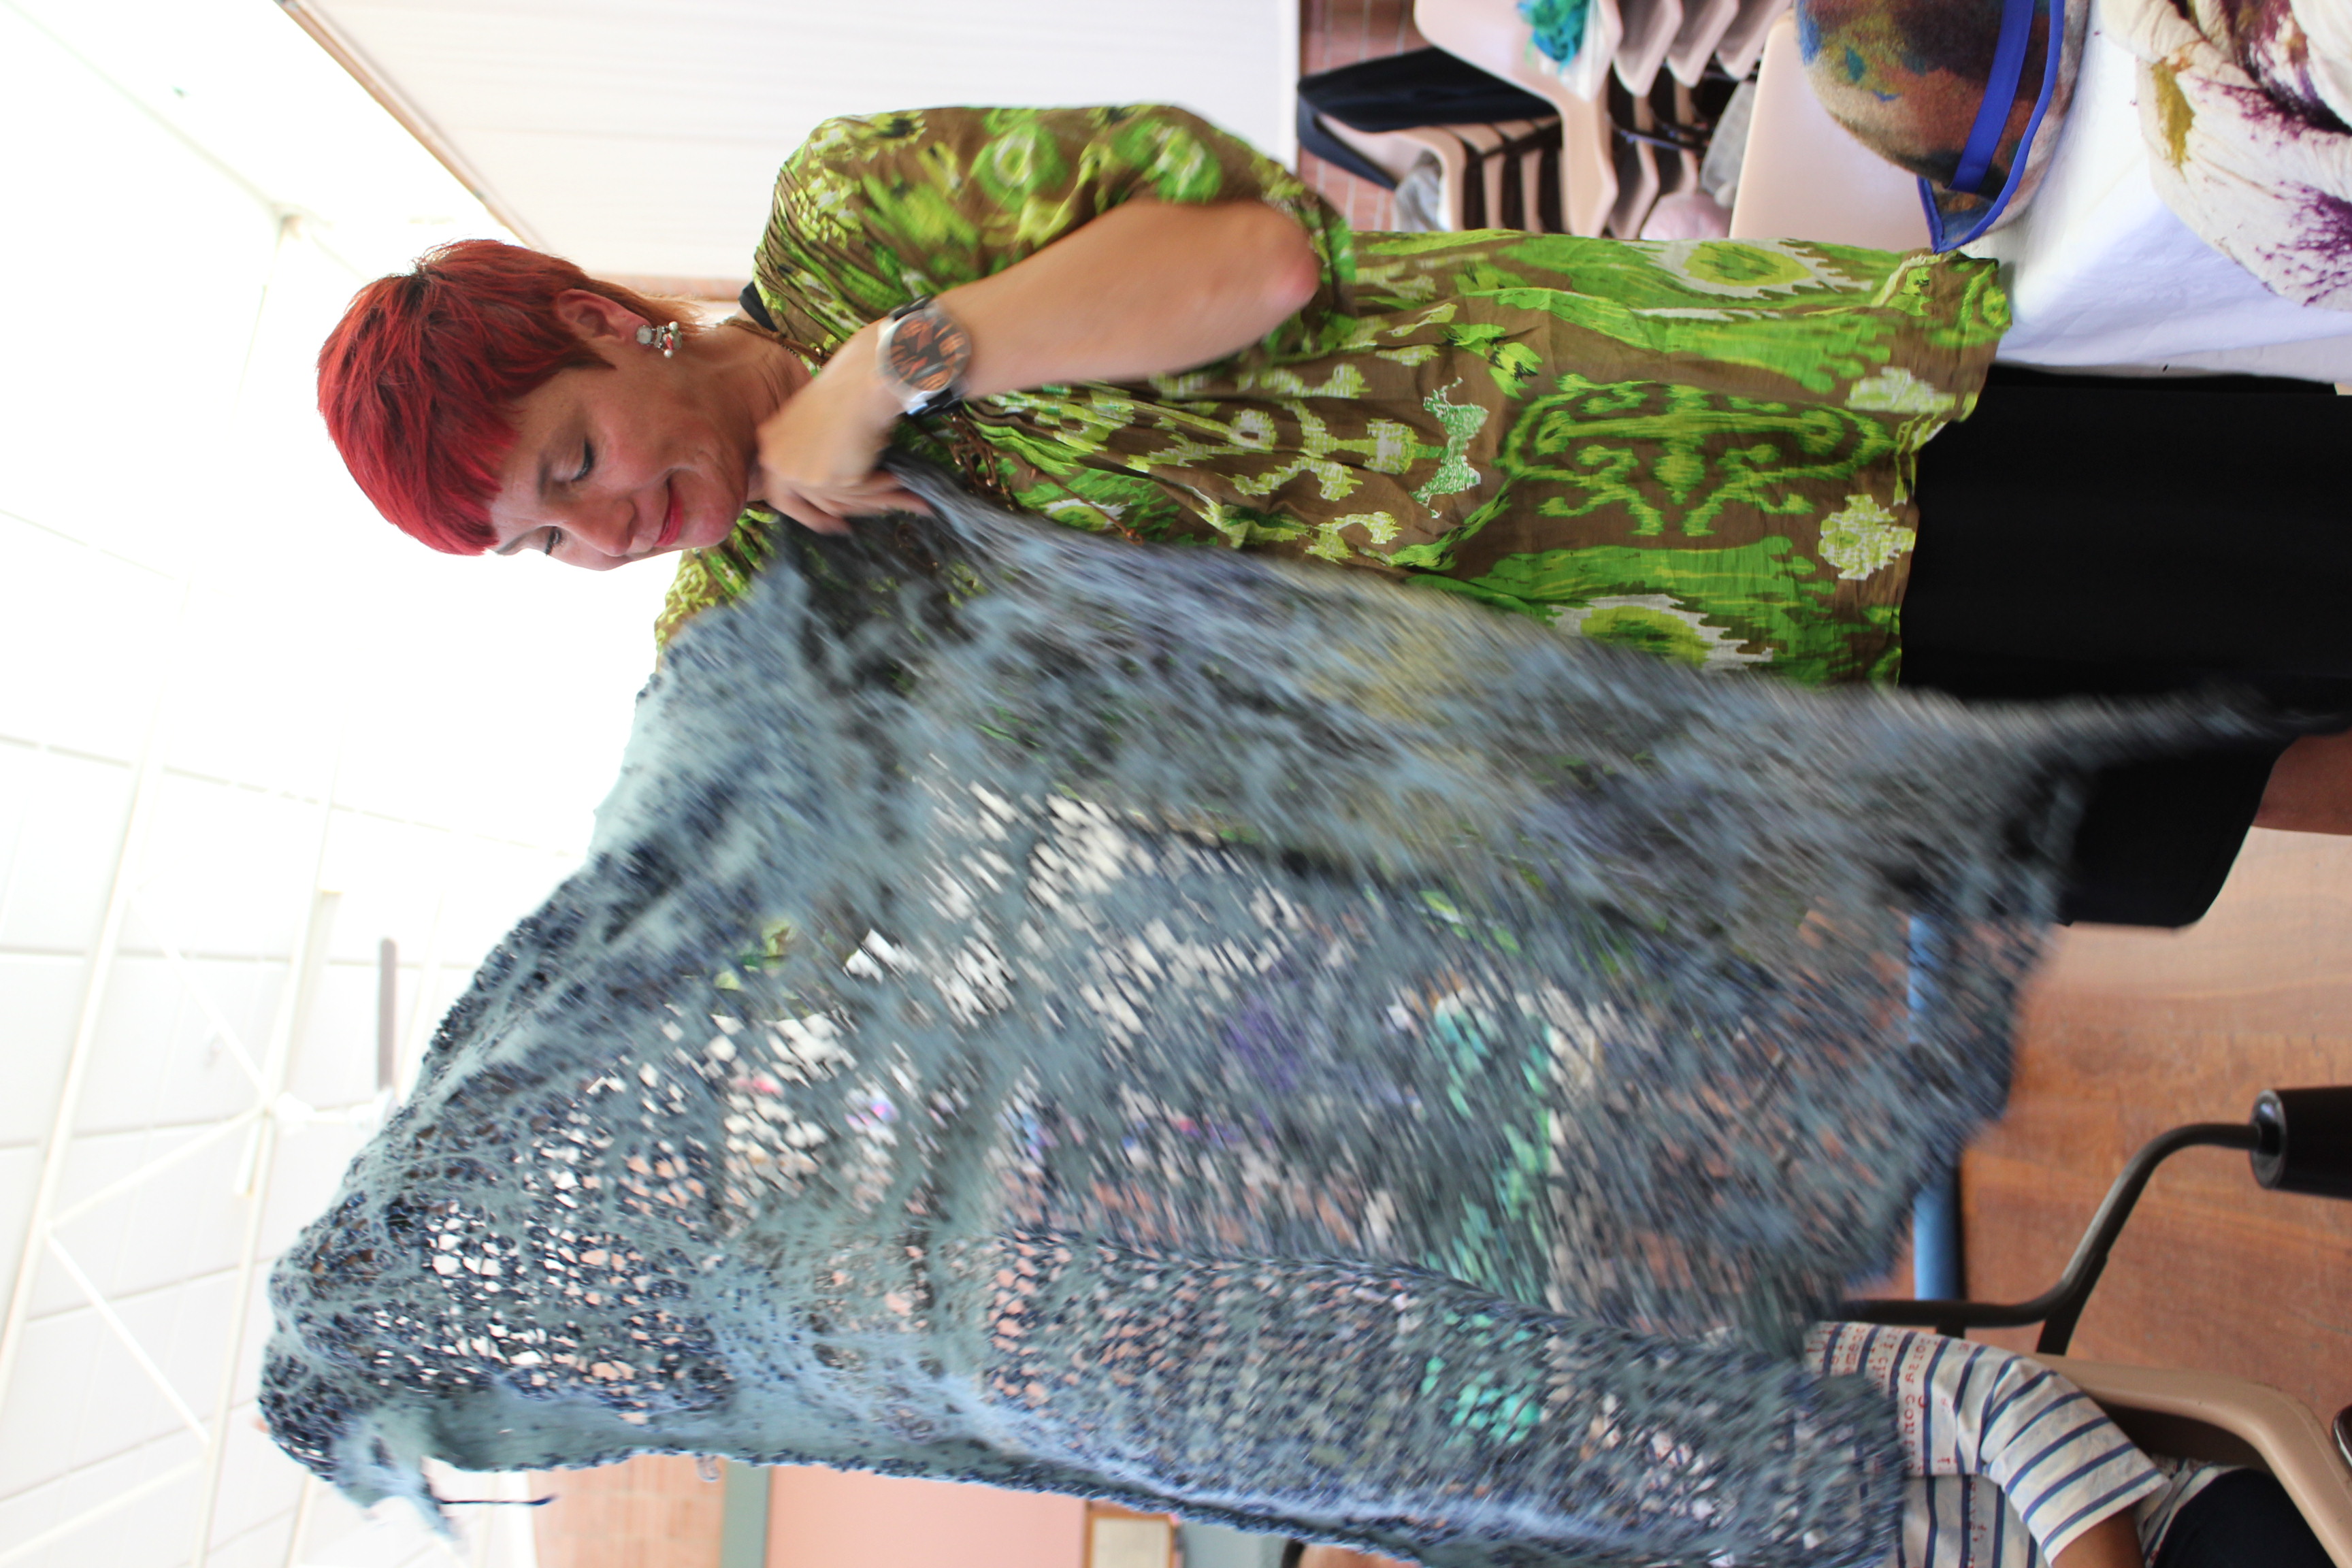
Vicki, the tutor presented the cobweb felting in a beautiful manner. Some people had come from the country far and wide to attend – from inland Wheatbelt and as far South as Albany.
Vicki presented lots of samples of her work and different types of cobweb work were shown in varying thicknesses. Some were whisper thin and quite lacy and could be worn as is, or they could be used as a pre-felt, placed onto wool that had been laid out to form the lacy design on top of a layer of felt.
There was finely laid lacy felt with embellishments of tussah silk, hankies or fine wool yarn. In another example, wool was laid more thickly and with deliberate holes which was effective for a different look.
Vicki was a great teacher and provided super support to each and every person. Her good demonstration of the process meant that all could apply these new techniques to make their own unique piece using colour, different thicknesses and a variety of embellishments like locks, tussah silk or fine wool for effect.
We were all hugely delighted with our finished piece. The day was a big success and a lot of fun. Thank you Vicki.
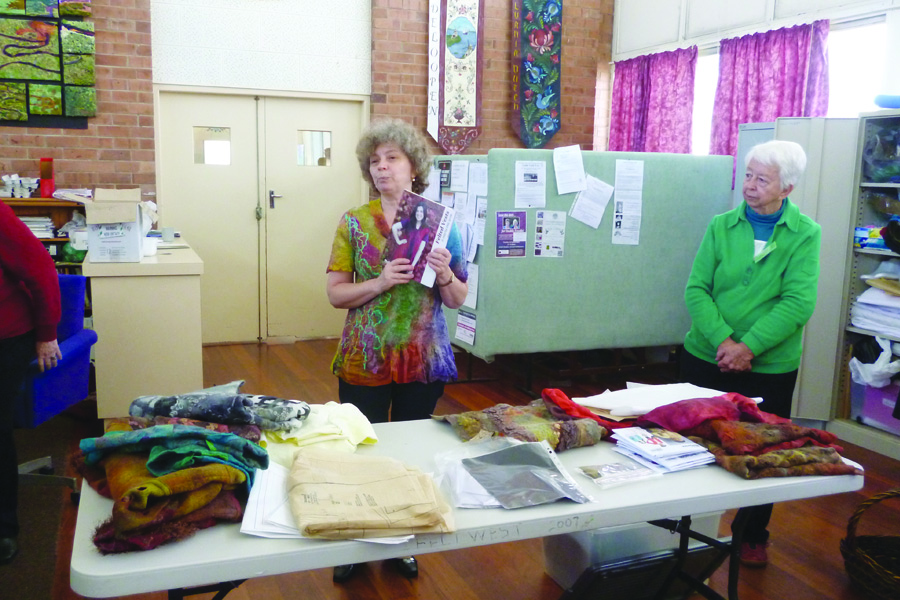
This morning ‘s meeting commenced with a short talk by Soosie Jobson on “Presenting and Tagging Your Work for Sale”. As a number of members intend selling their felted pieces on the Feltwest stall at the Rotary Fair at UWA next Sunday and our stall at the Fremantle Arts Centre Bazaar in early December, it was a helpful and timely reminder of the importance of attractively displaying and safely storing work intended for sale, creating appropriately sized tags to provide sufficient seller contact details and any special garment-care information if necessary and included practical information about where to purchase cellophane bags and ordering tags and business cards on line.
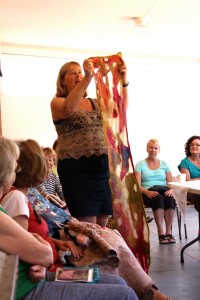
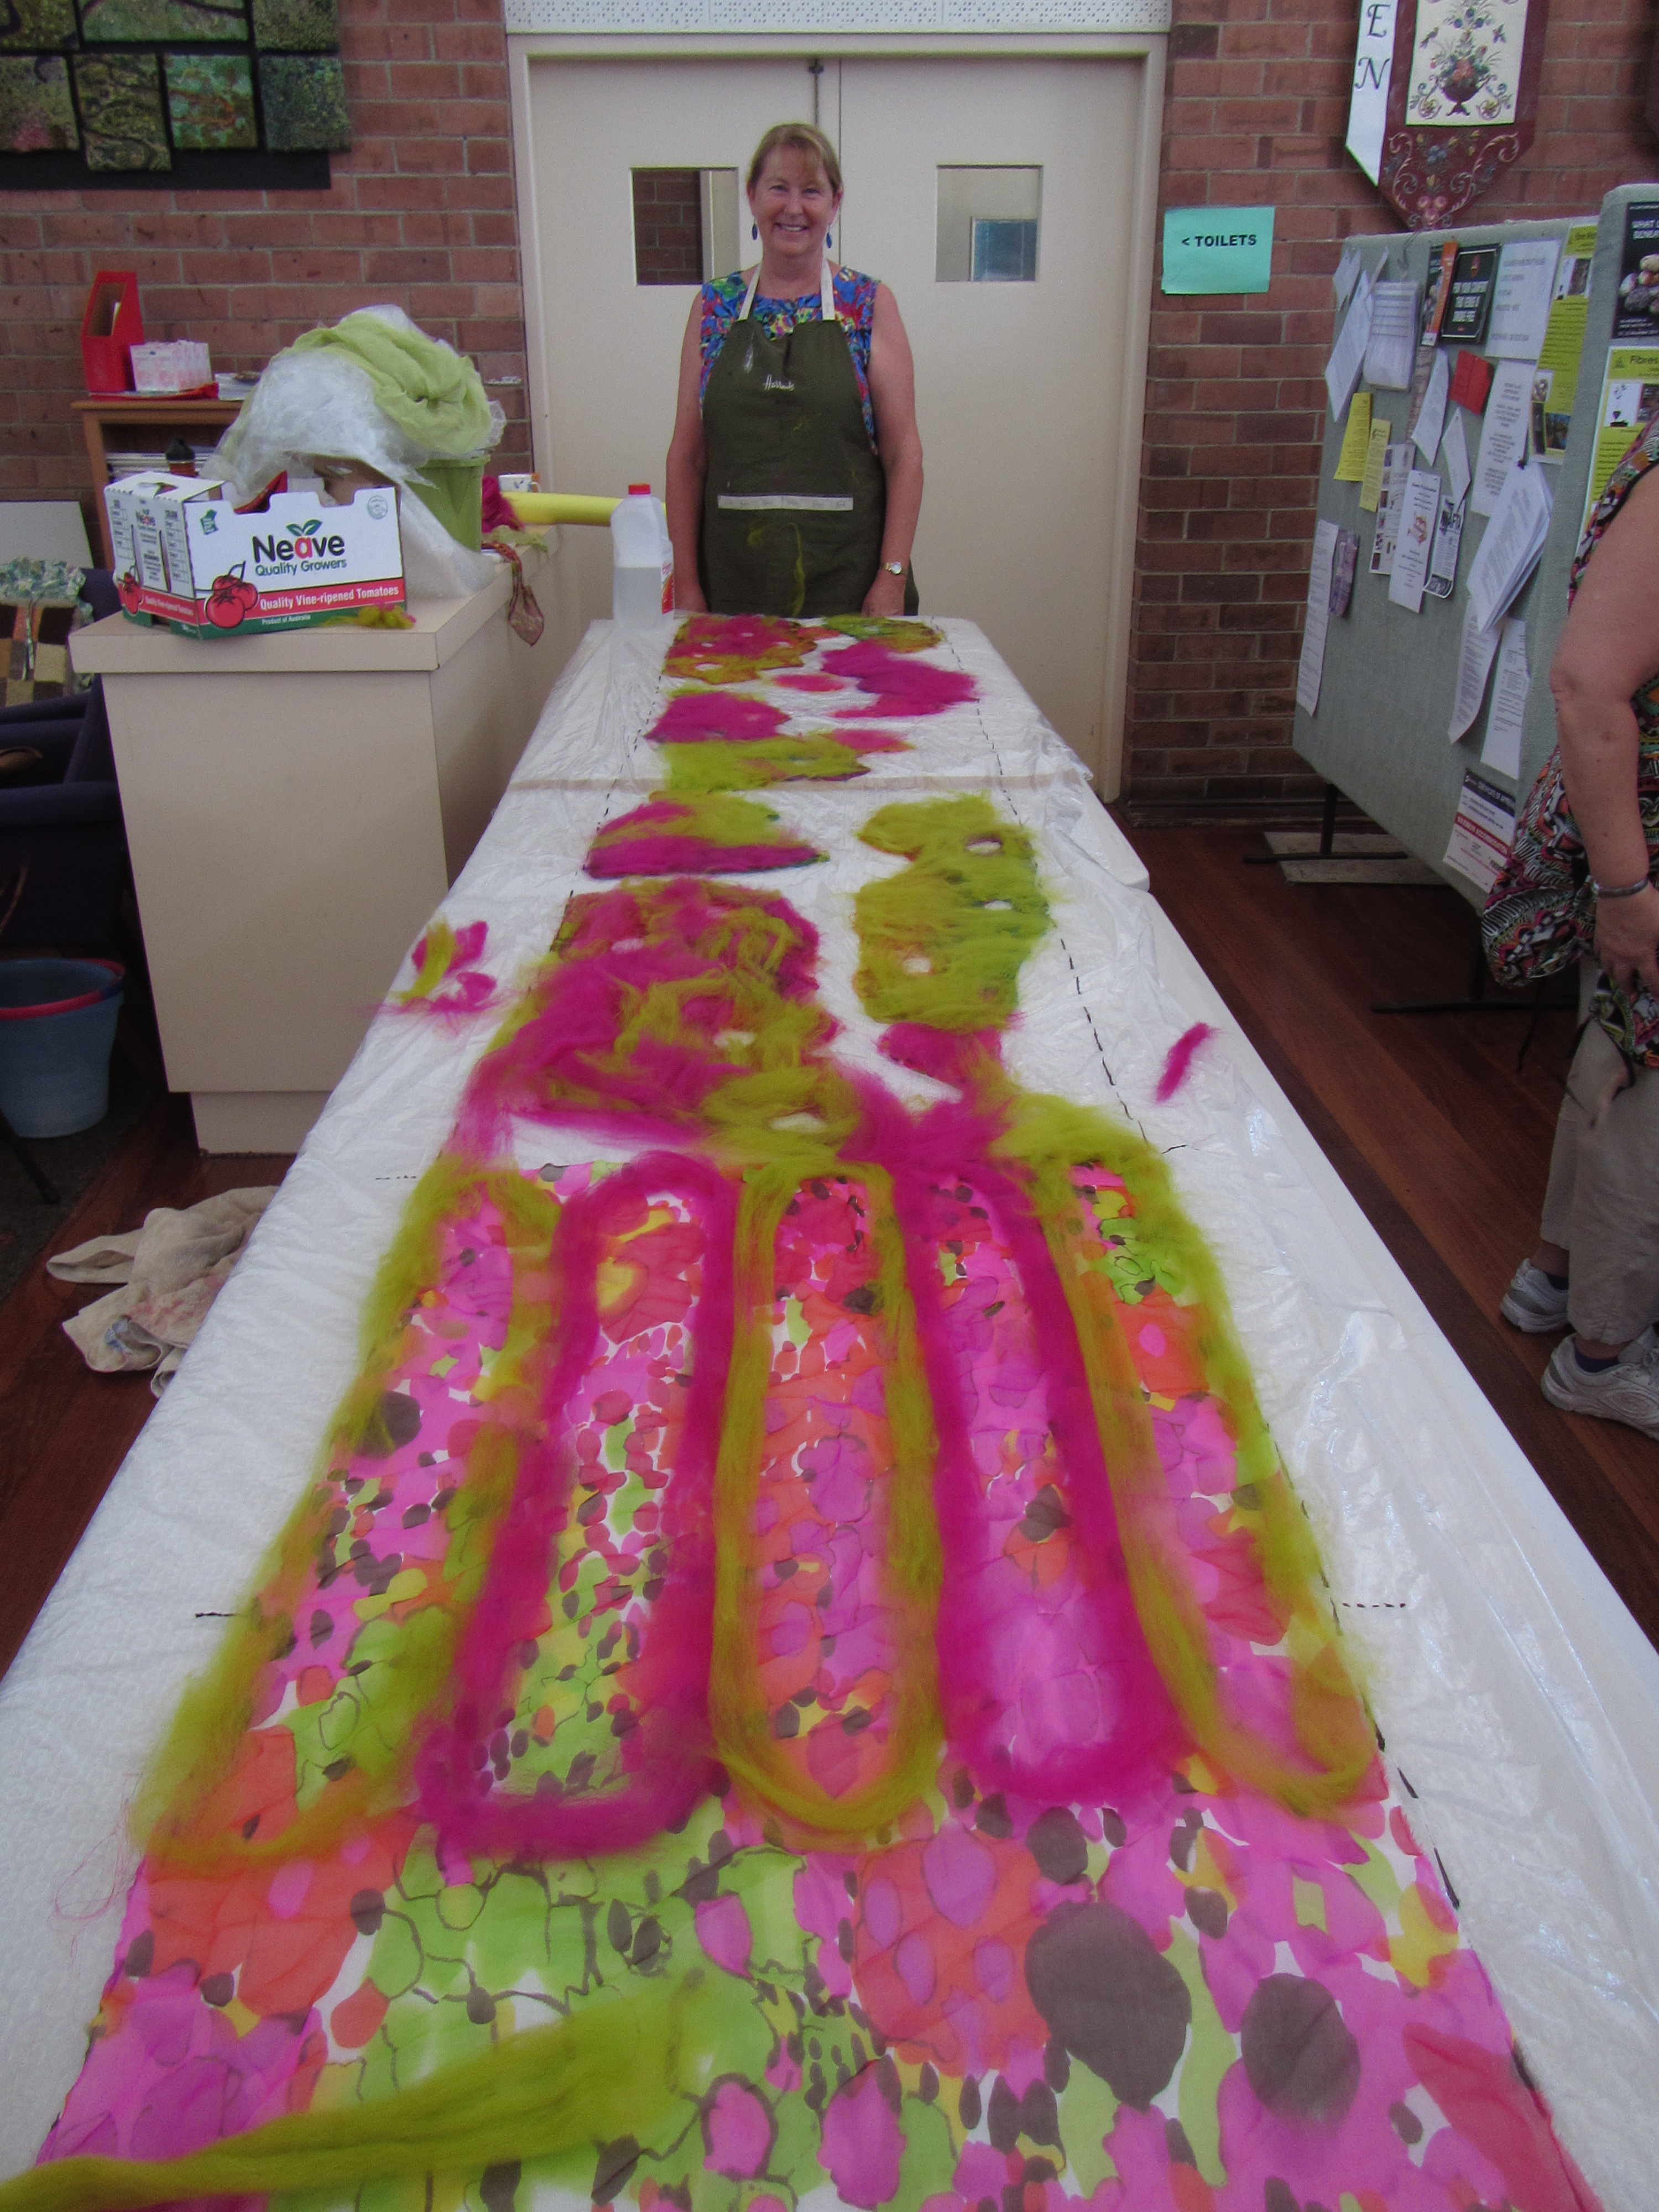
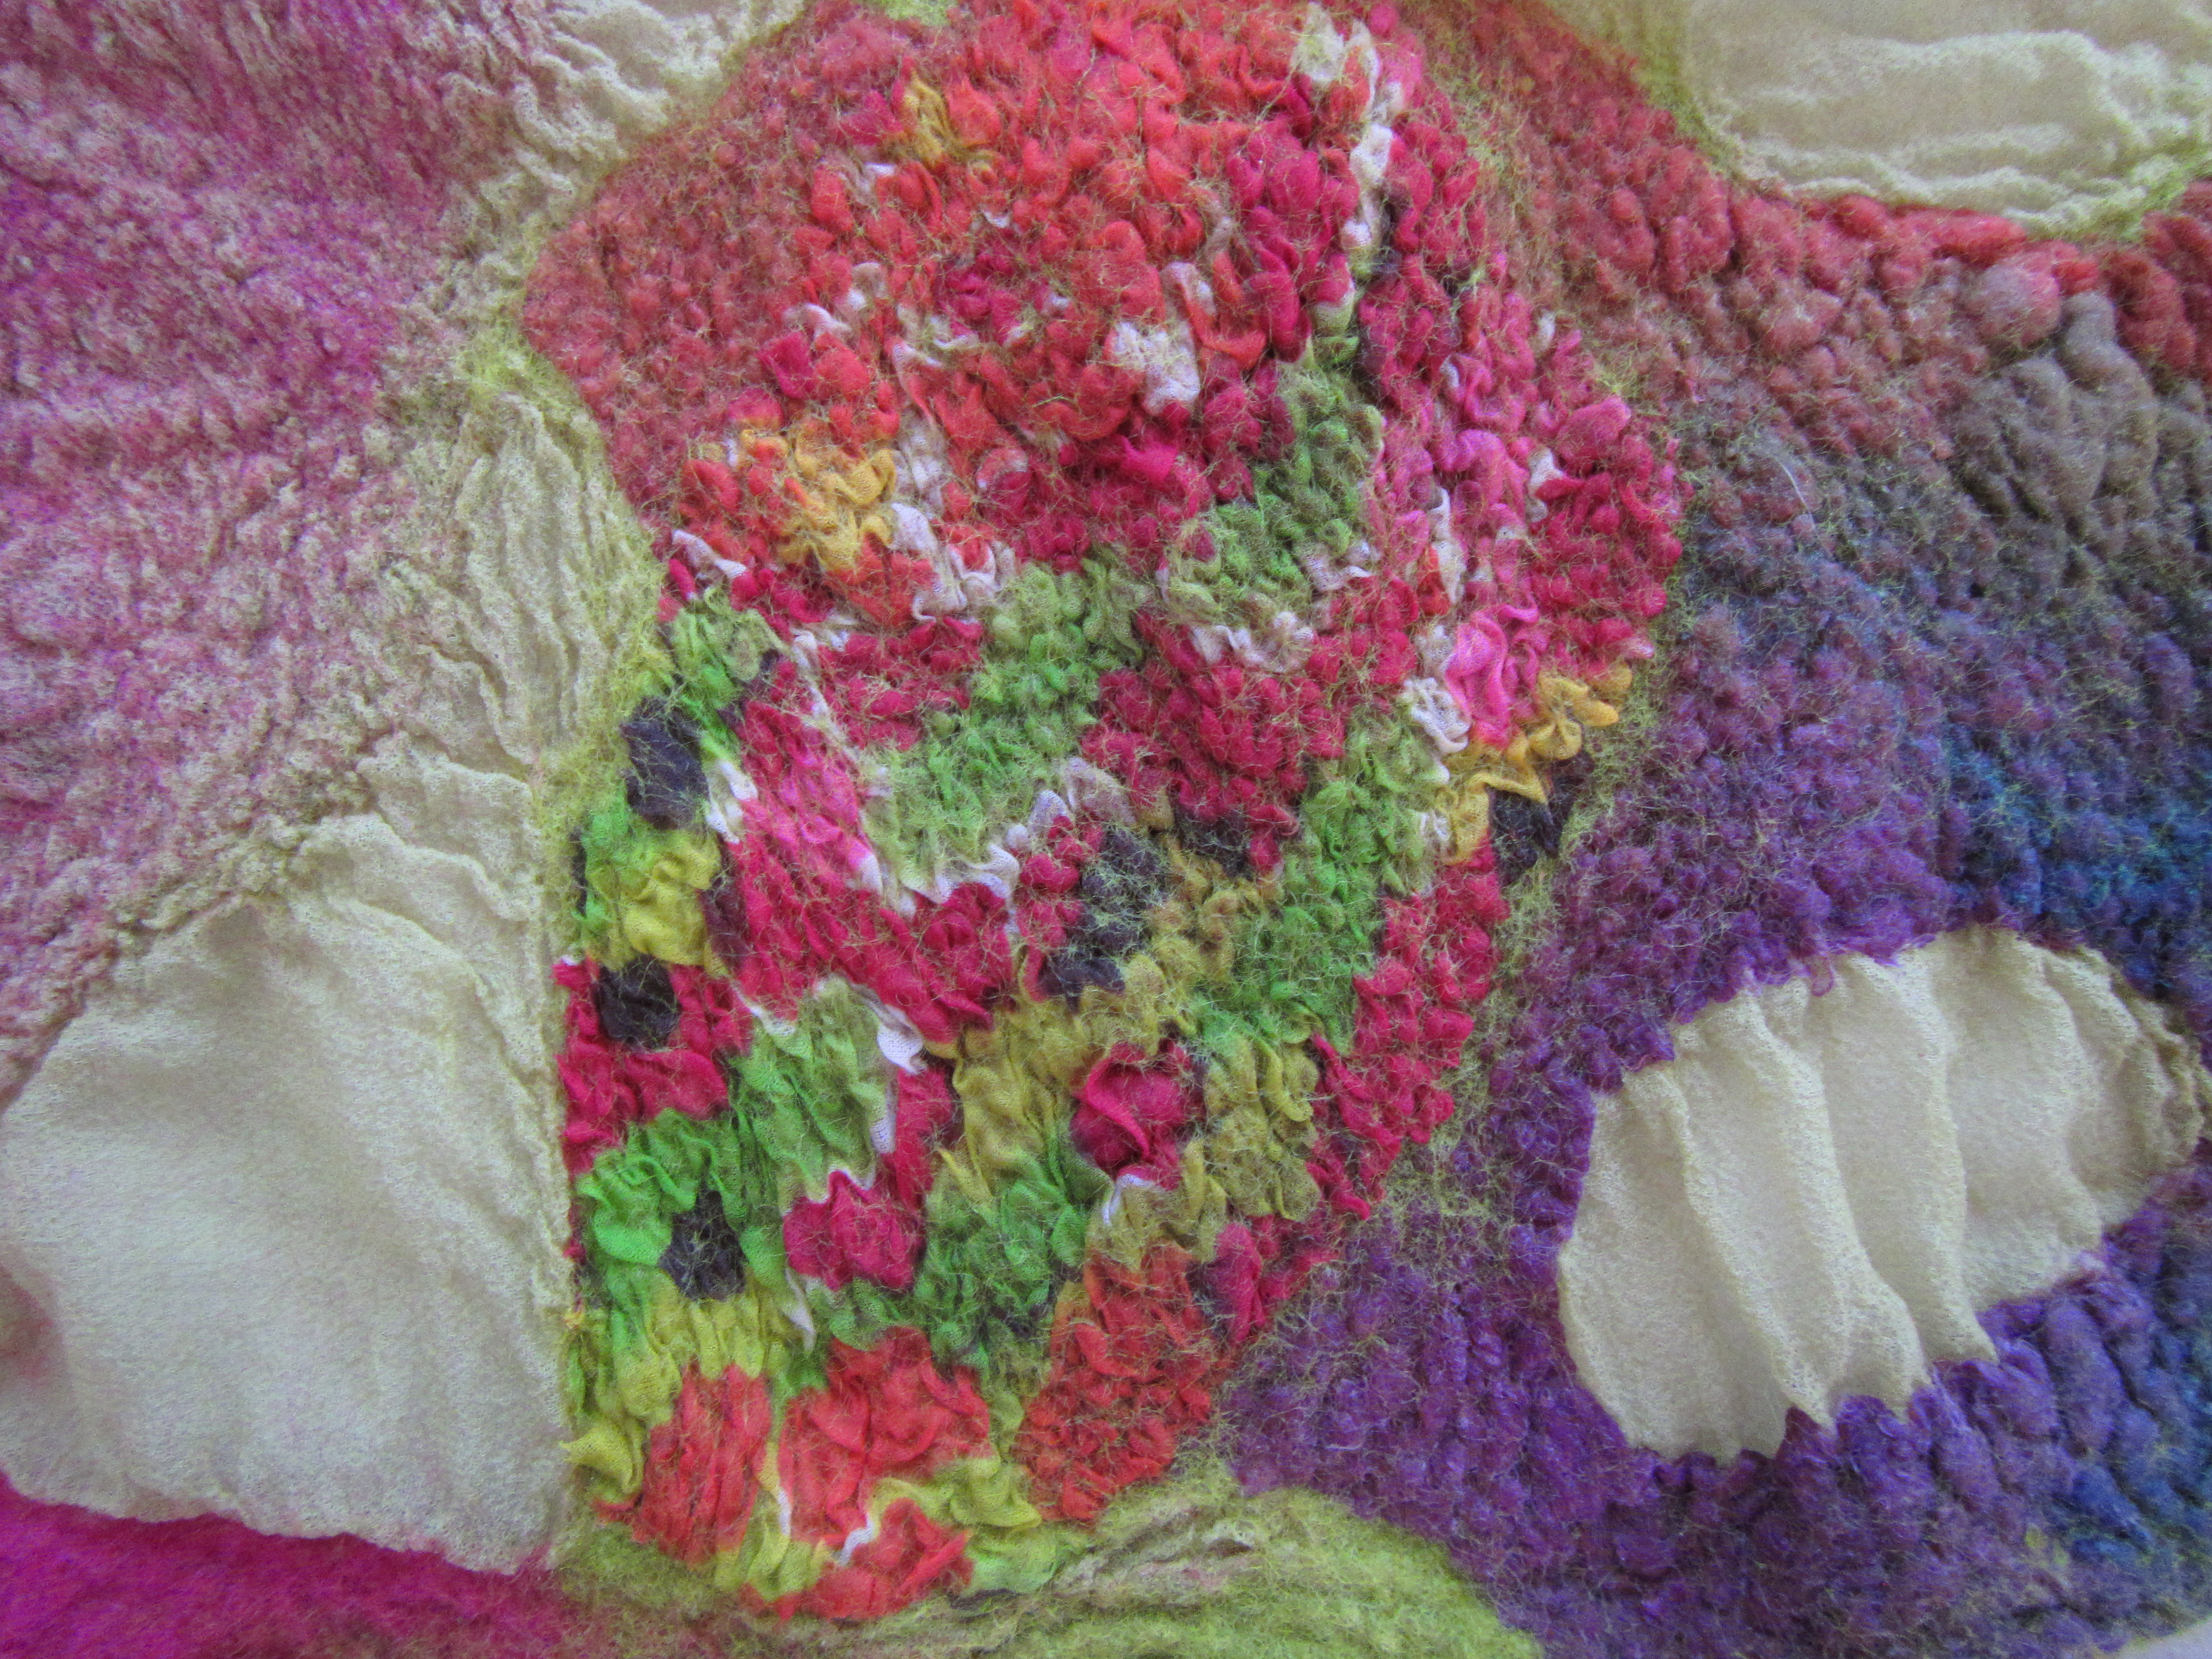
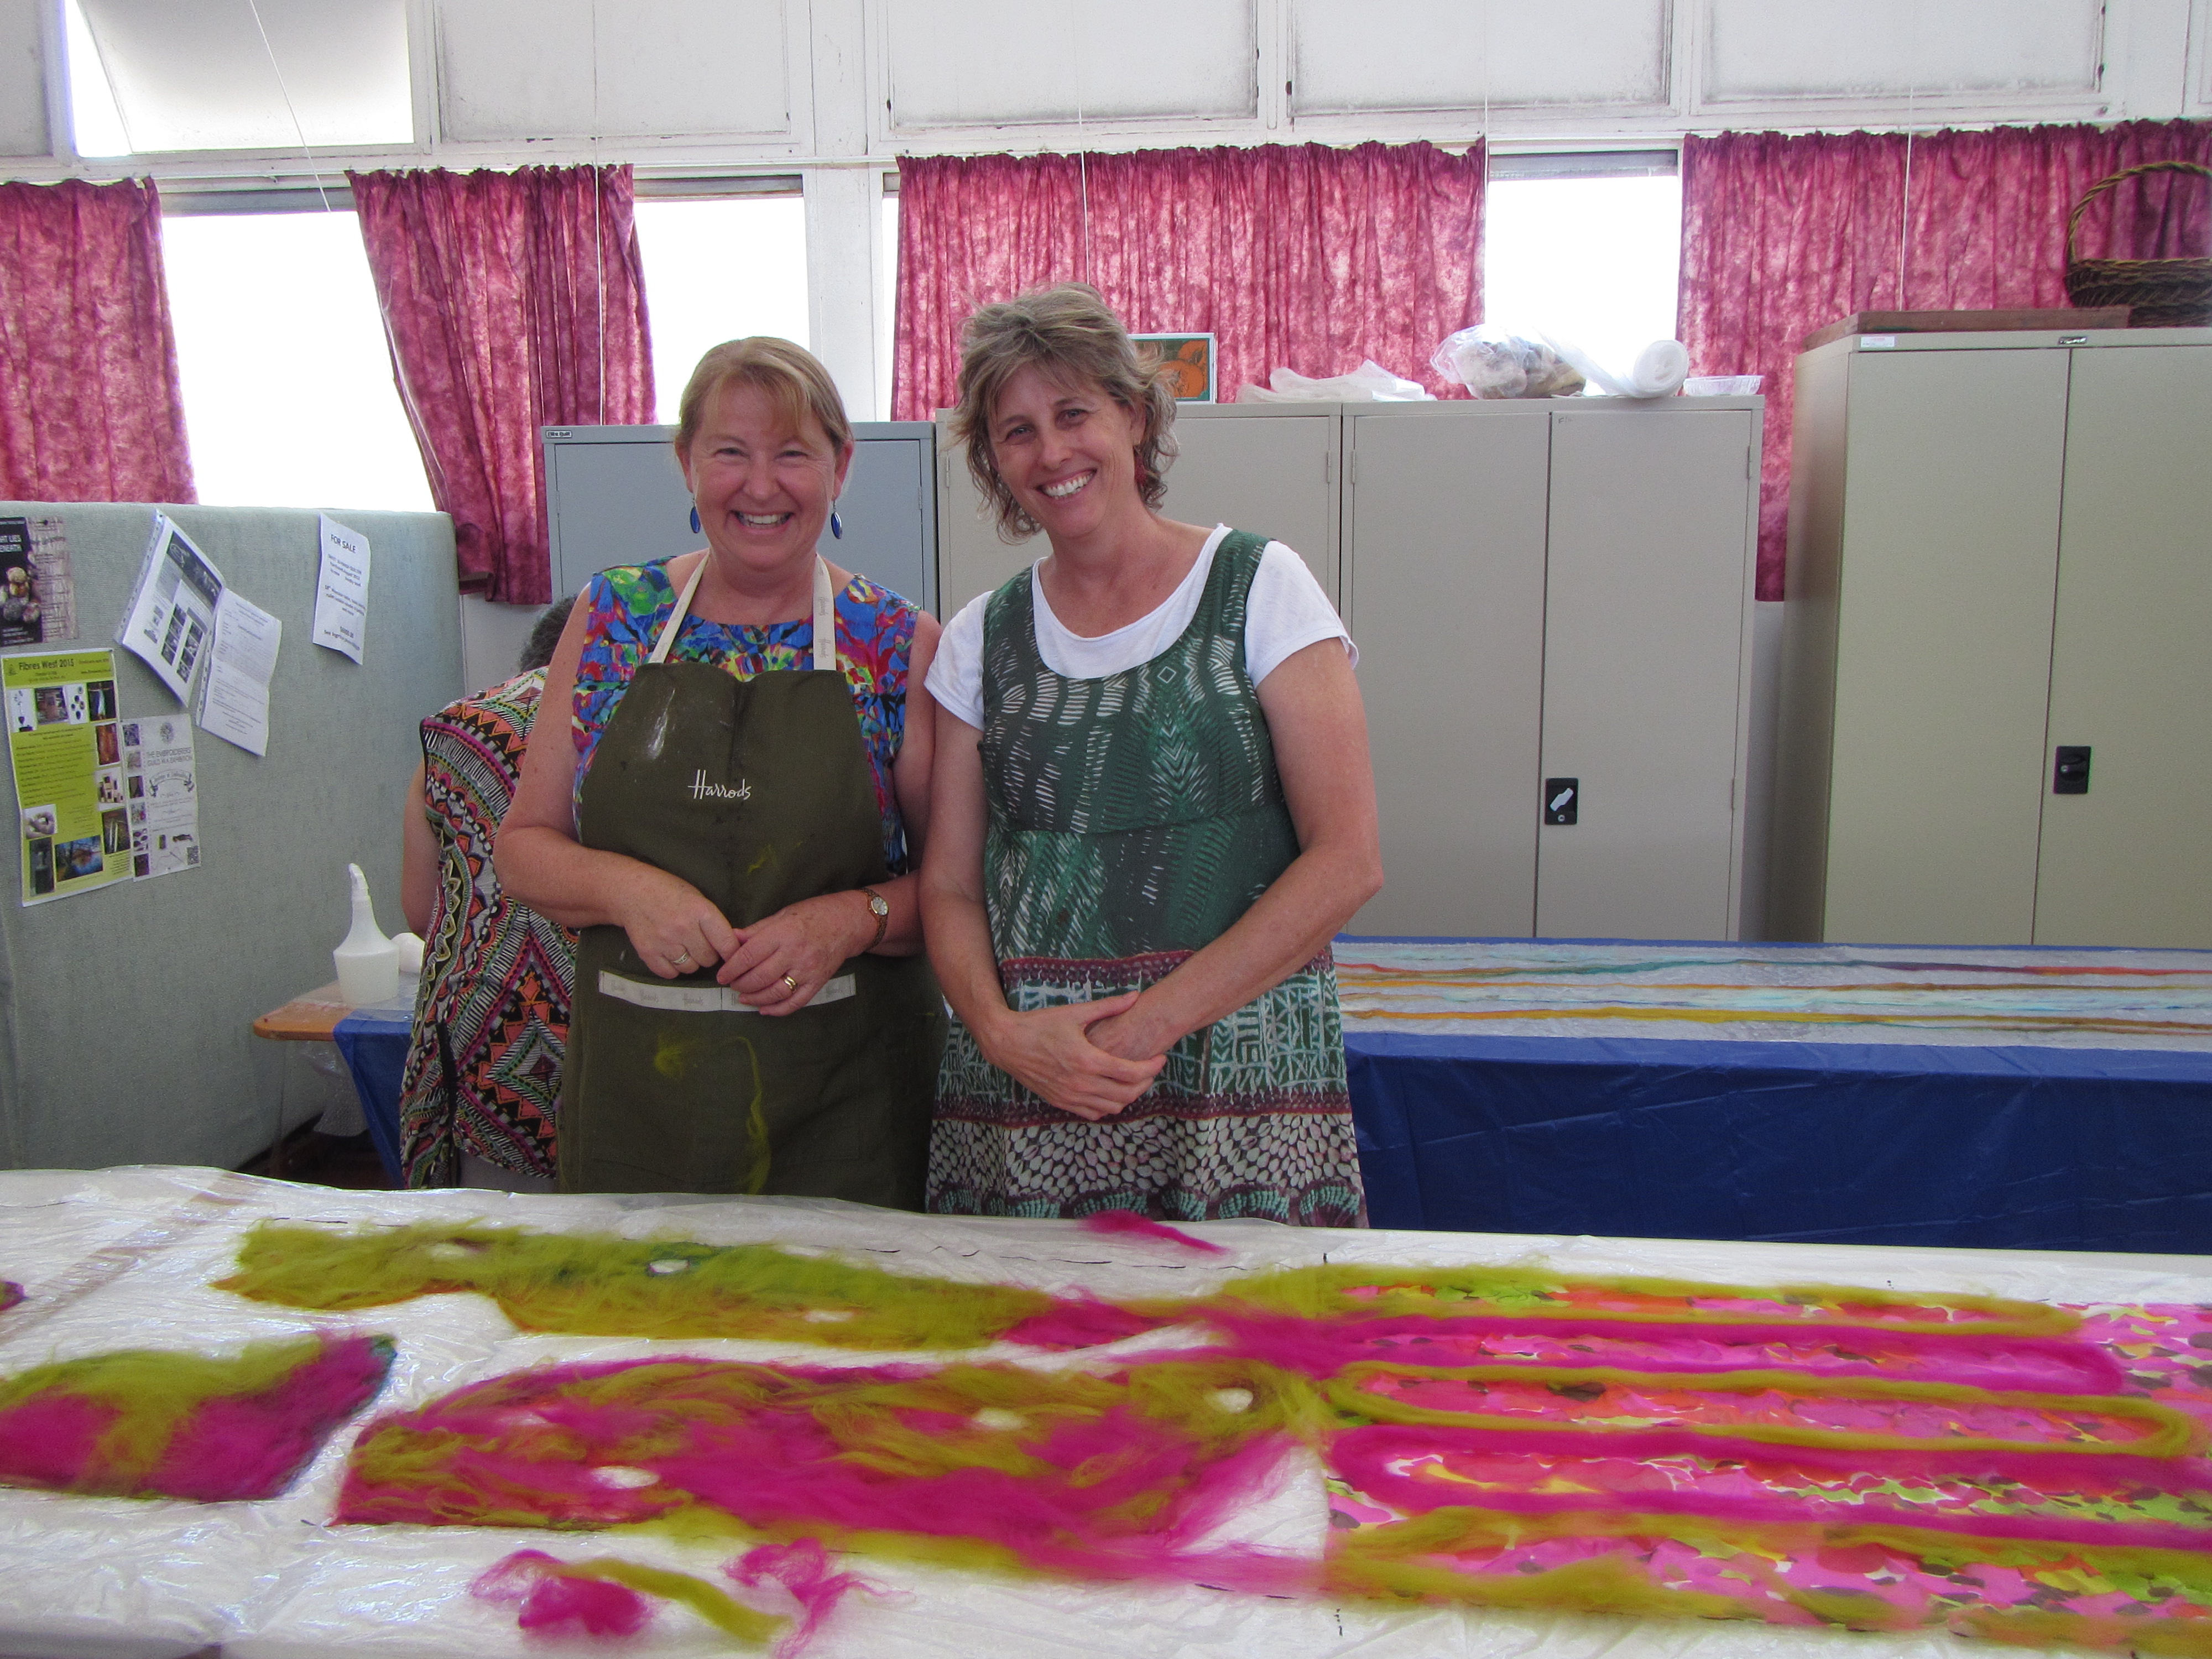
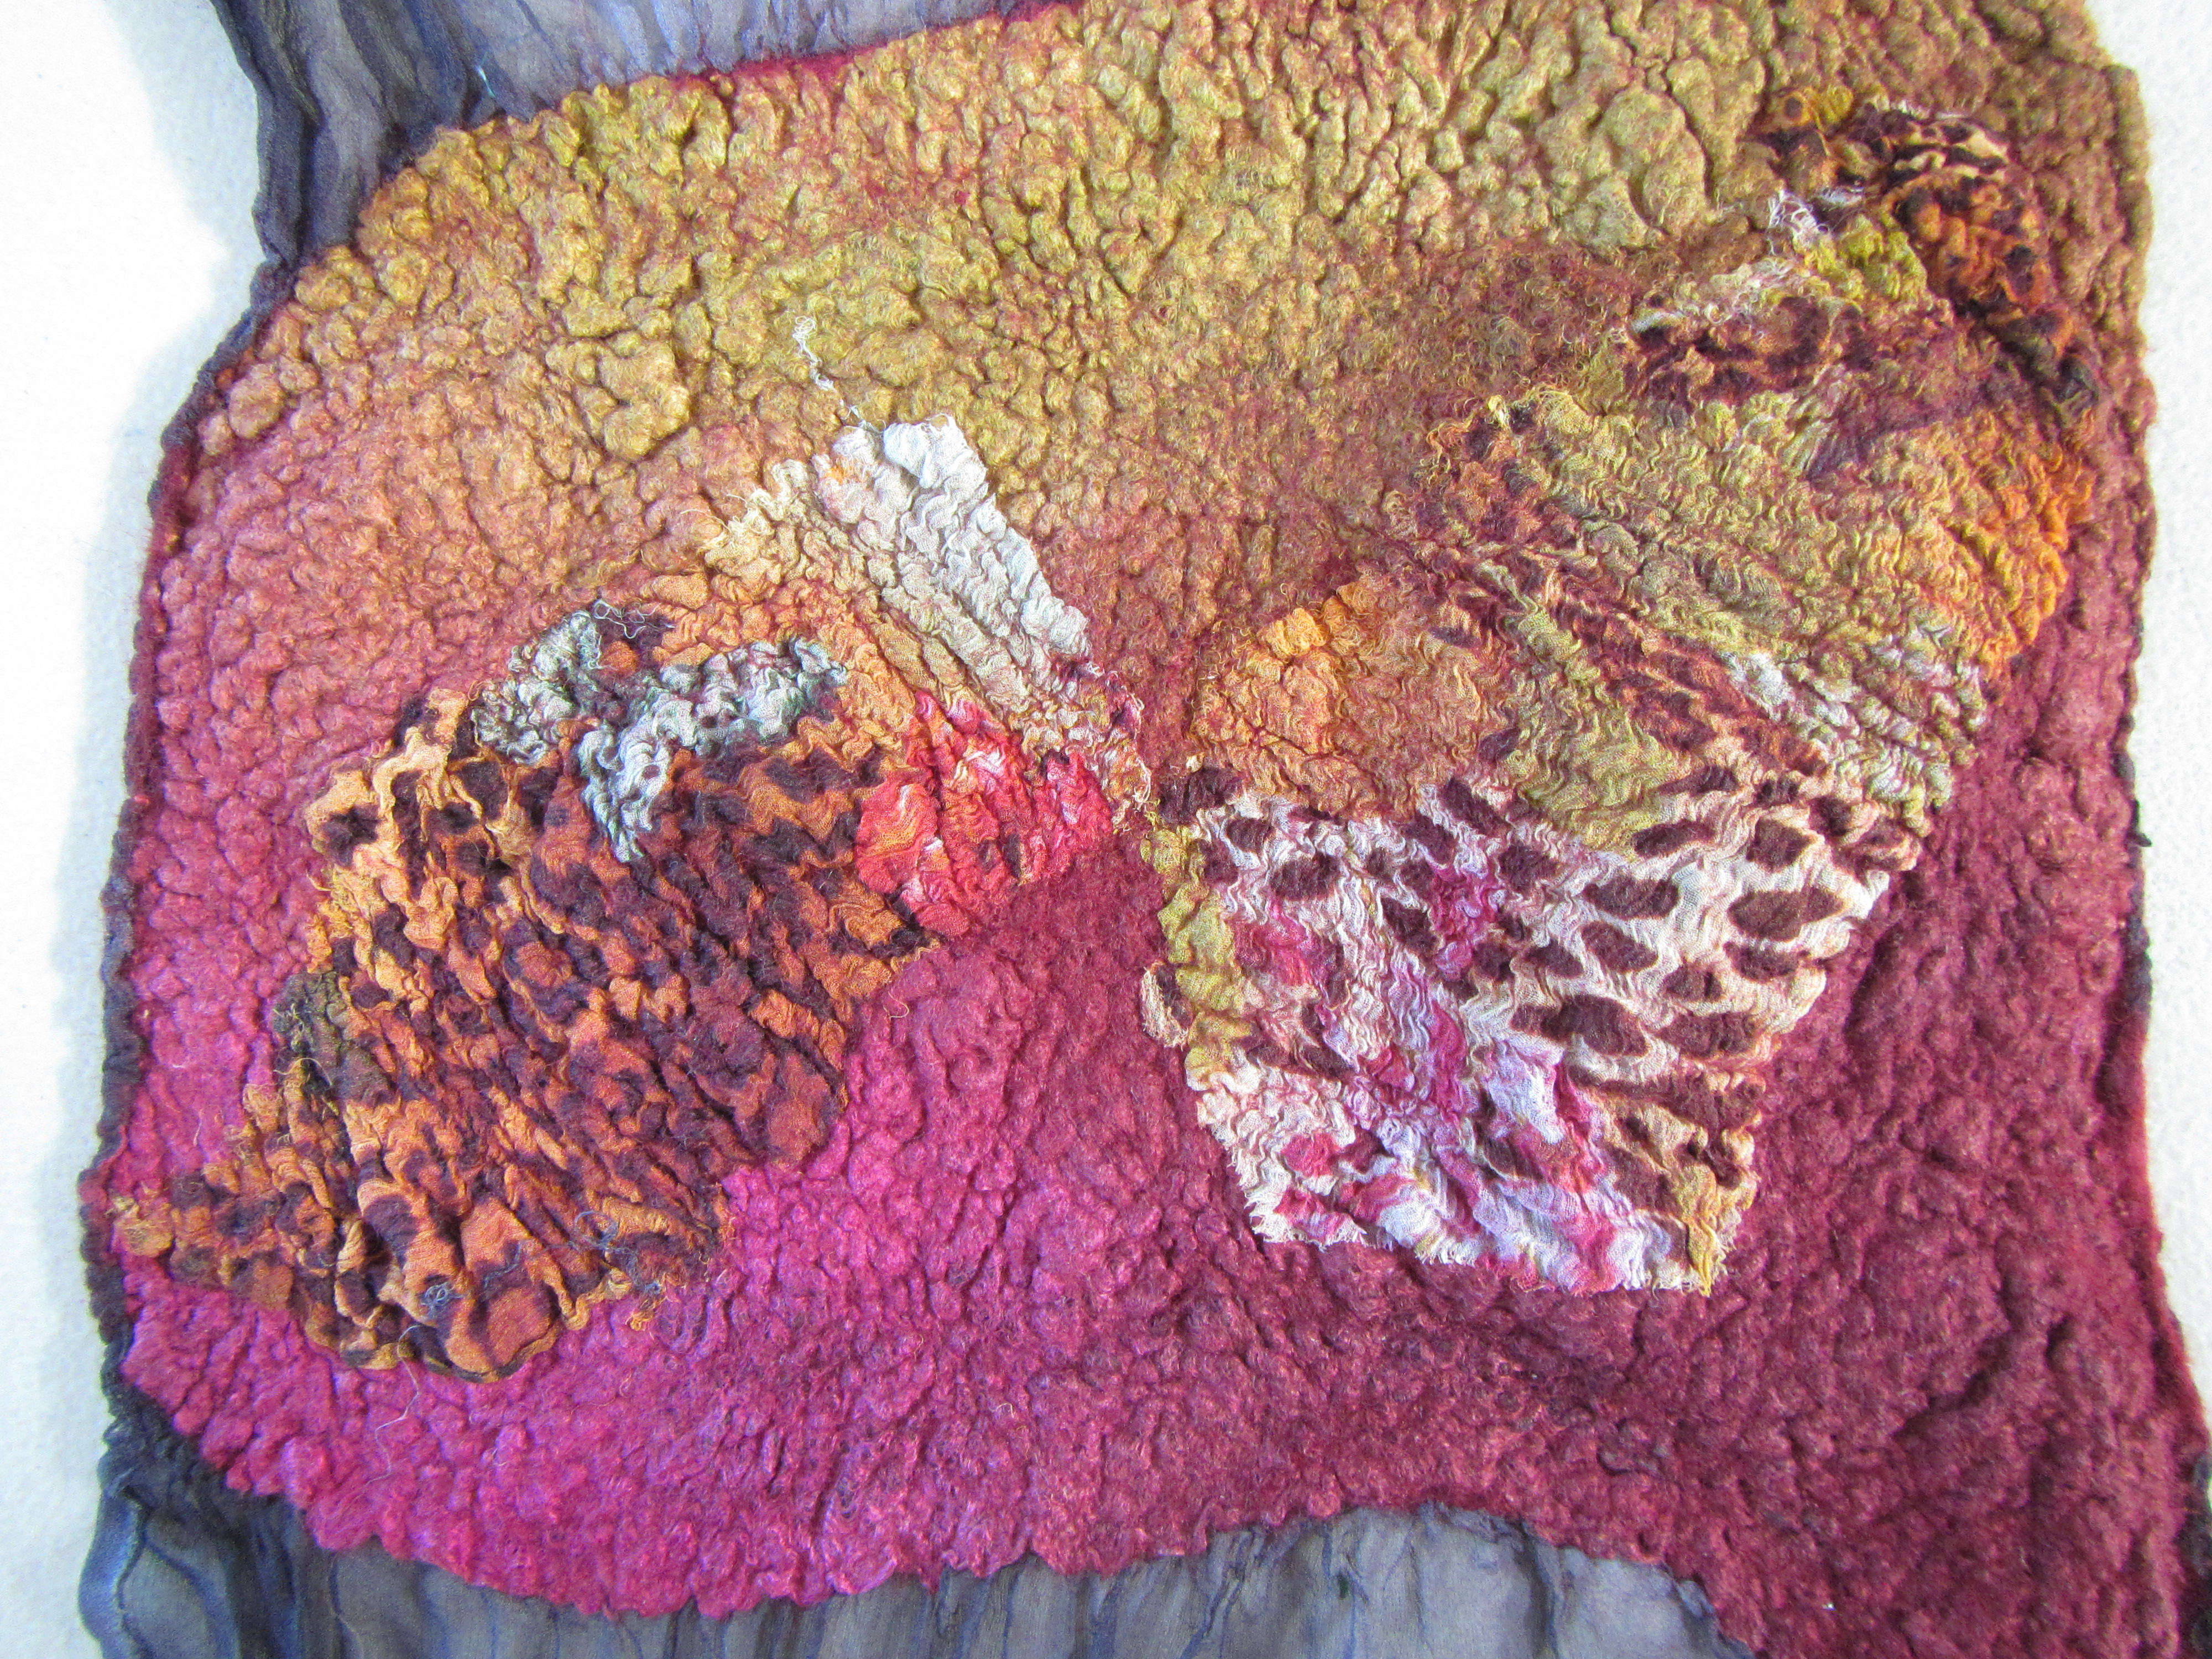
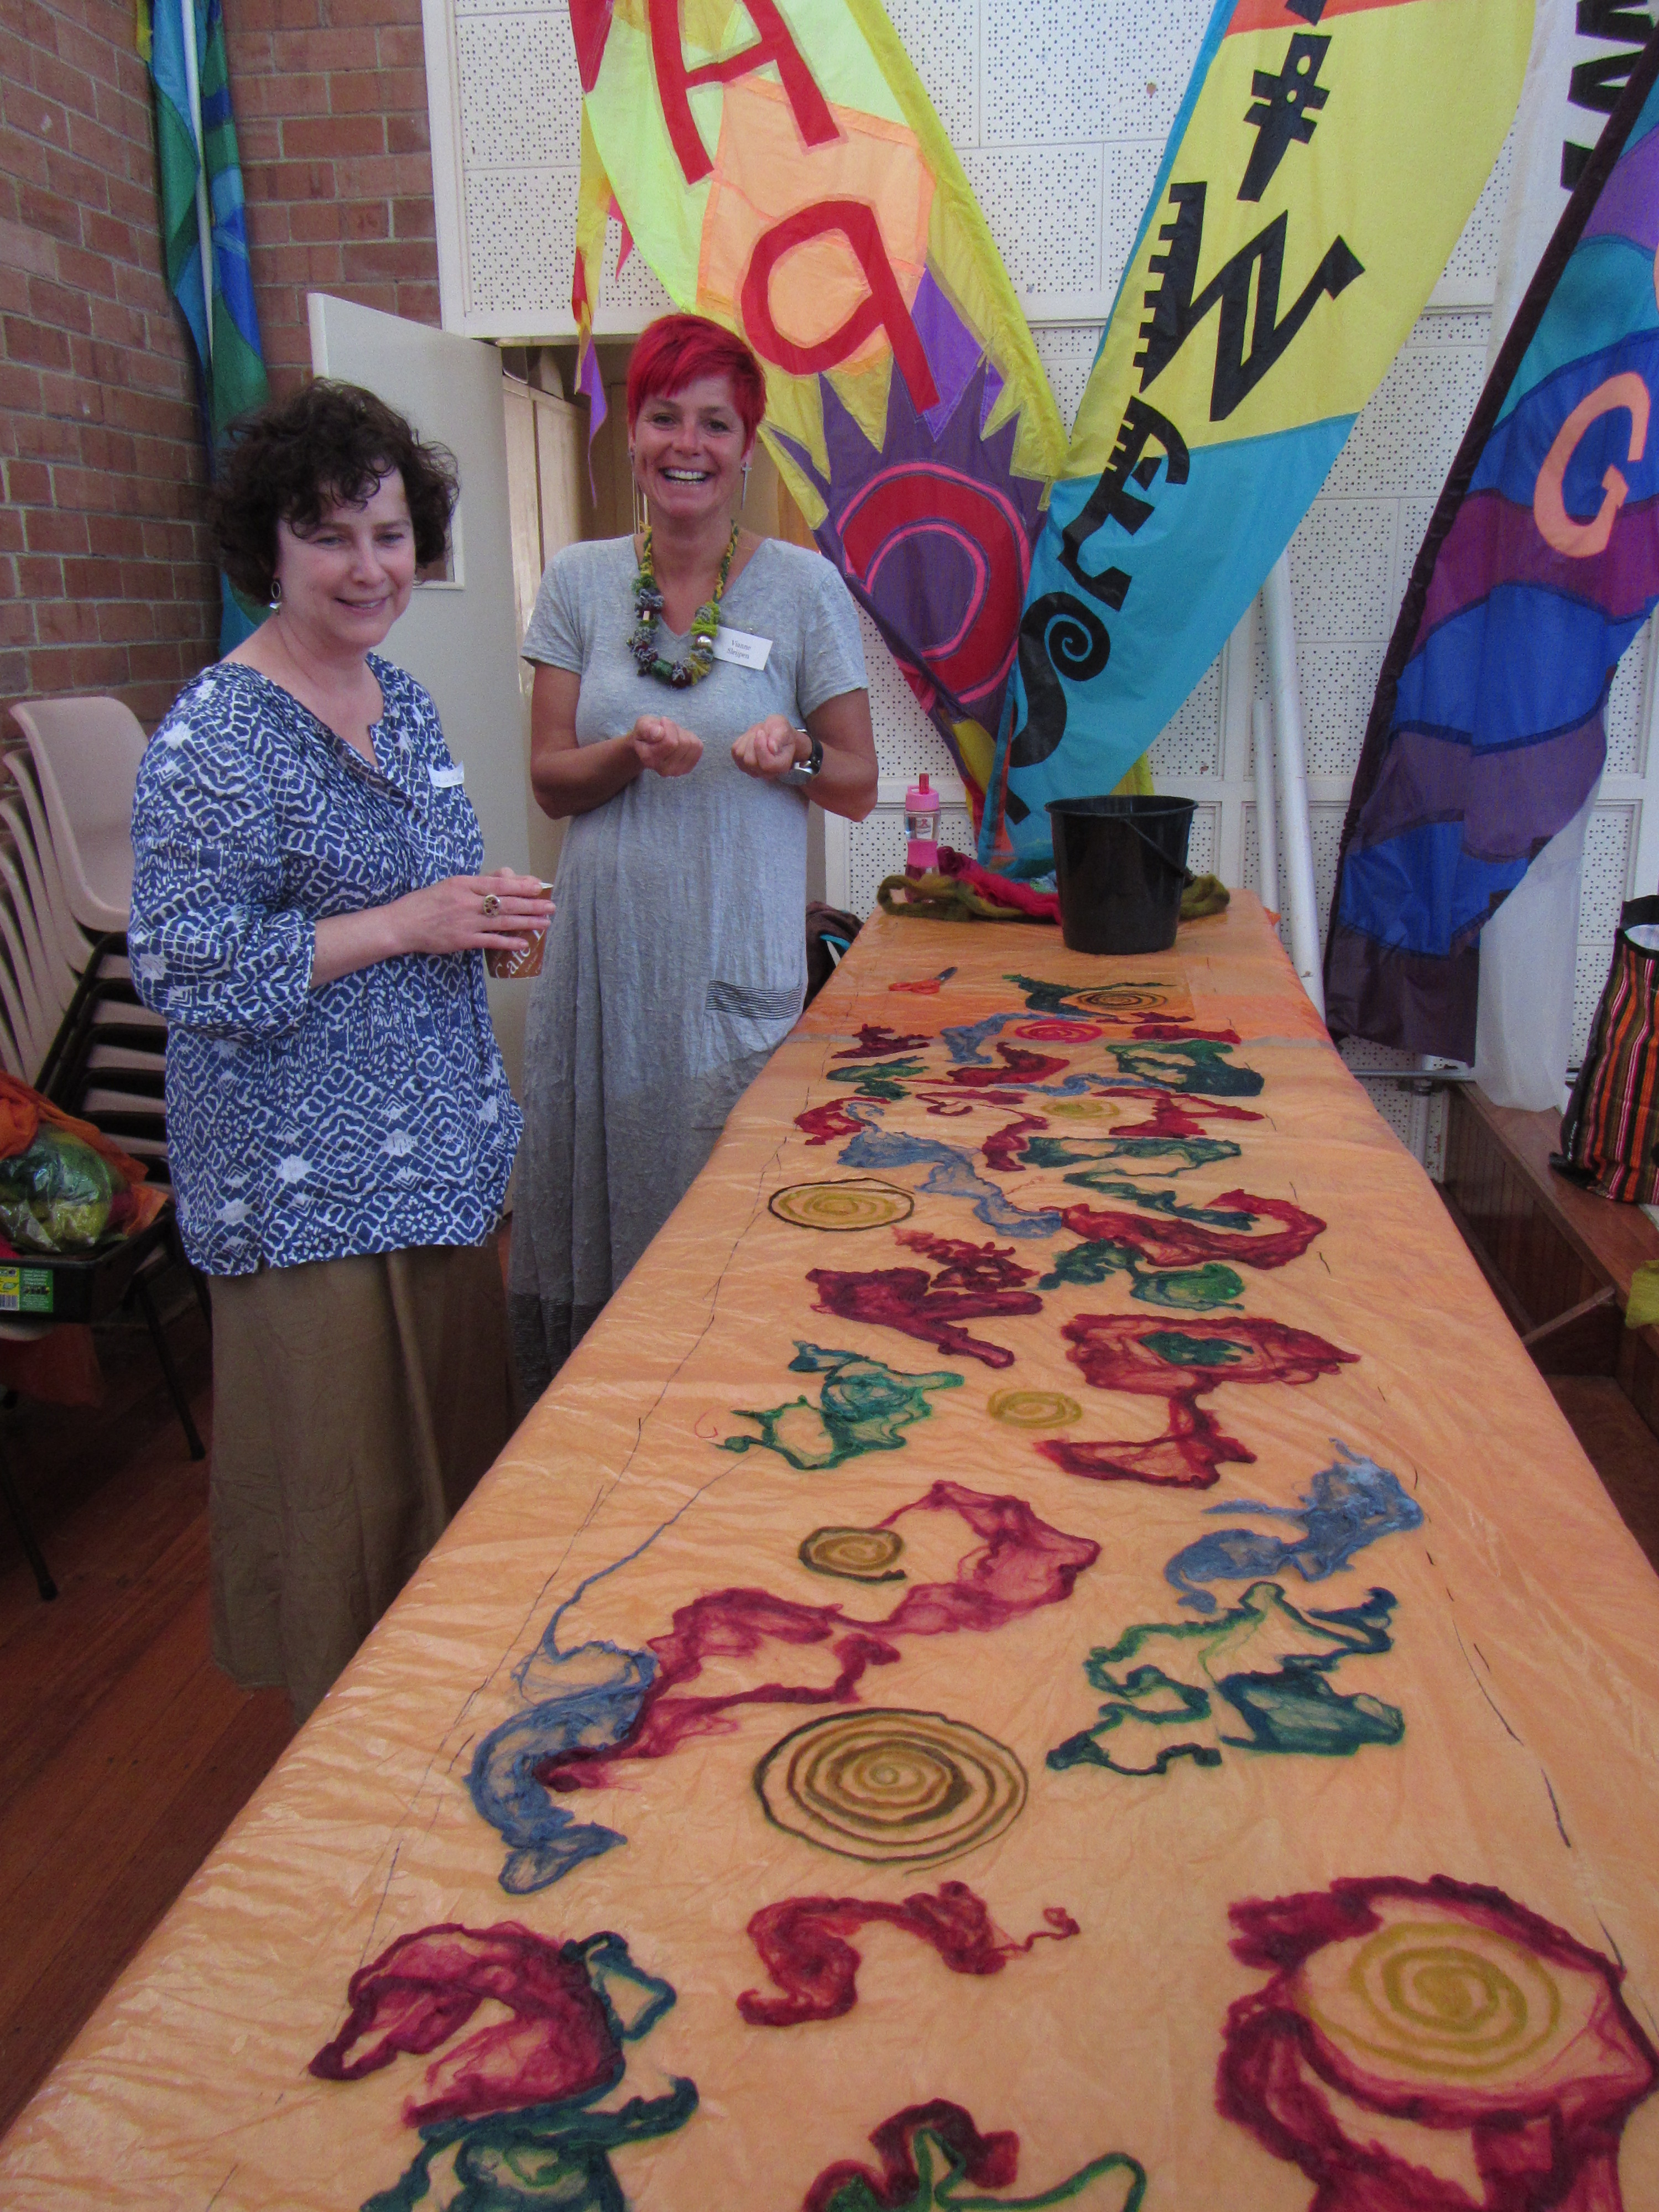
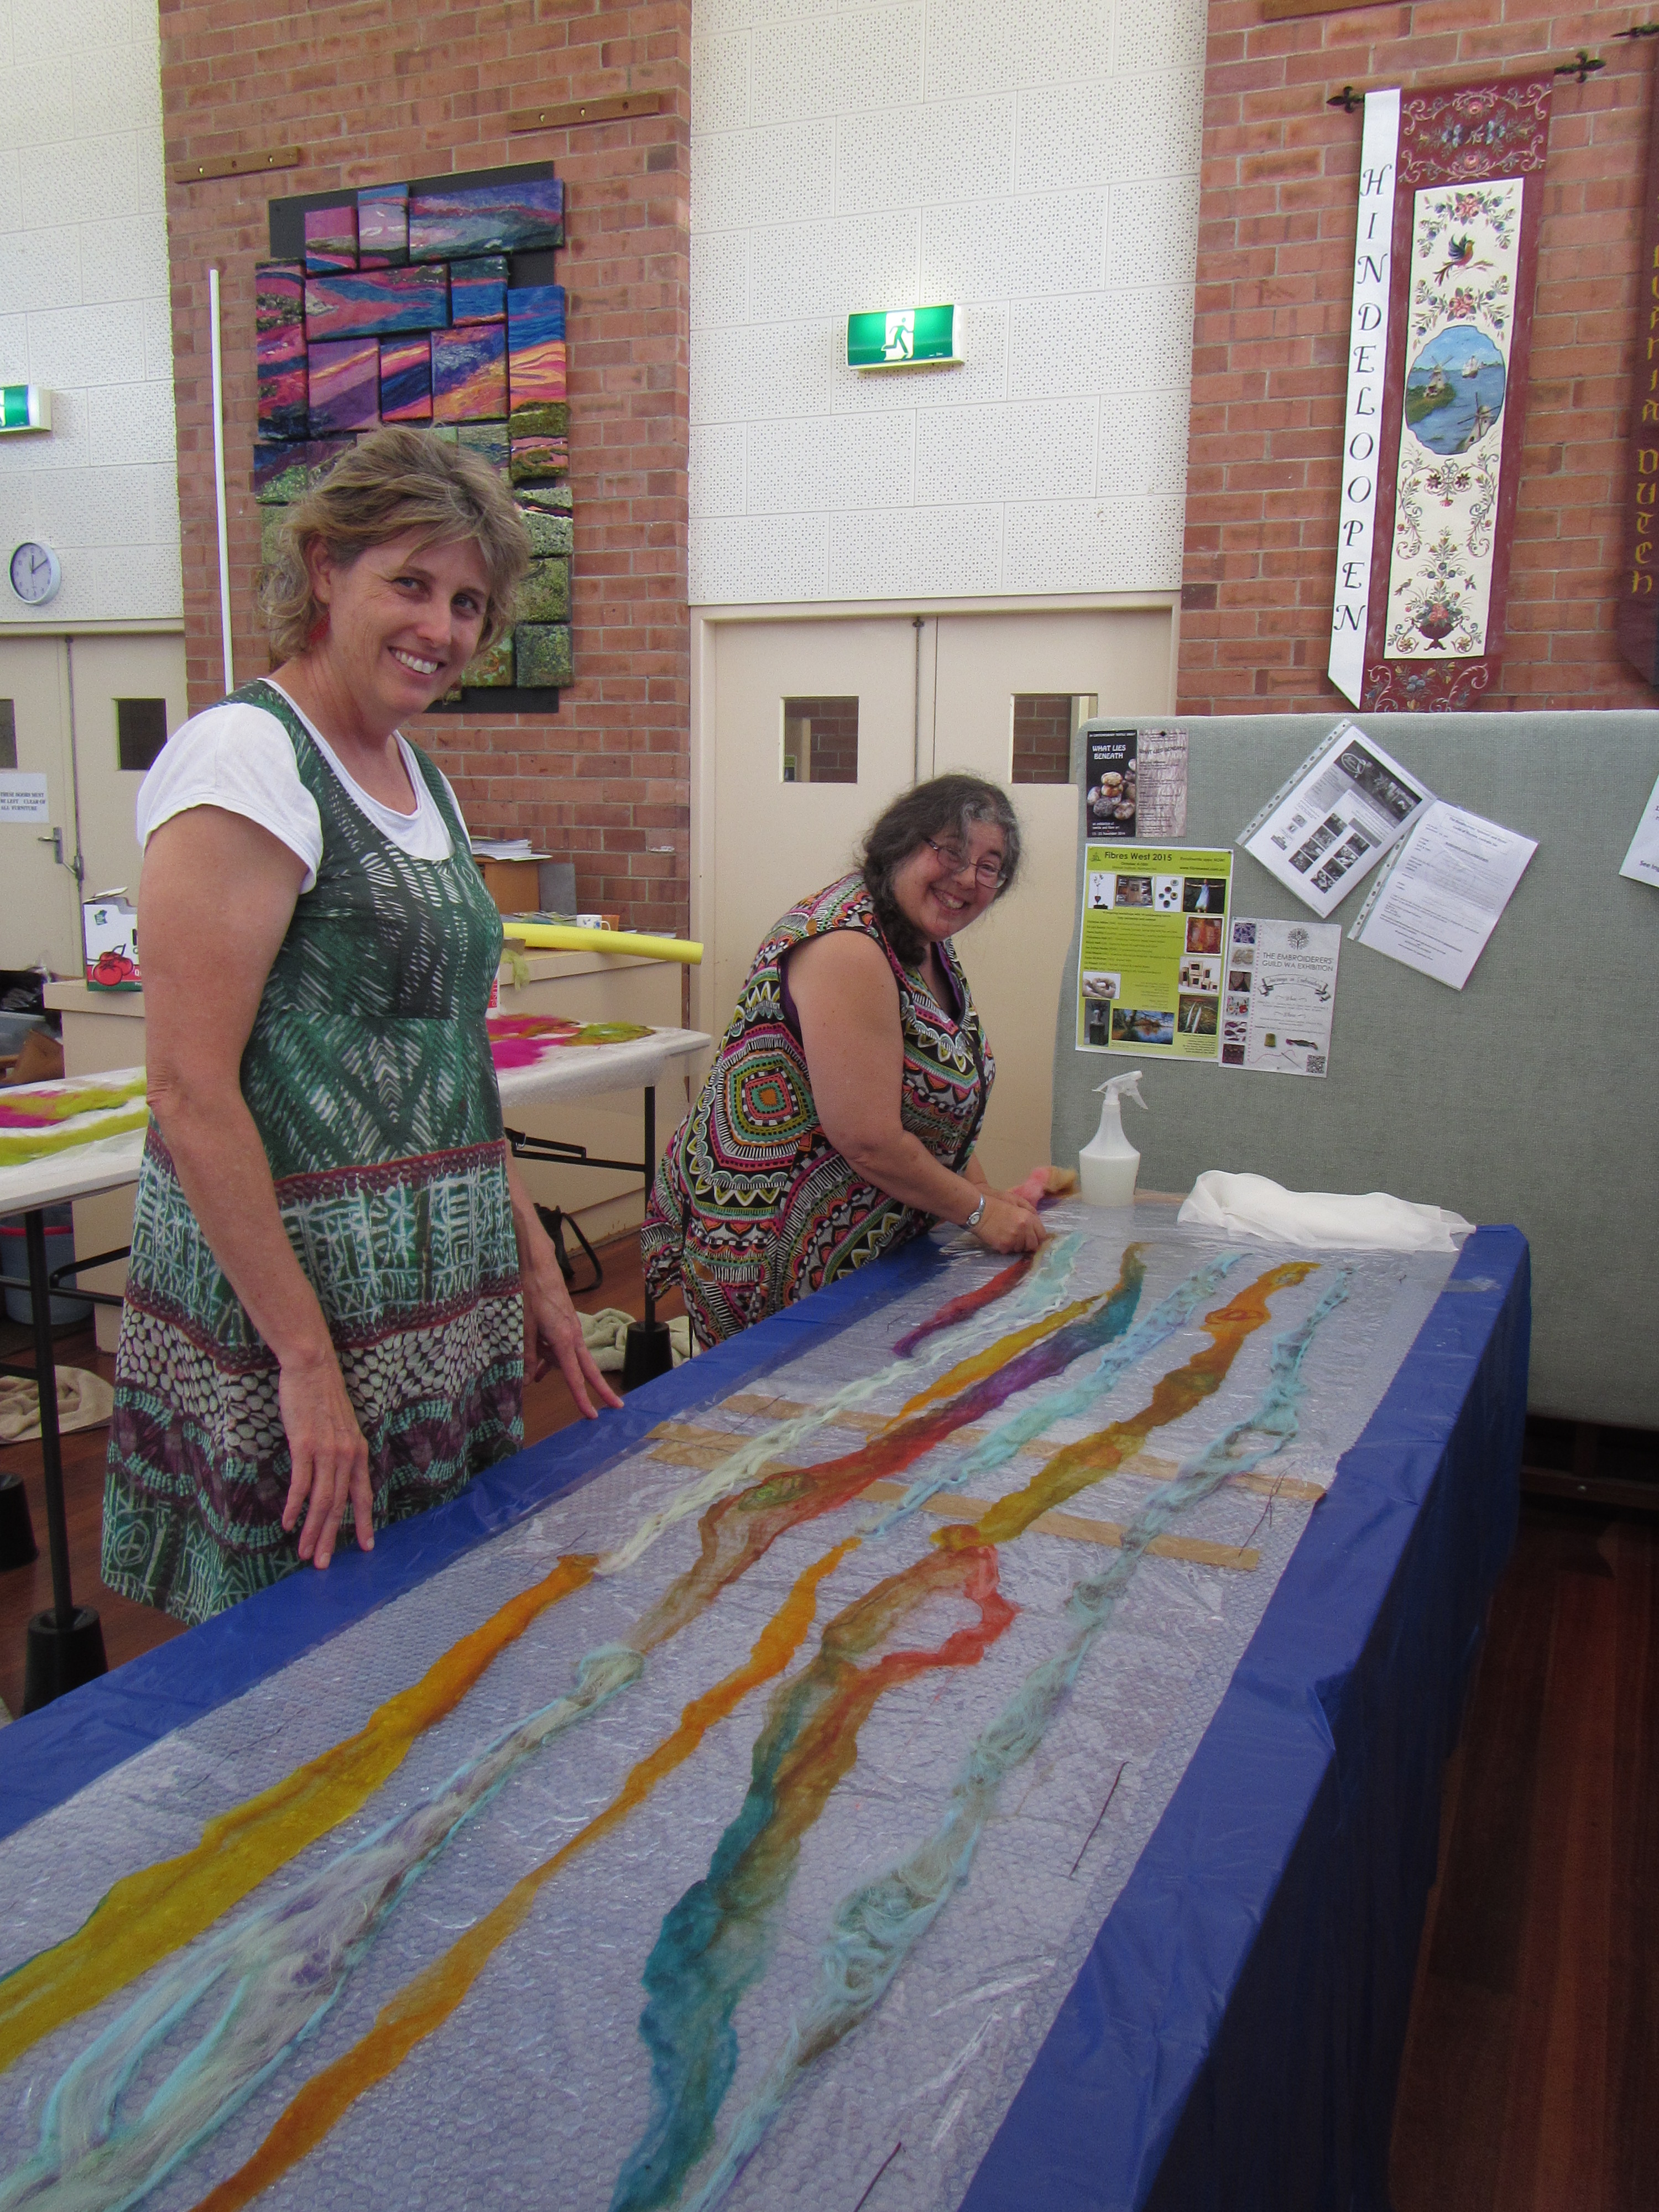
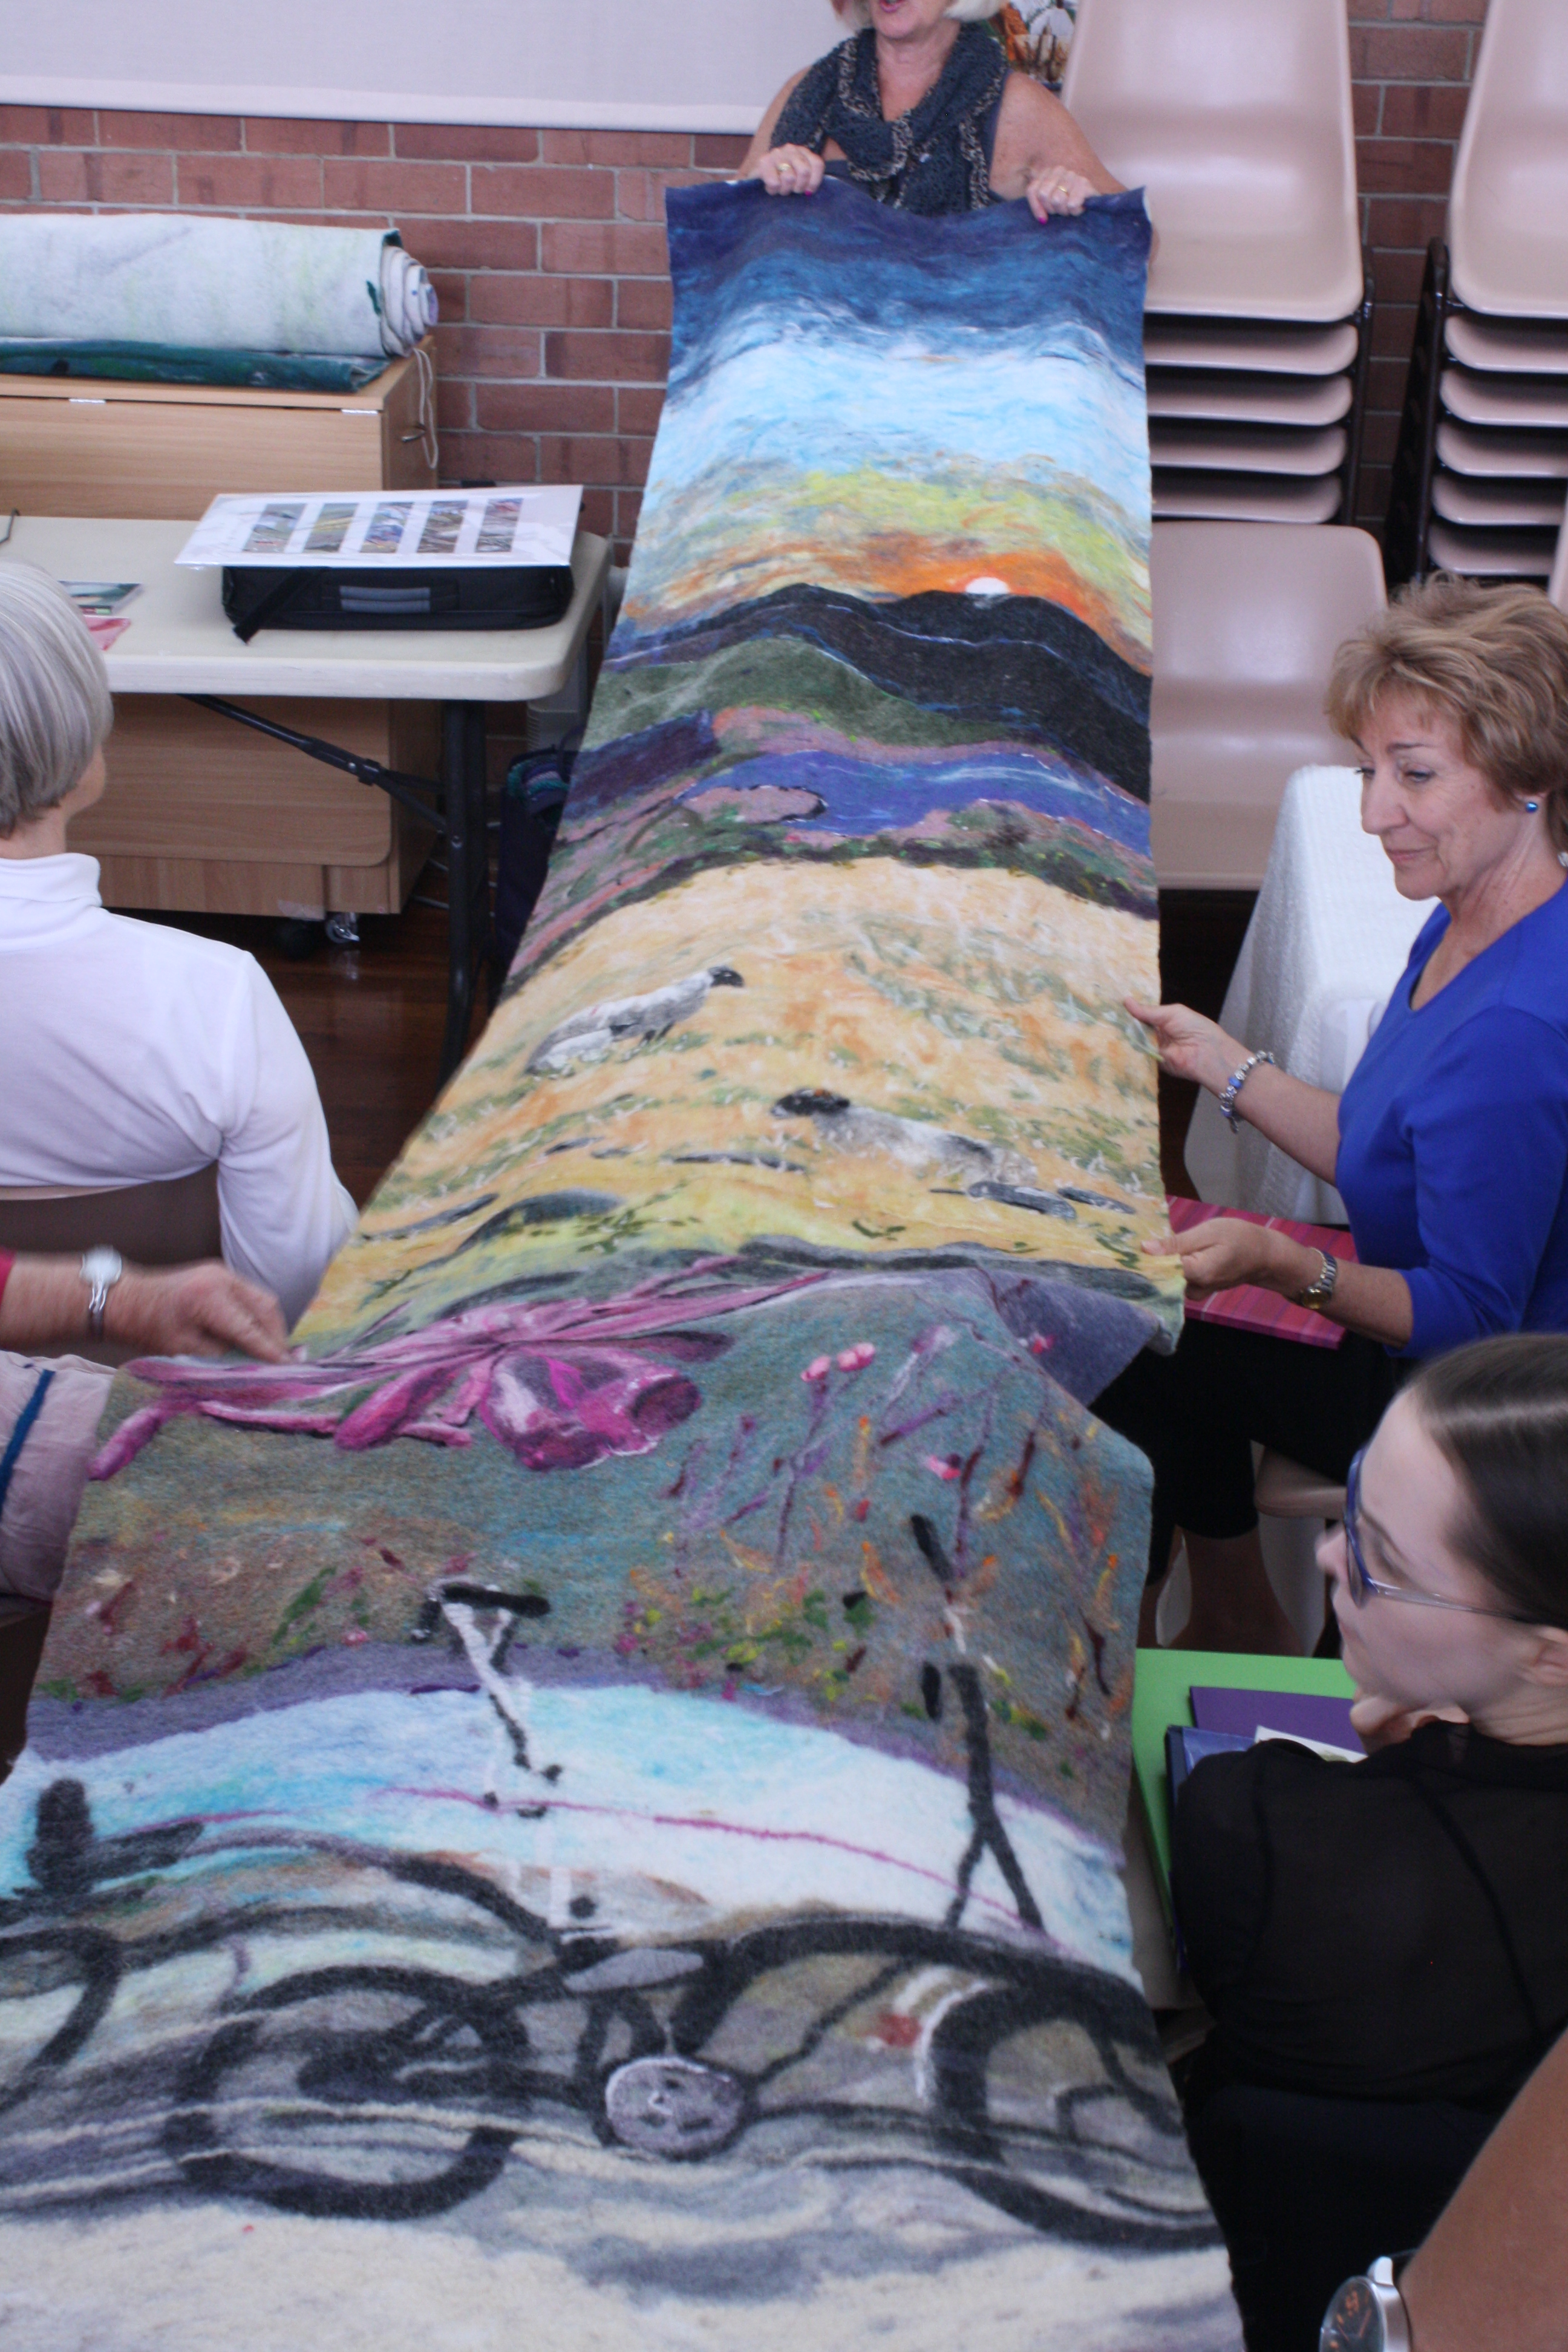
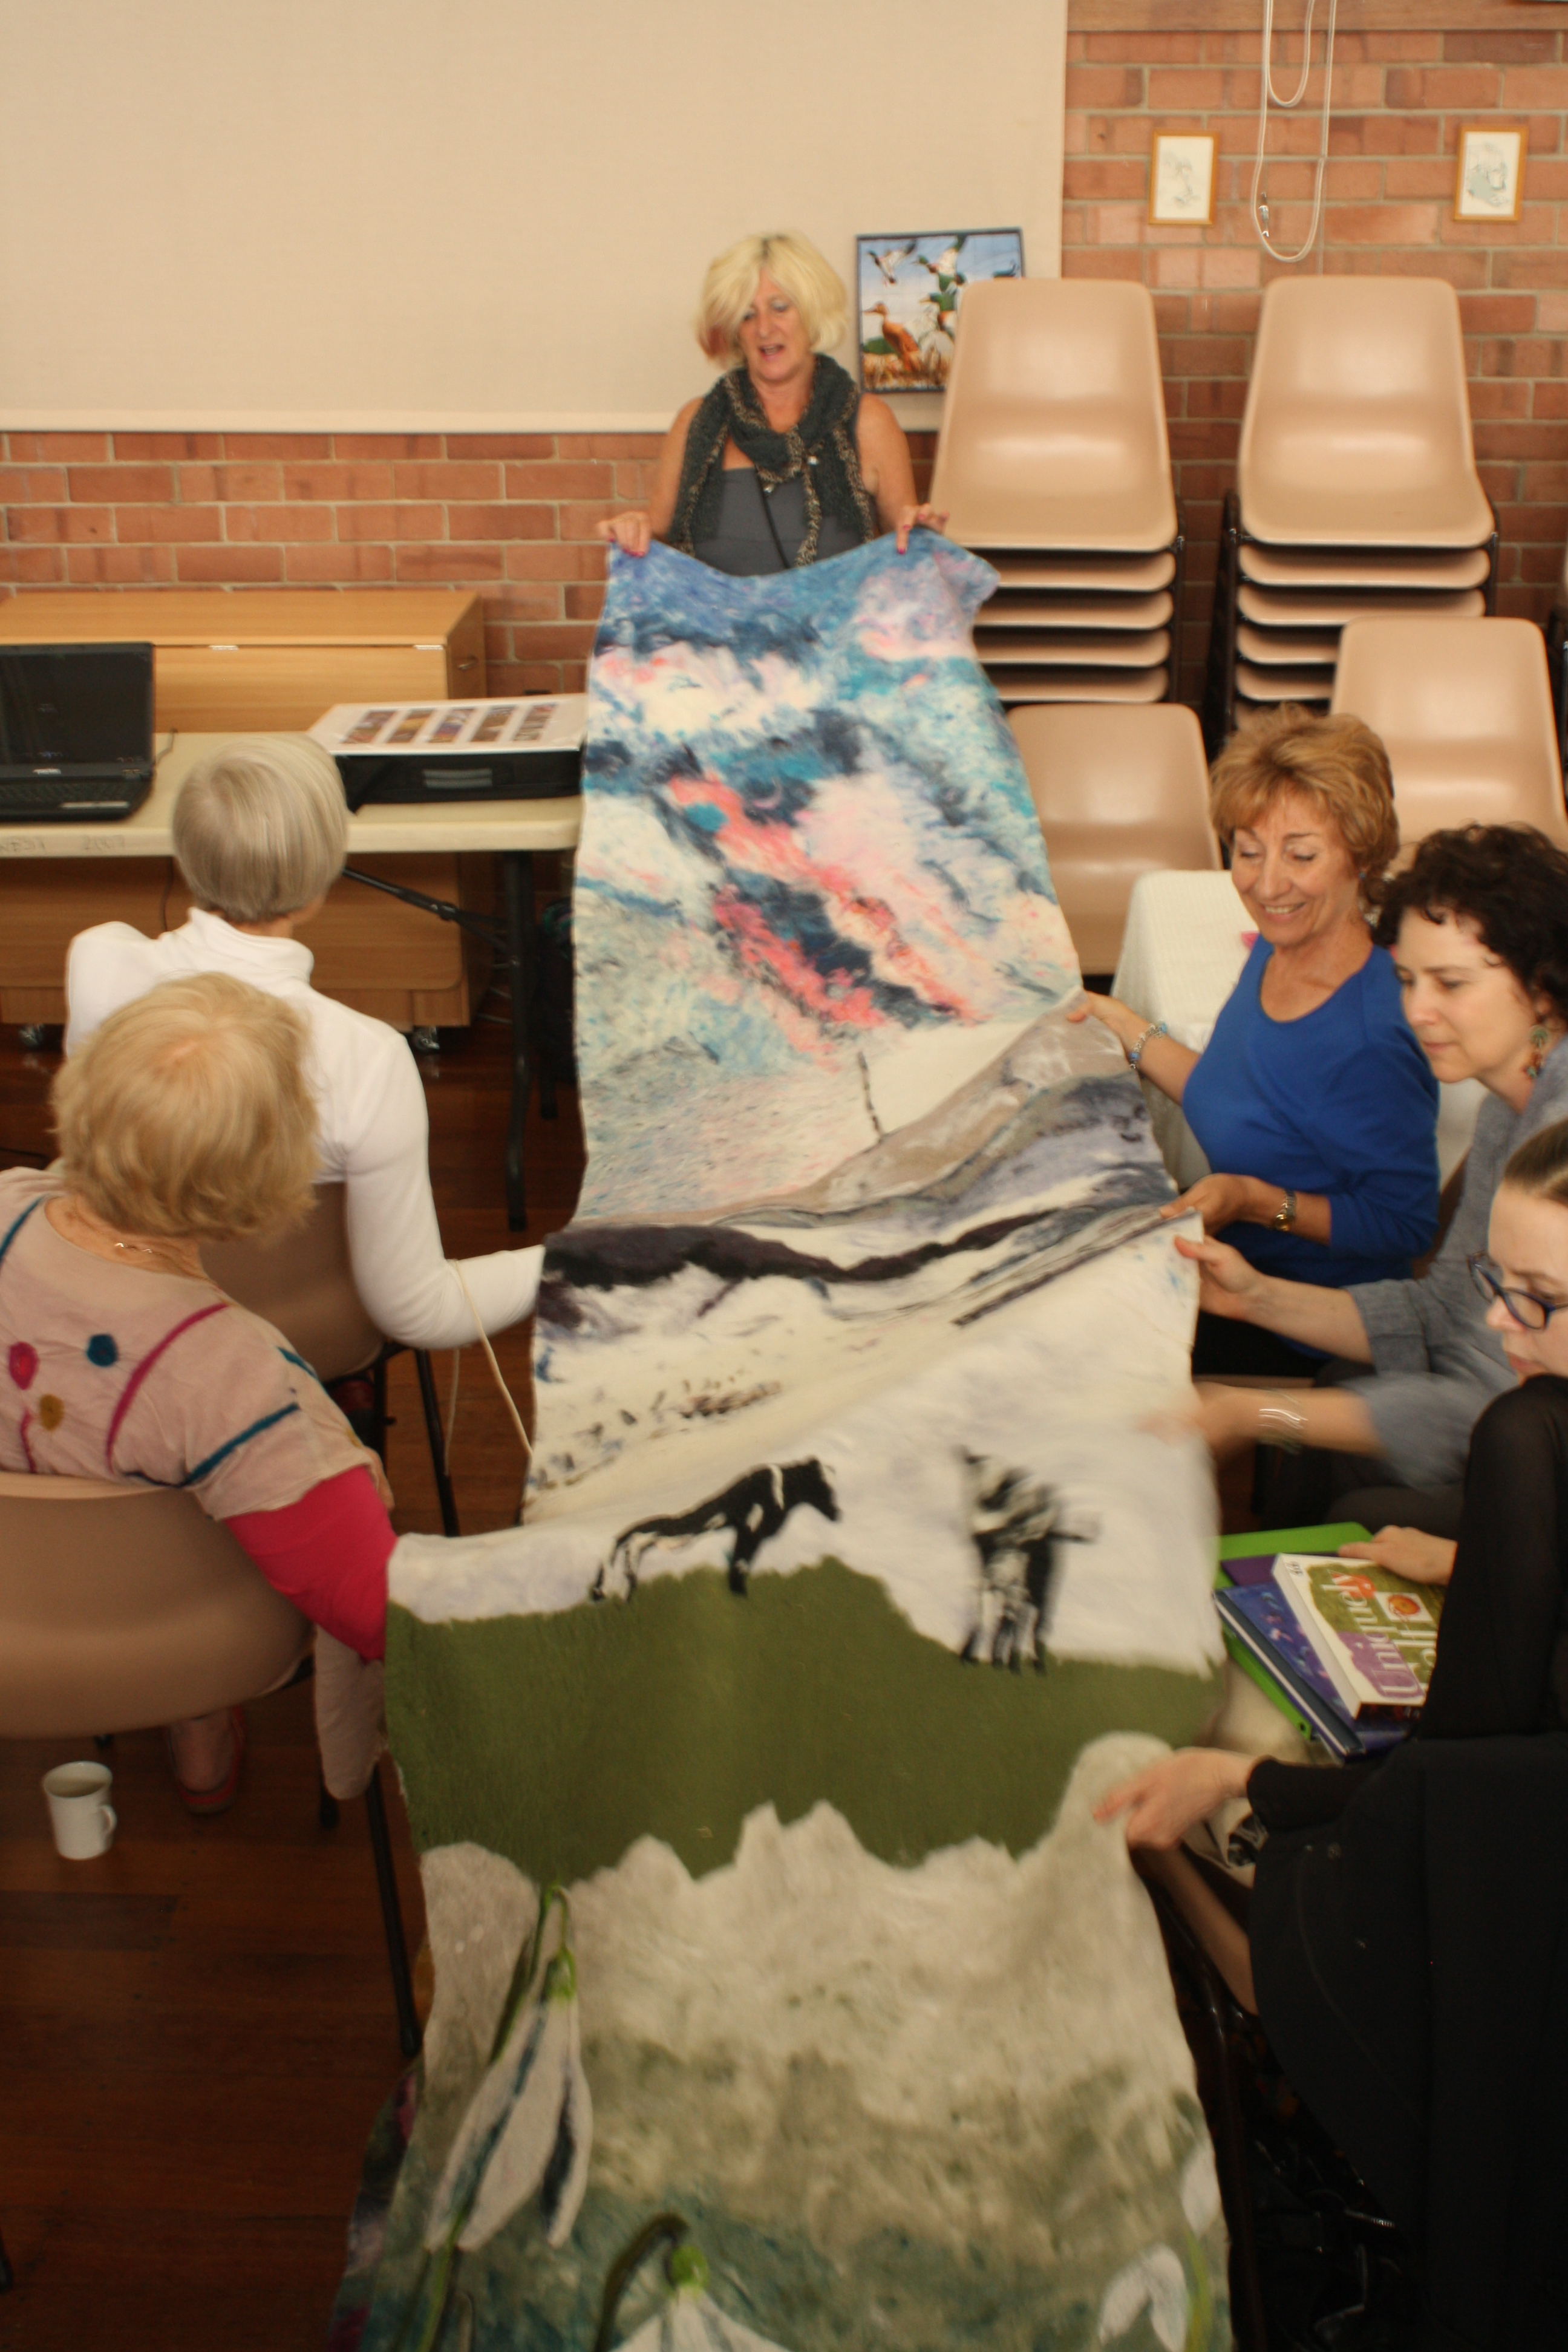
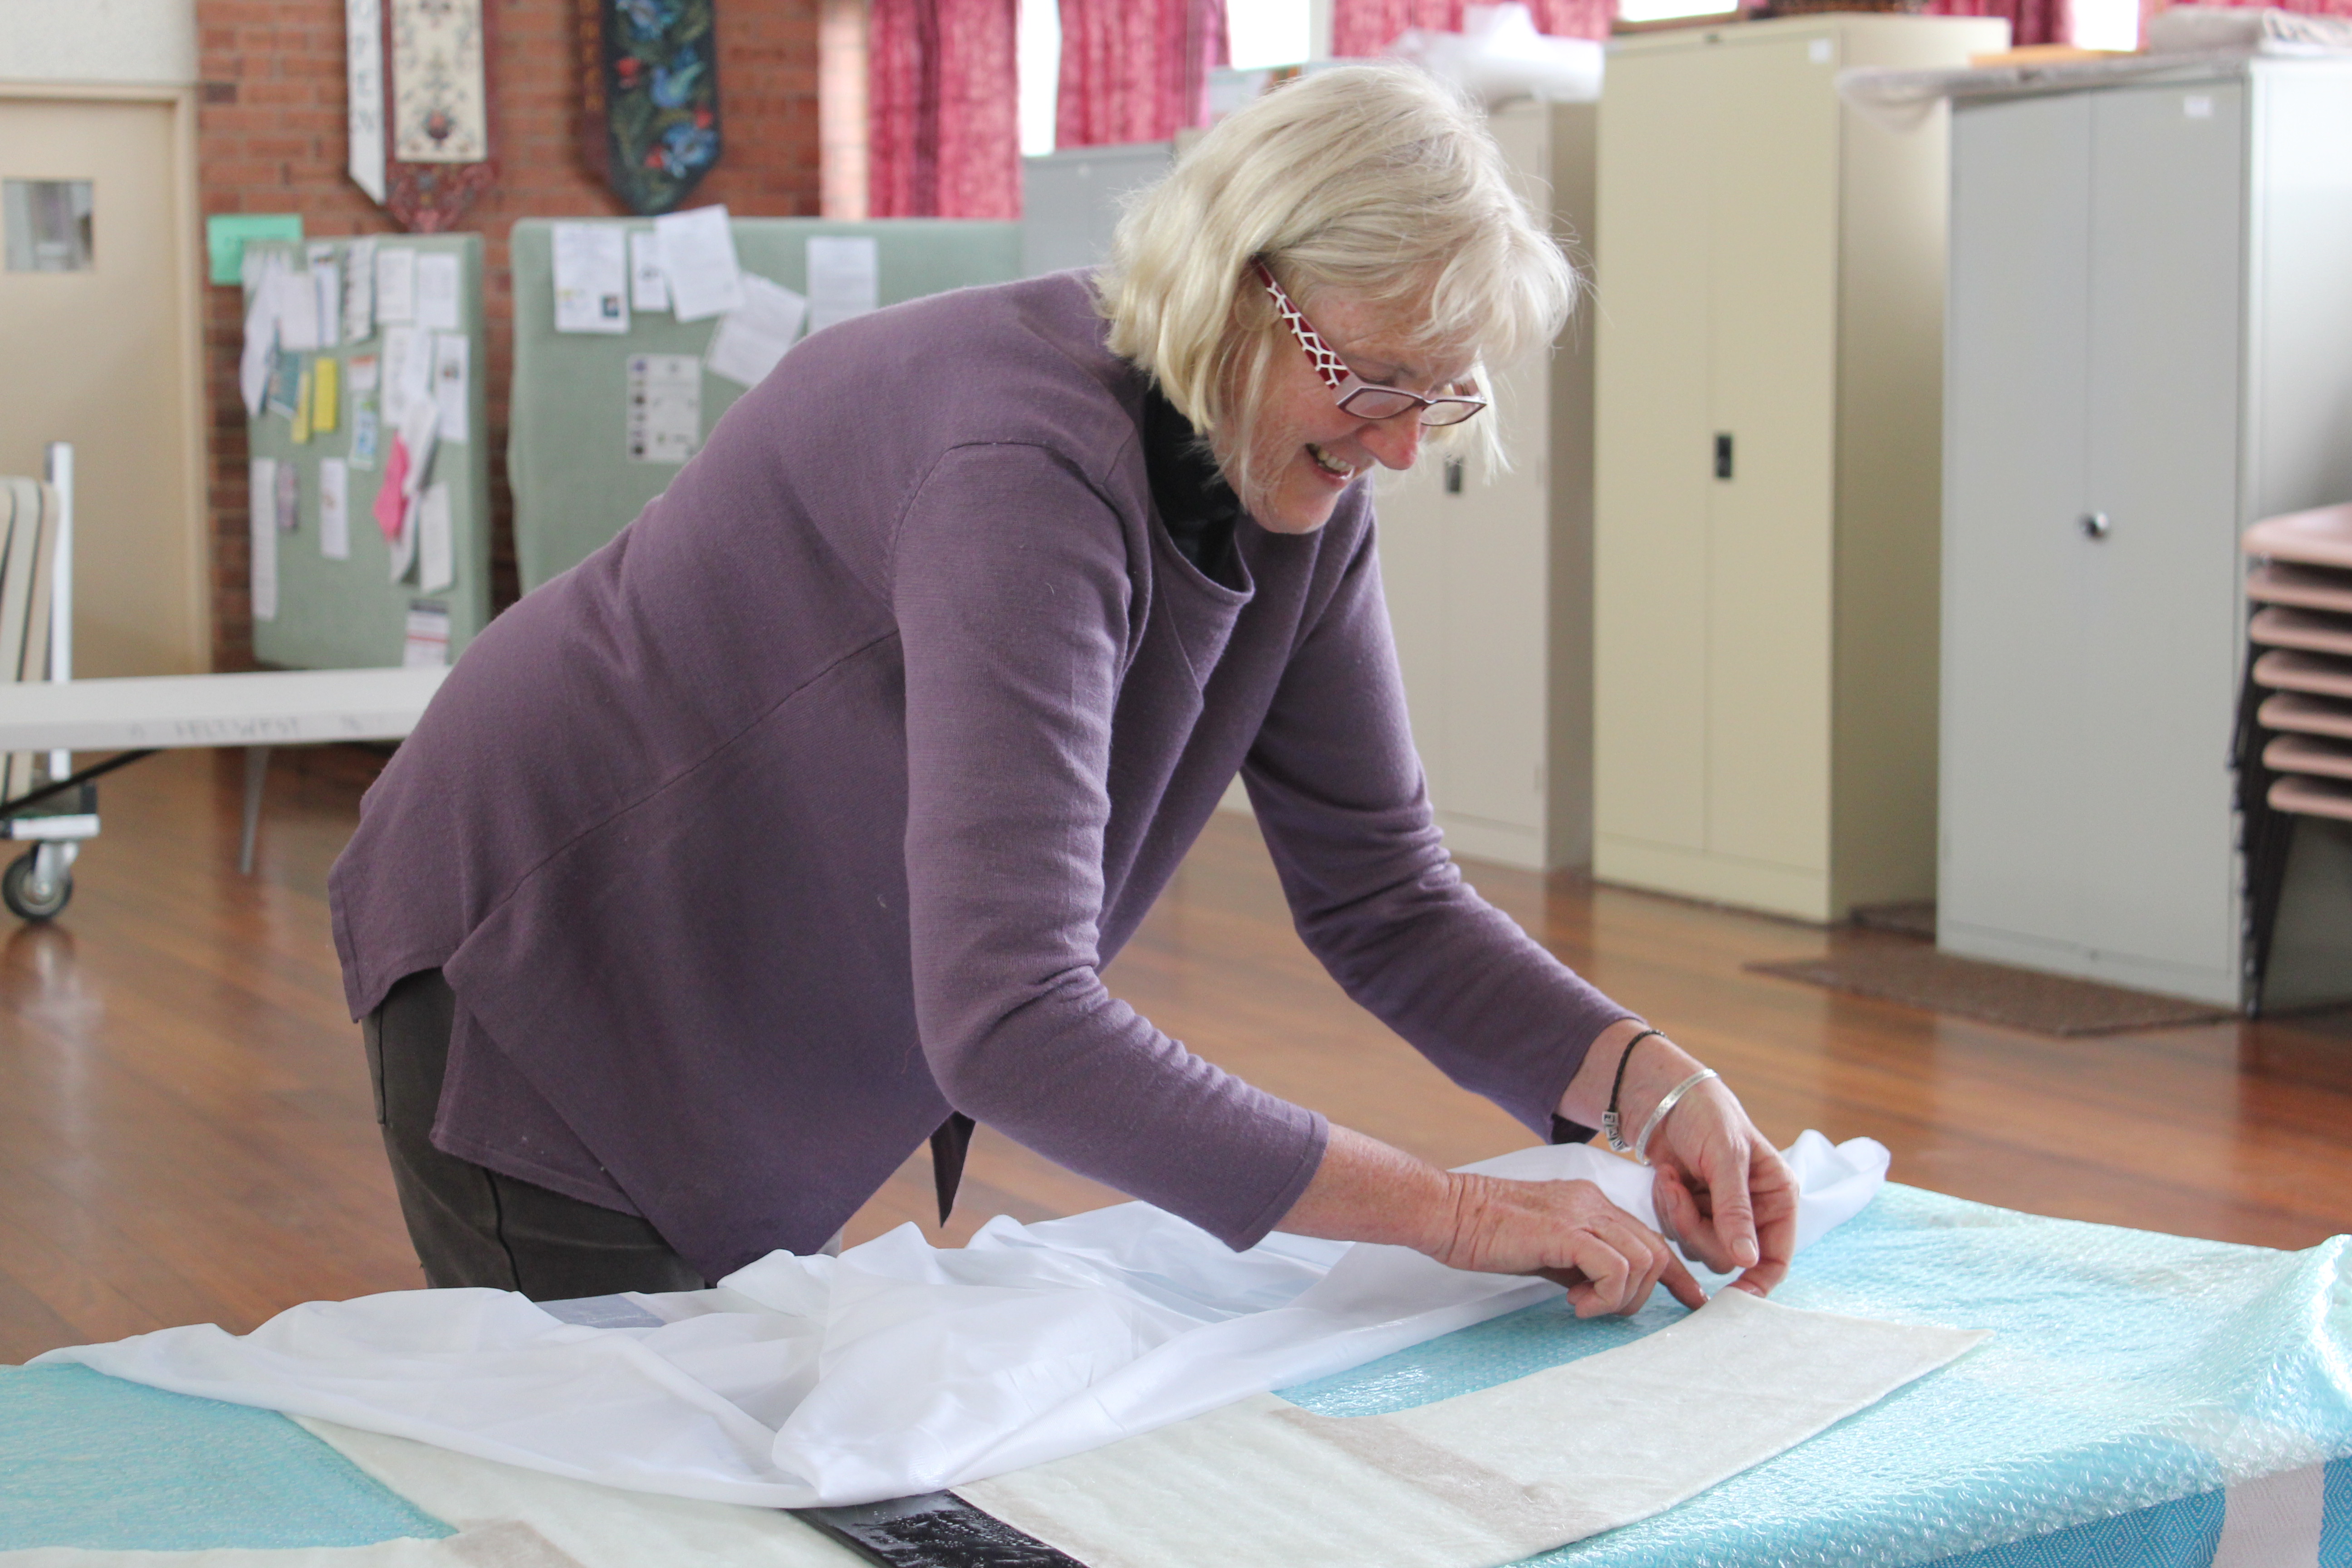
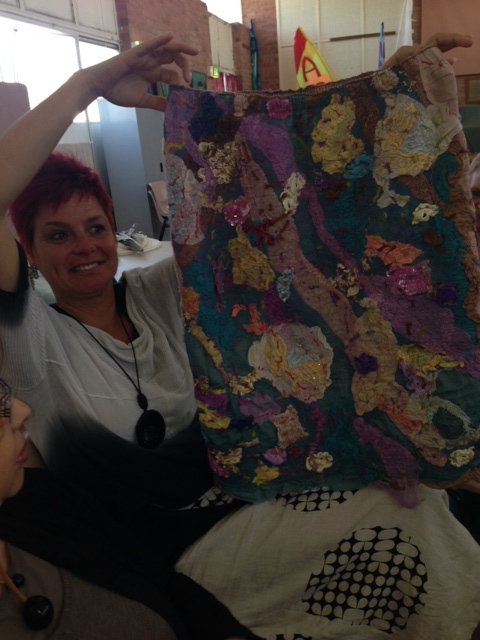
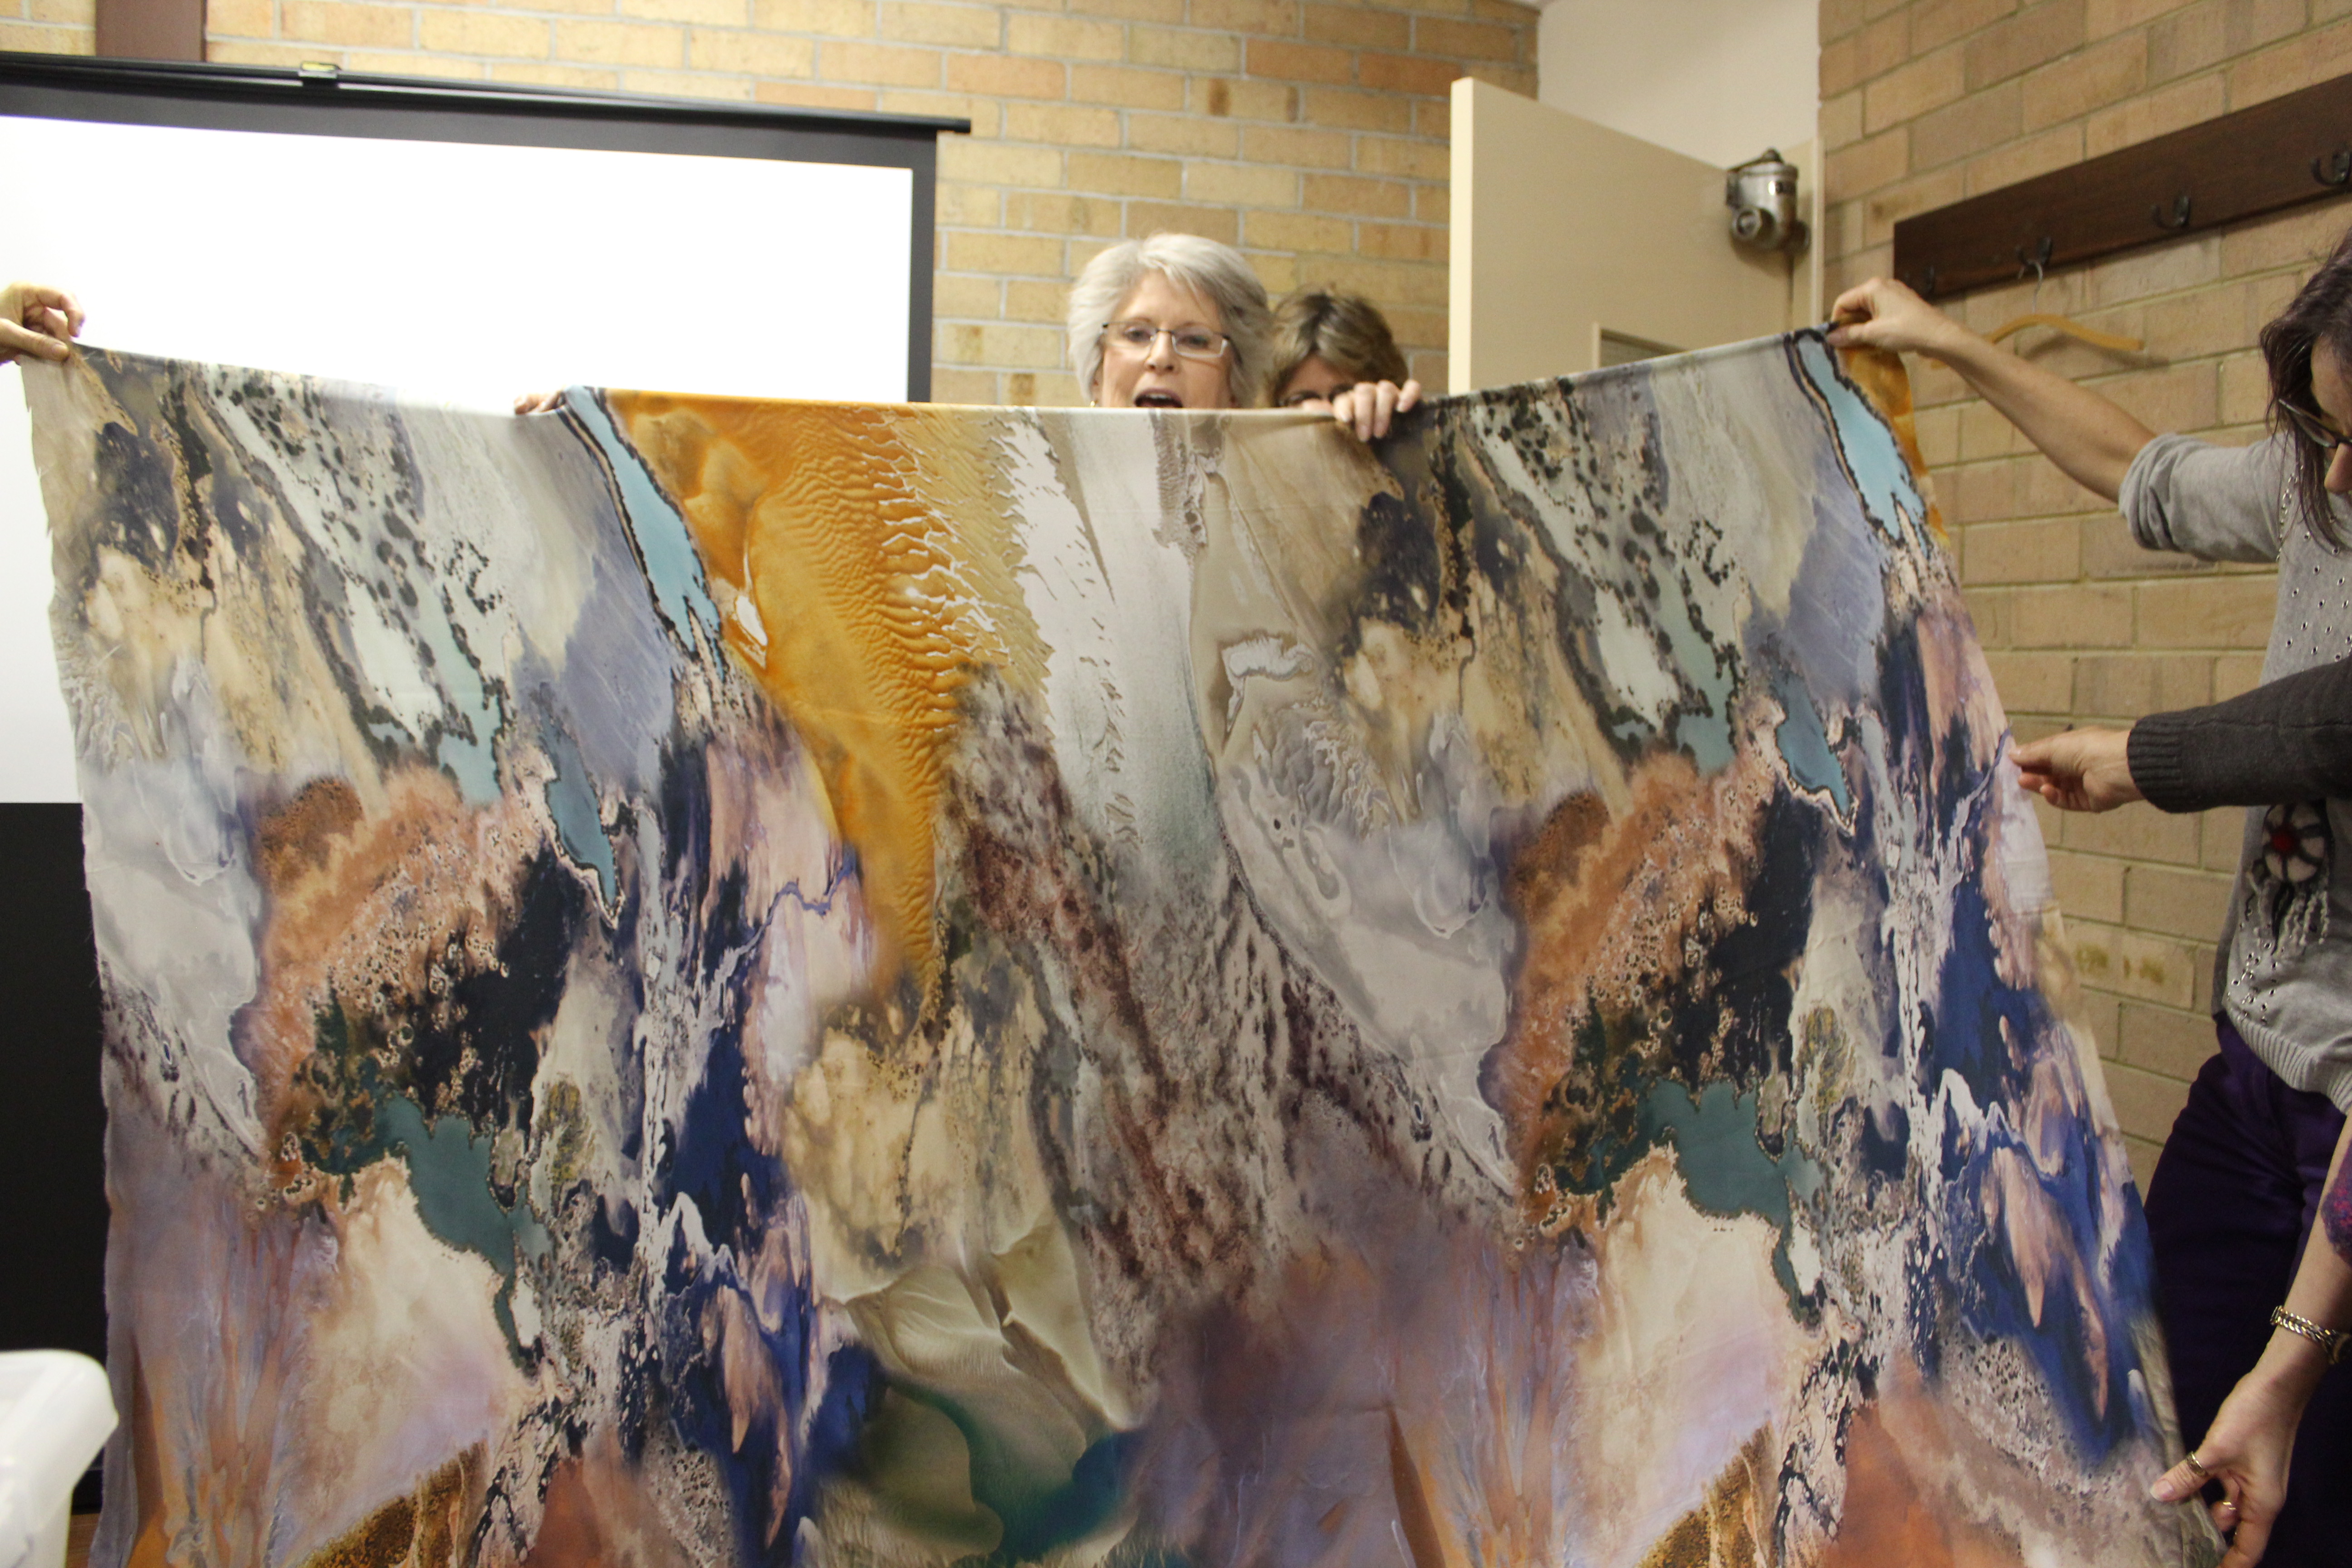
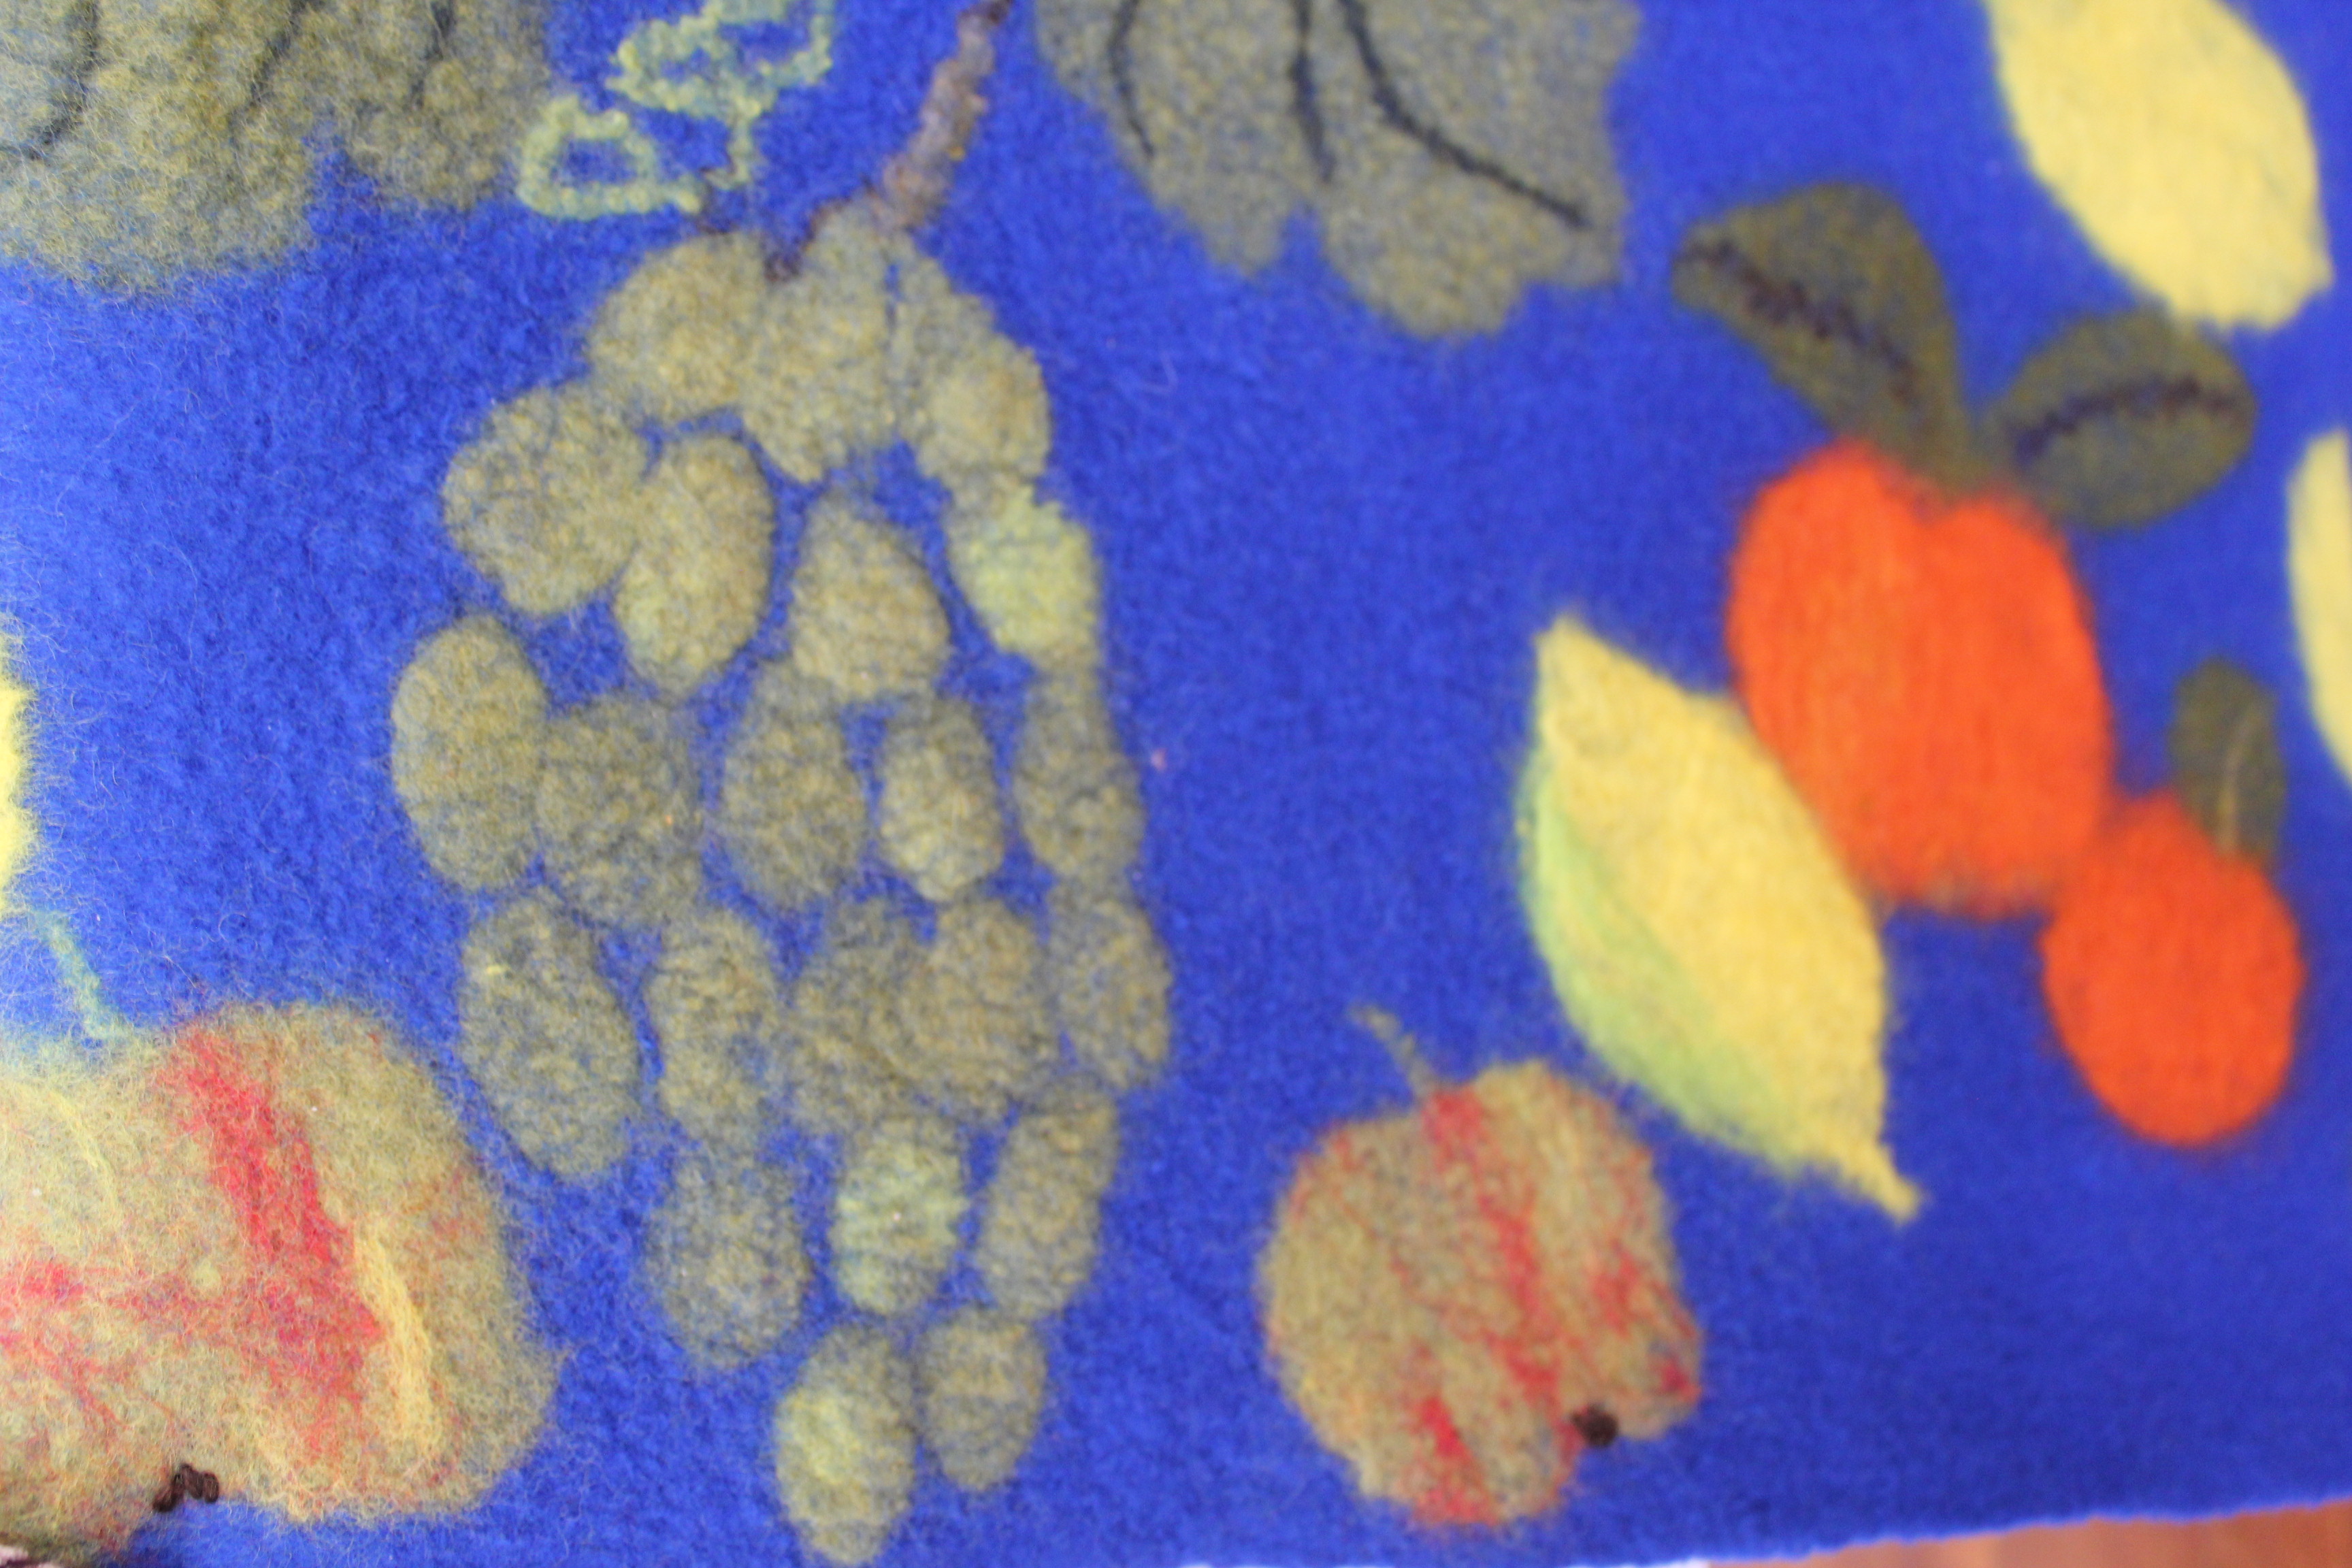
We were delighted at this meeting to again welcome FeltWest member and textile artist, Sue Clay, from West Yorkshire, UK. Sue spoke to us about a wonderful felt project she had conceived and worked on earlier this year which became the focus of the Yorkshire Yurt festival held in Holmfirth from 1 July to 5 July 2014 up to the eve of the Tour de France commencing in Yorkshire. As part of this project Sue had earlier worked with children of different age groups in 11 local schools and with different artists making 3 D felted animals, very large colourful birds, cushions to lounge on and felt pictures. These were all used to decorate a 25 foot yurt, the large felted birds being suspended from the apex of the yurt. Five exquisite 5X1 metre hand felted panels were draped to line part of the ceiling and walls of the yurt. The pre felted panels were decorated by Sue with pre felted flowers, sheep, cows, bicycles, hills, streams, brilliant sunsets, rocks and other landmarks of the Yorkshire landscape. Sue hand rolled each panel and each took approximately 1 month to create. She brought 2 of the panels to show us as well as a short video about the yurt during the festival. You can view the video on U Tube ( easily found if you google “ Yorkshire Yurt Festival”). She also kindly brought a gift for FeltWest – a signed print depicting her five beautiful felted panels. Activities in the yurt were scheduled daily 10 am – 10 pm for 5 days and included music, poetry reading and story telling for all ages. The decorated yurt was obviously a great success and a marvellous introduction for many to the art of felting. Sue also said how much she enjoys coming to our TNT meetings whenever she is visiting Perth and loves the colour and variety of our work, and the generous sharing of skills and ideas and warm friendliness of members at our meetings.
TWO OF THE PANELS FROM THE YORKSHIRE YURT by Sue Clay
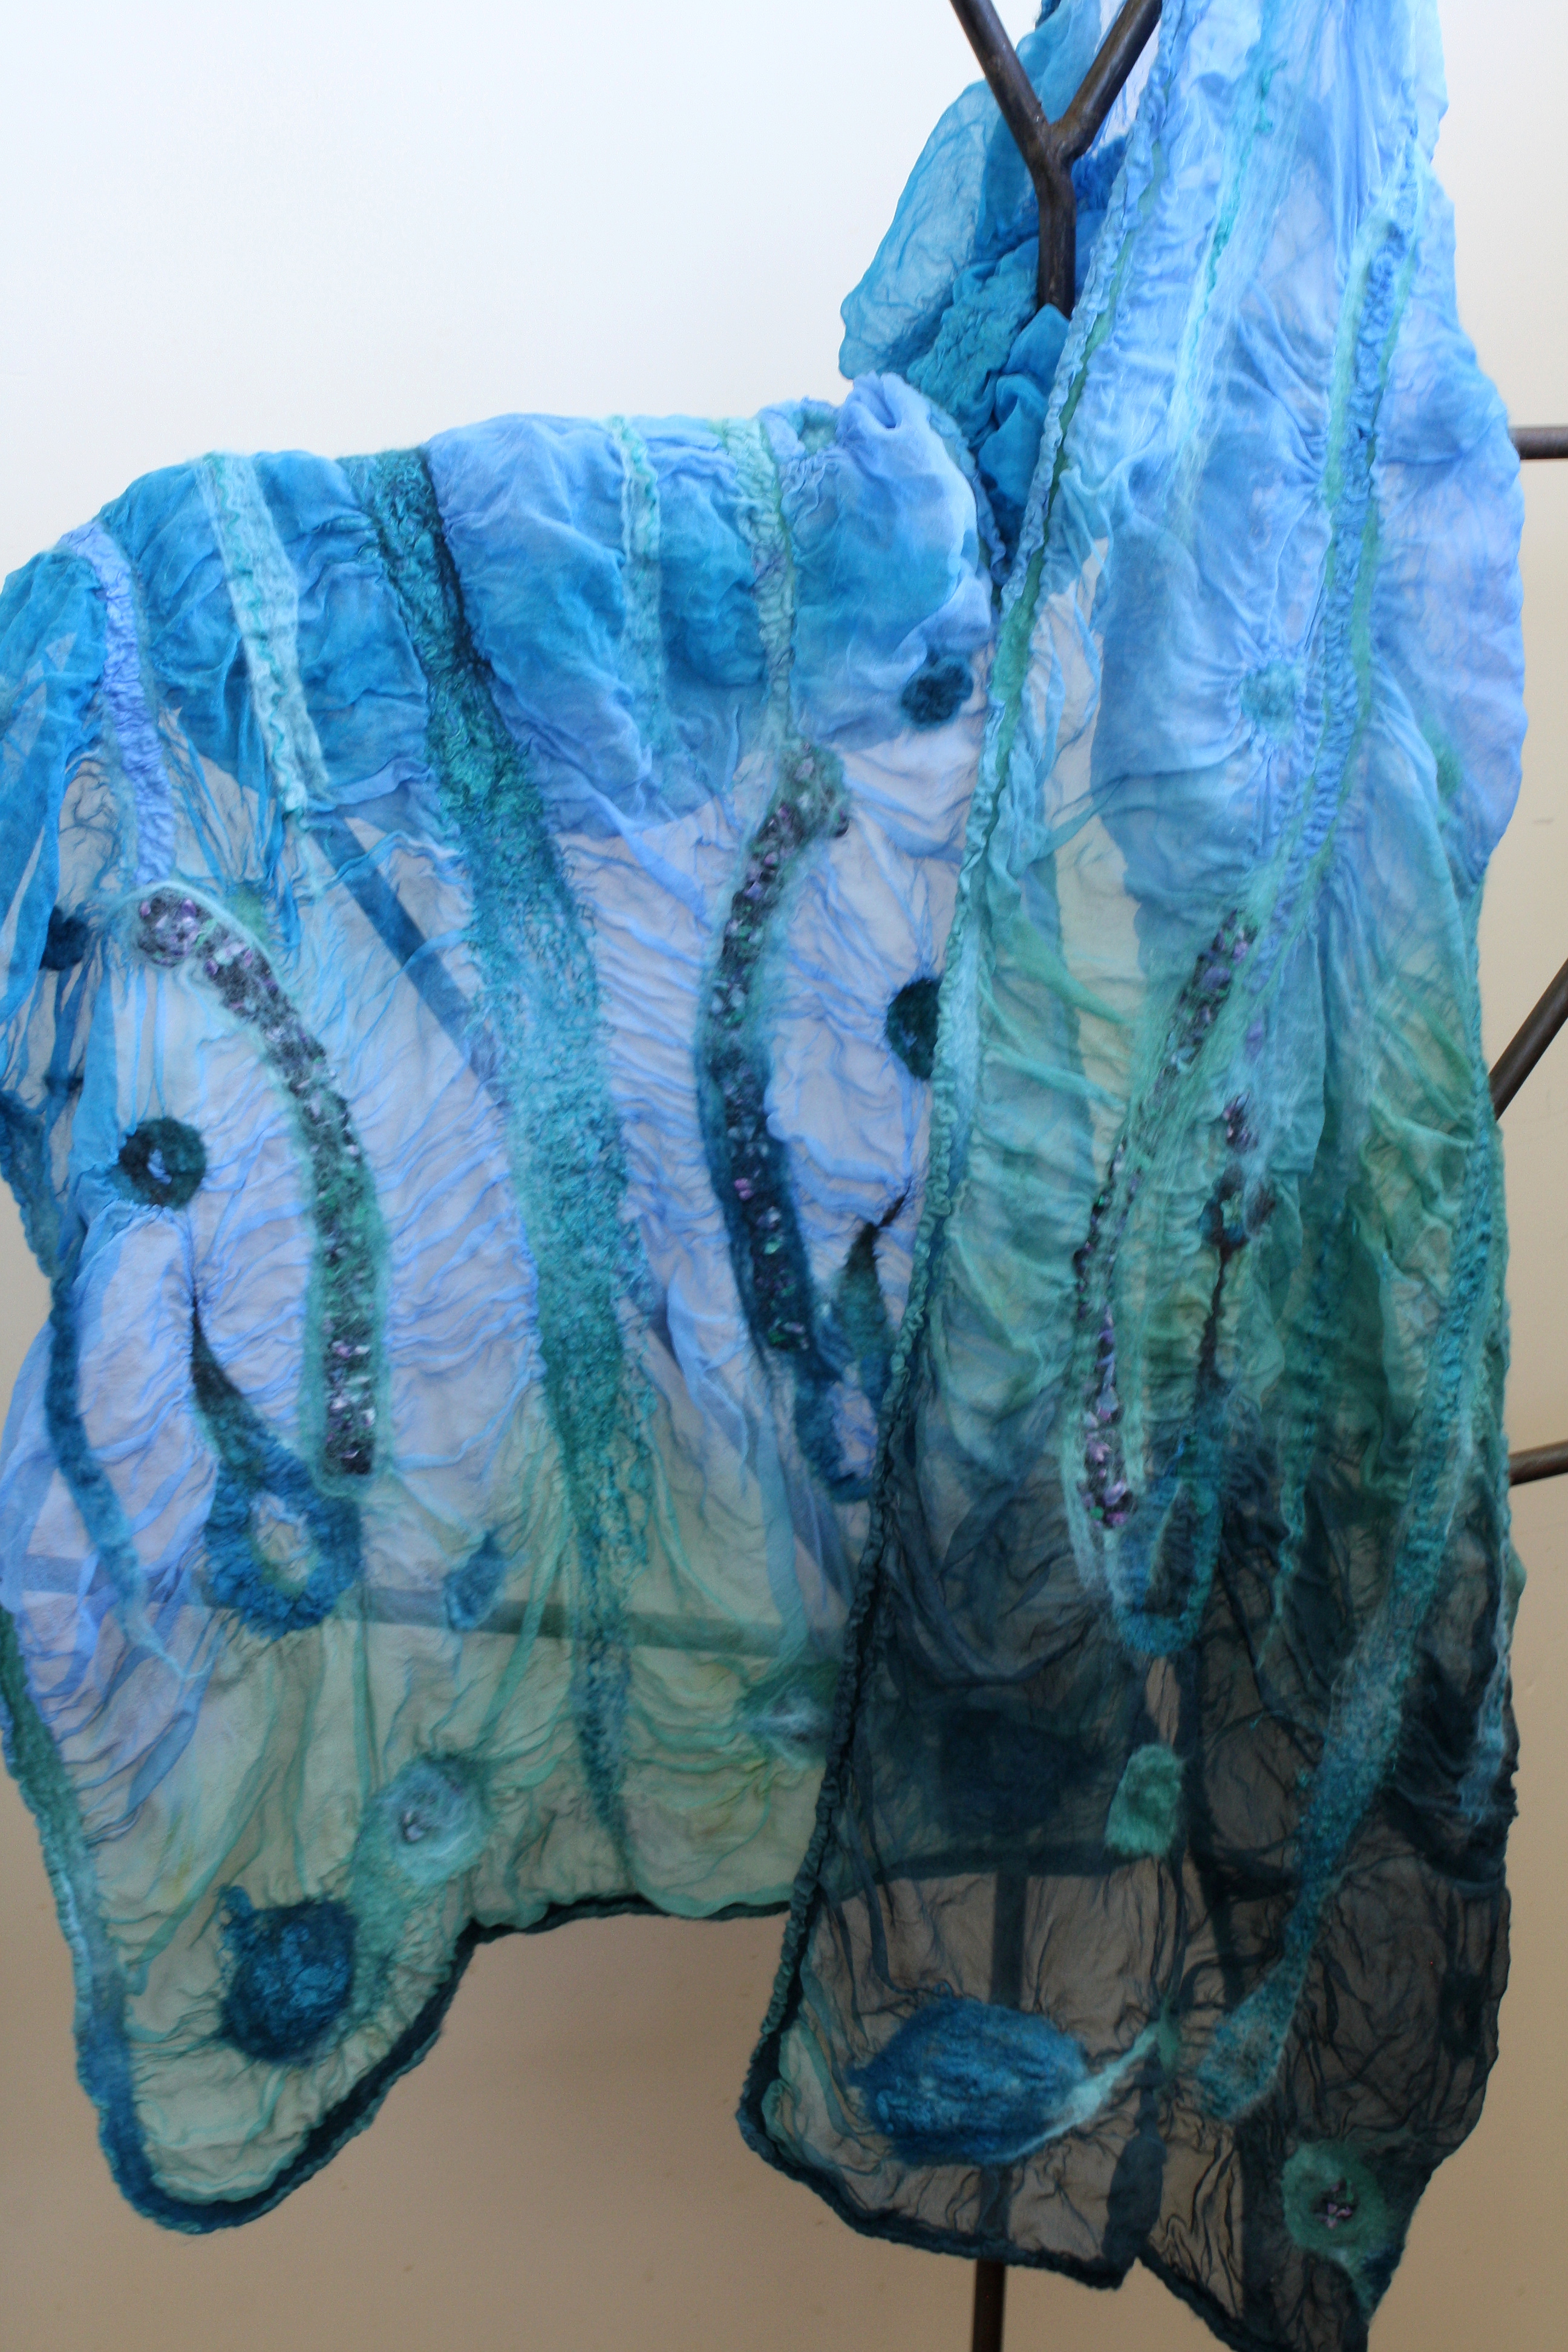
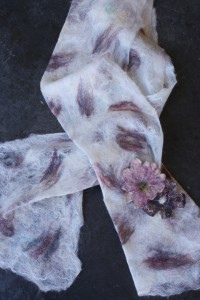
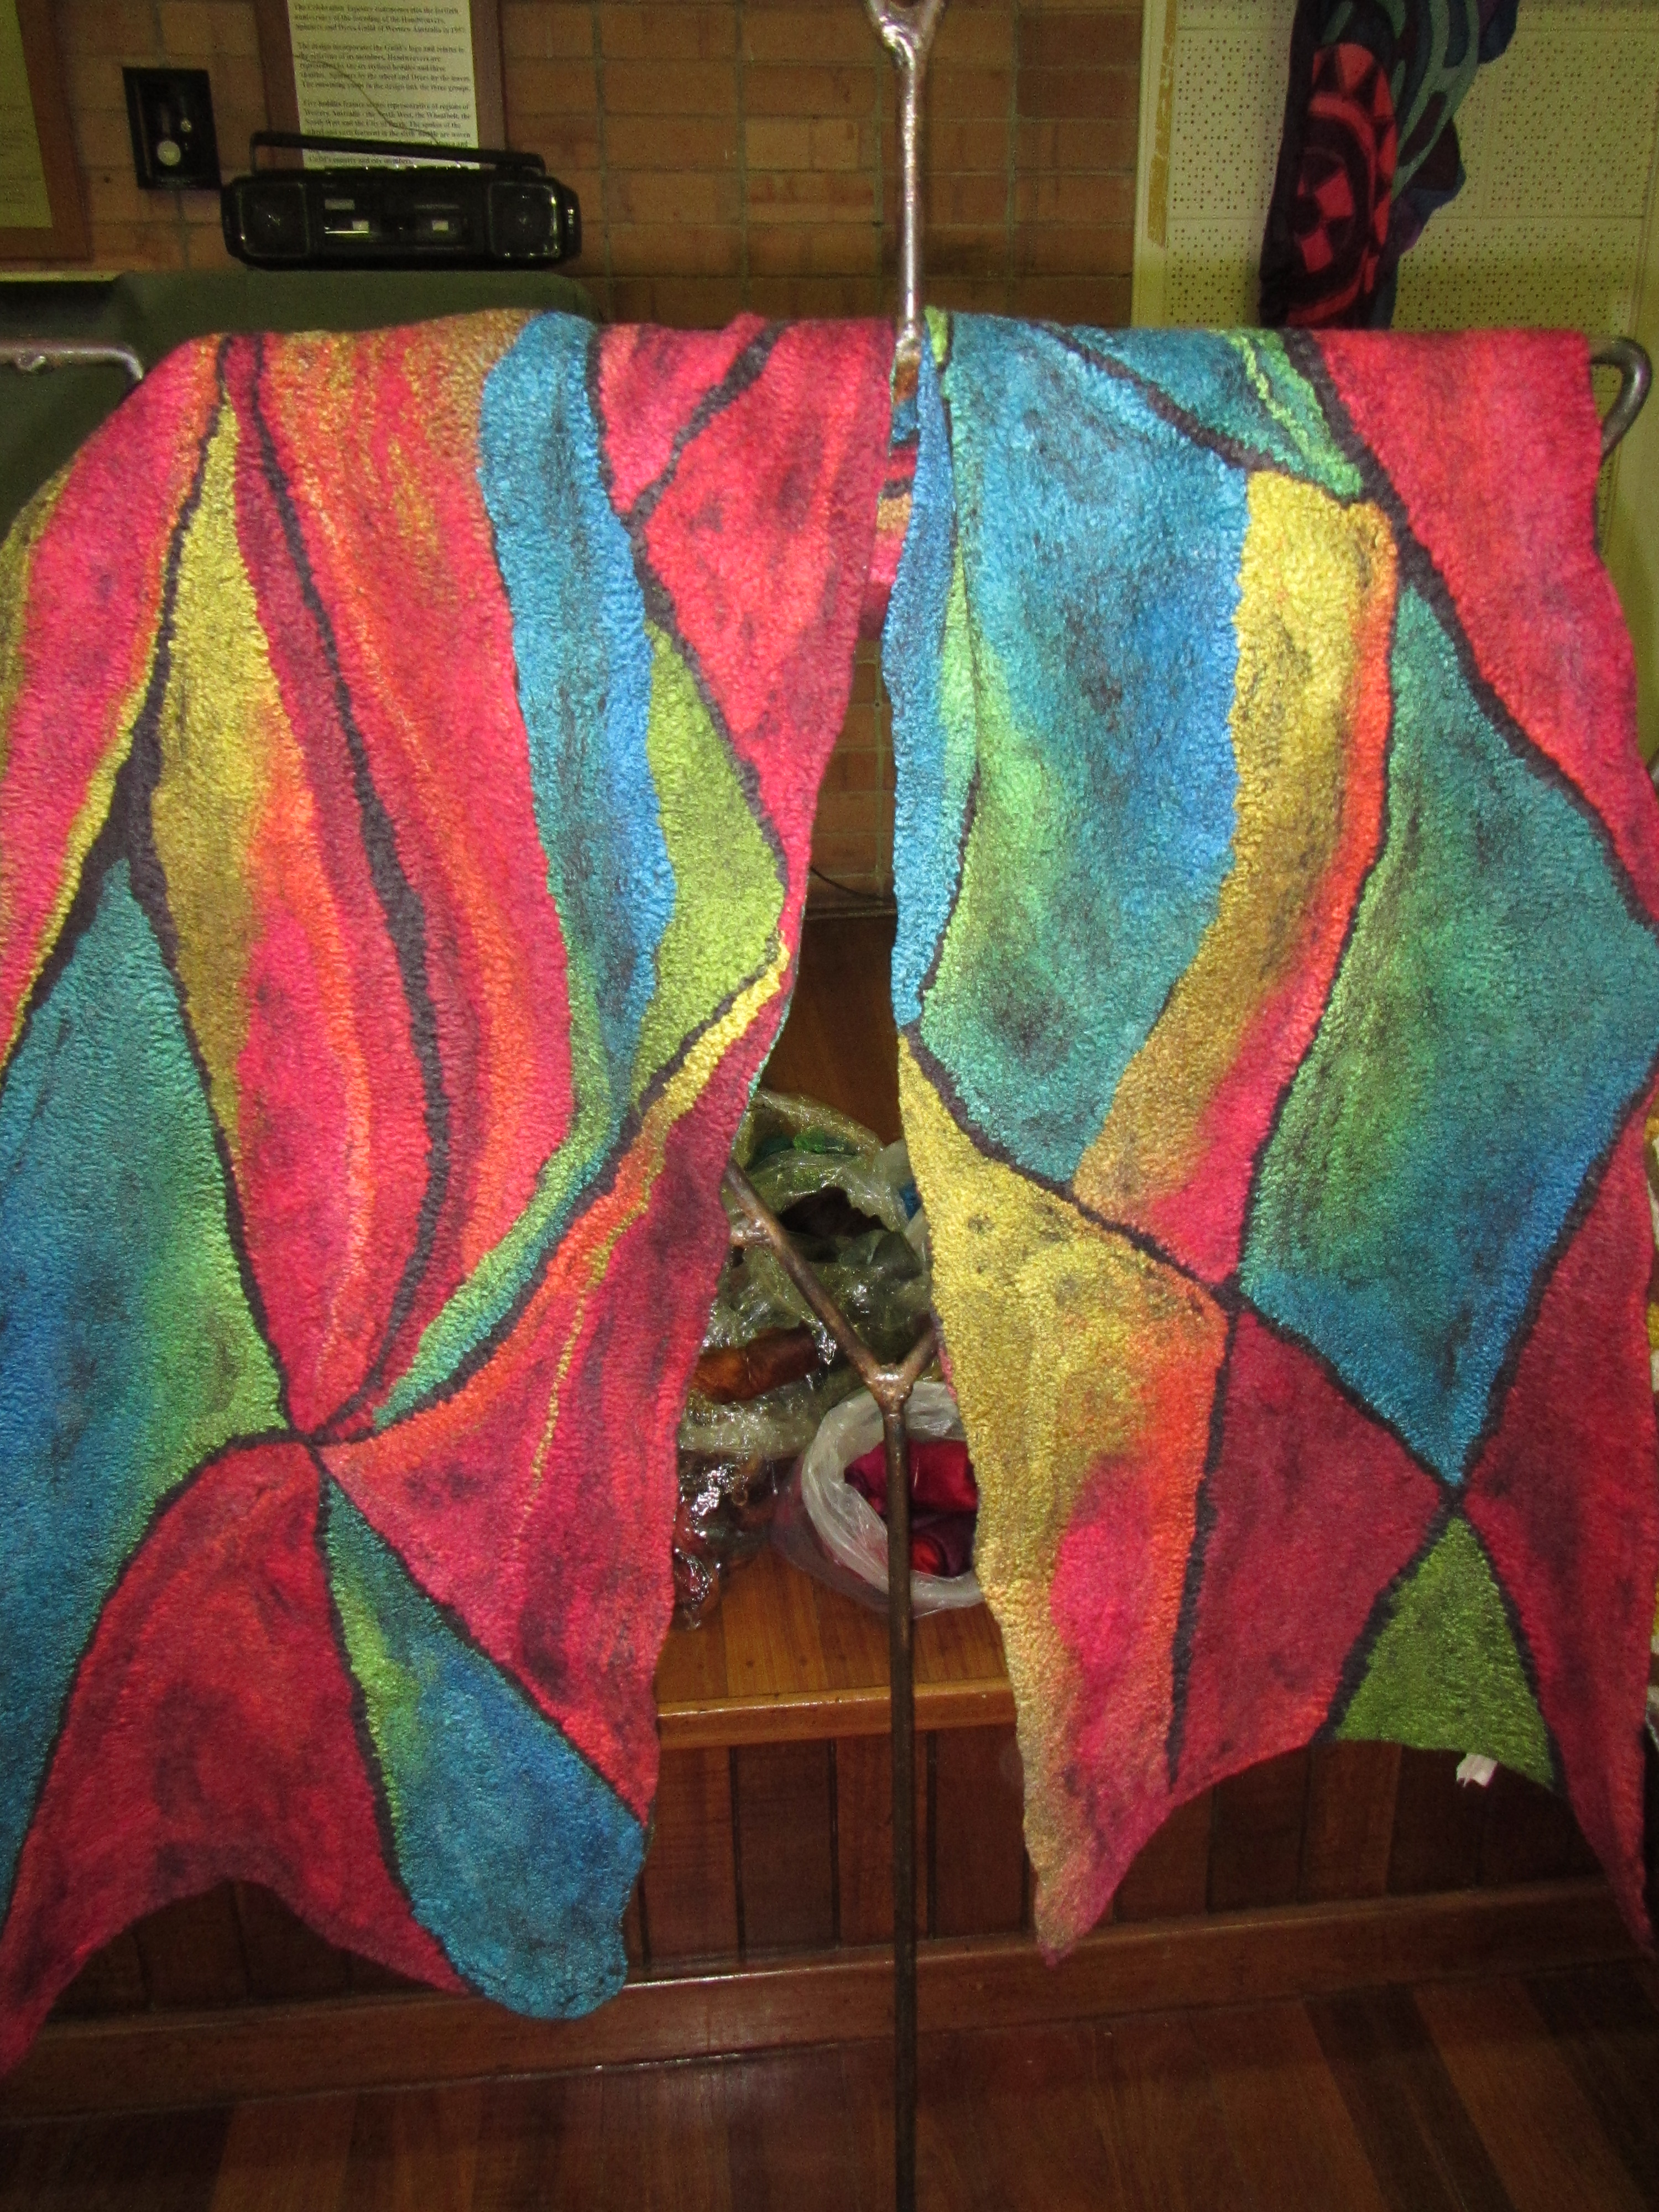
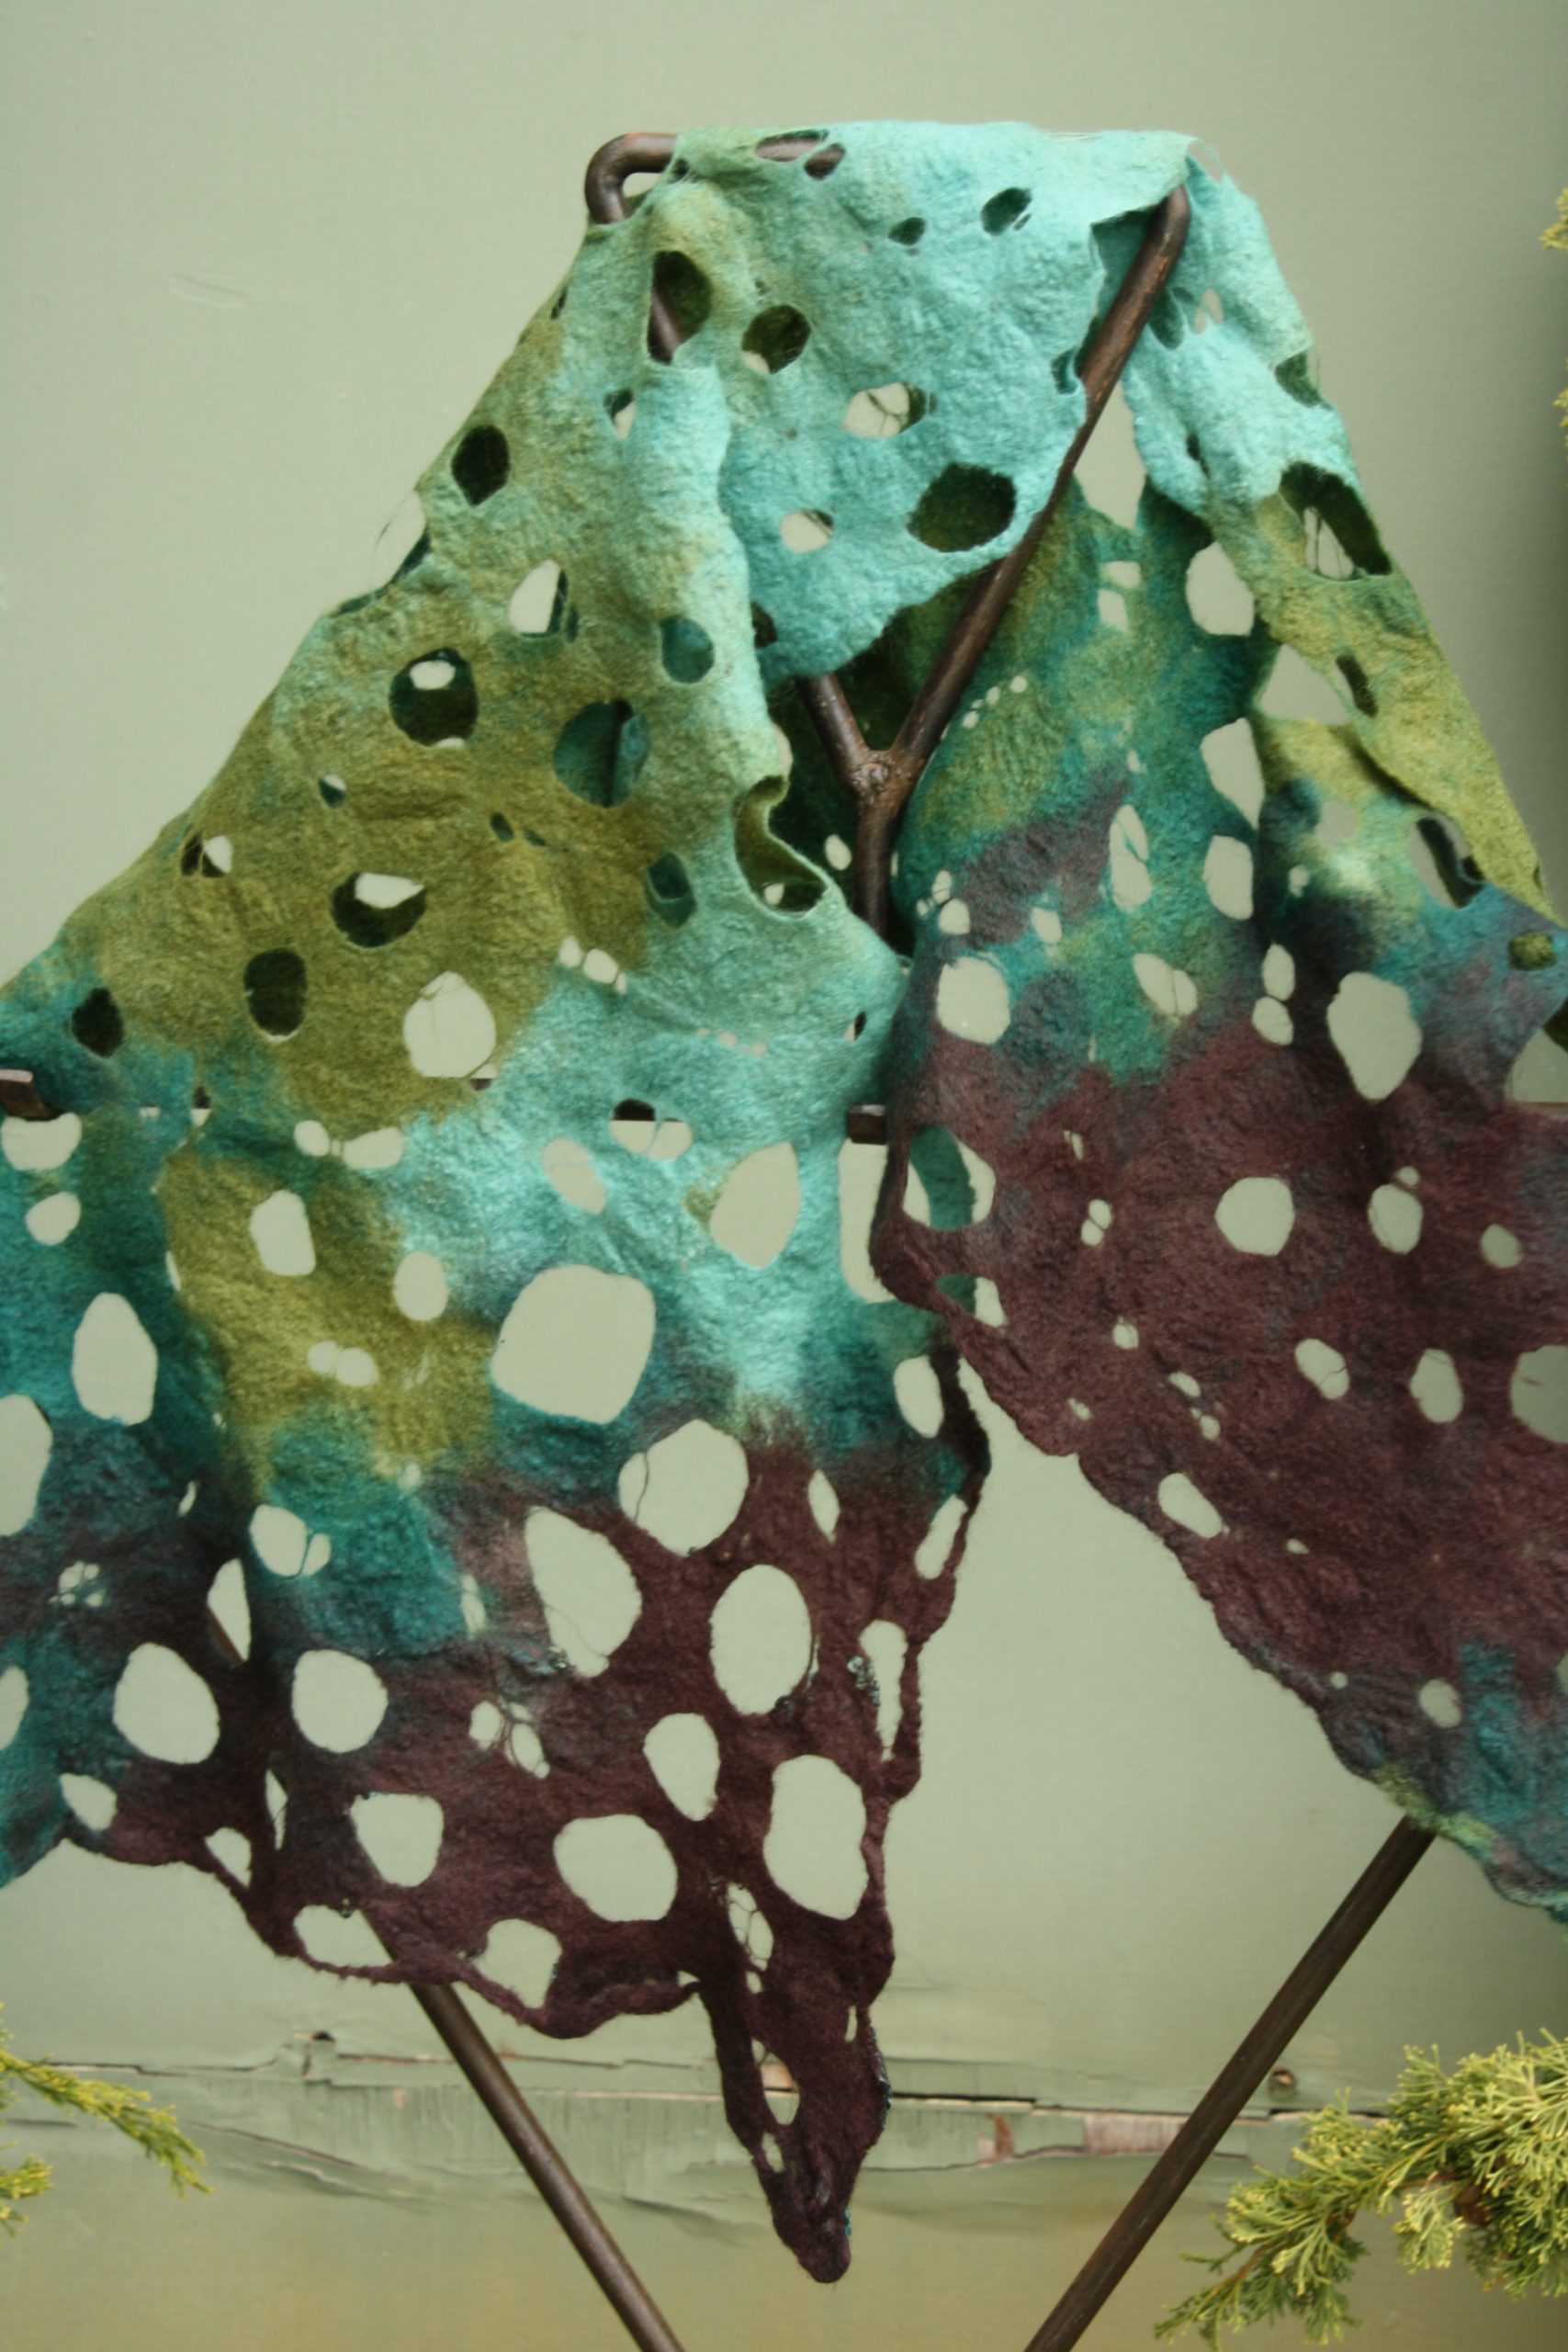
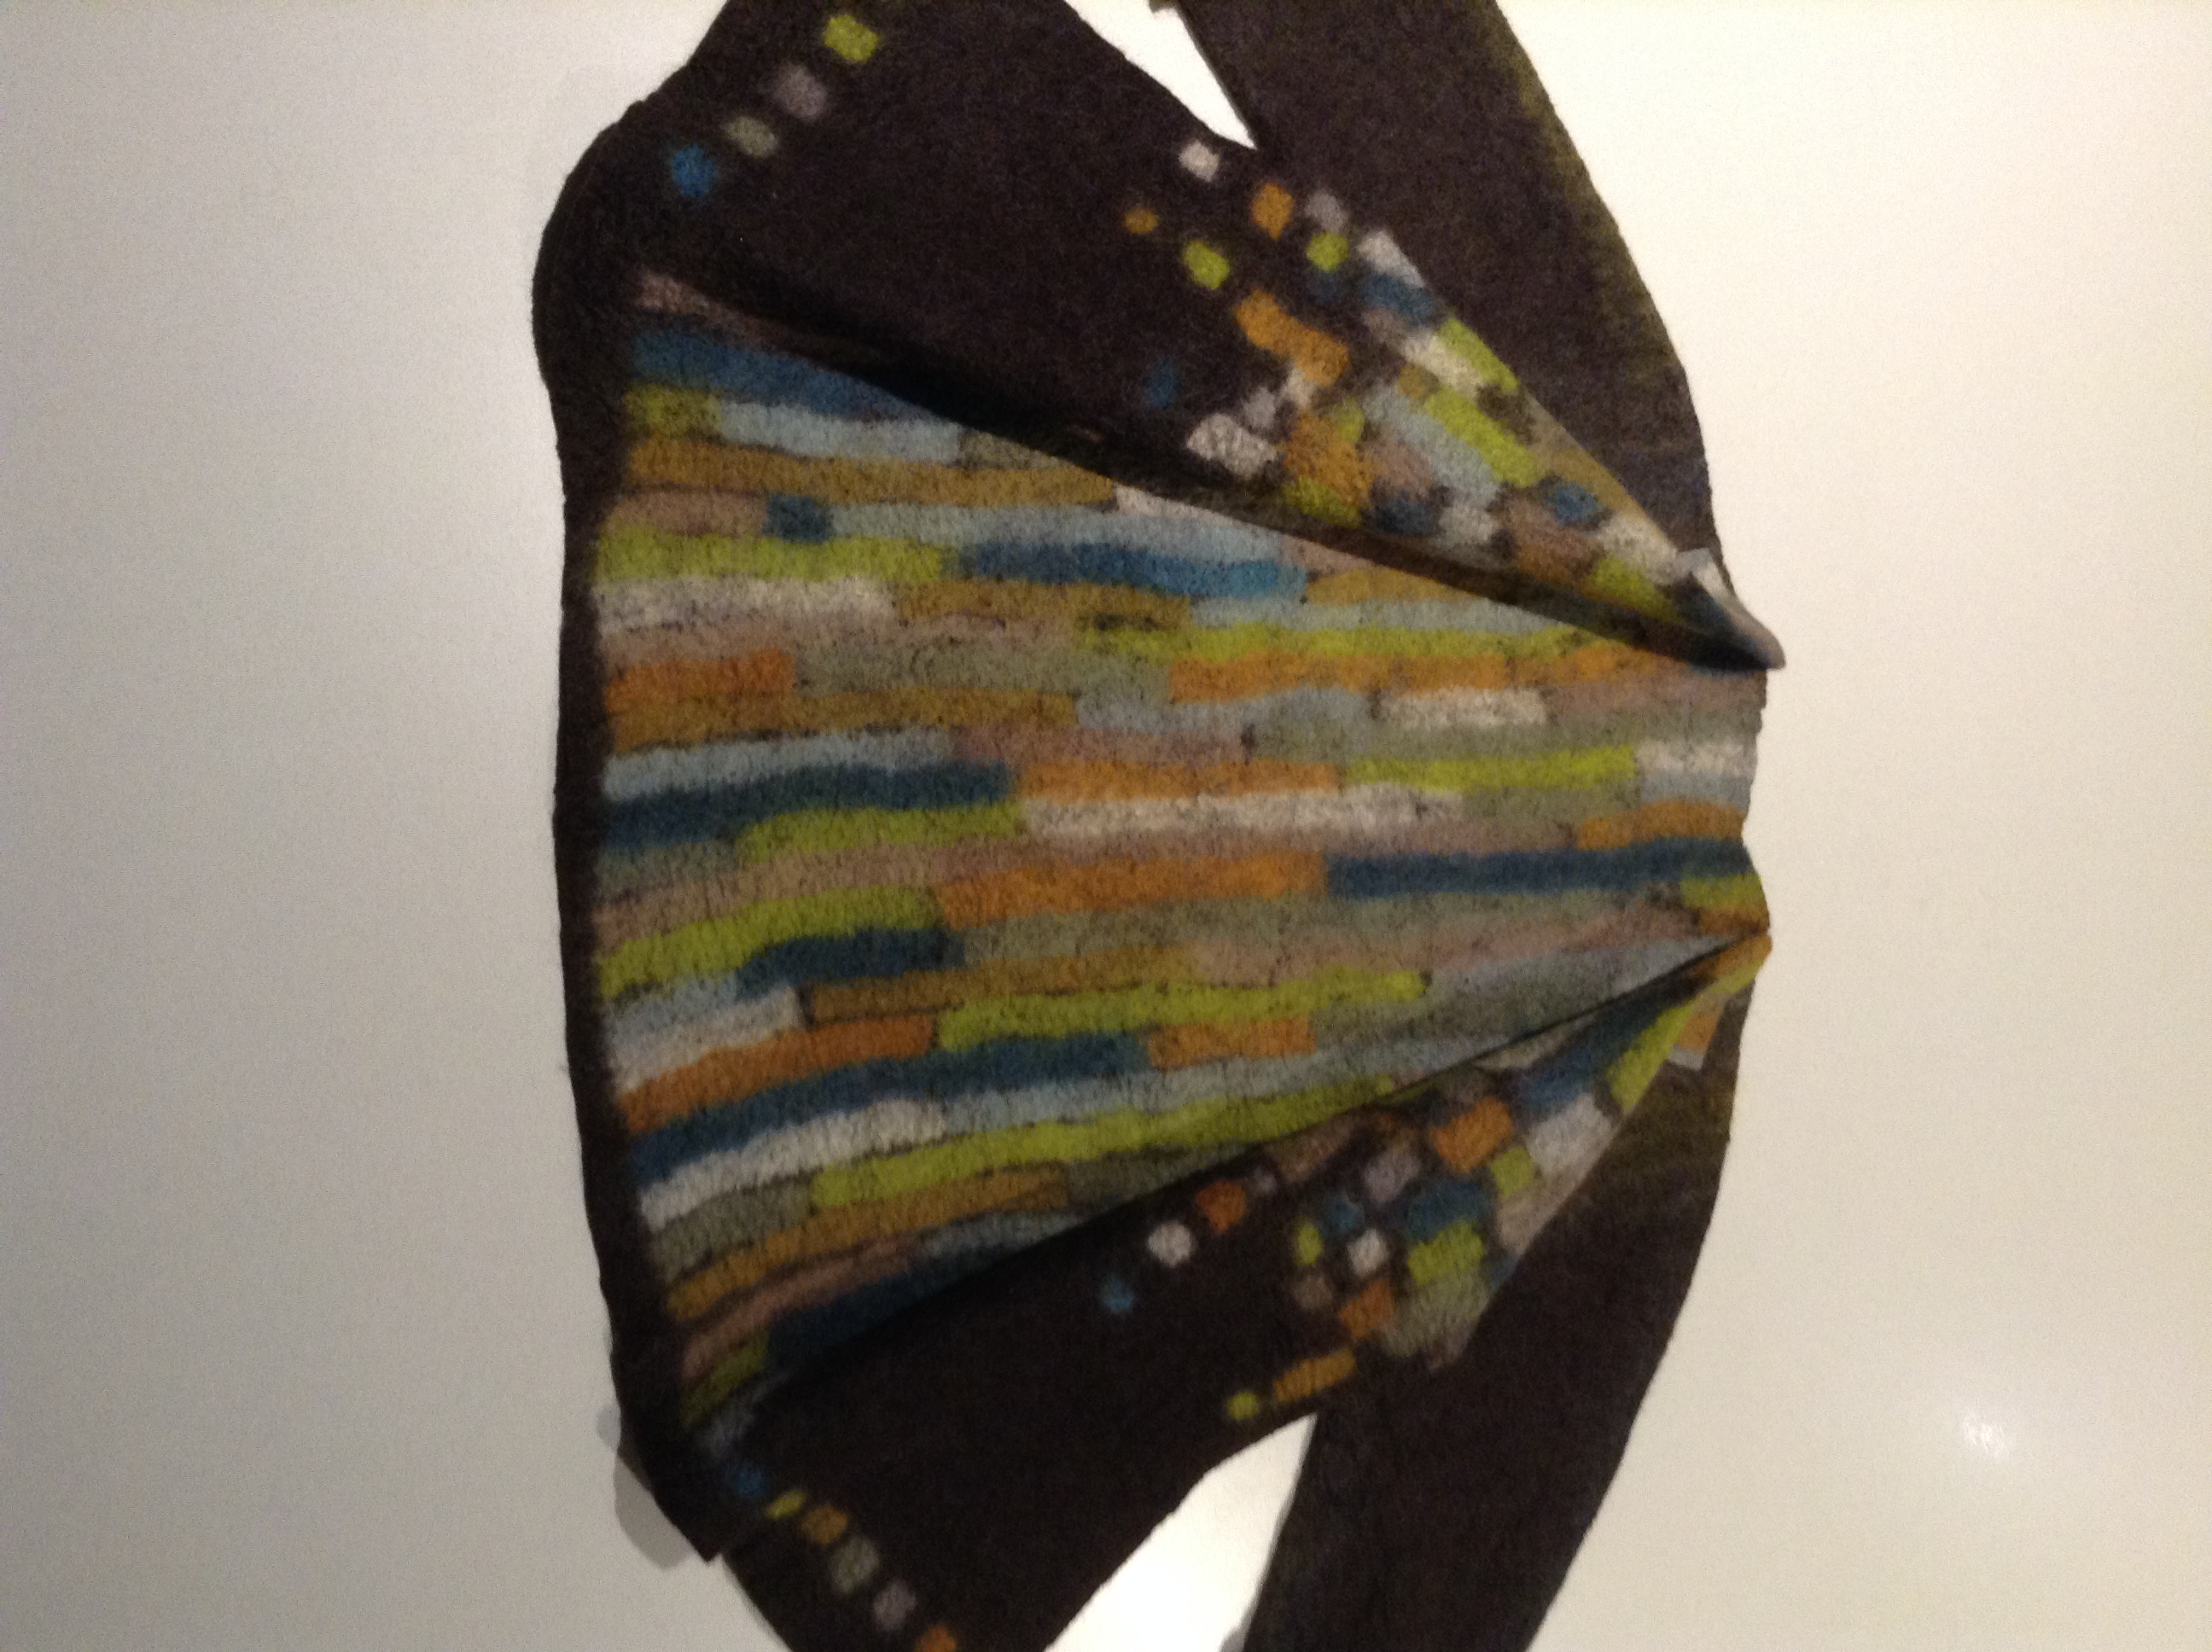
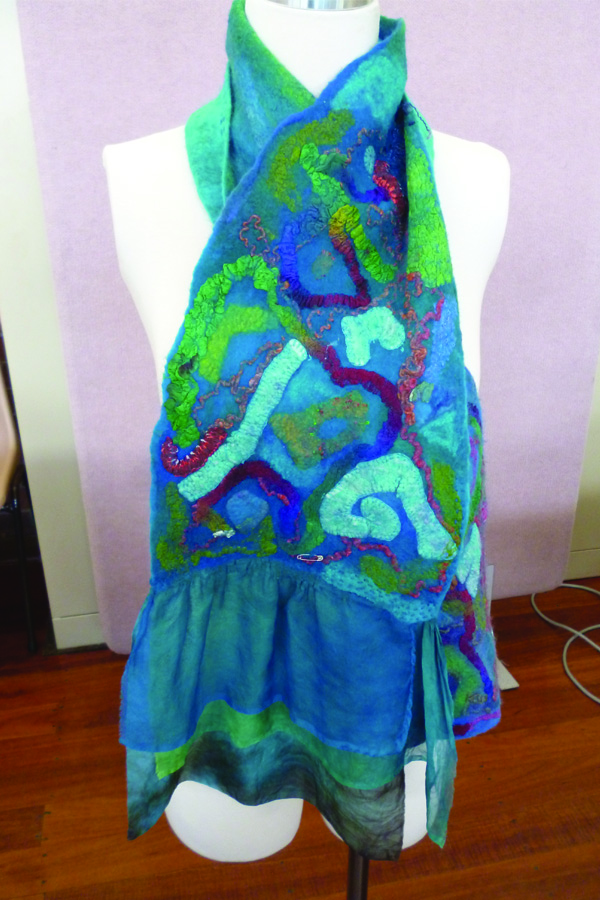
There was an interesting range of felted work brought along by members to our October meeting. Alison Gomes showed us a beautiful blue, green and brown cobweb scarf she had made at Vicki Hearne’s workshop last month. It was of fine, even thickness and draped beautifully. She said she had laid it out in a bit of a lattice pattern and in her next attempt using this technique she would try for a more organic effect.
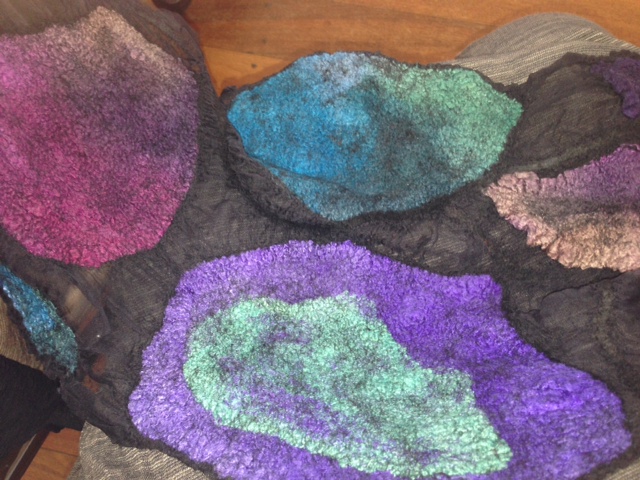
Alison Gomes Cobweb felt from Vicki Hearne’s workshop
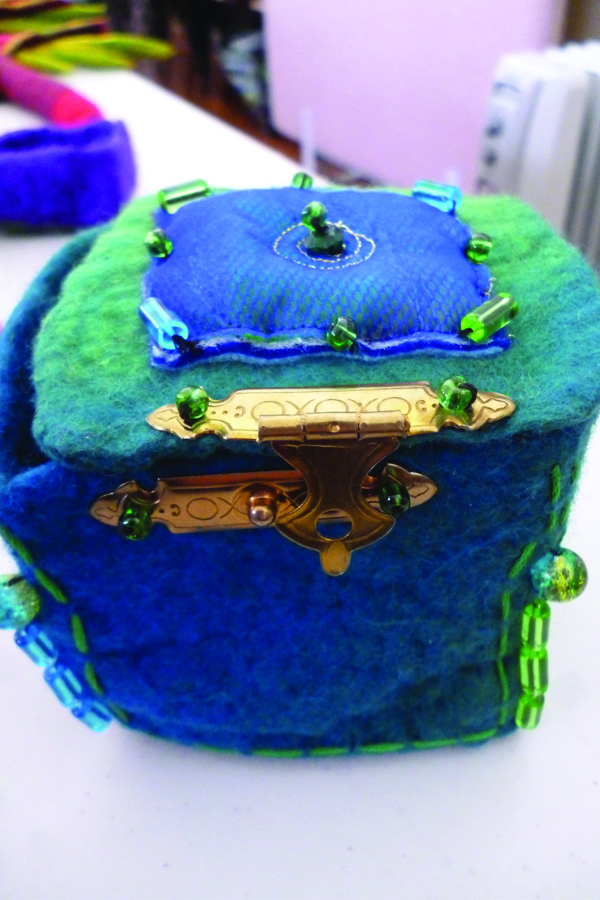
Jeanette showed us a very pretty teal and blue shoulder bag she had made with a special interior pouch designed for her mobile phone. She noted she was pleased with the colour separation she had achieved in the bag’s design. (sorry no photo)
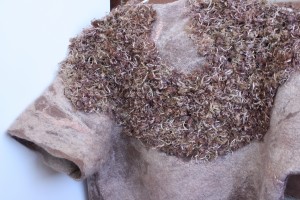
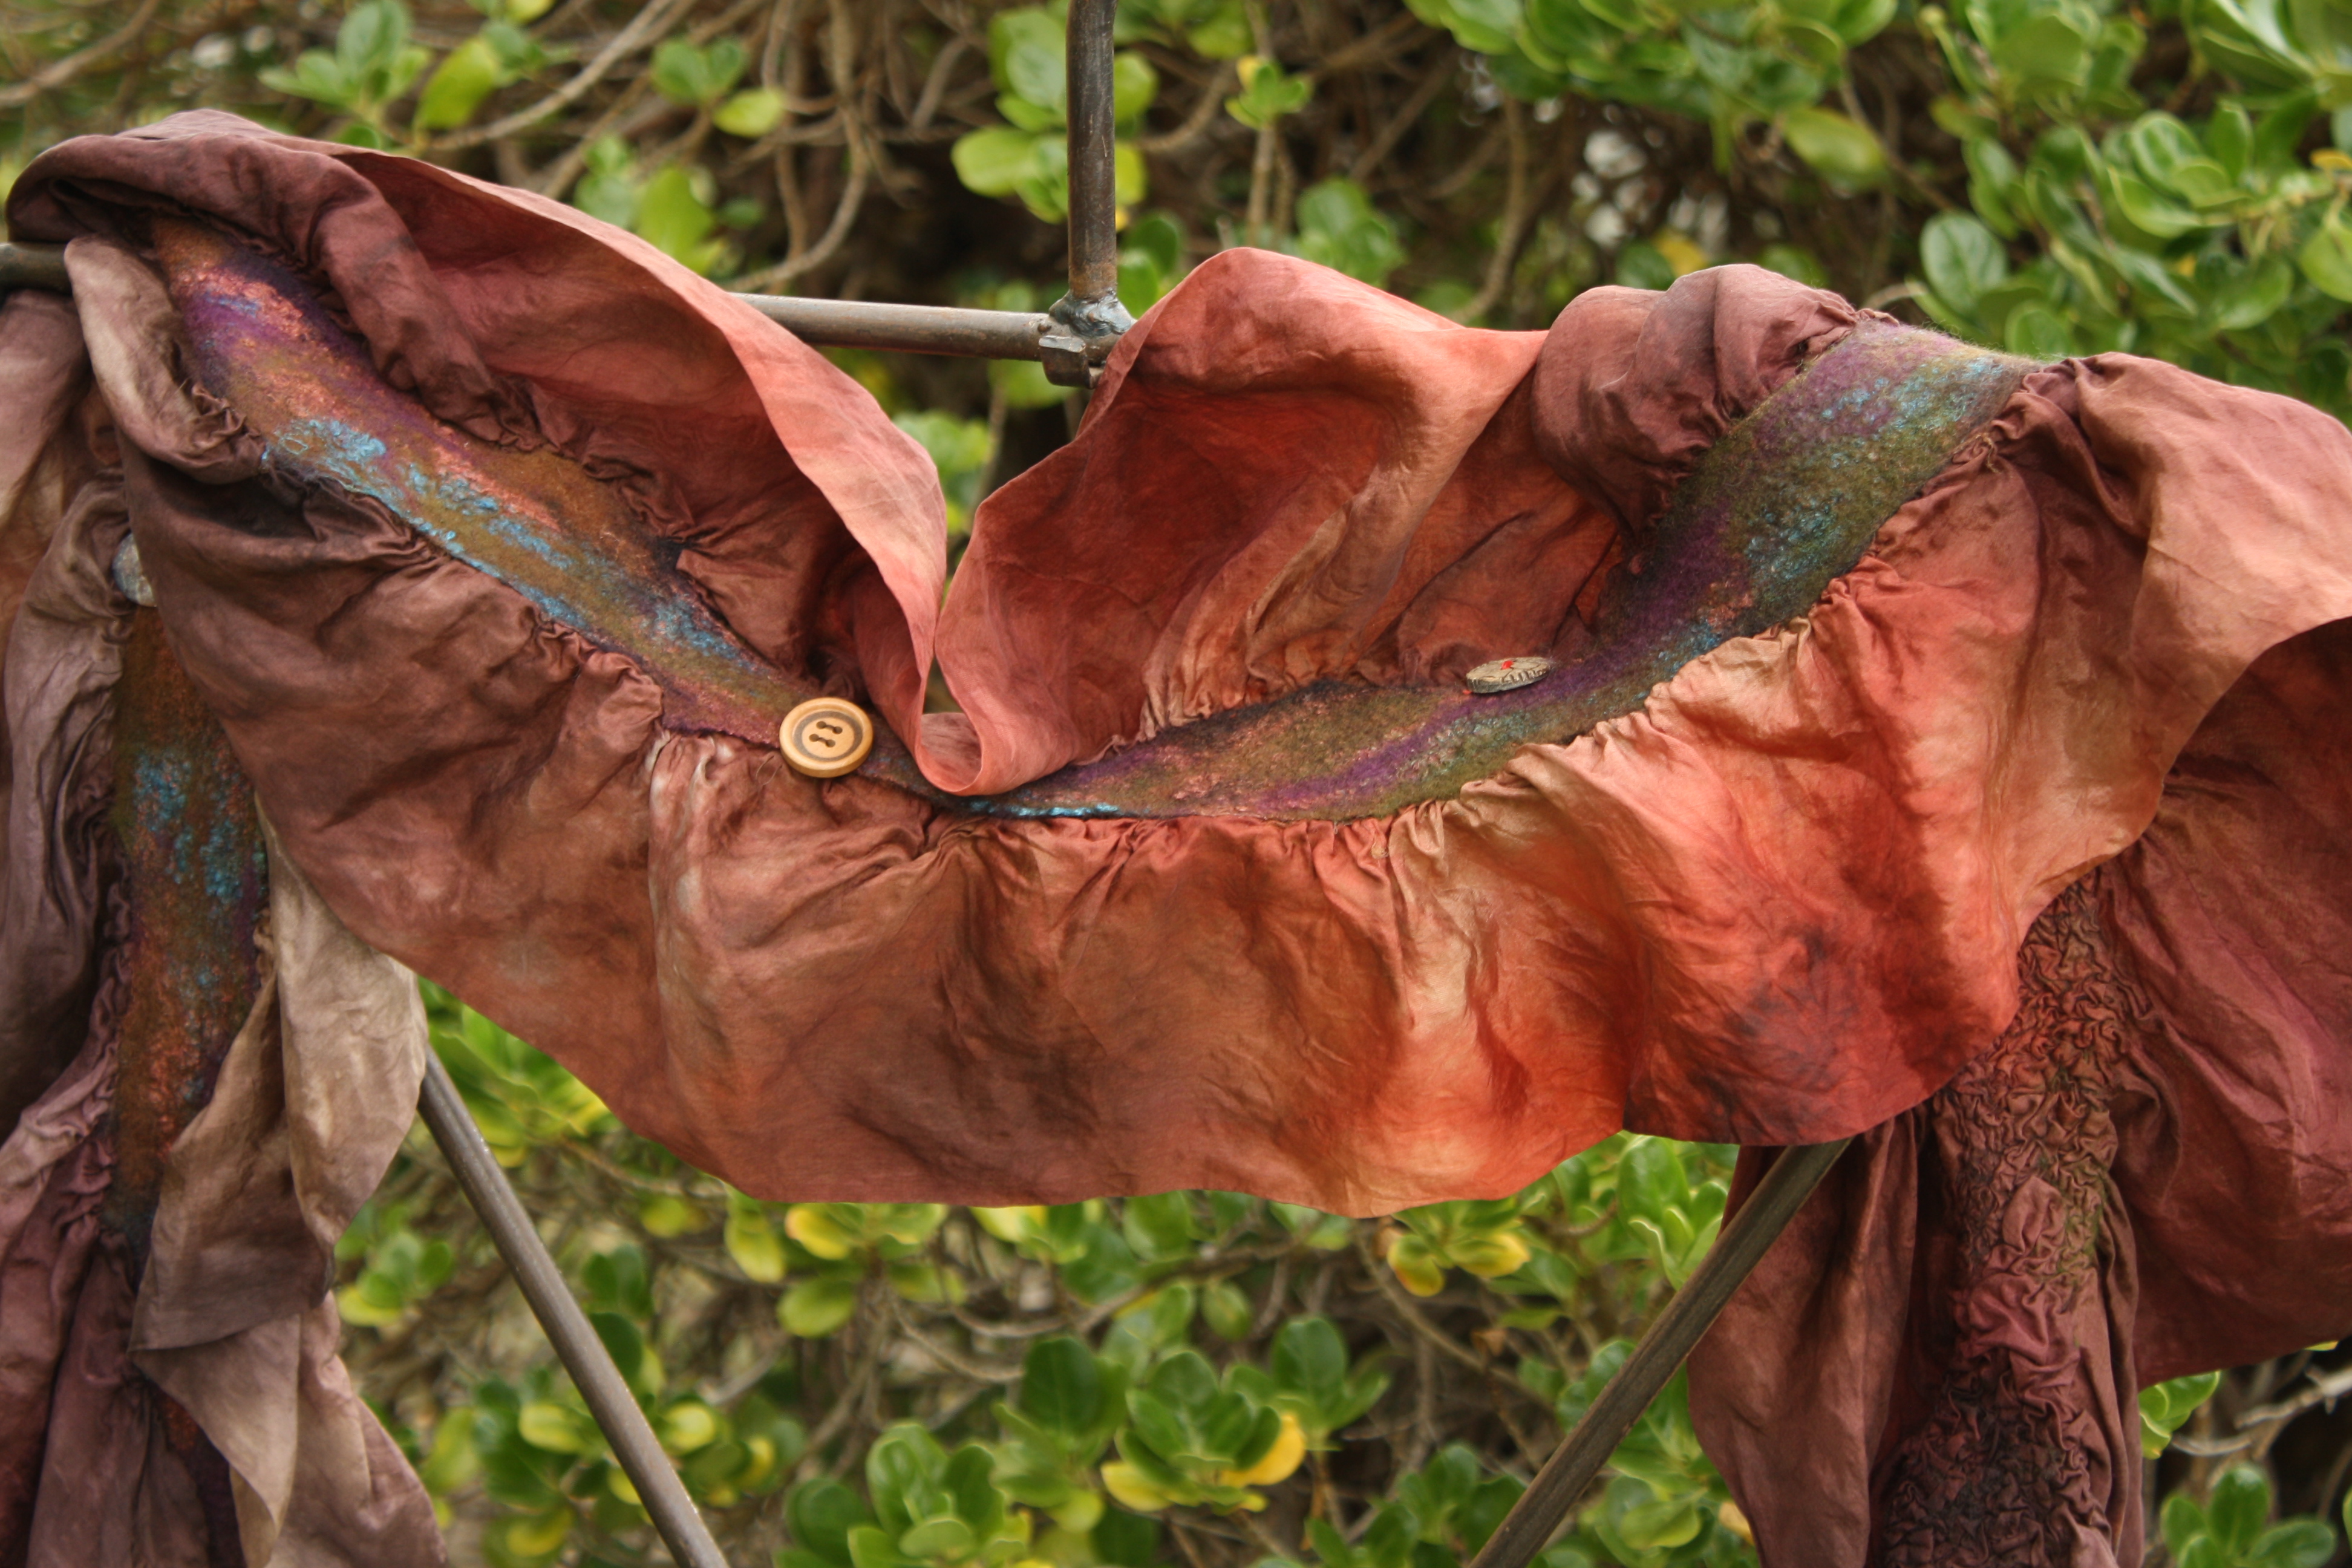
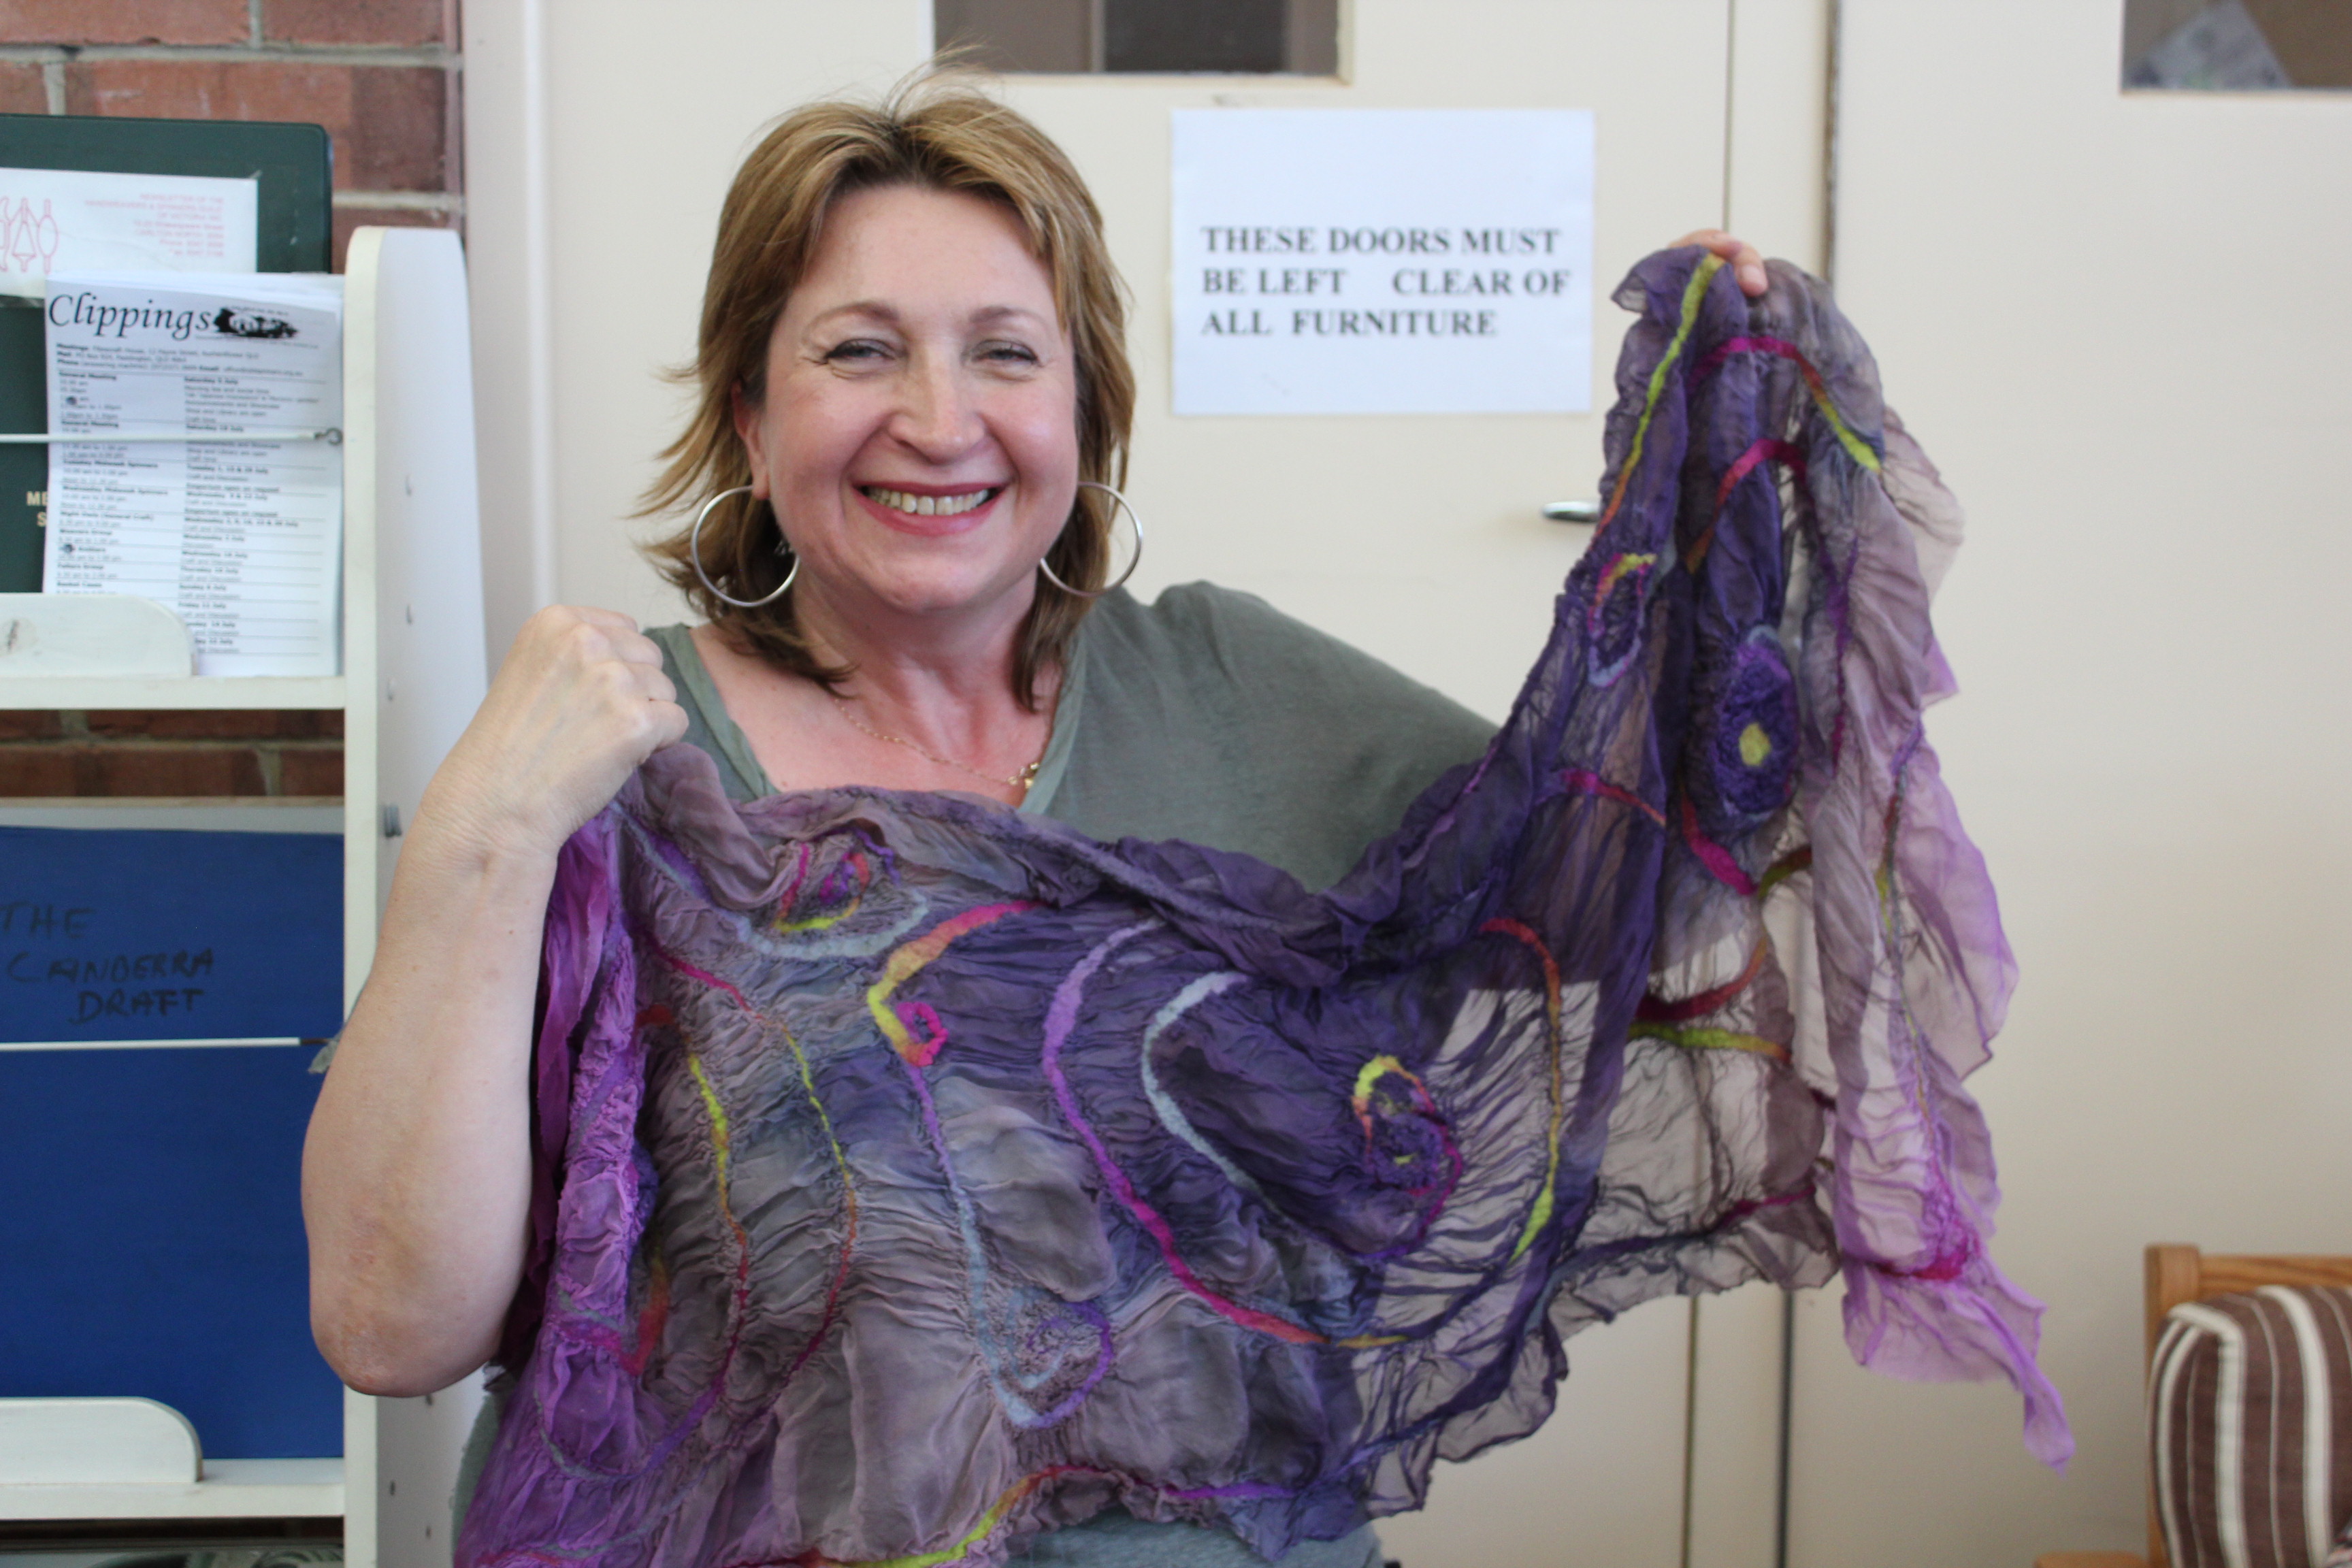
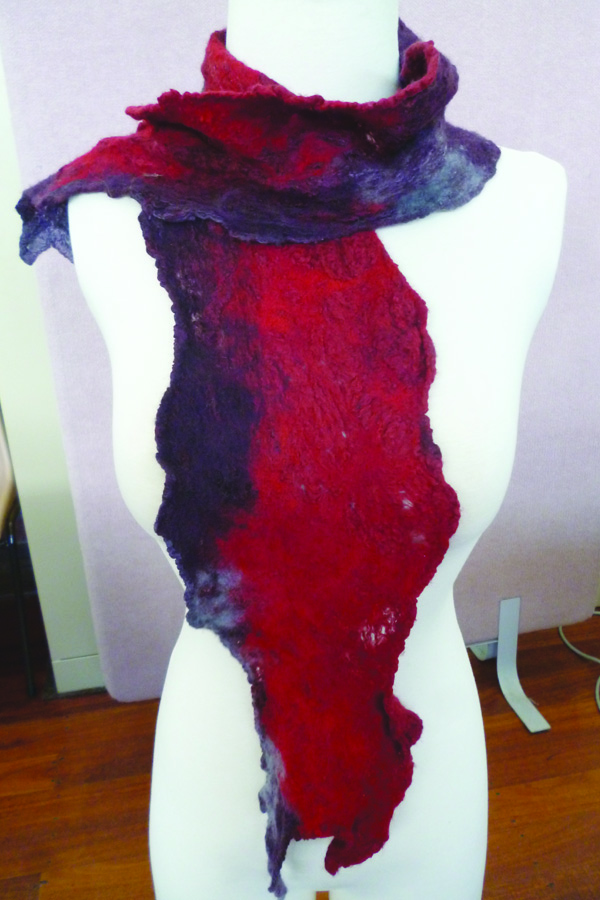
New member Jen Thomson said she was very happy to have received lots of feedback from members at the meeting when she brought along her delicate nuno felted paj silk in Chili & Pepper colourway with ruffled edges and decorative buttons.
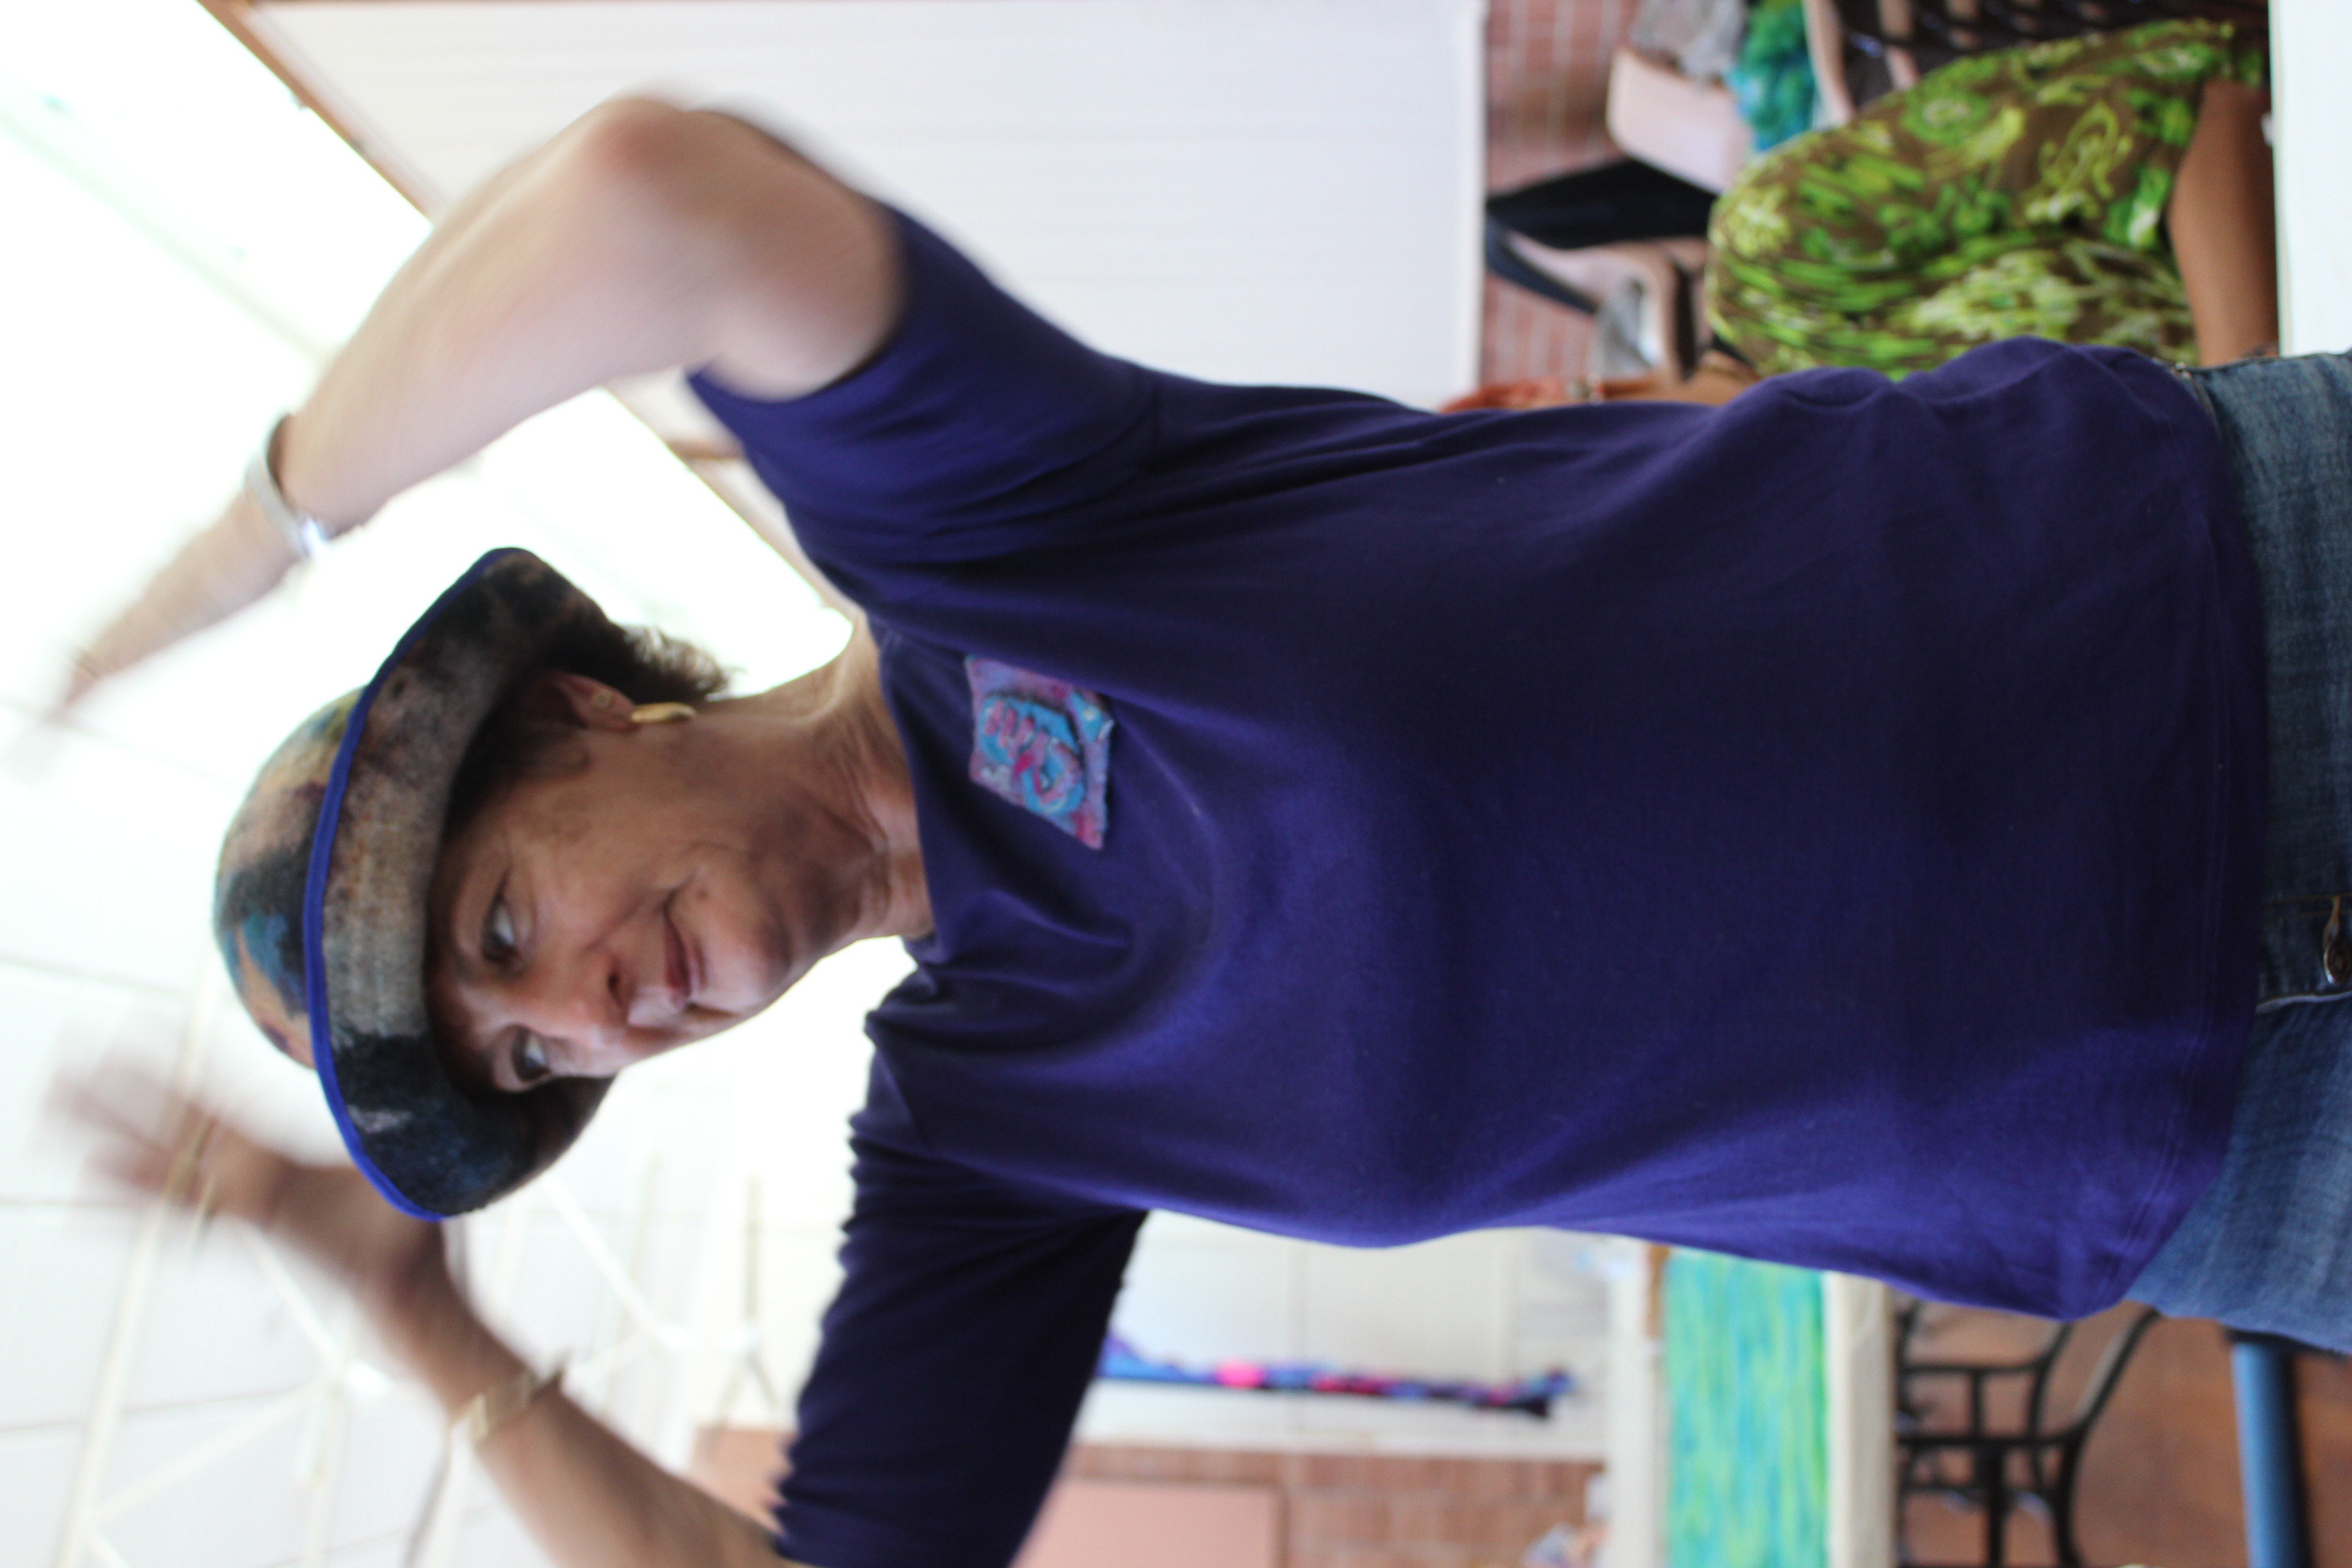
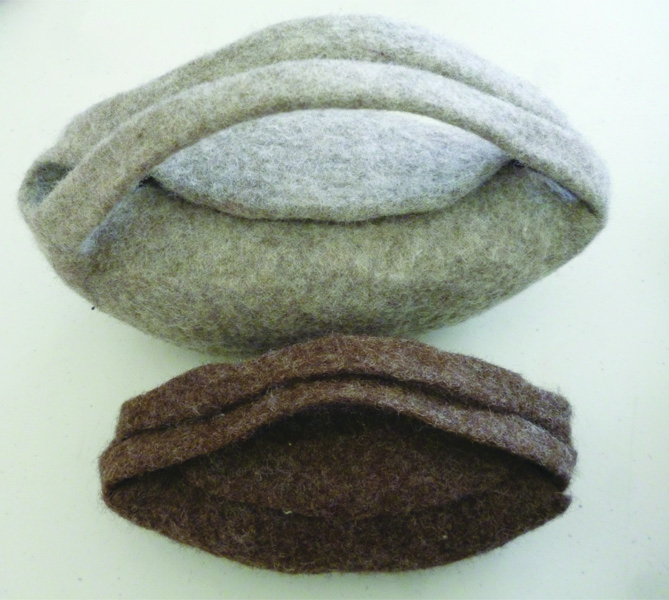
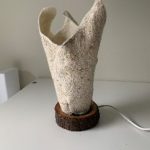
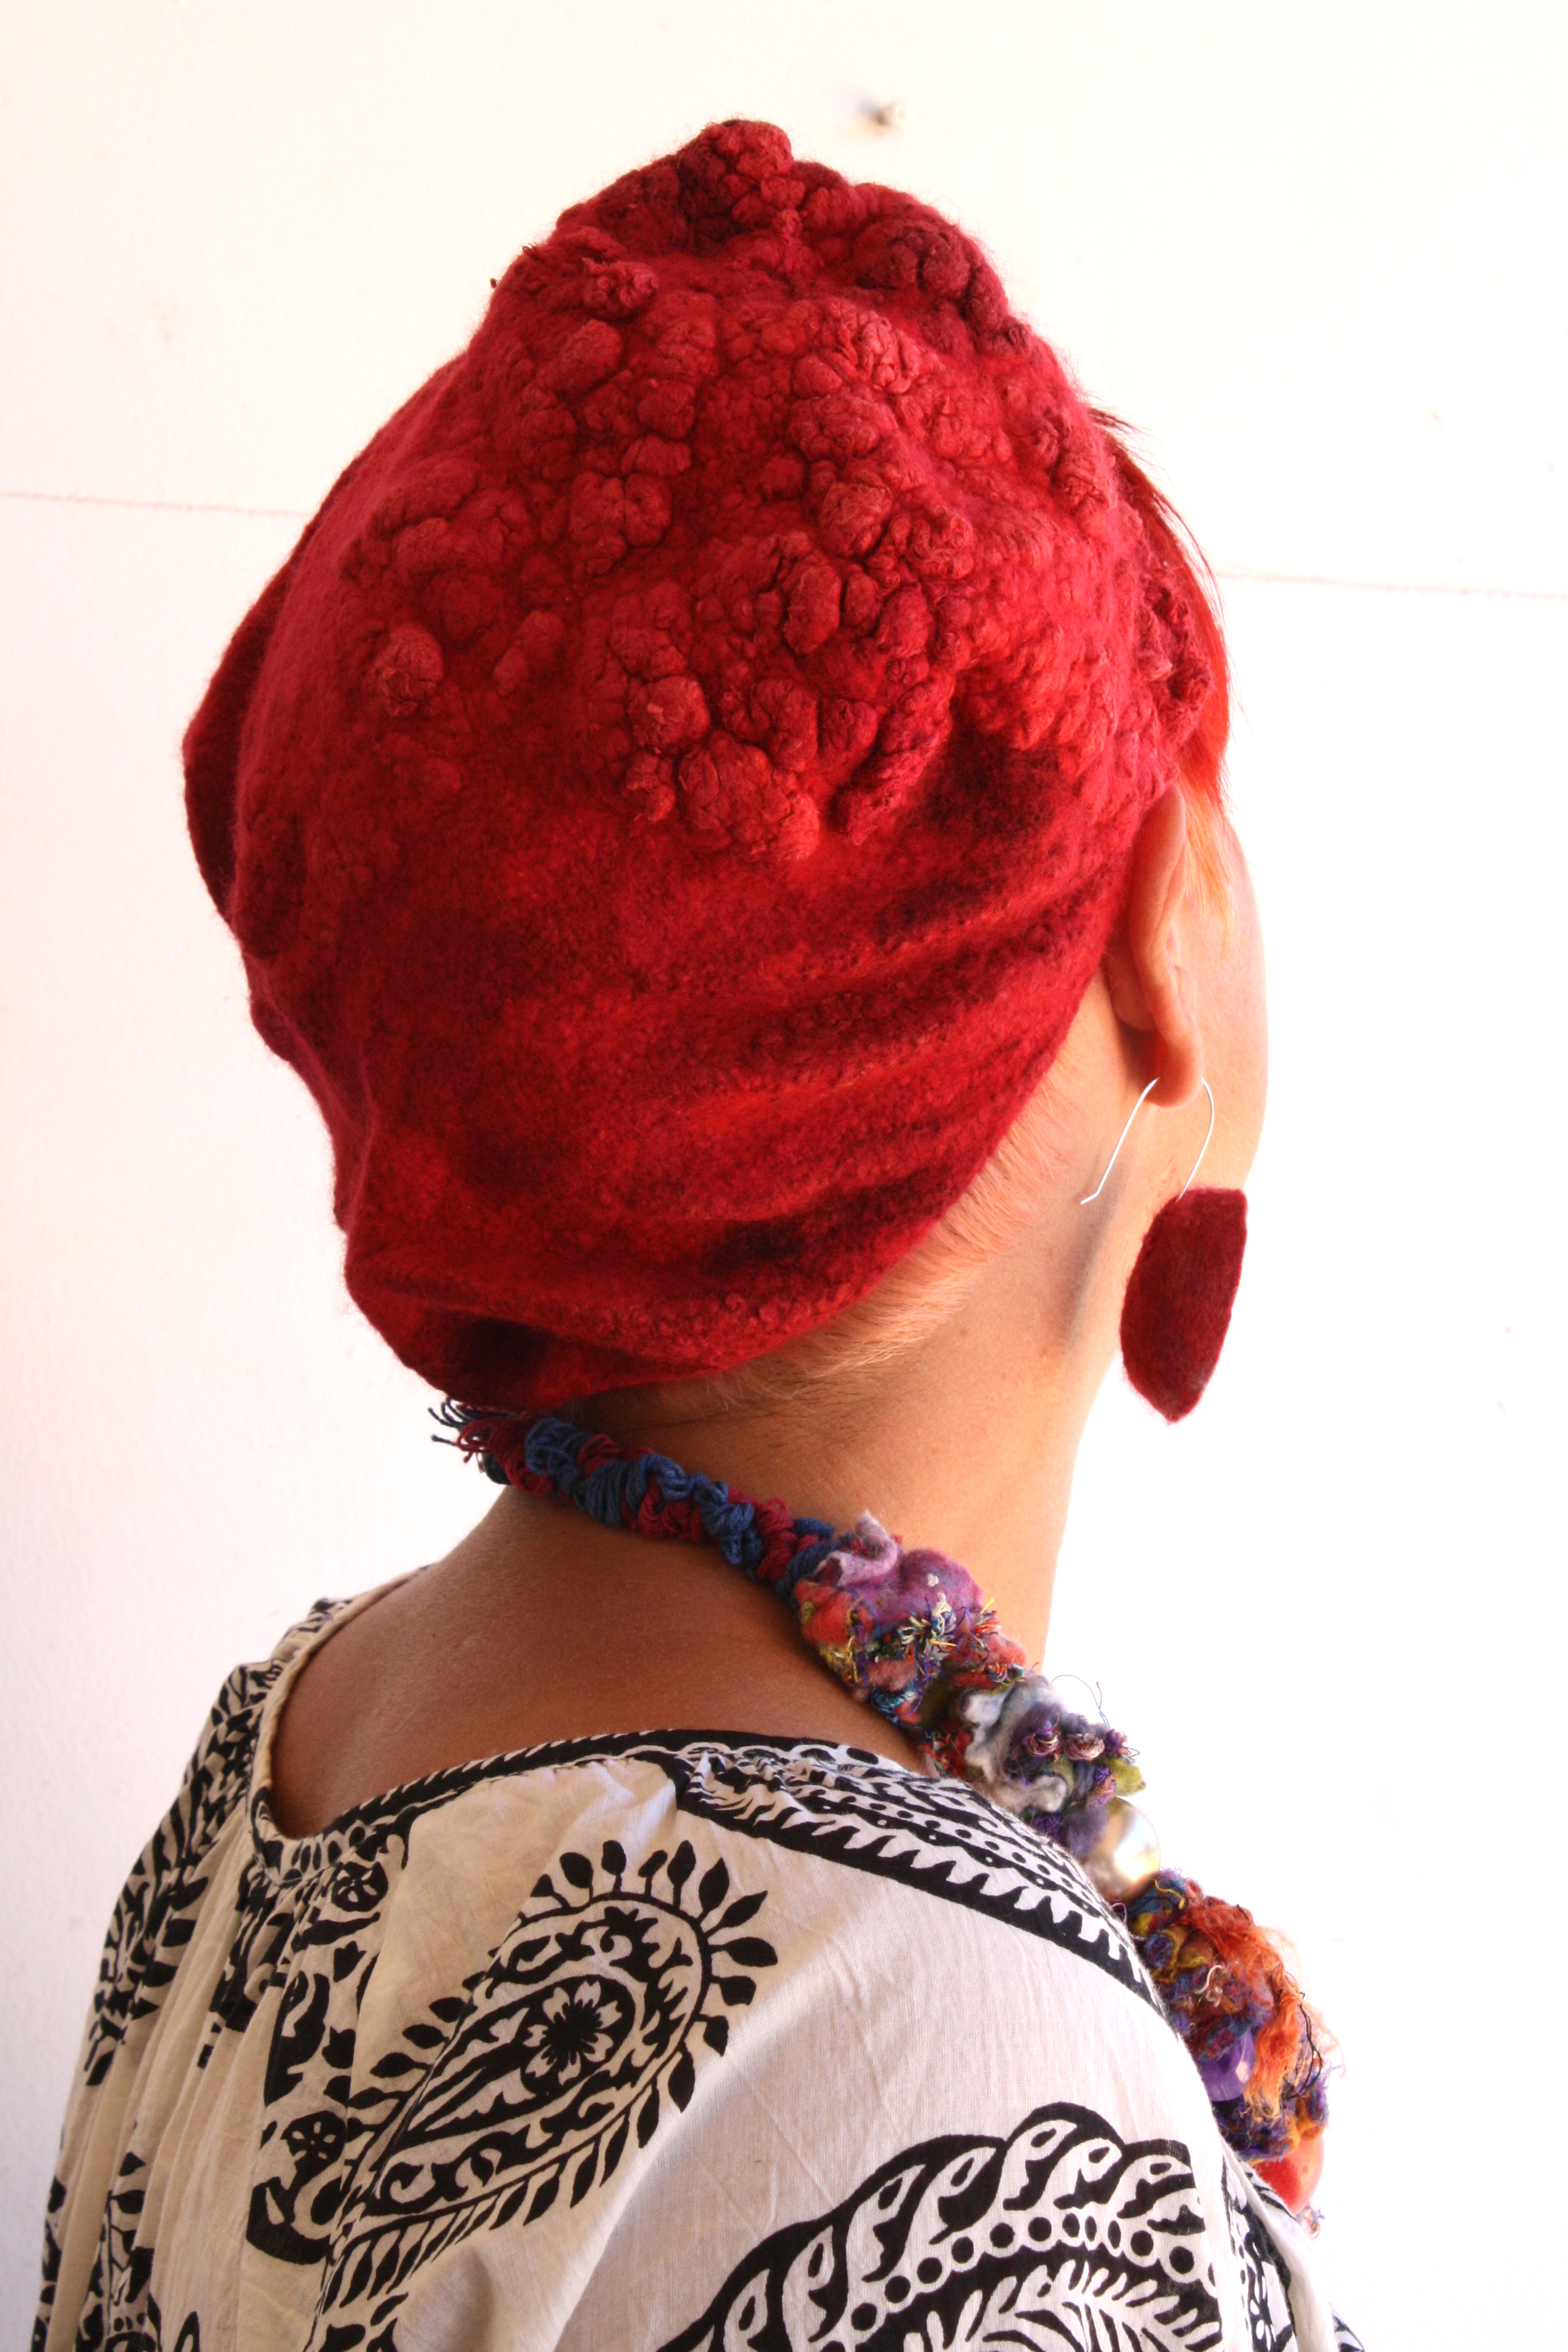
Sue Eslick modelled her latest very fetching hat featuring 2 horns, and decorated with round prefelt shapes of various colours on a navy background. She also showed us a felted round , domed shaped clasp. She said she had achieved the dome shape by laying a thicker amount of wool around the clasp’s inner circle and thinner layer of wool around the outer circle. The clasp is finished with a metal pin pushed through its middle.
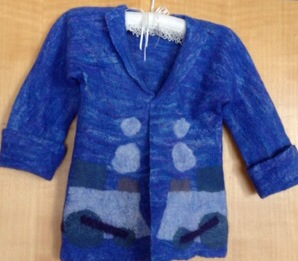
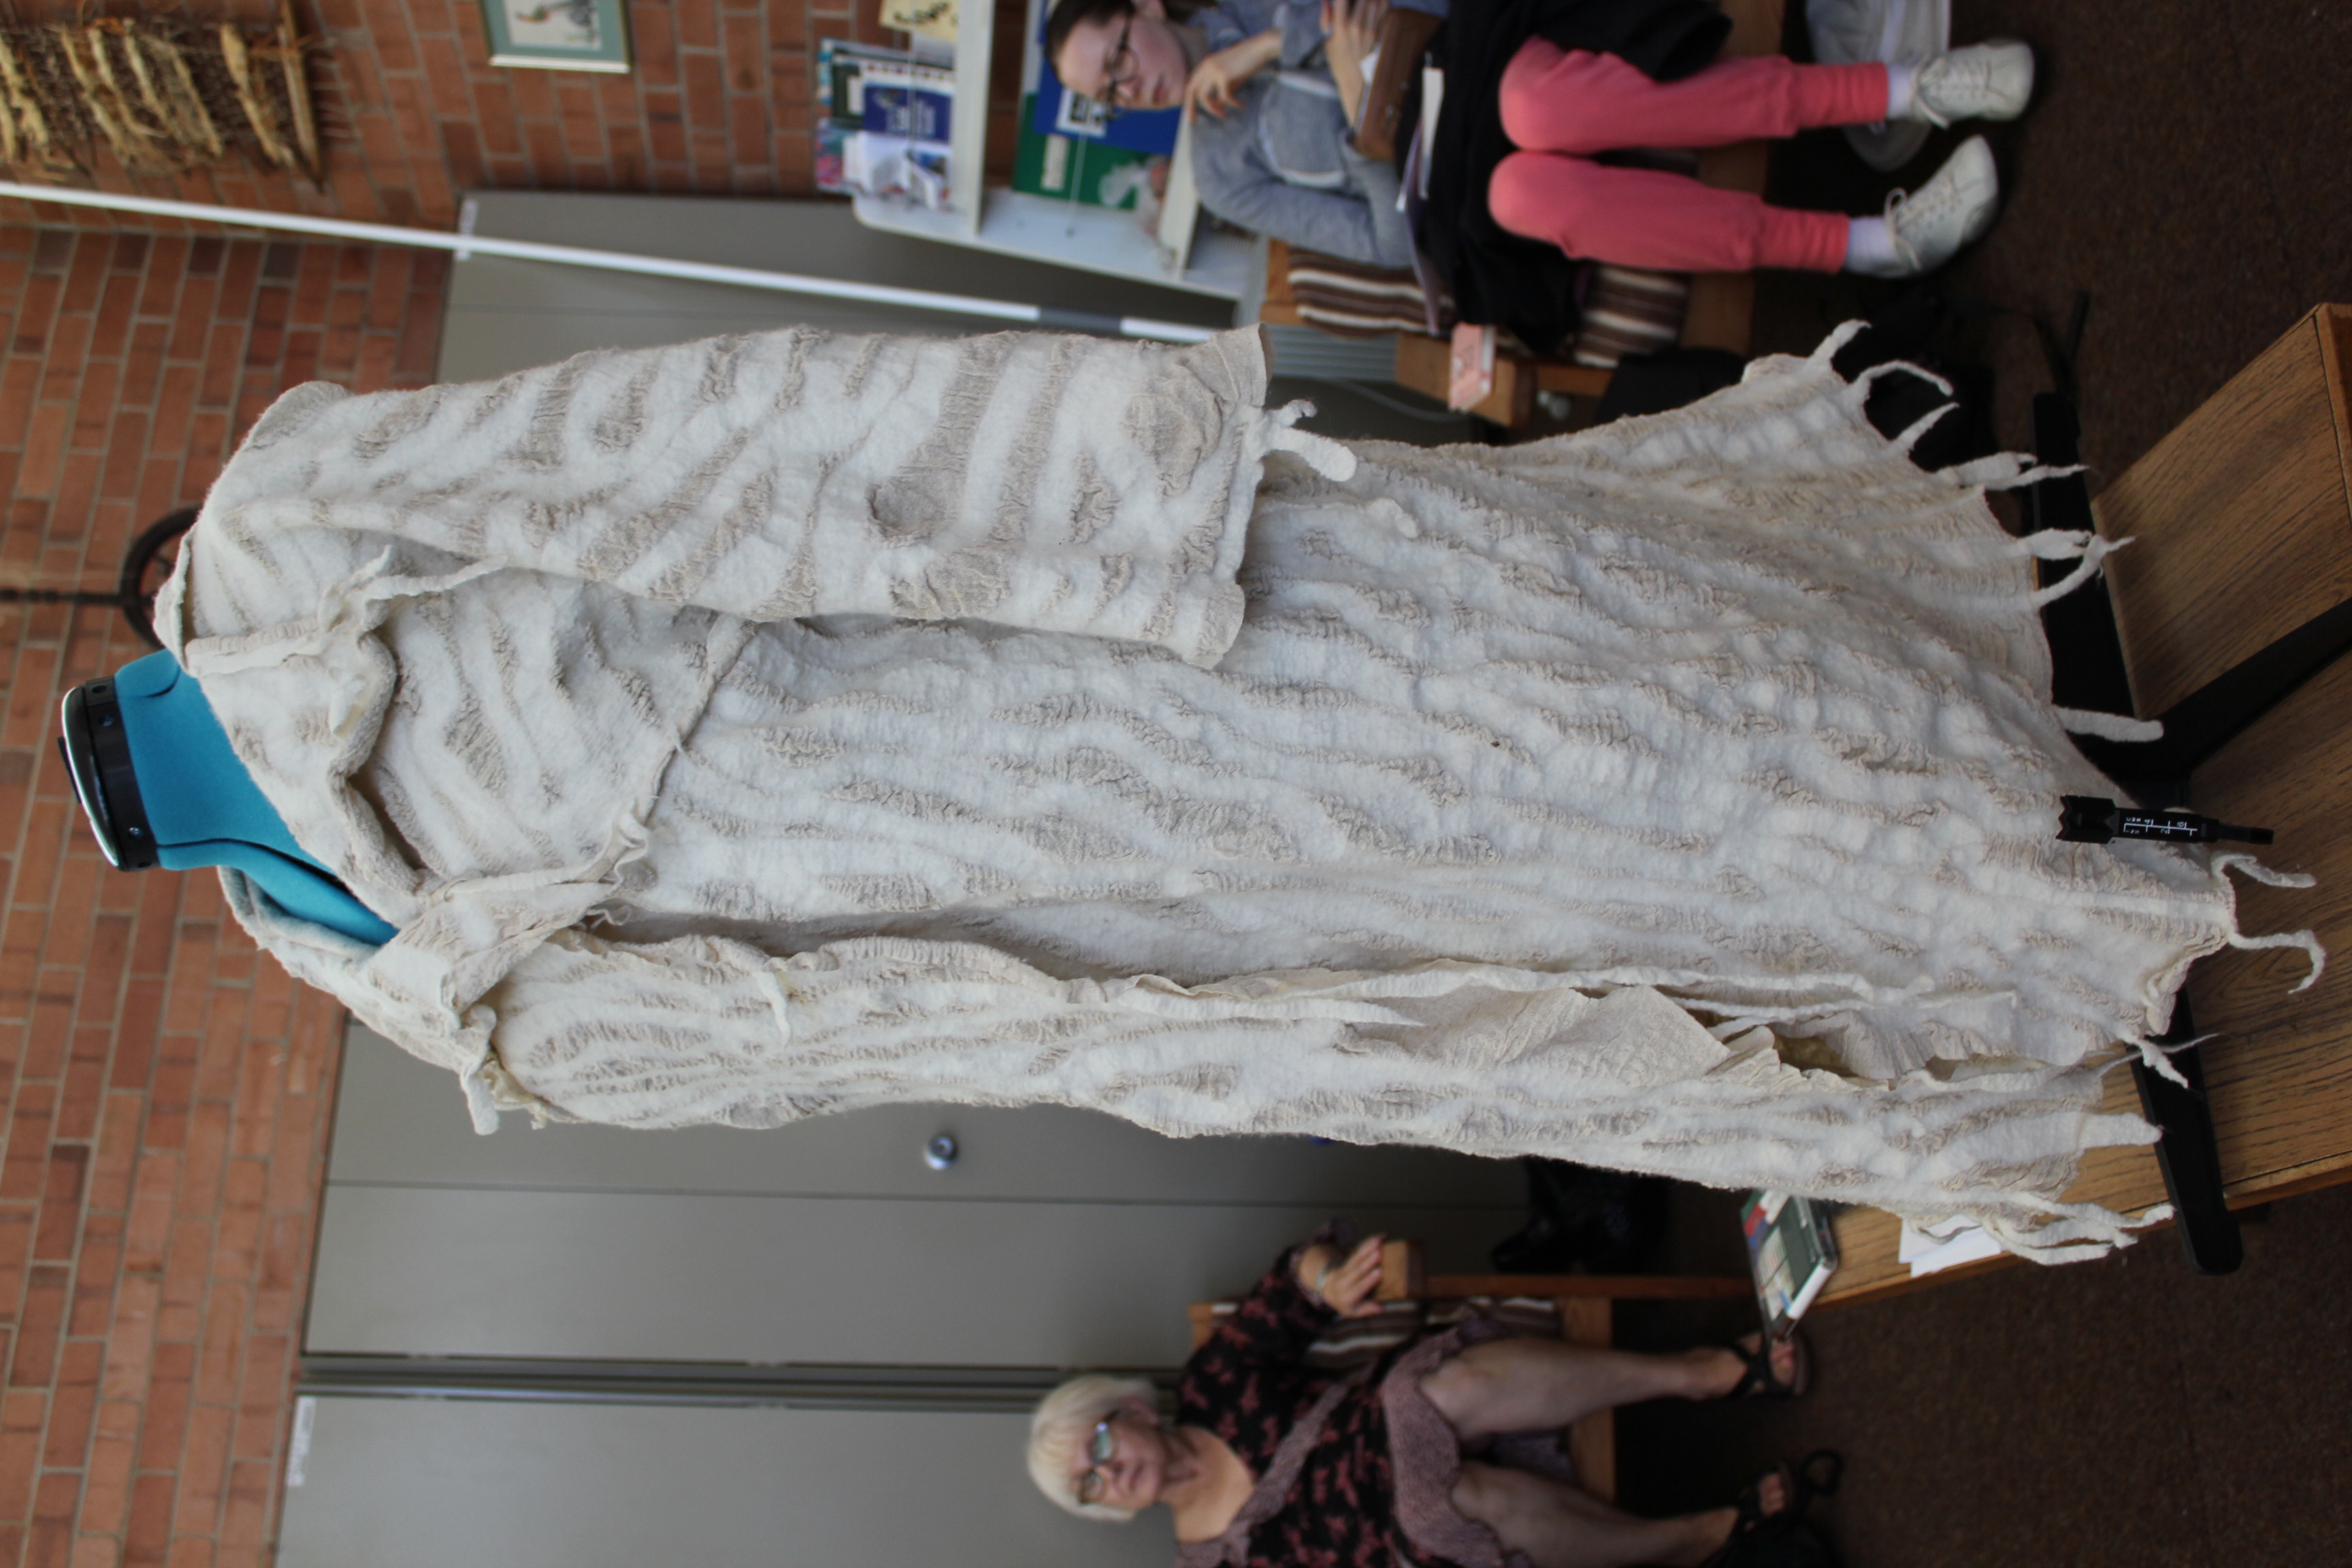
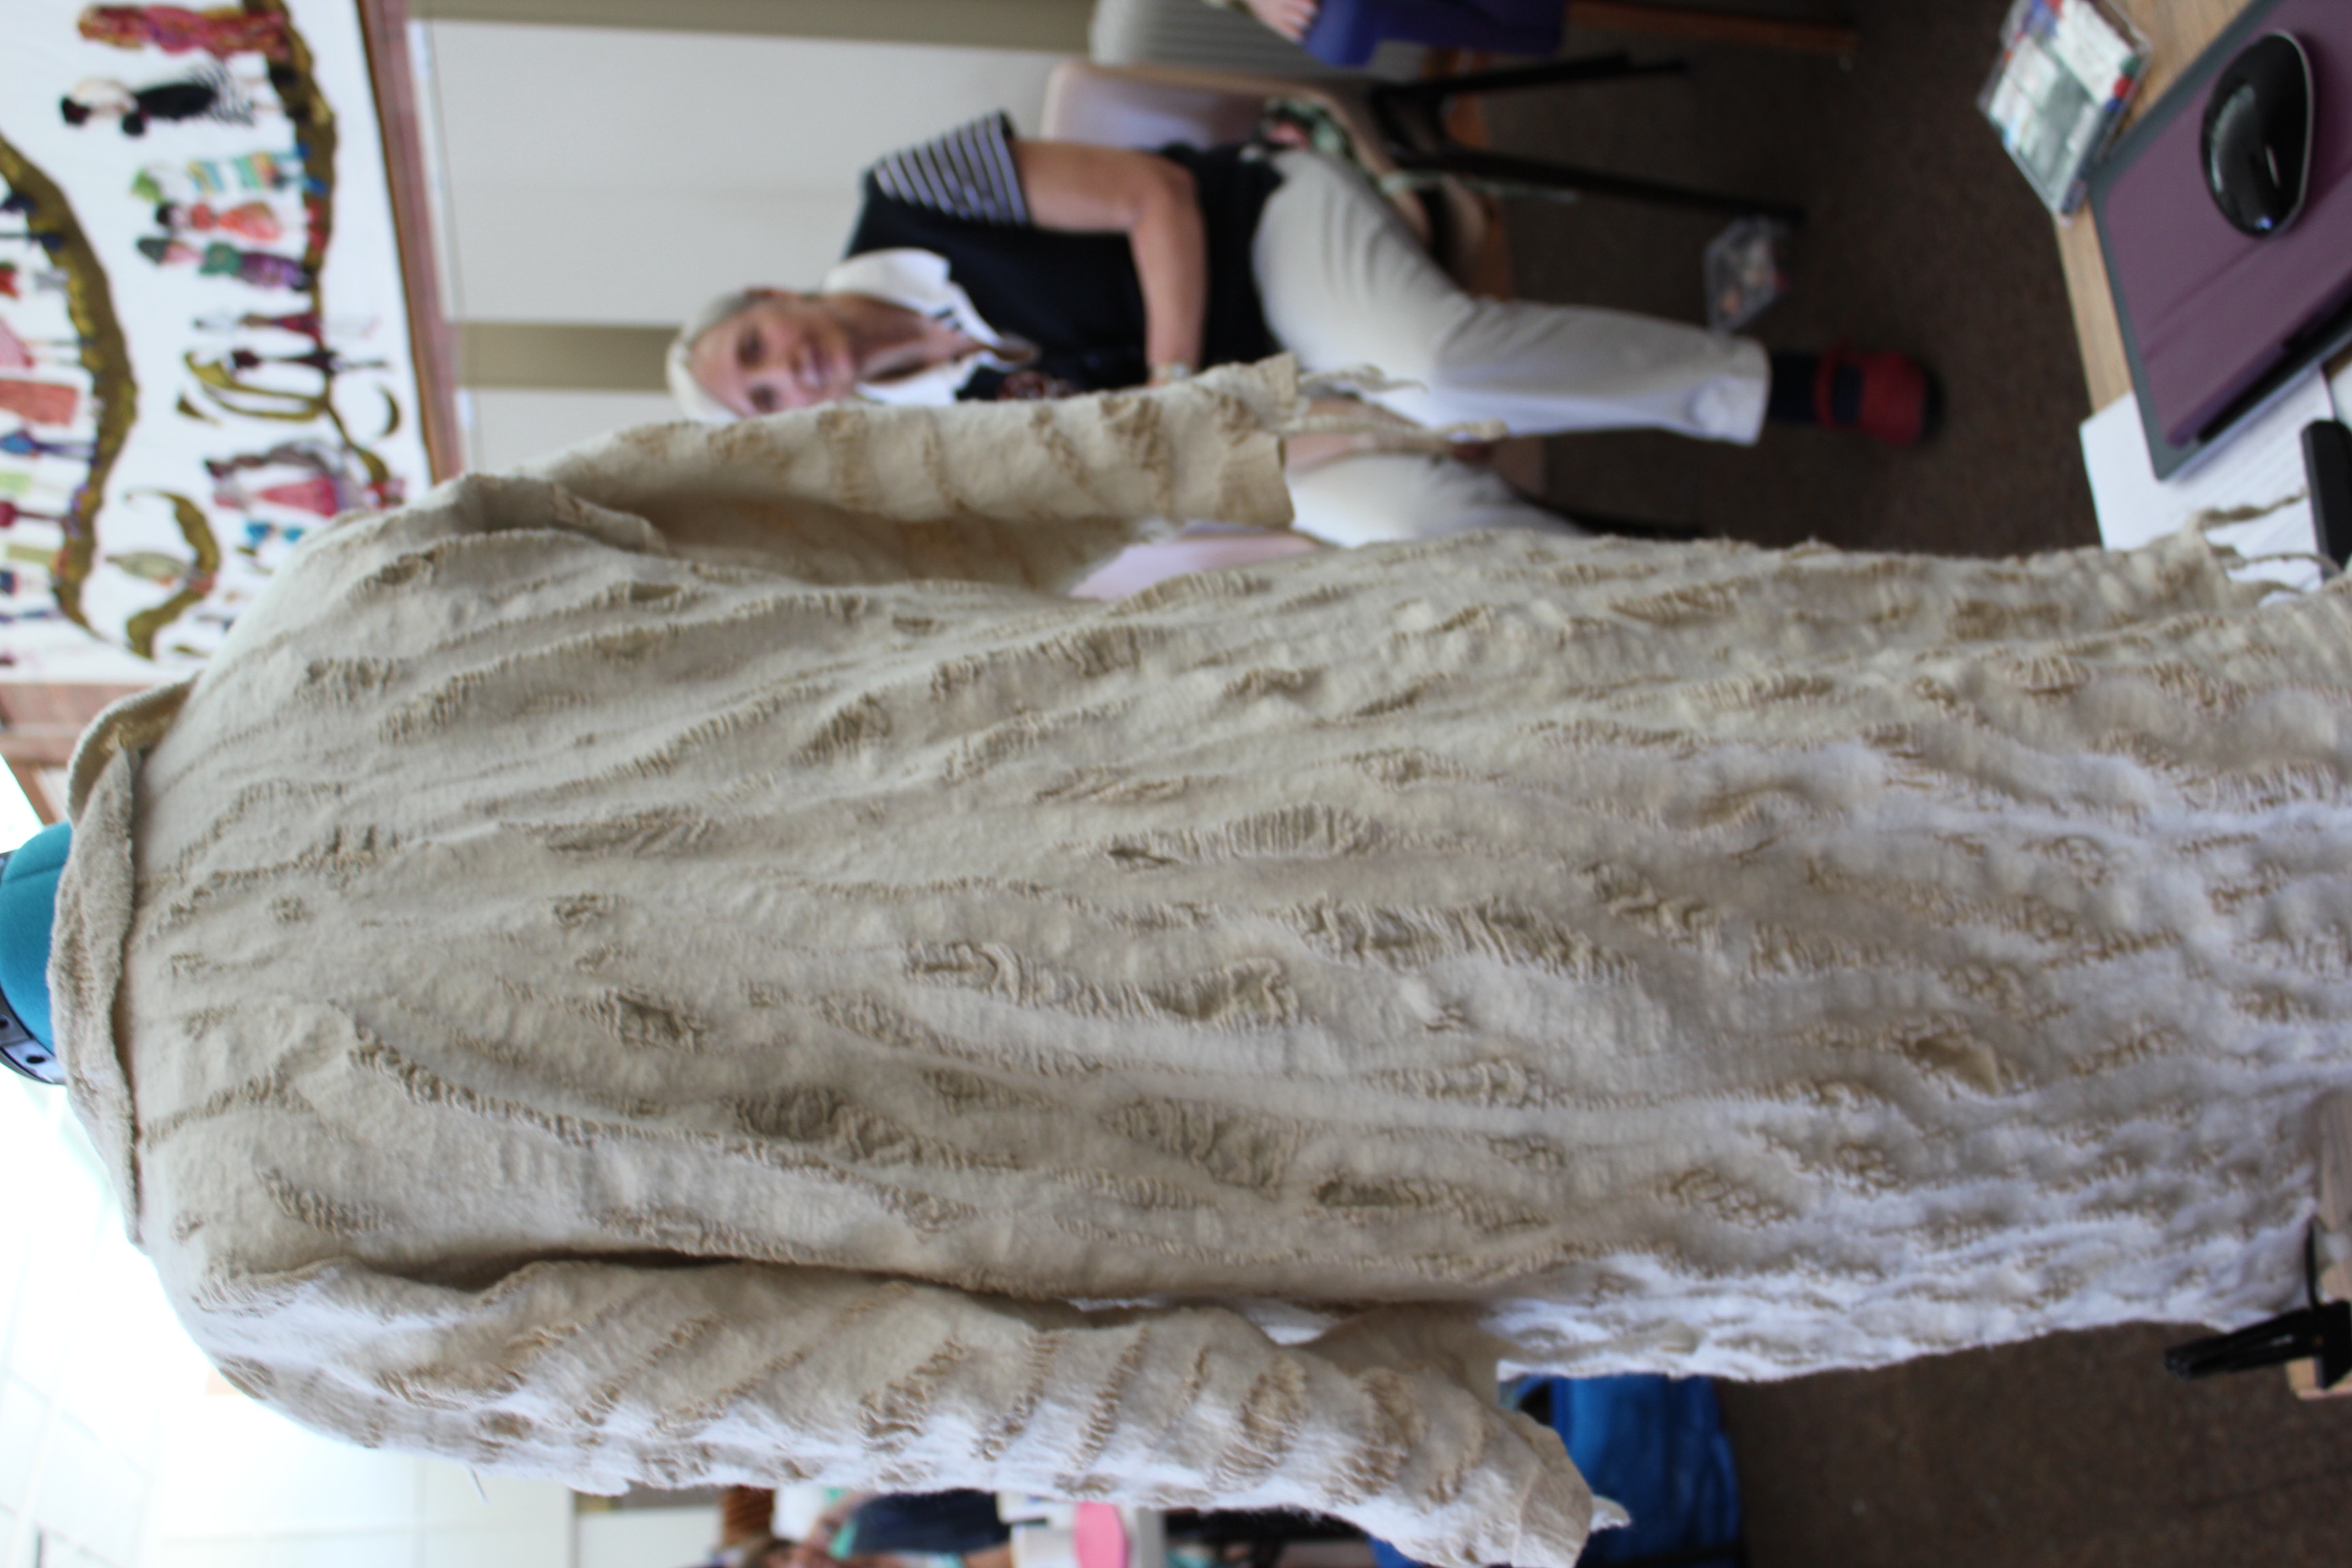
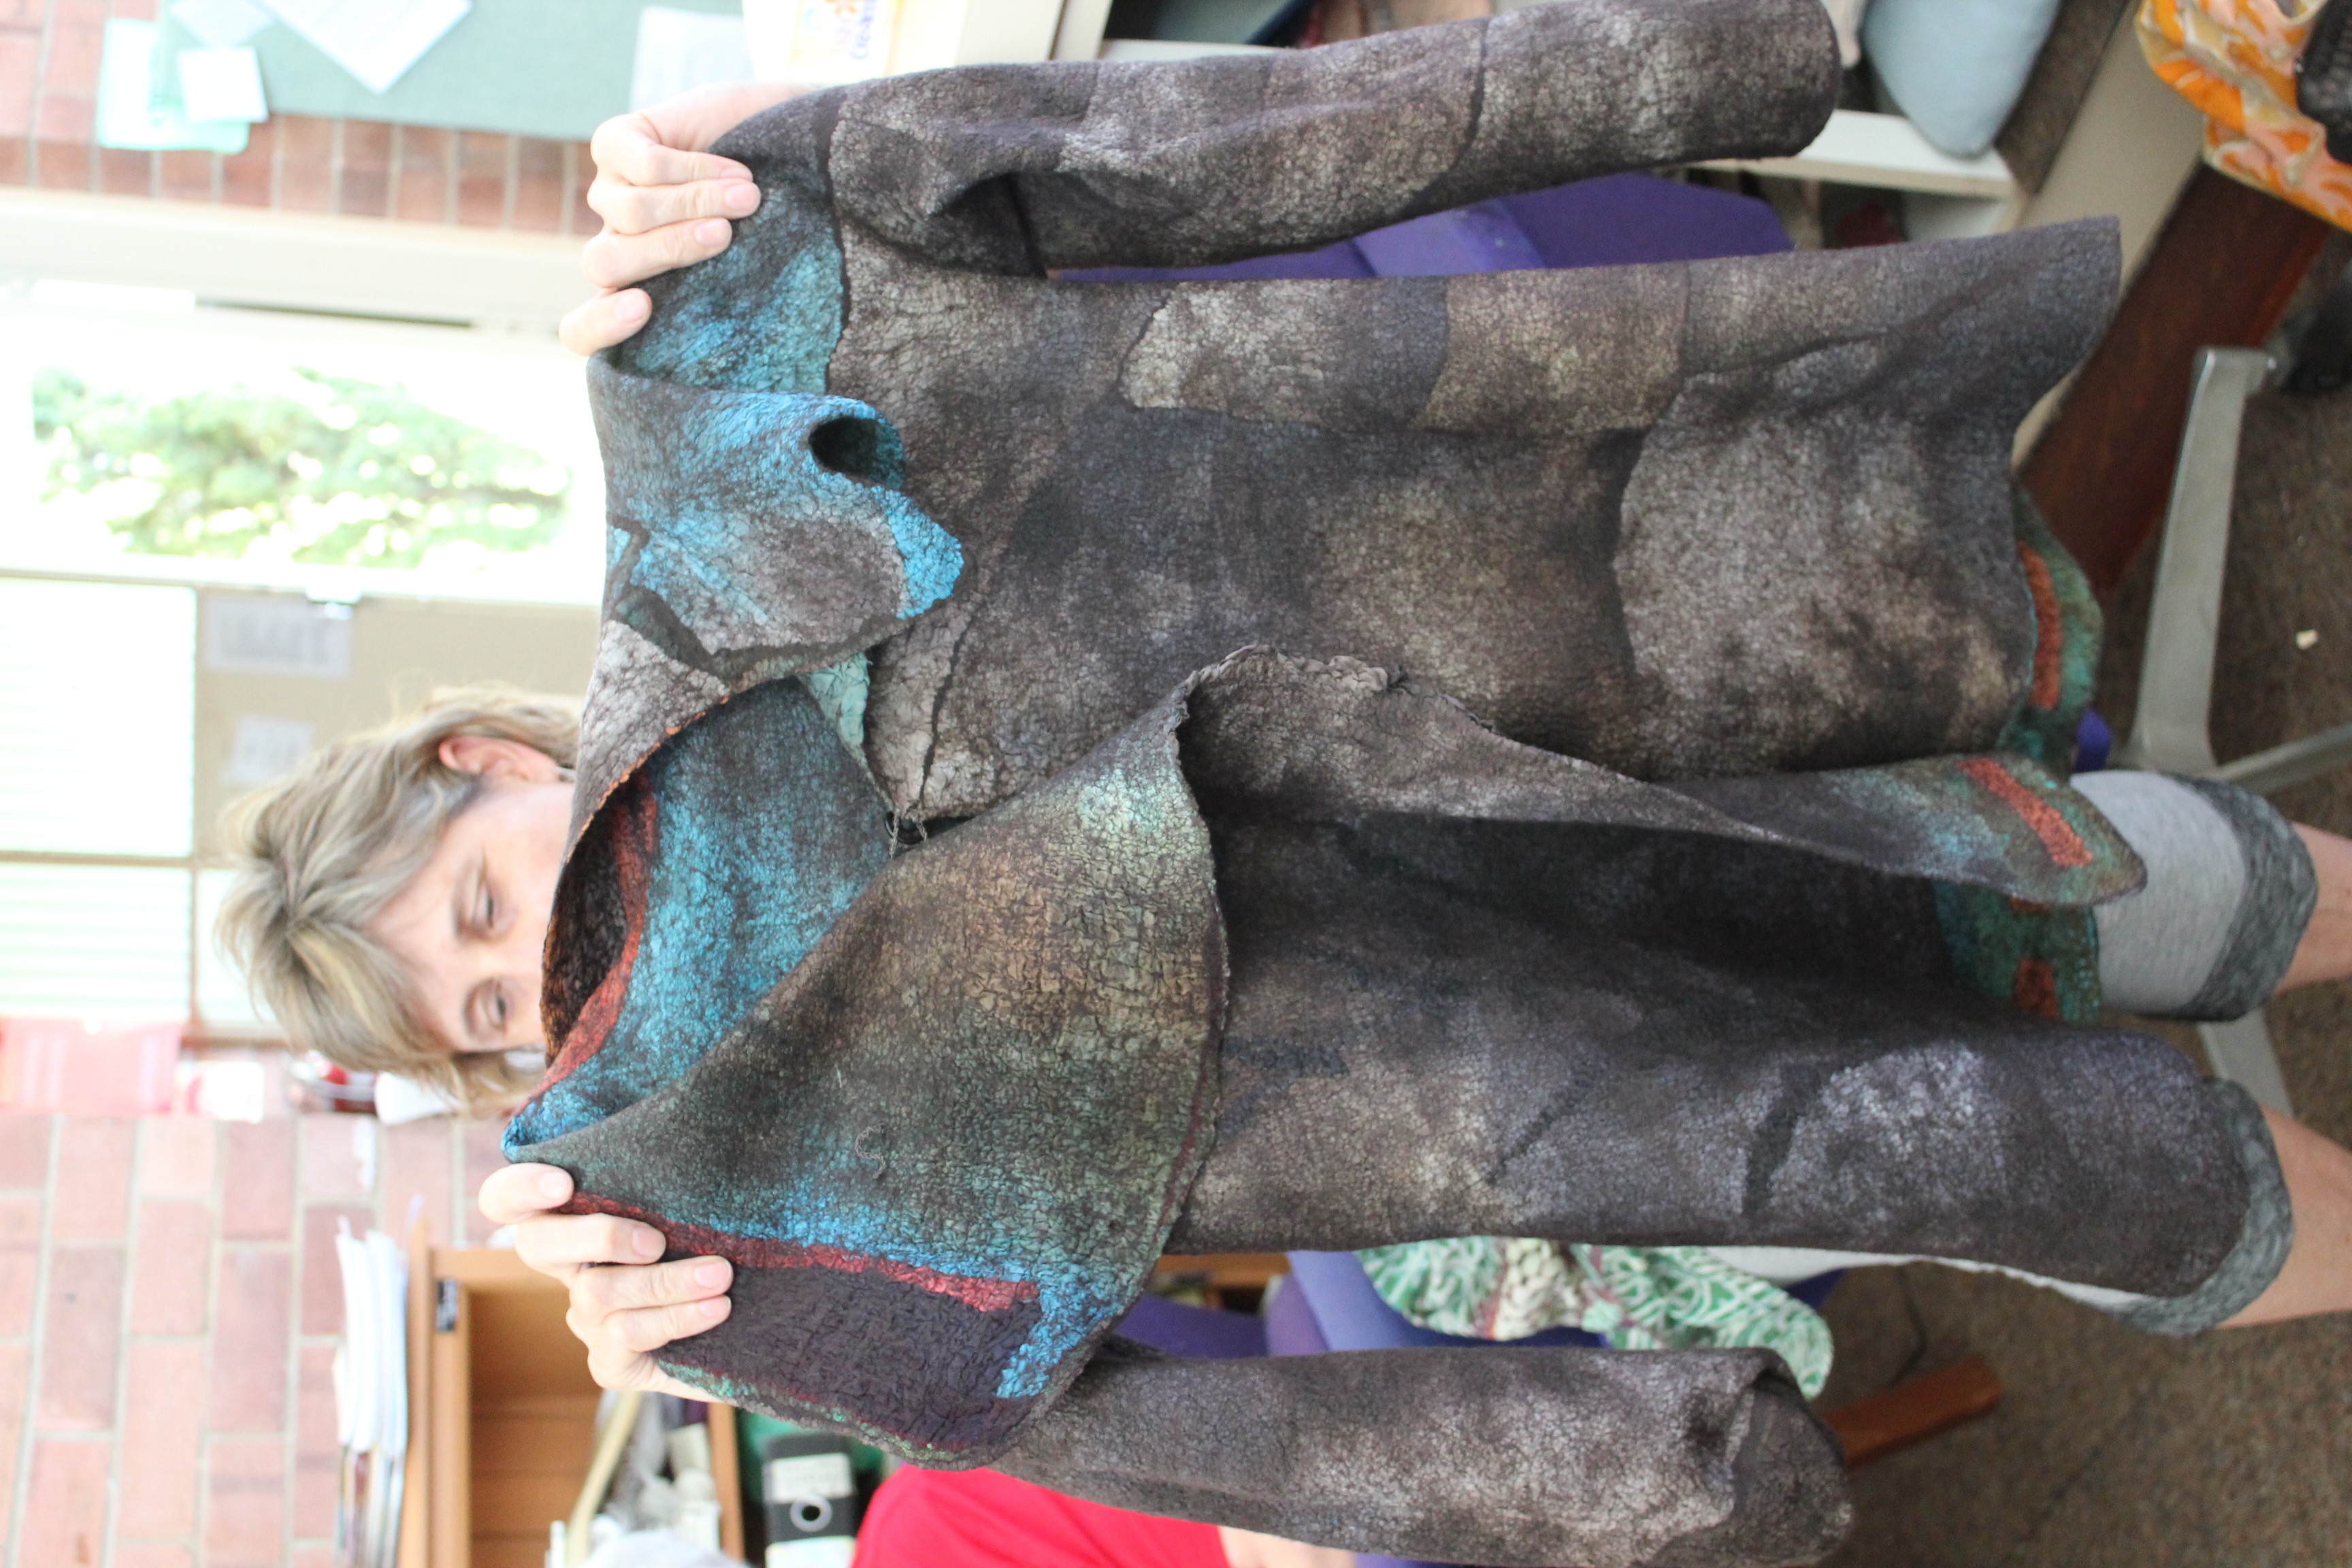
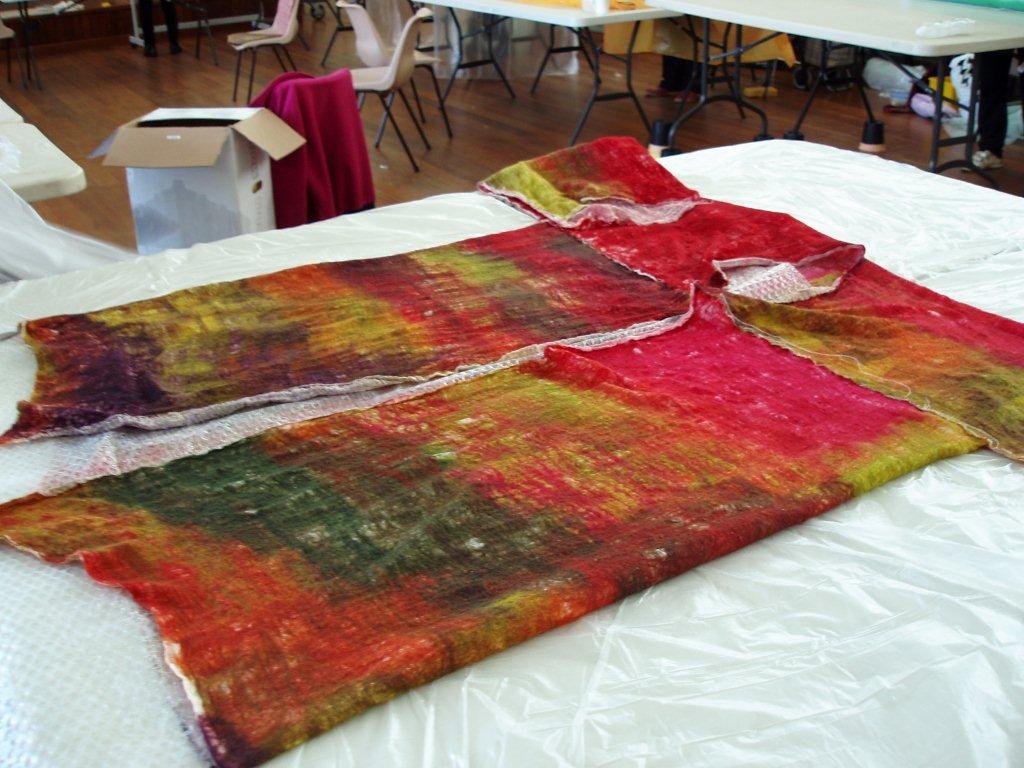
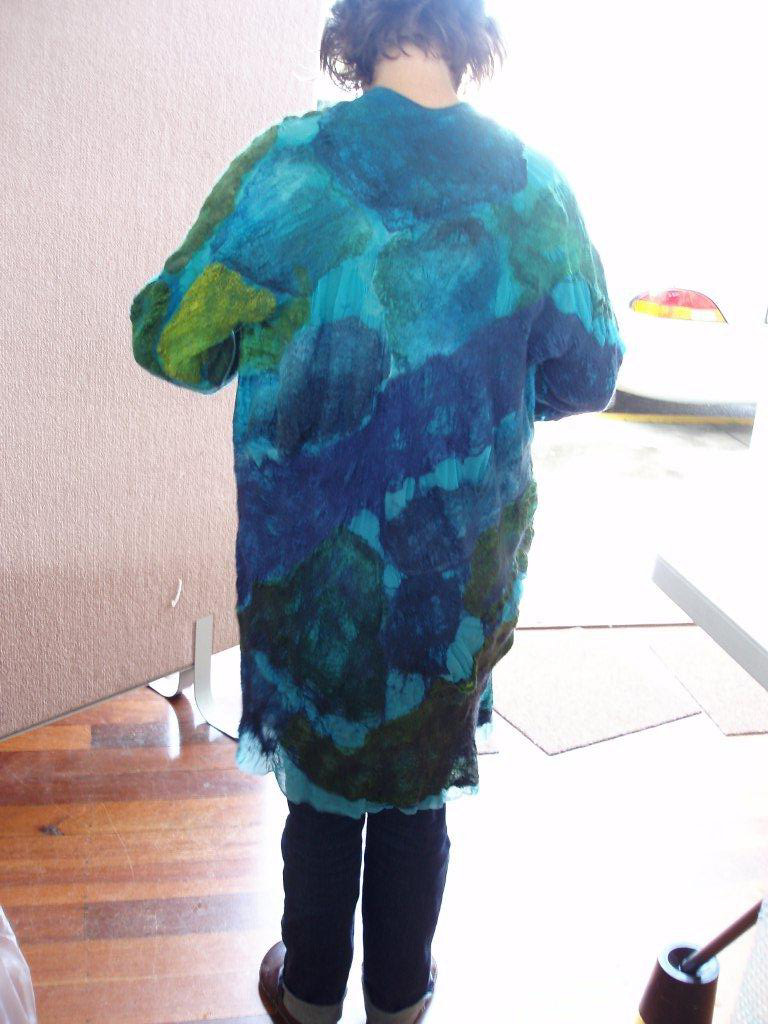
Sue Swain showed us her finished fabulous ¾ length nuno felted jacket which she had made at Jan Manning’s workshop using natural coloured wool laid in a diagonal pattern on beige muslin.
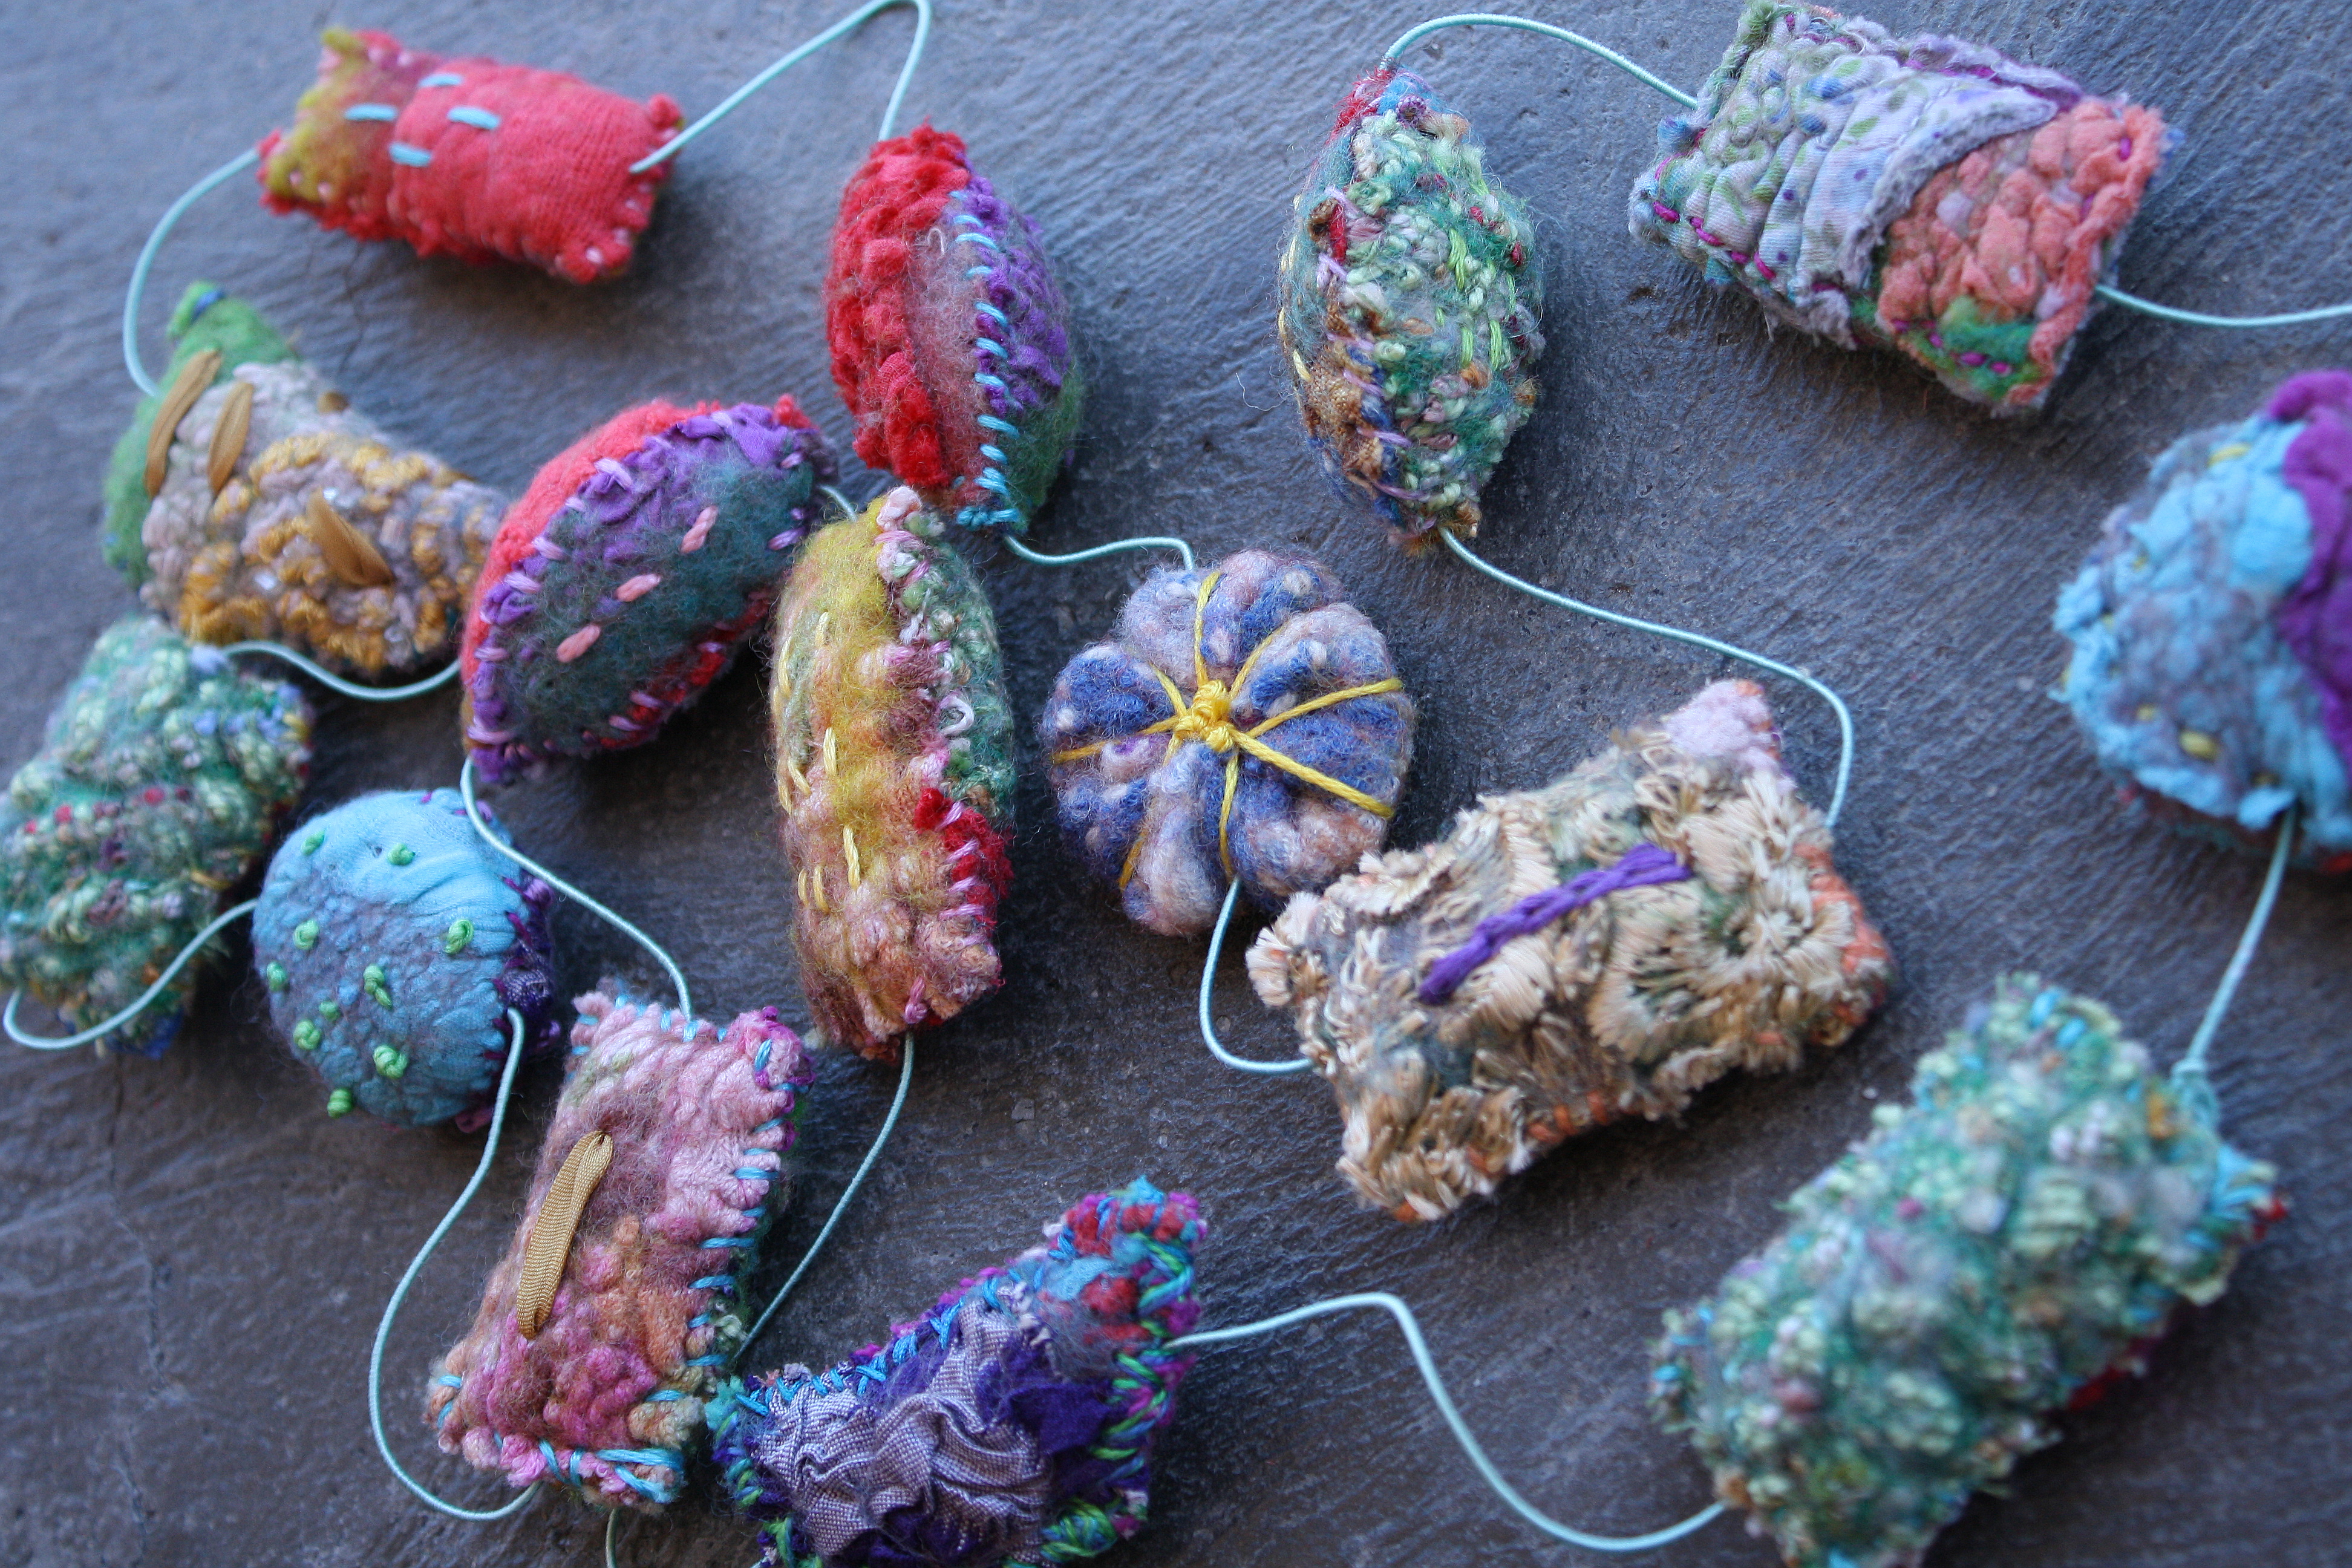
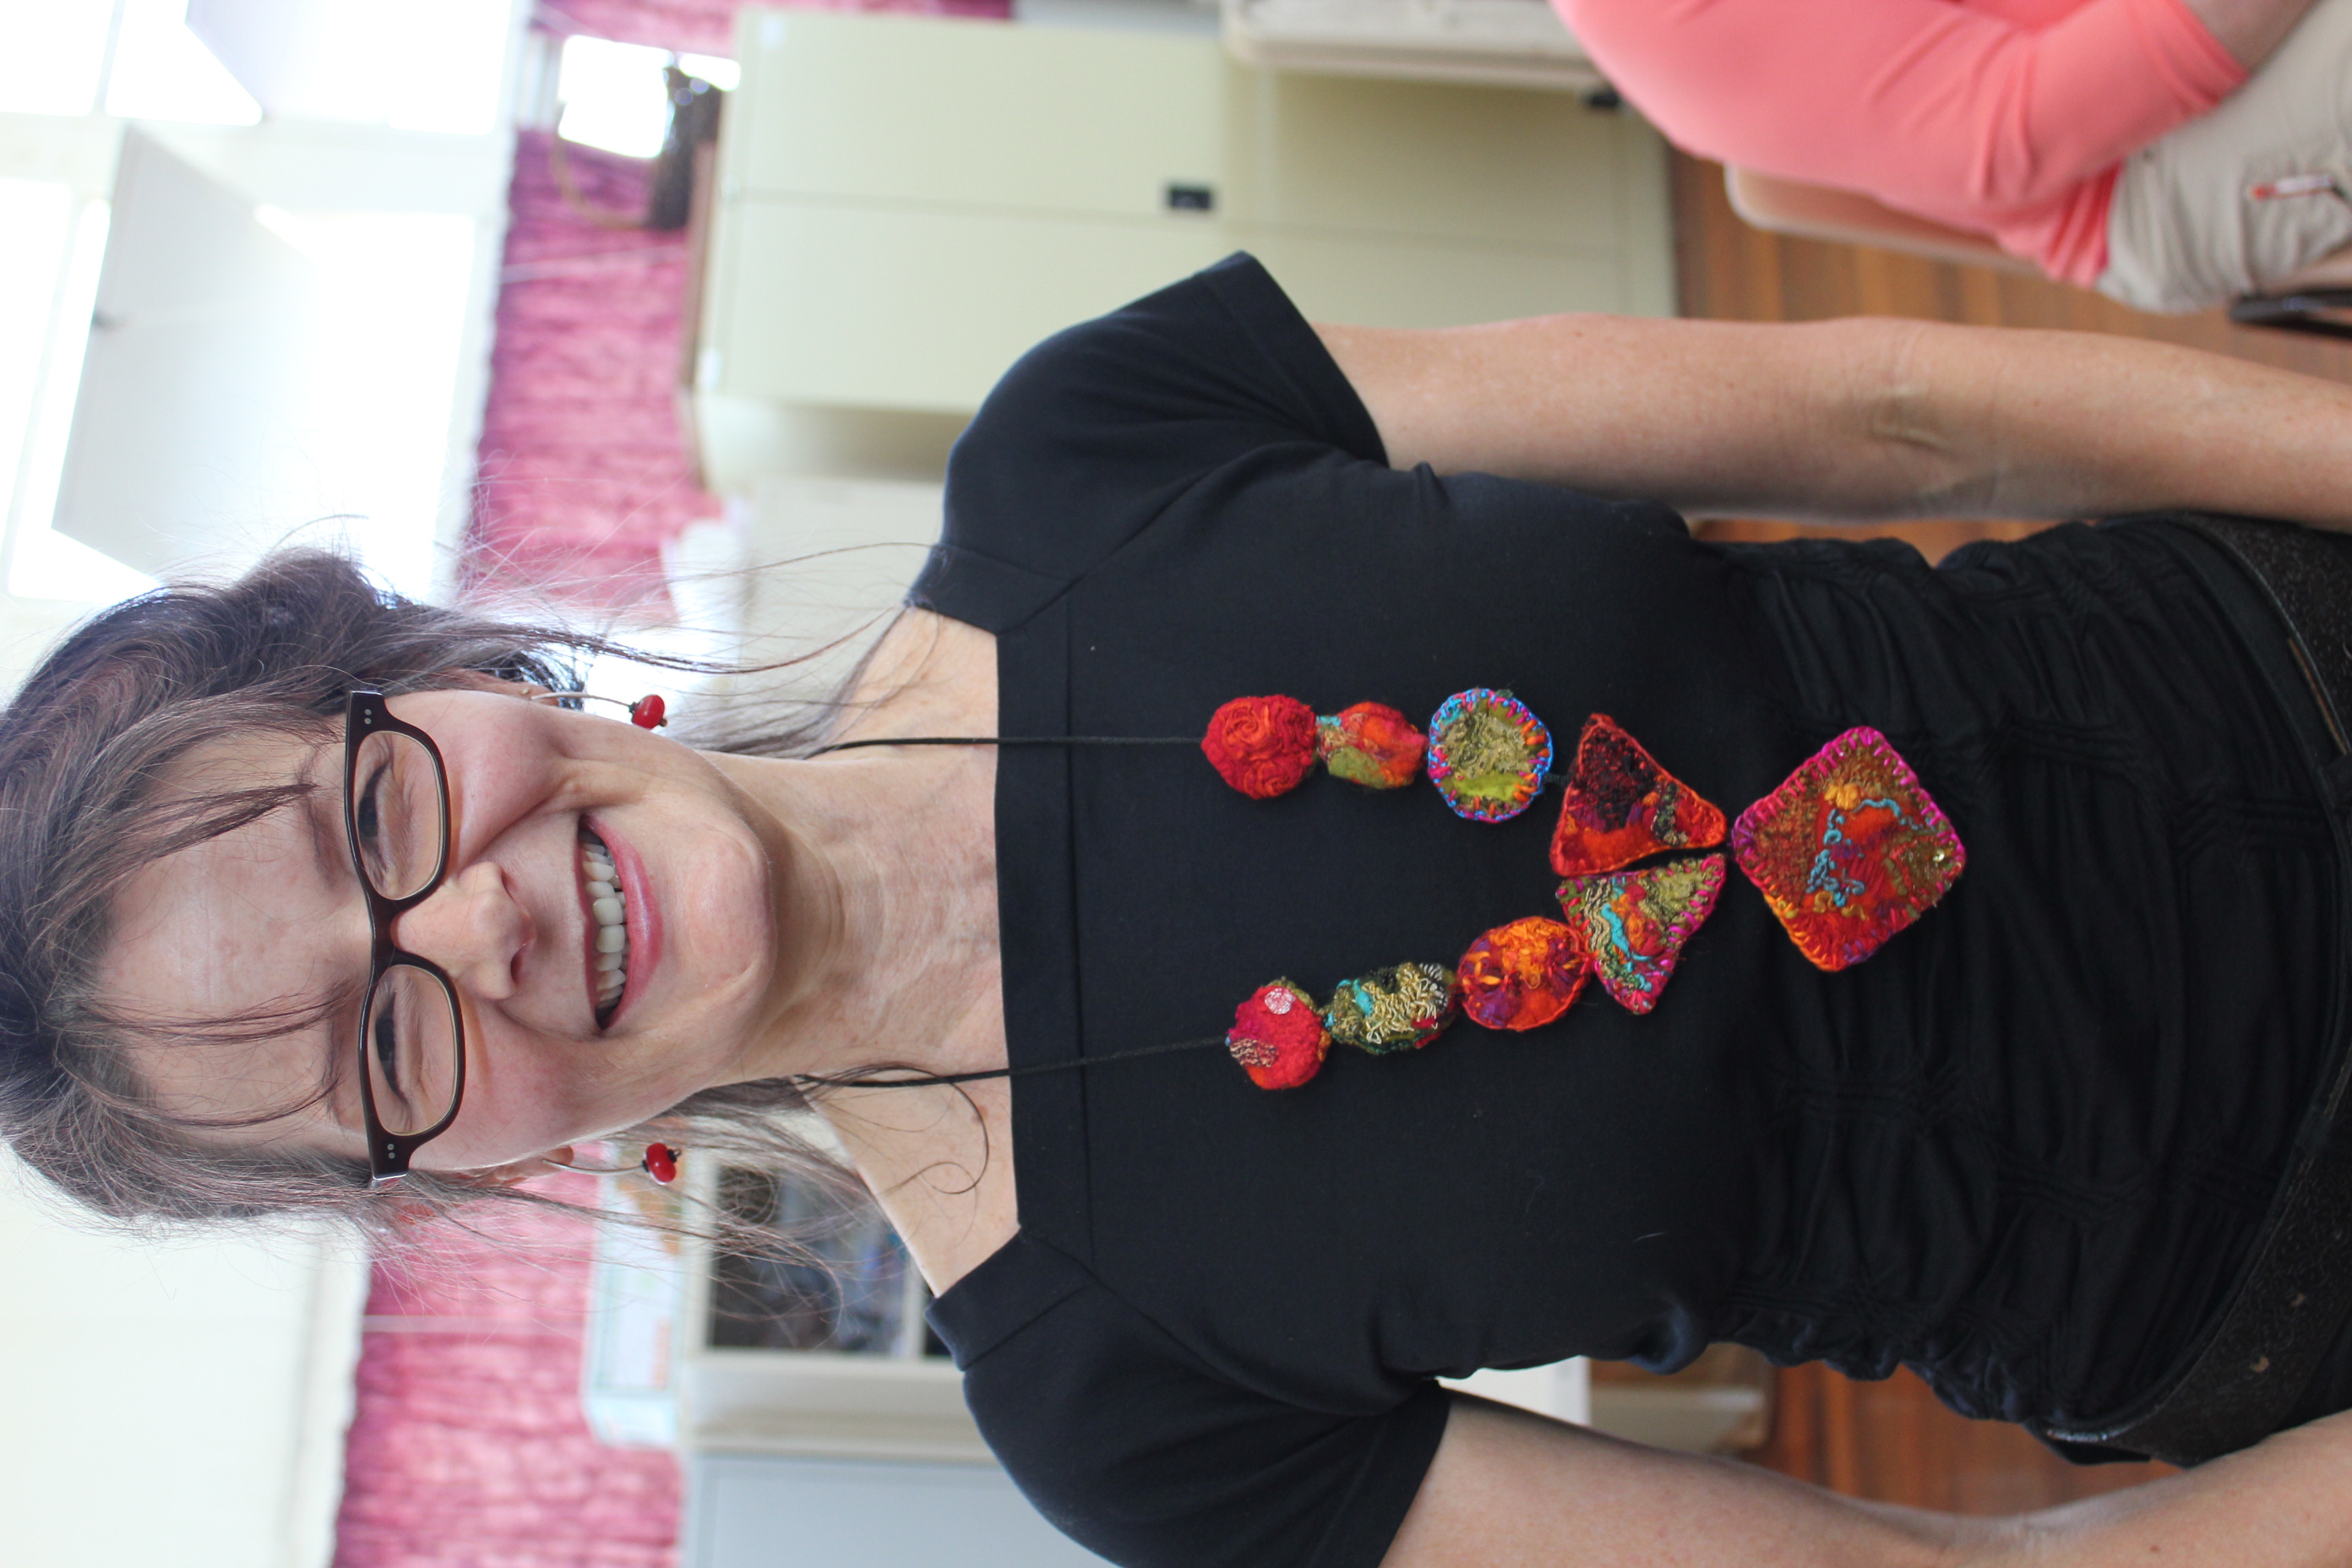
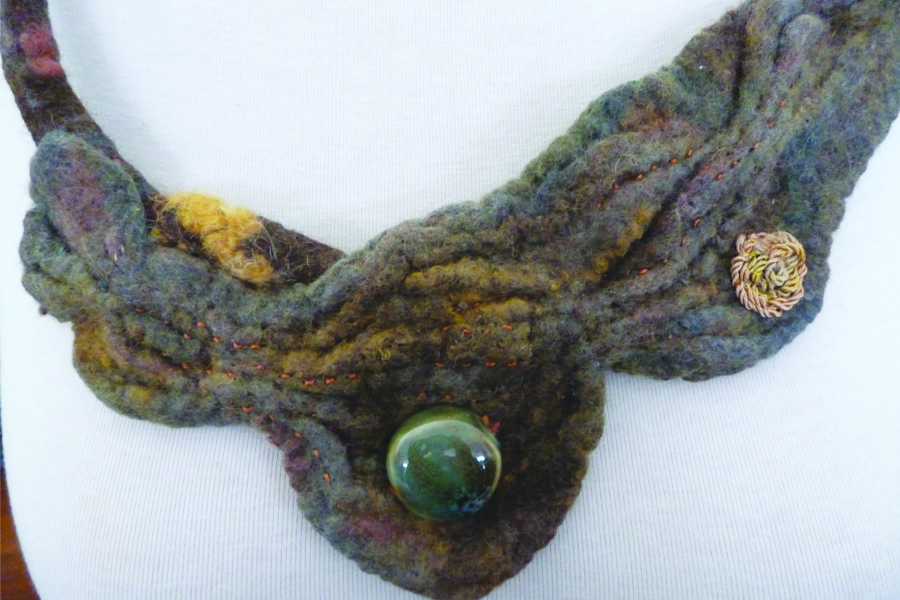
Chris Gray wore a funky necklace she had made at Nancy Ballesteros’ workshop on Meditation Beads.She had felted different coloured embellished large wool beads and strung them together to make a very distinctive necklace.
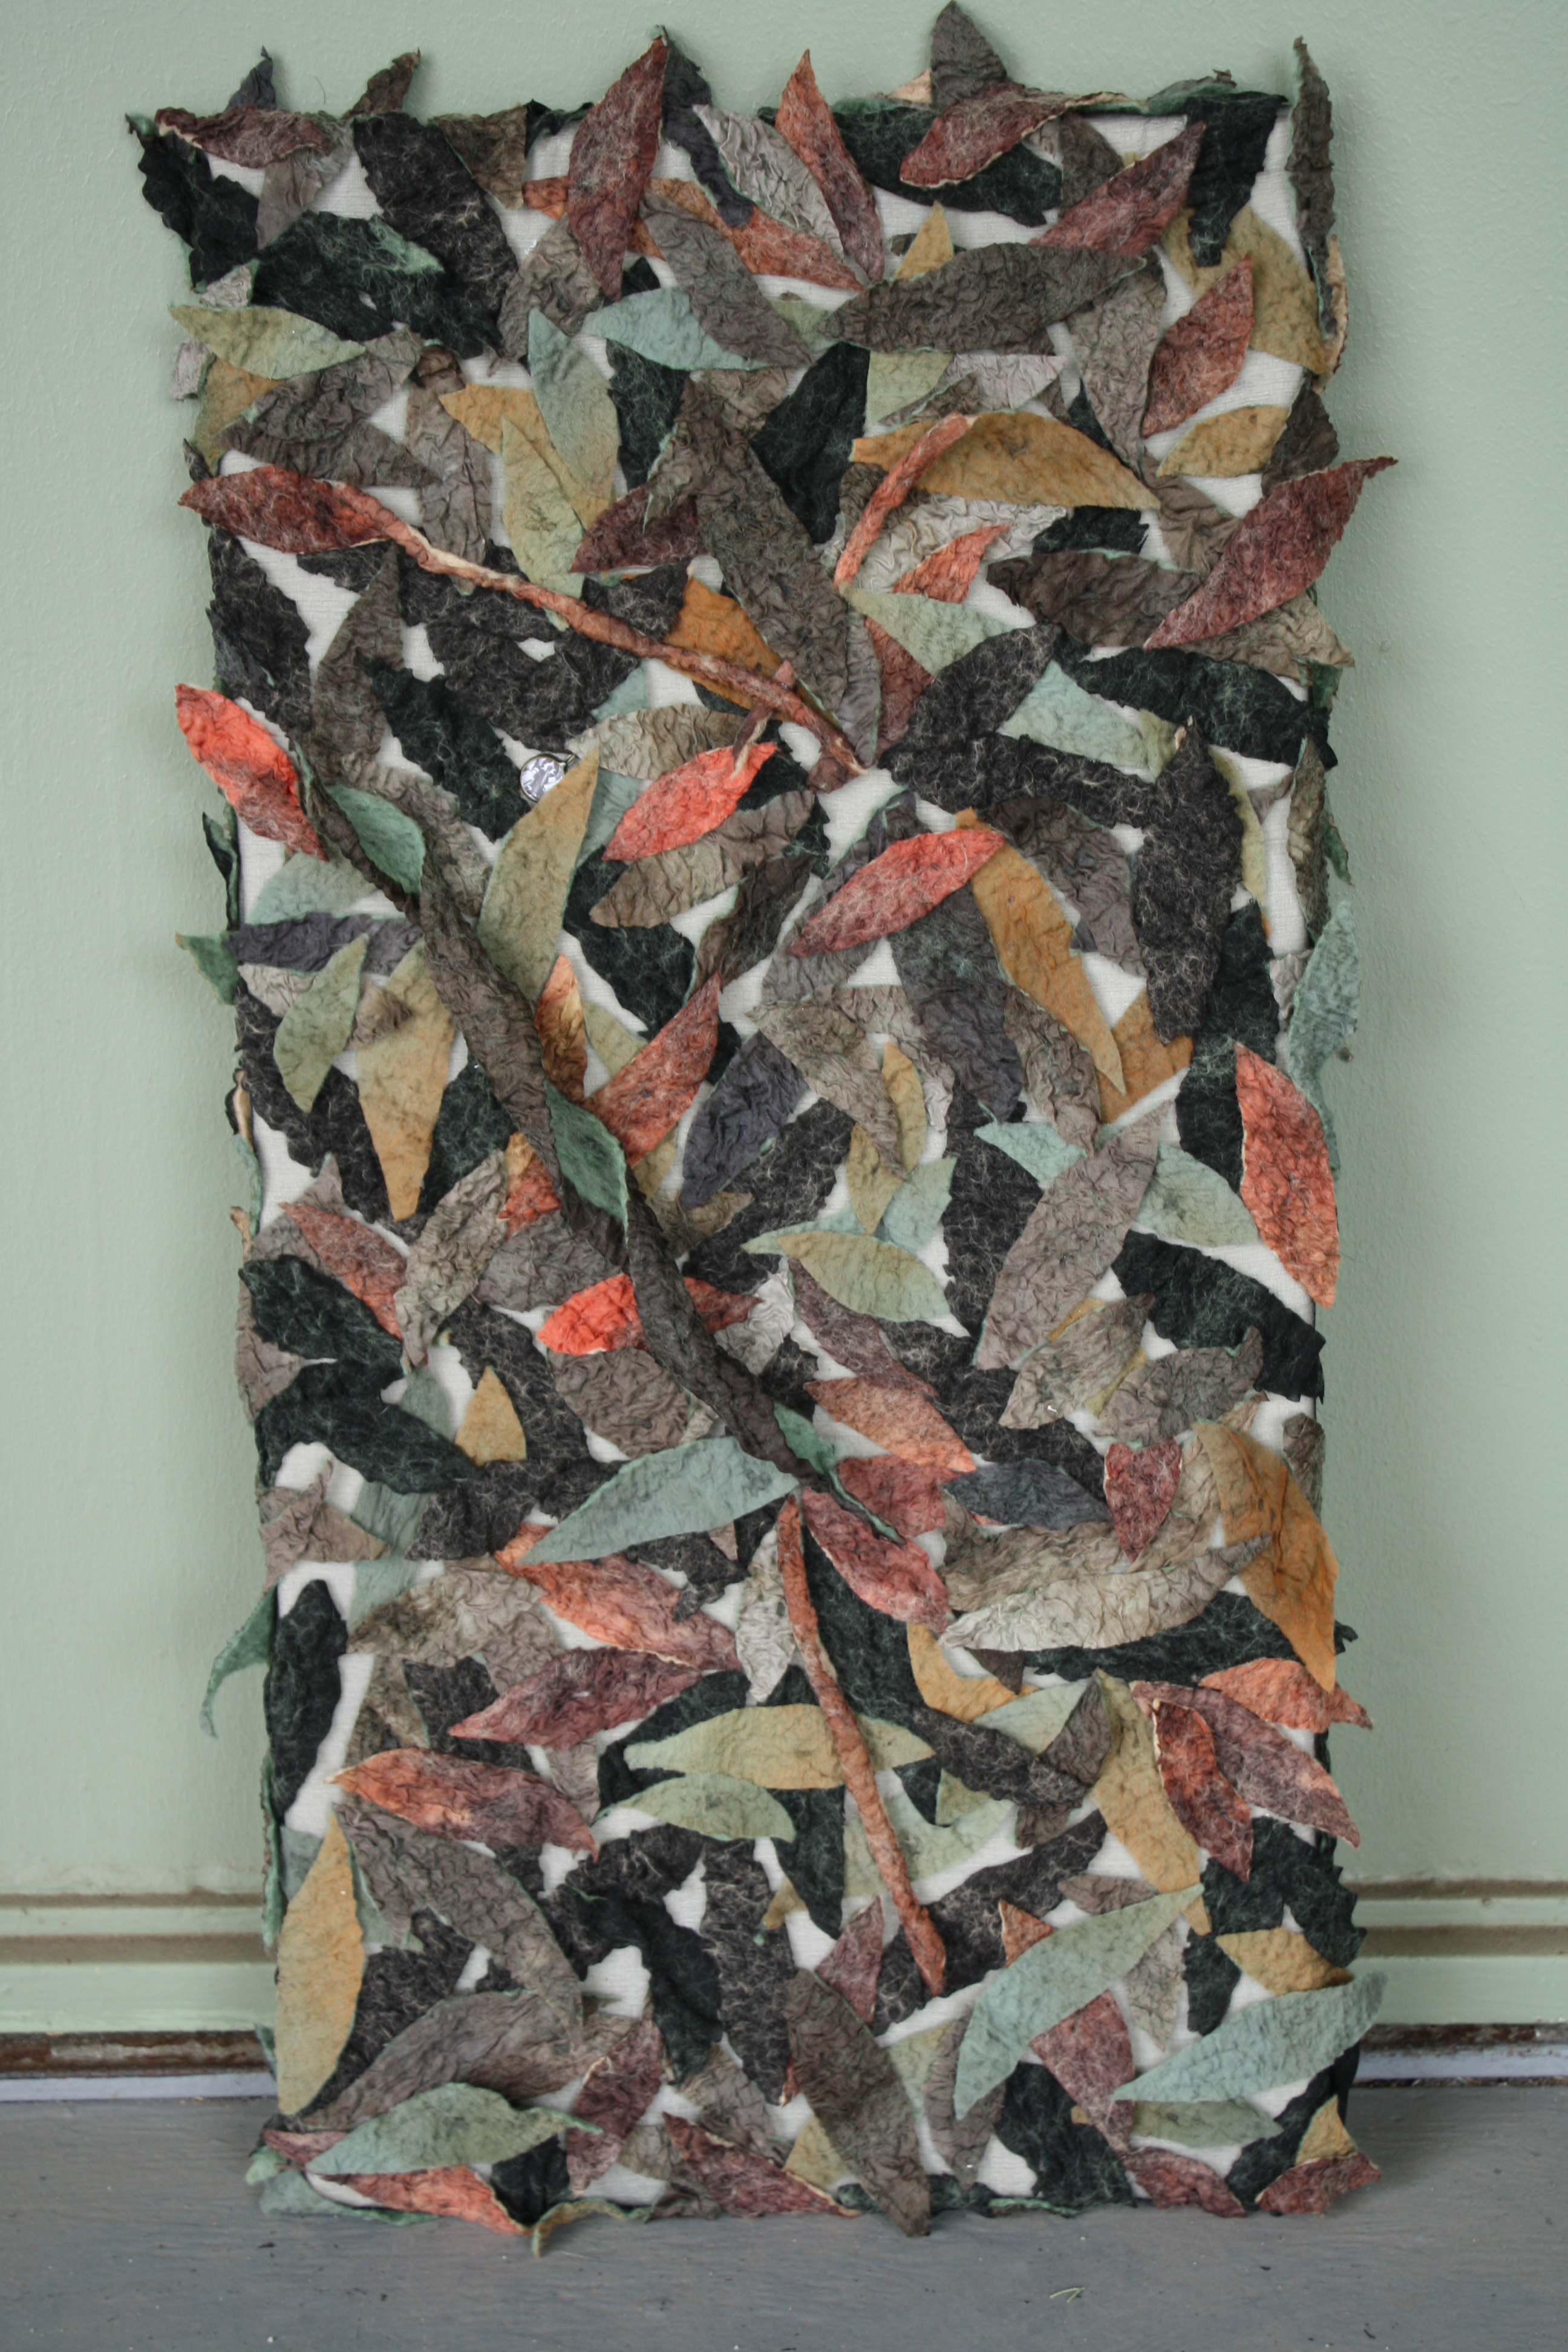
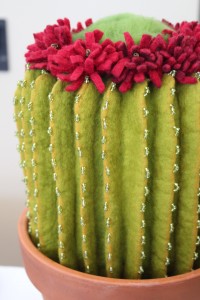
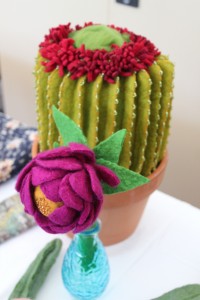
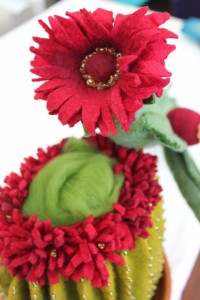
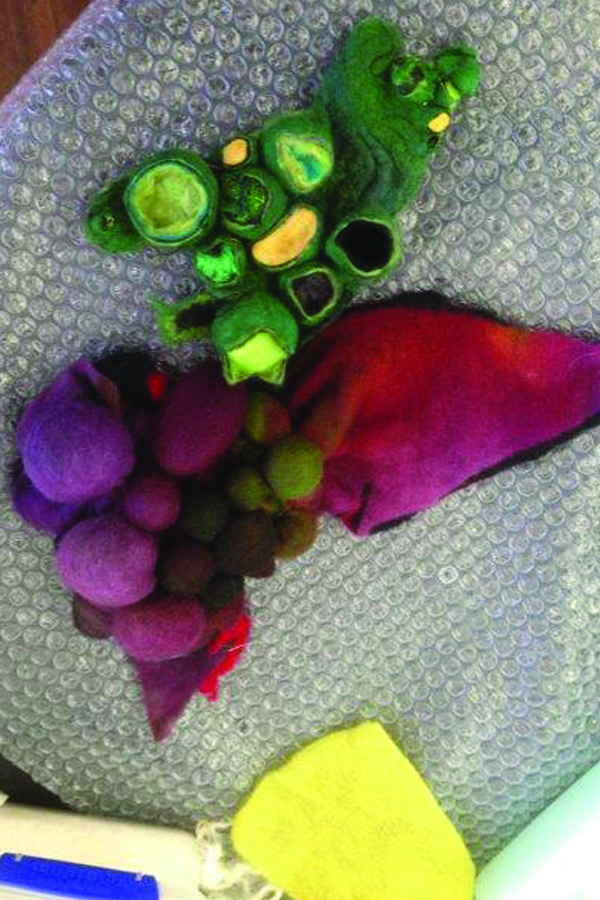
Soosie Jobson brought along a green cactus which she made in one piece using 8 resists. So life- like are her cacti and succulent sculptures that when she puts them about the rocks in her front garden visitors think they are growing there! She says she has plans for an on line exhibition and is writing a booklet on how to make these 3 D felted marvels. She also showed us a beautiful 3D wall hanging she had made depicting a forest floor with layers of leaves of different colours and sizes made from nuno felt.
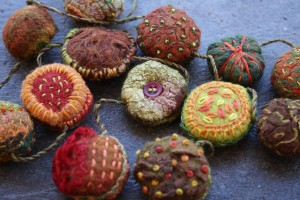
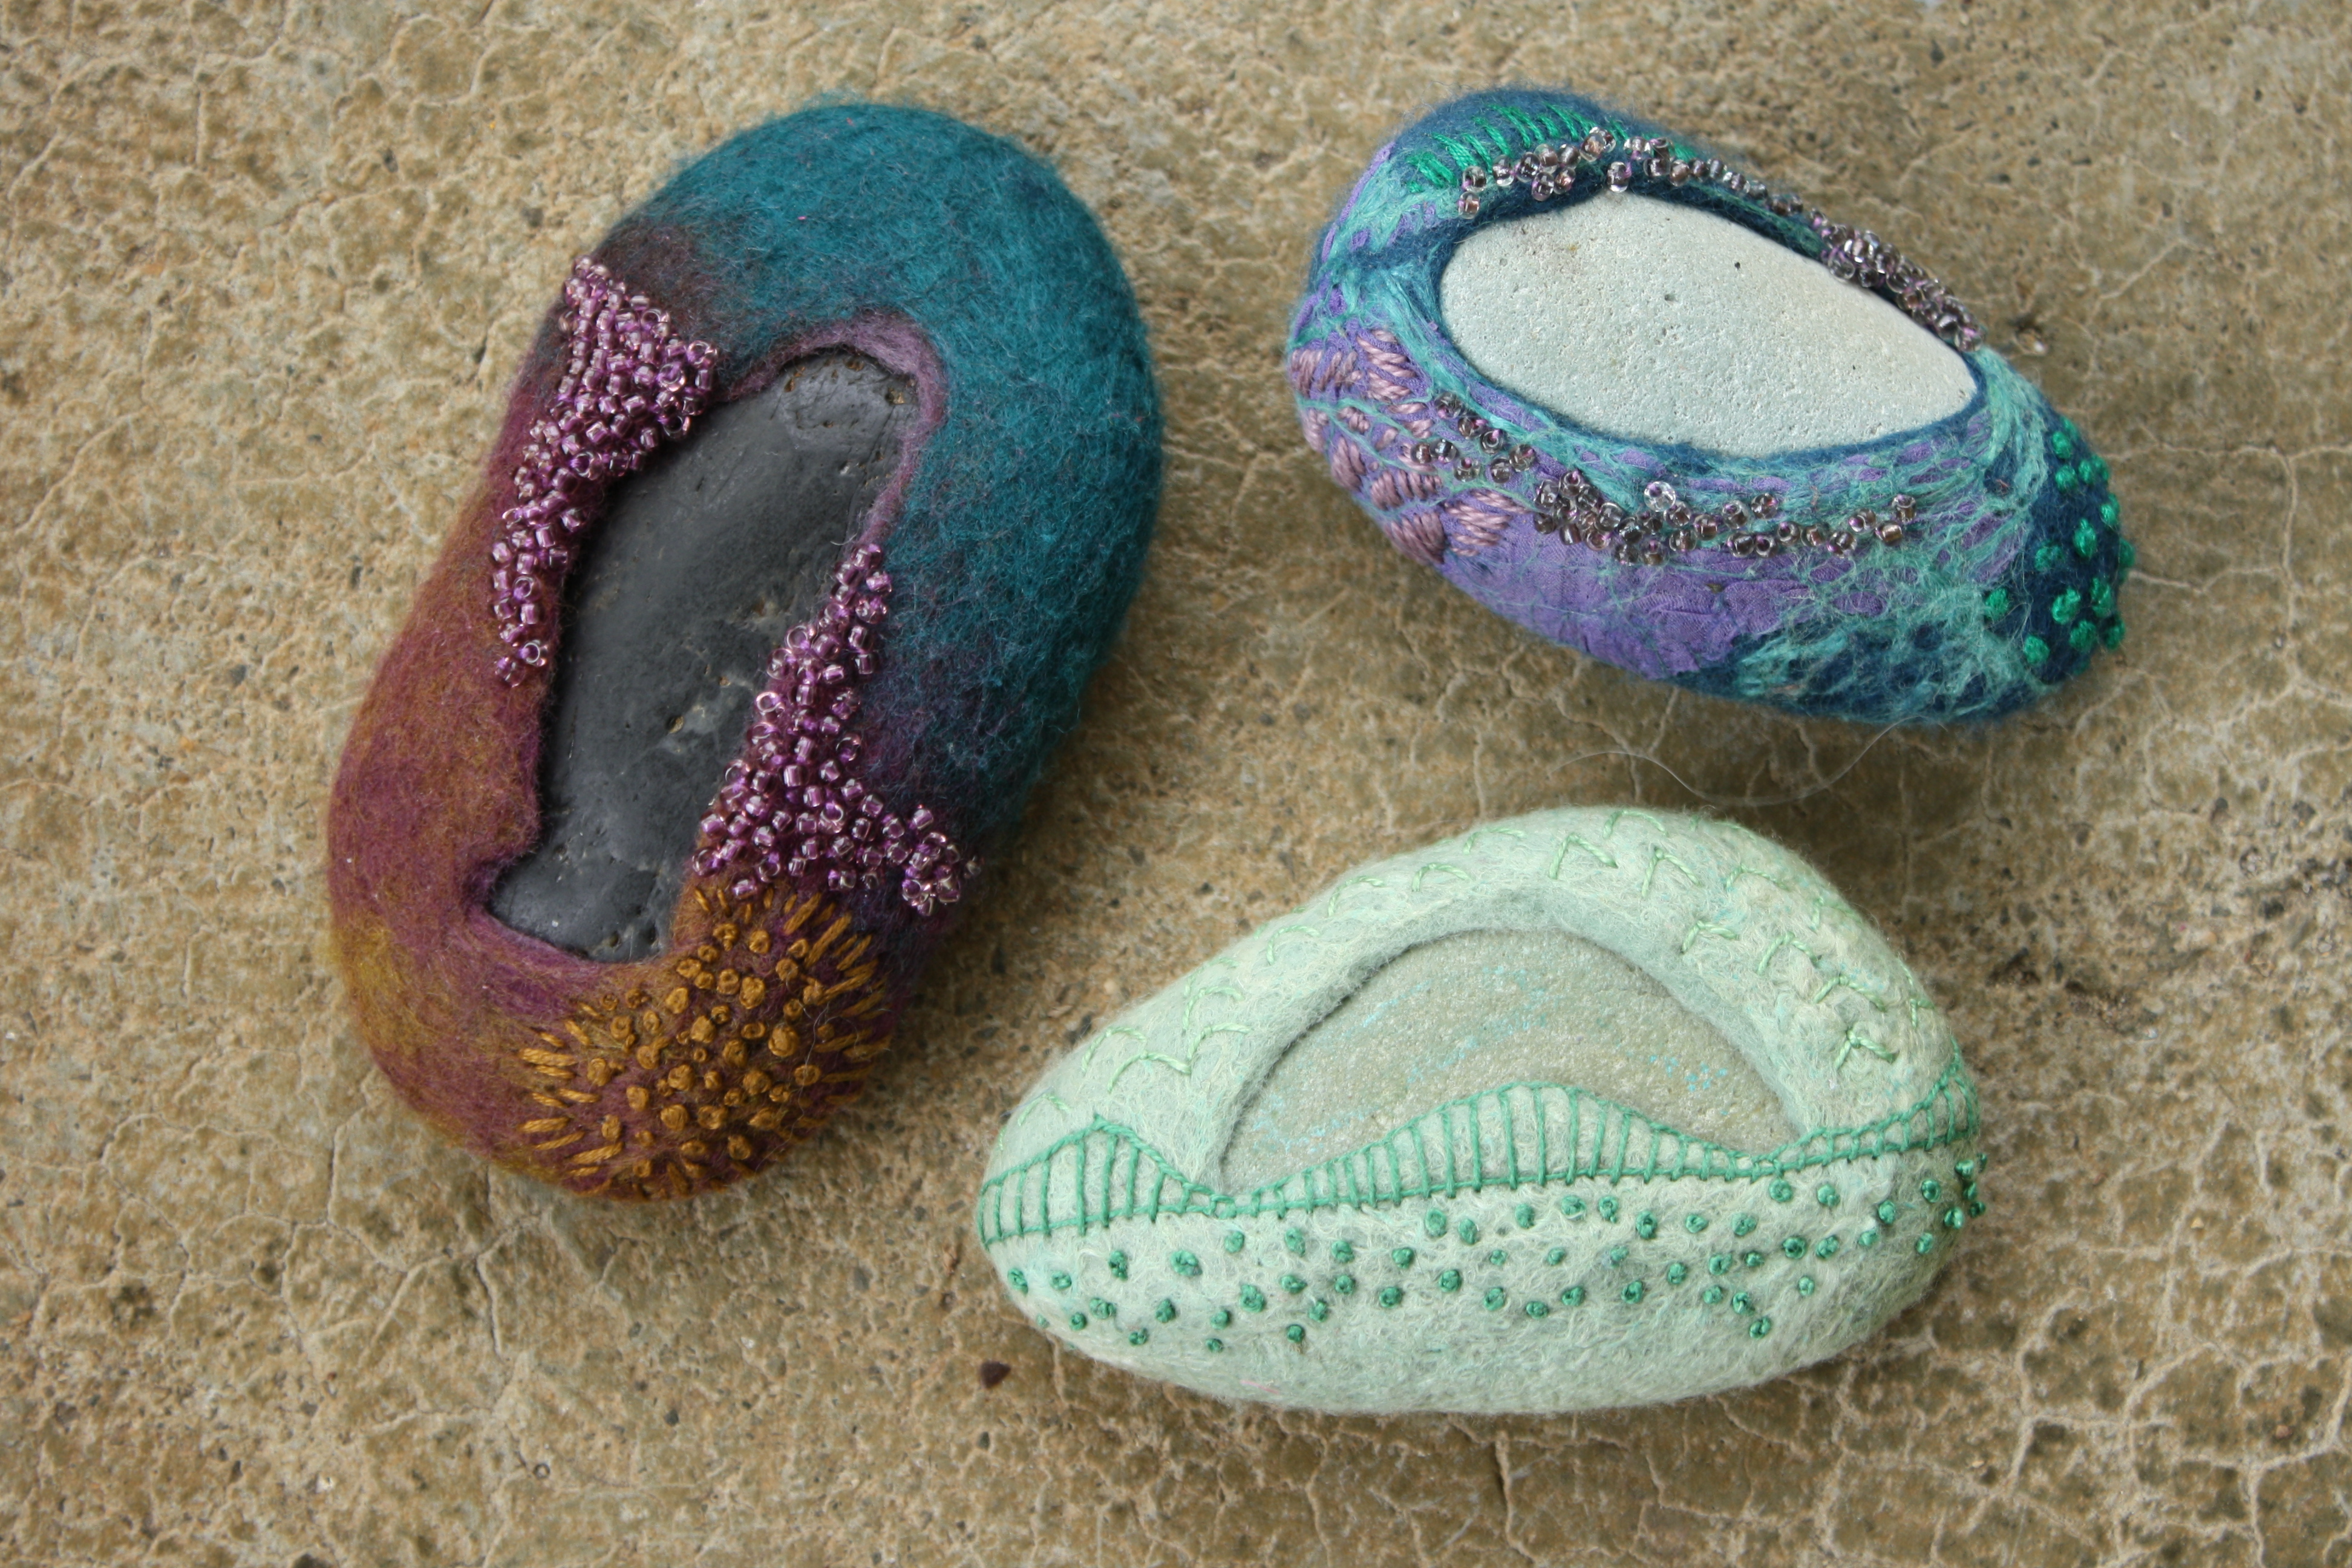
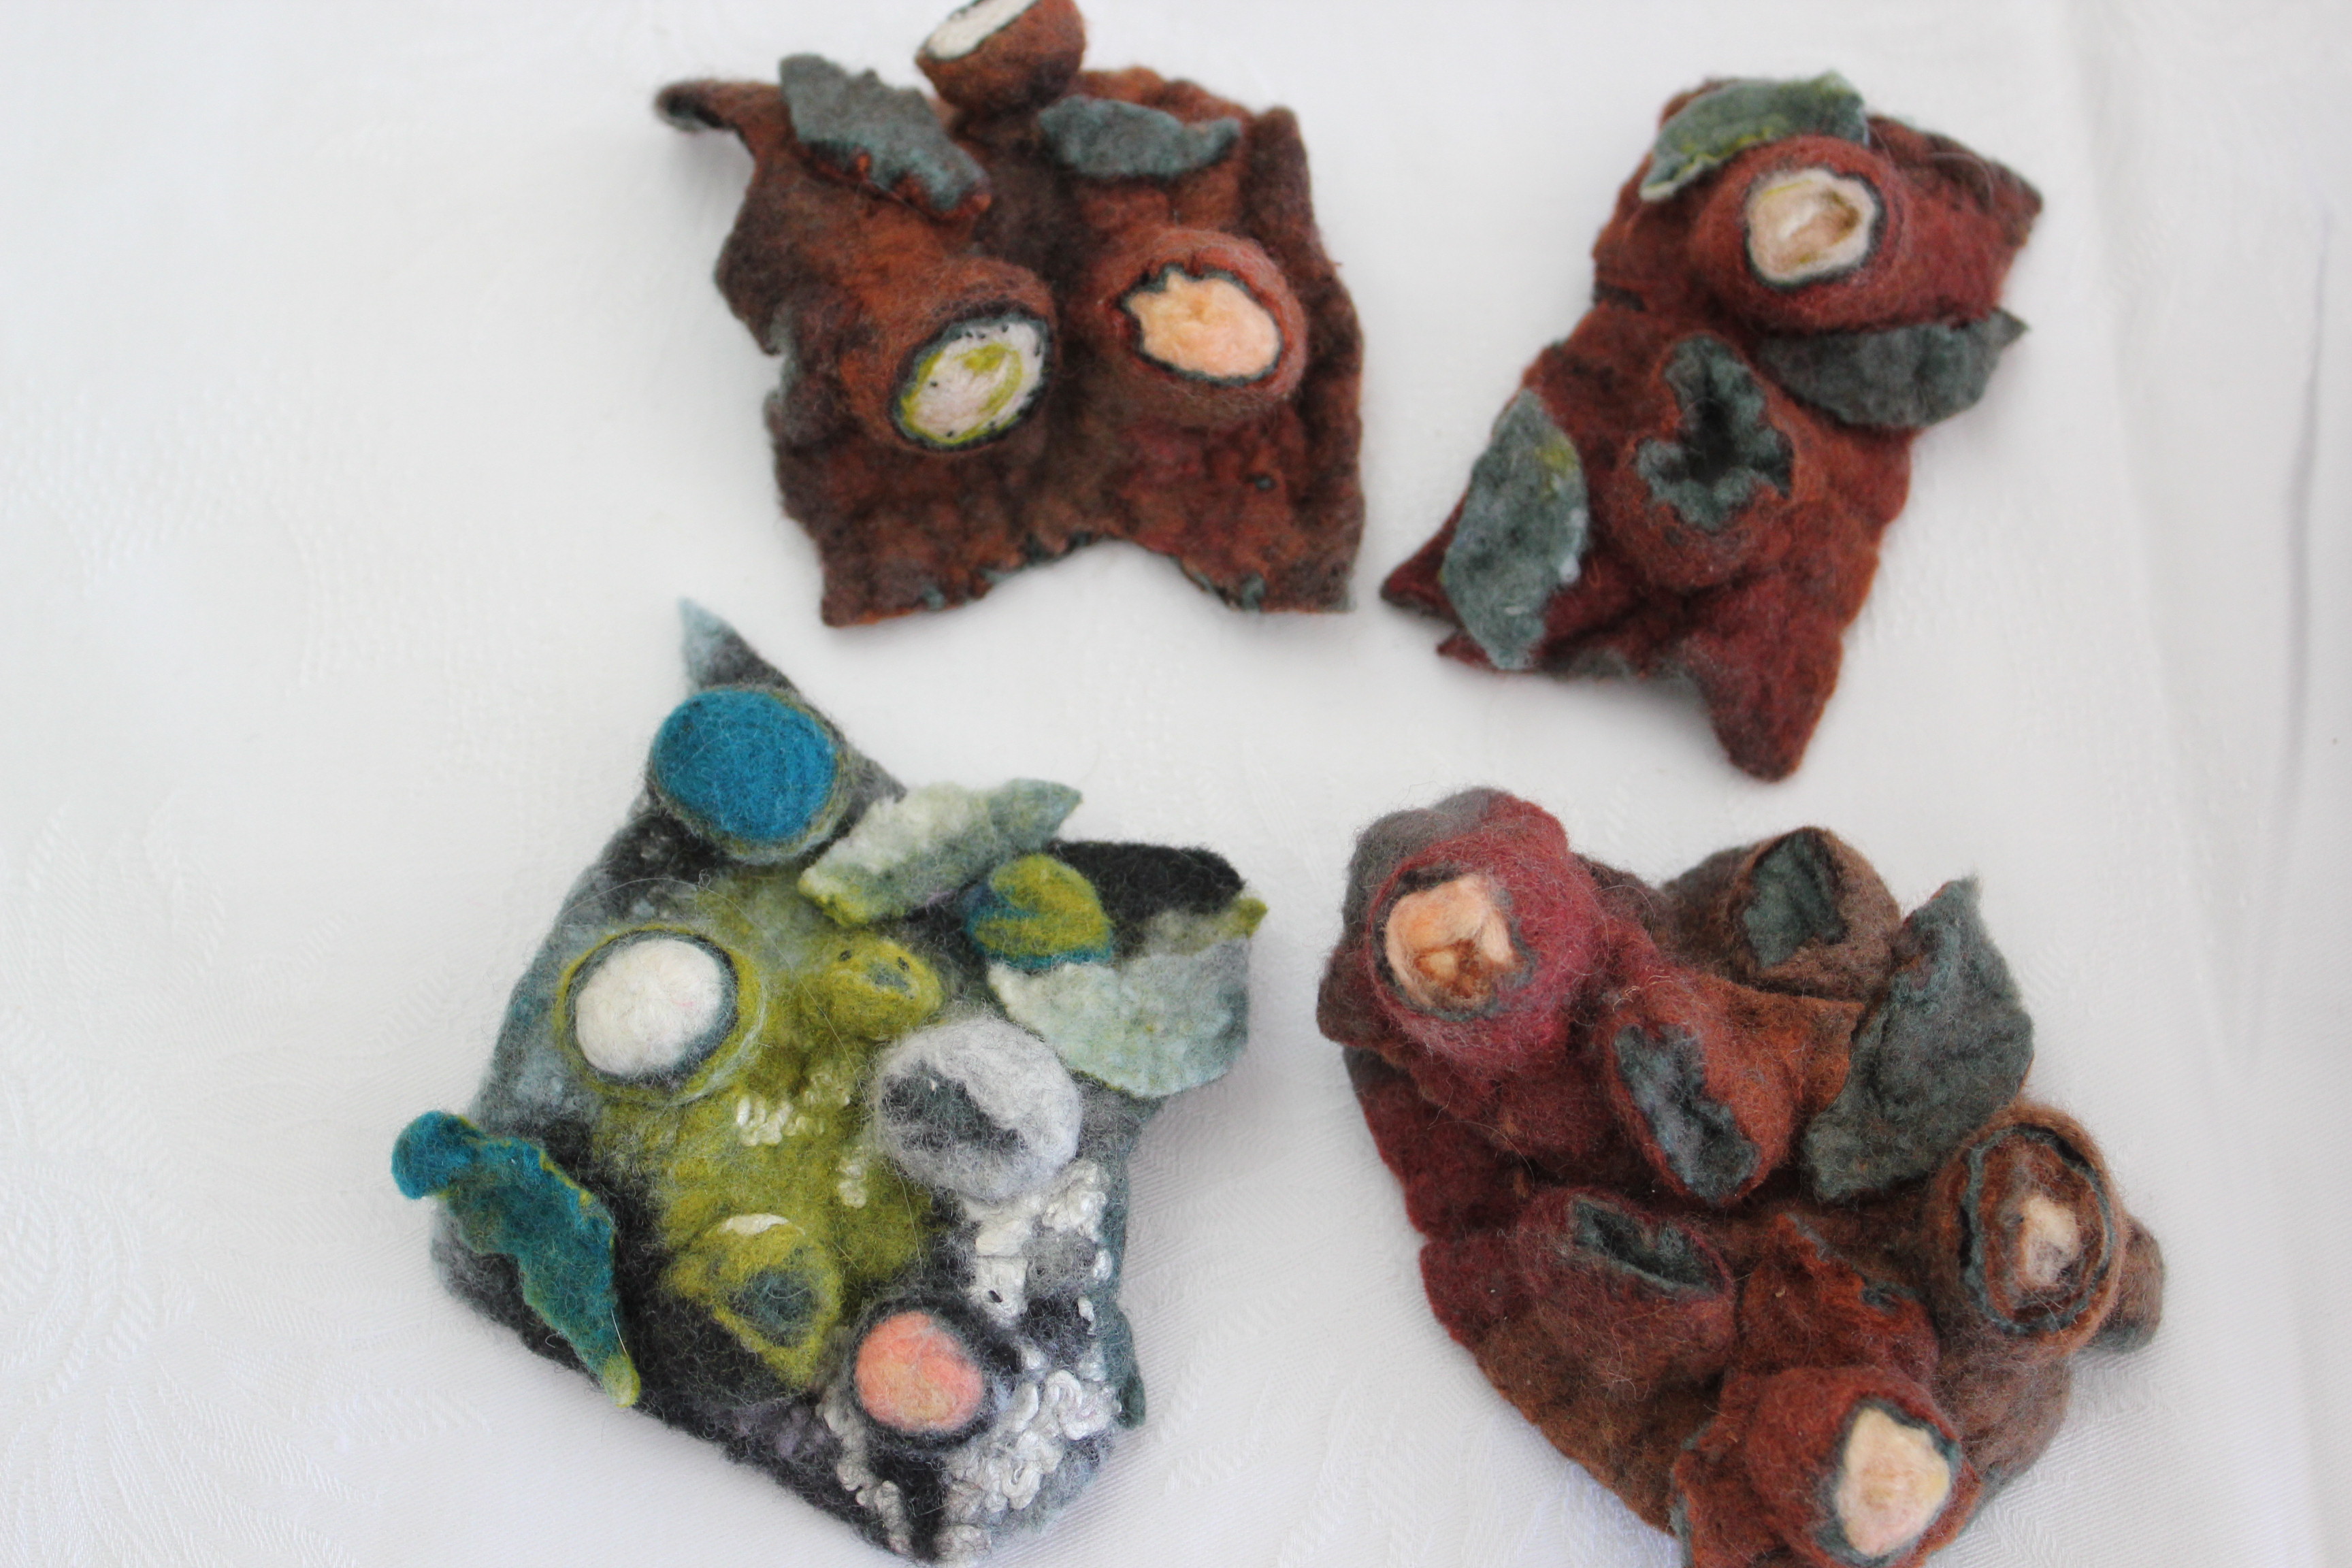
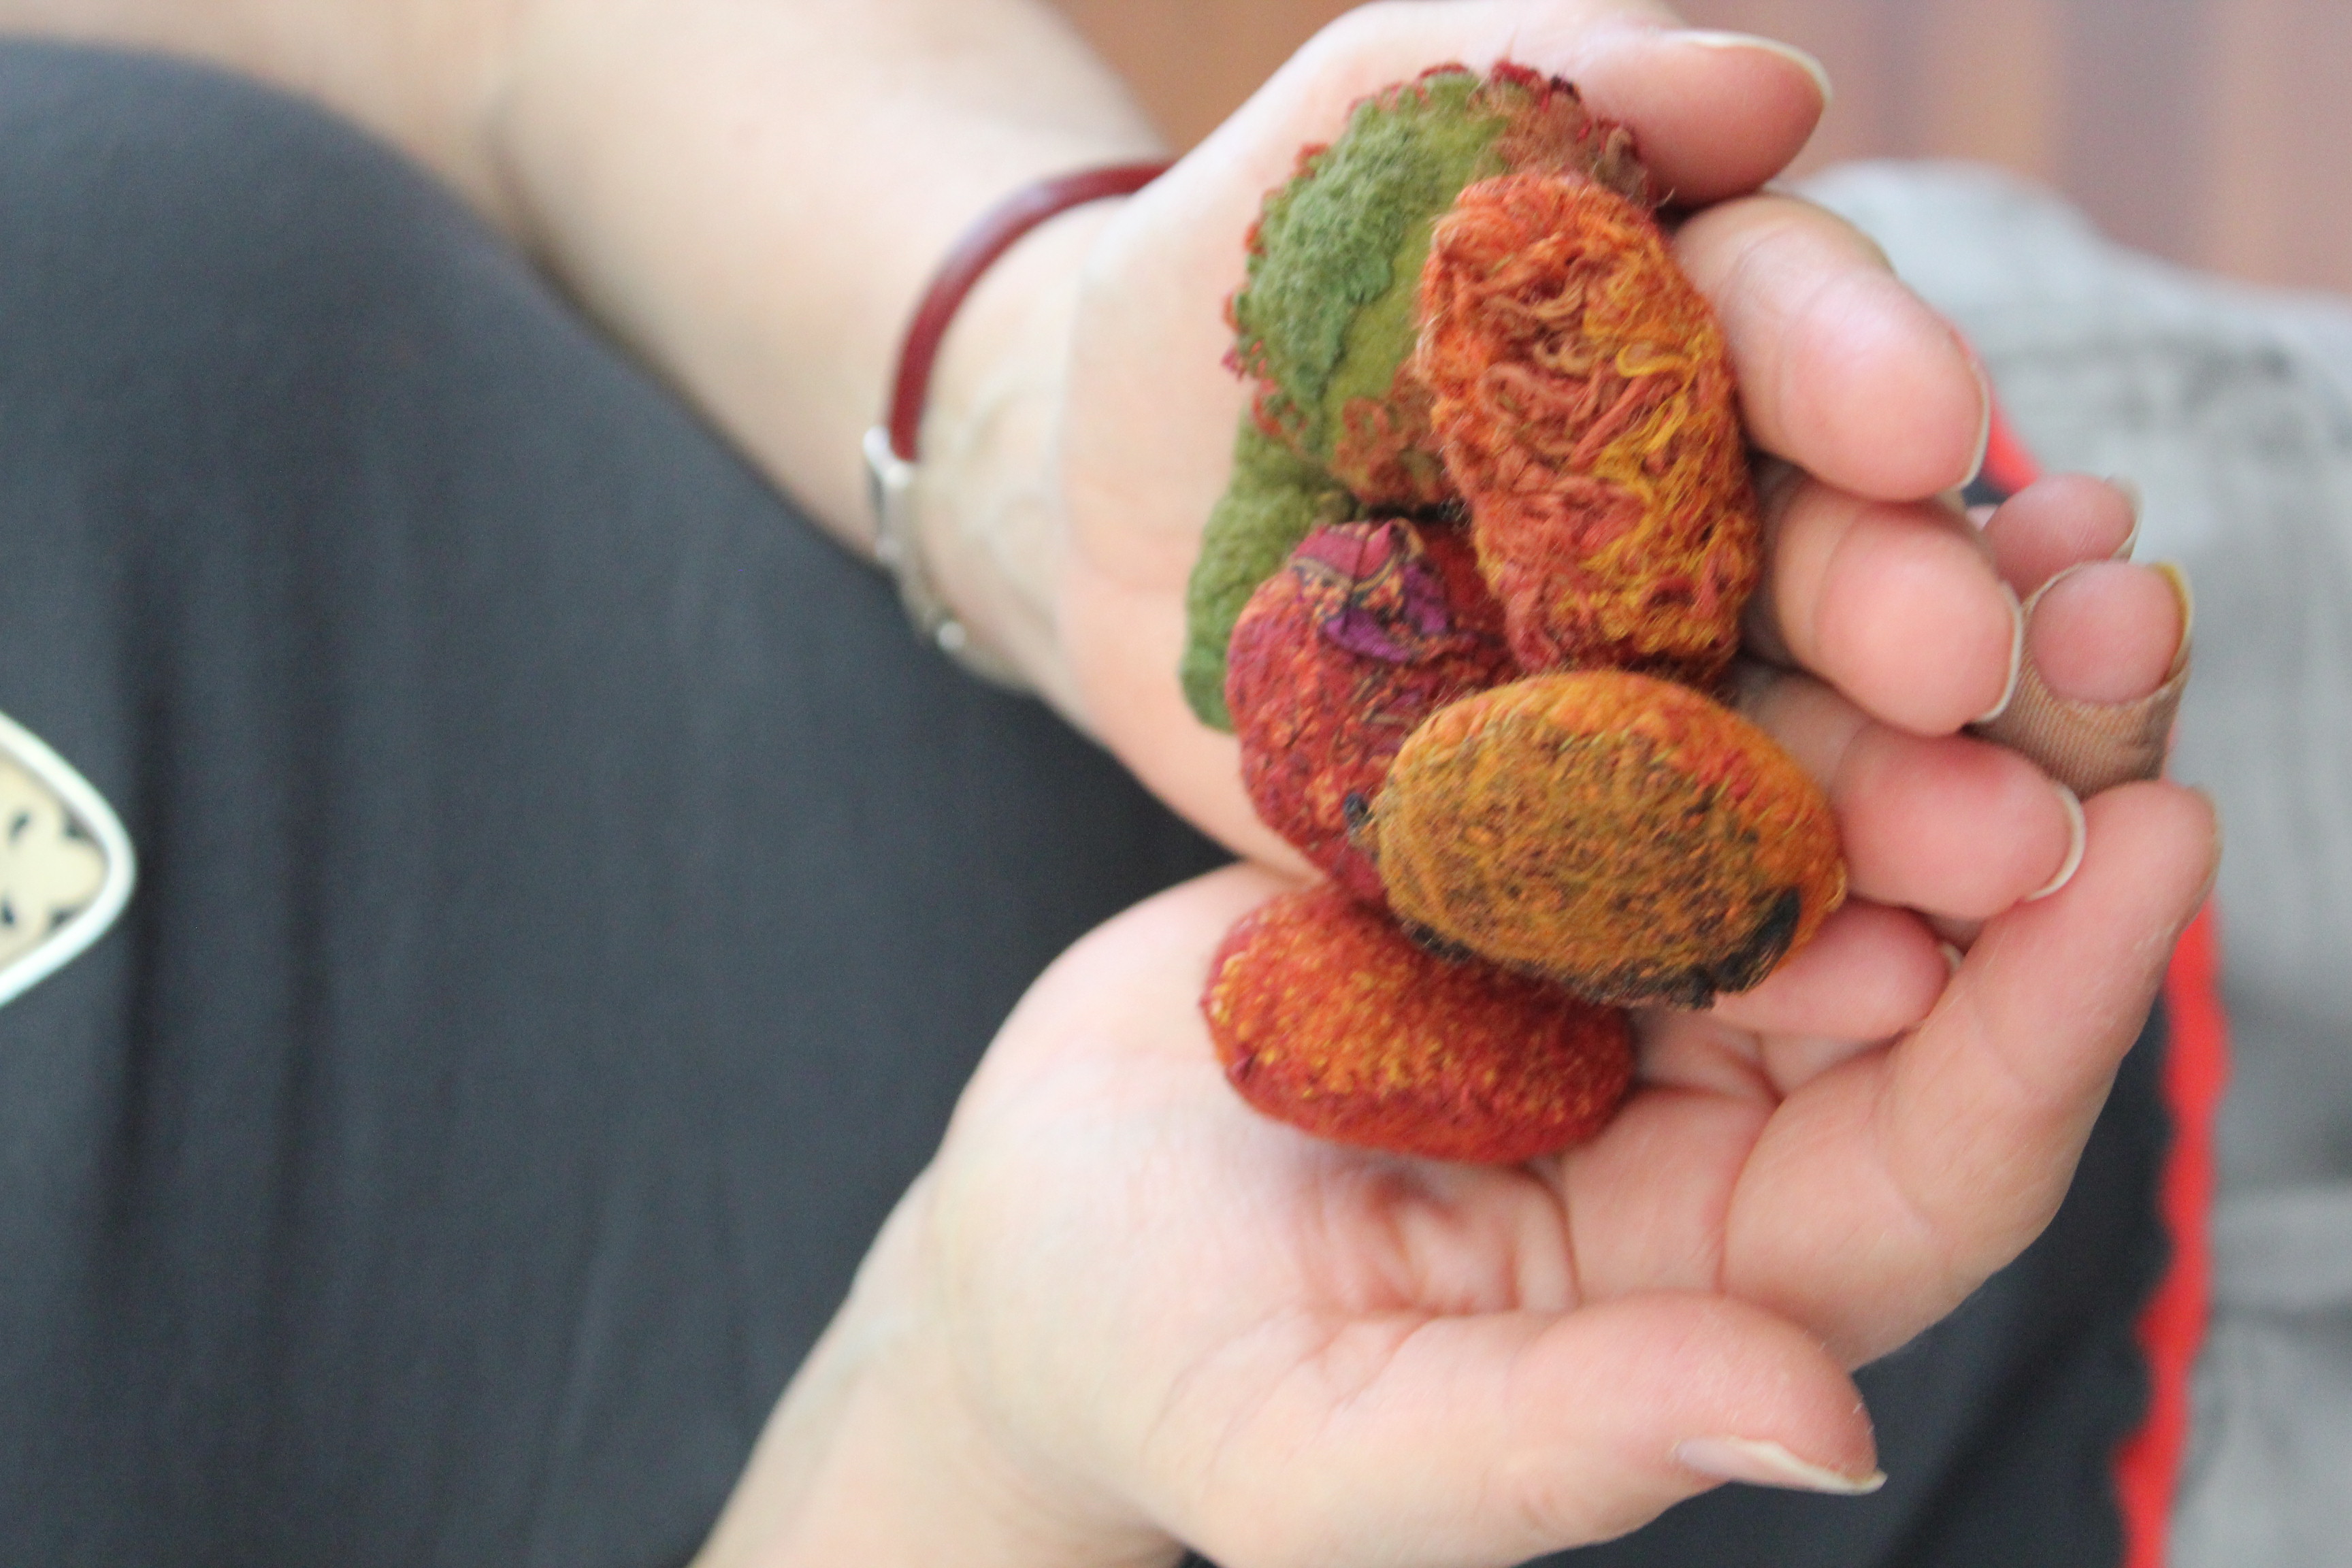
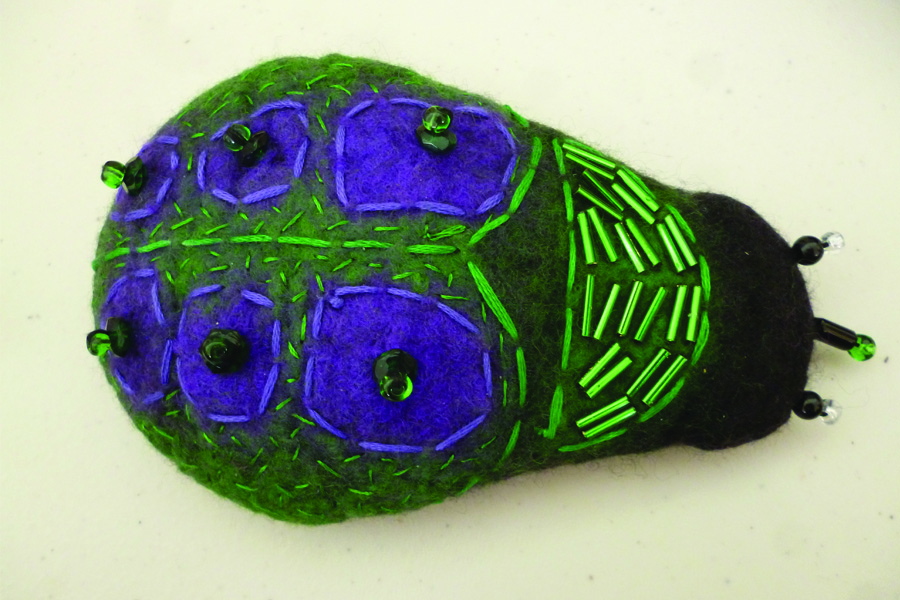
Judi Barkla brought along some gorgeous felted embroidered stones to show us and which she says are meditative to make.
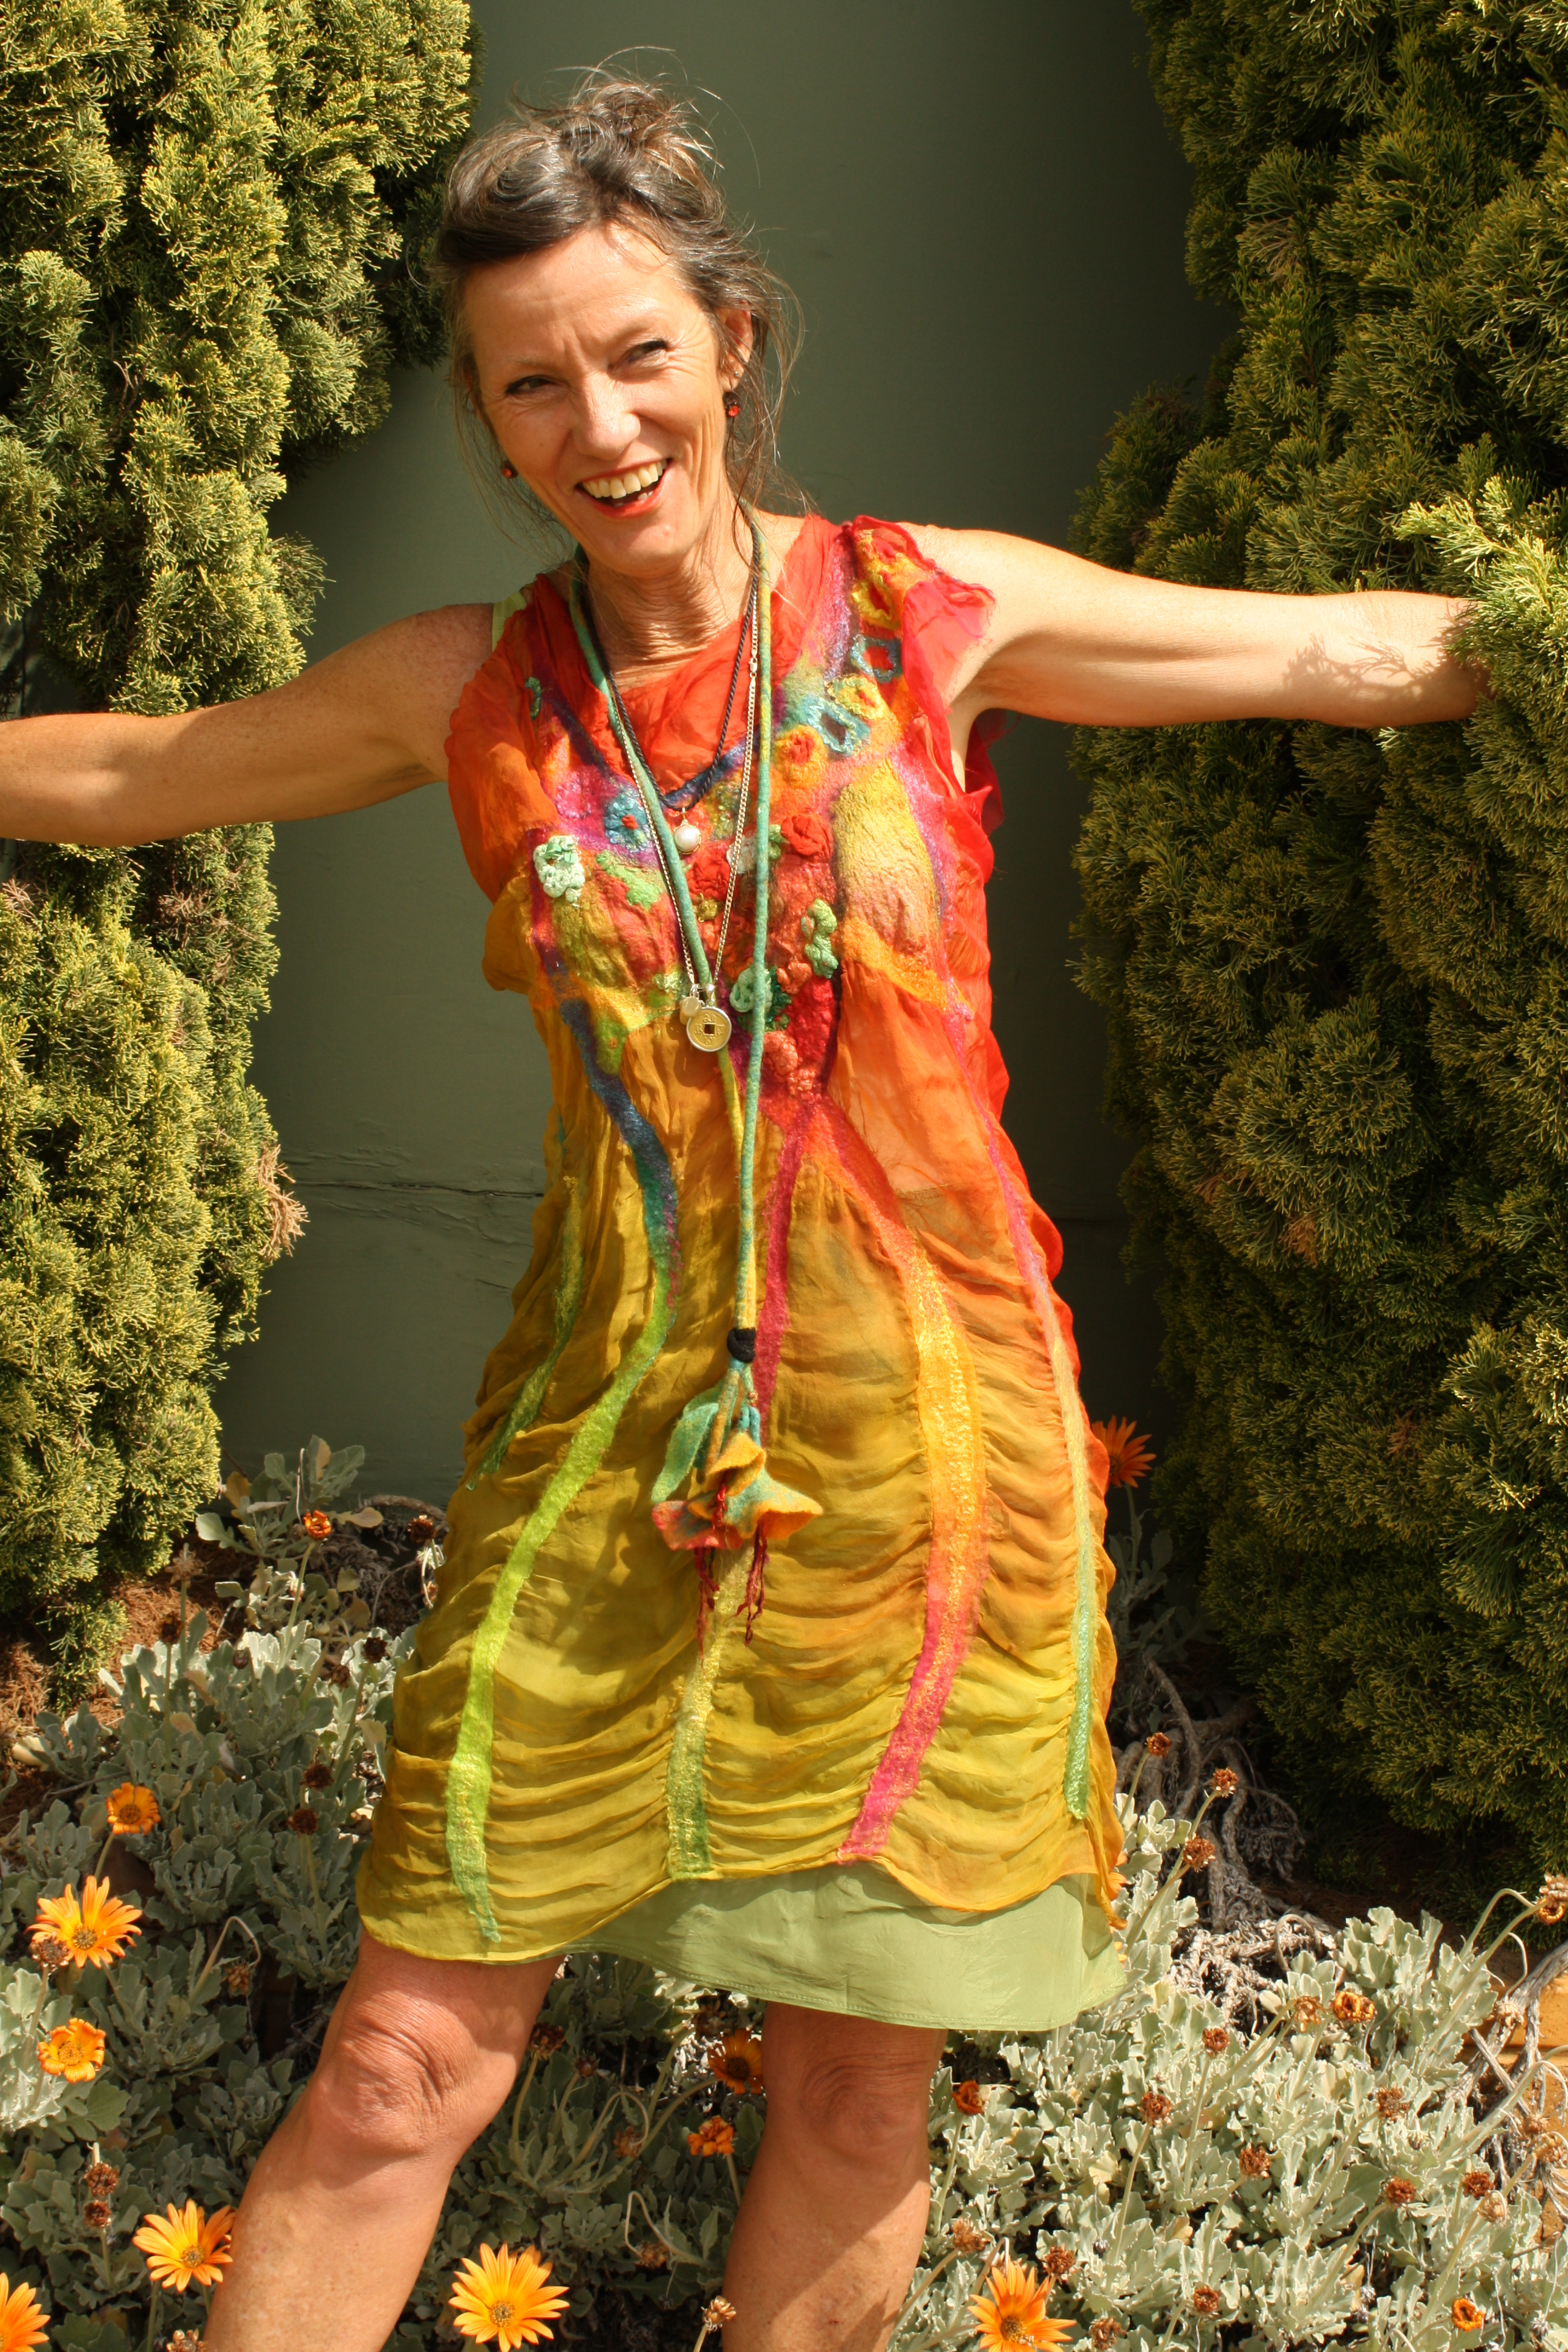
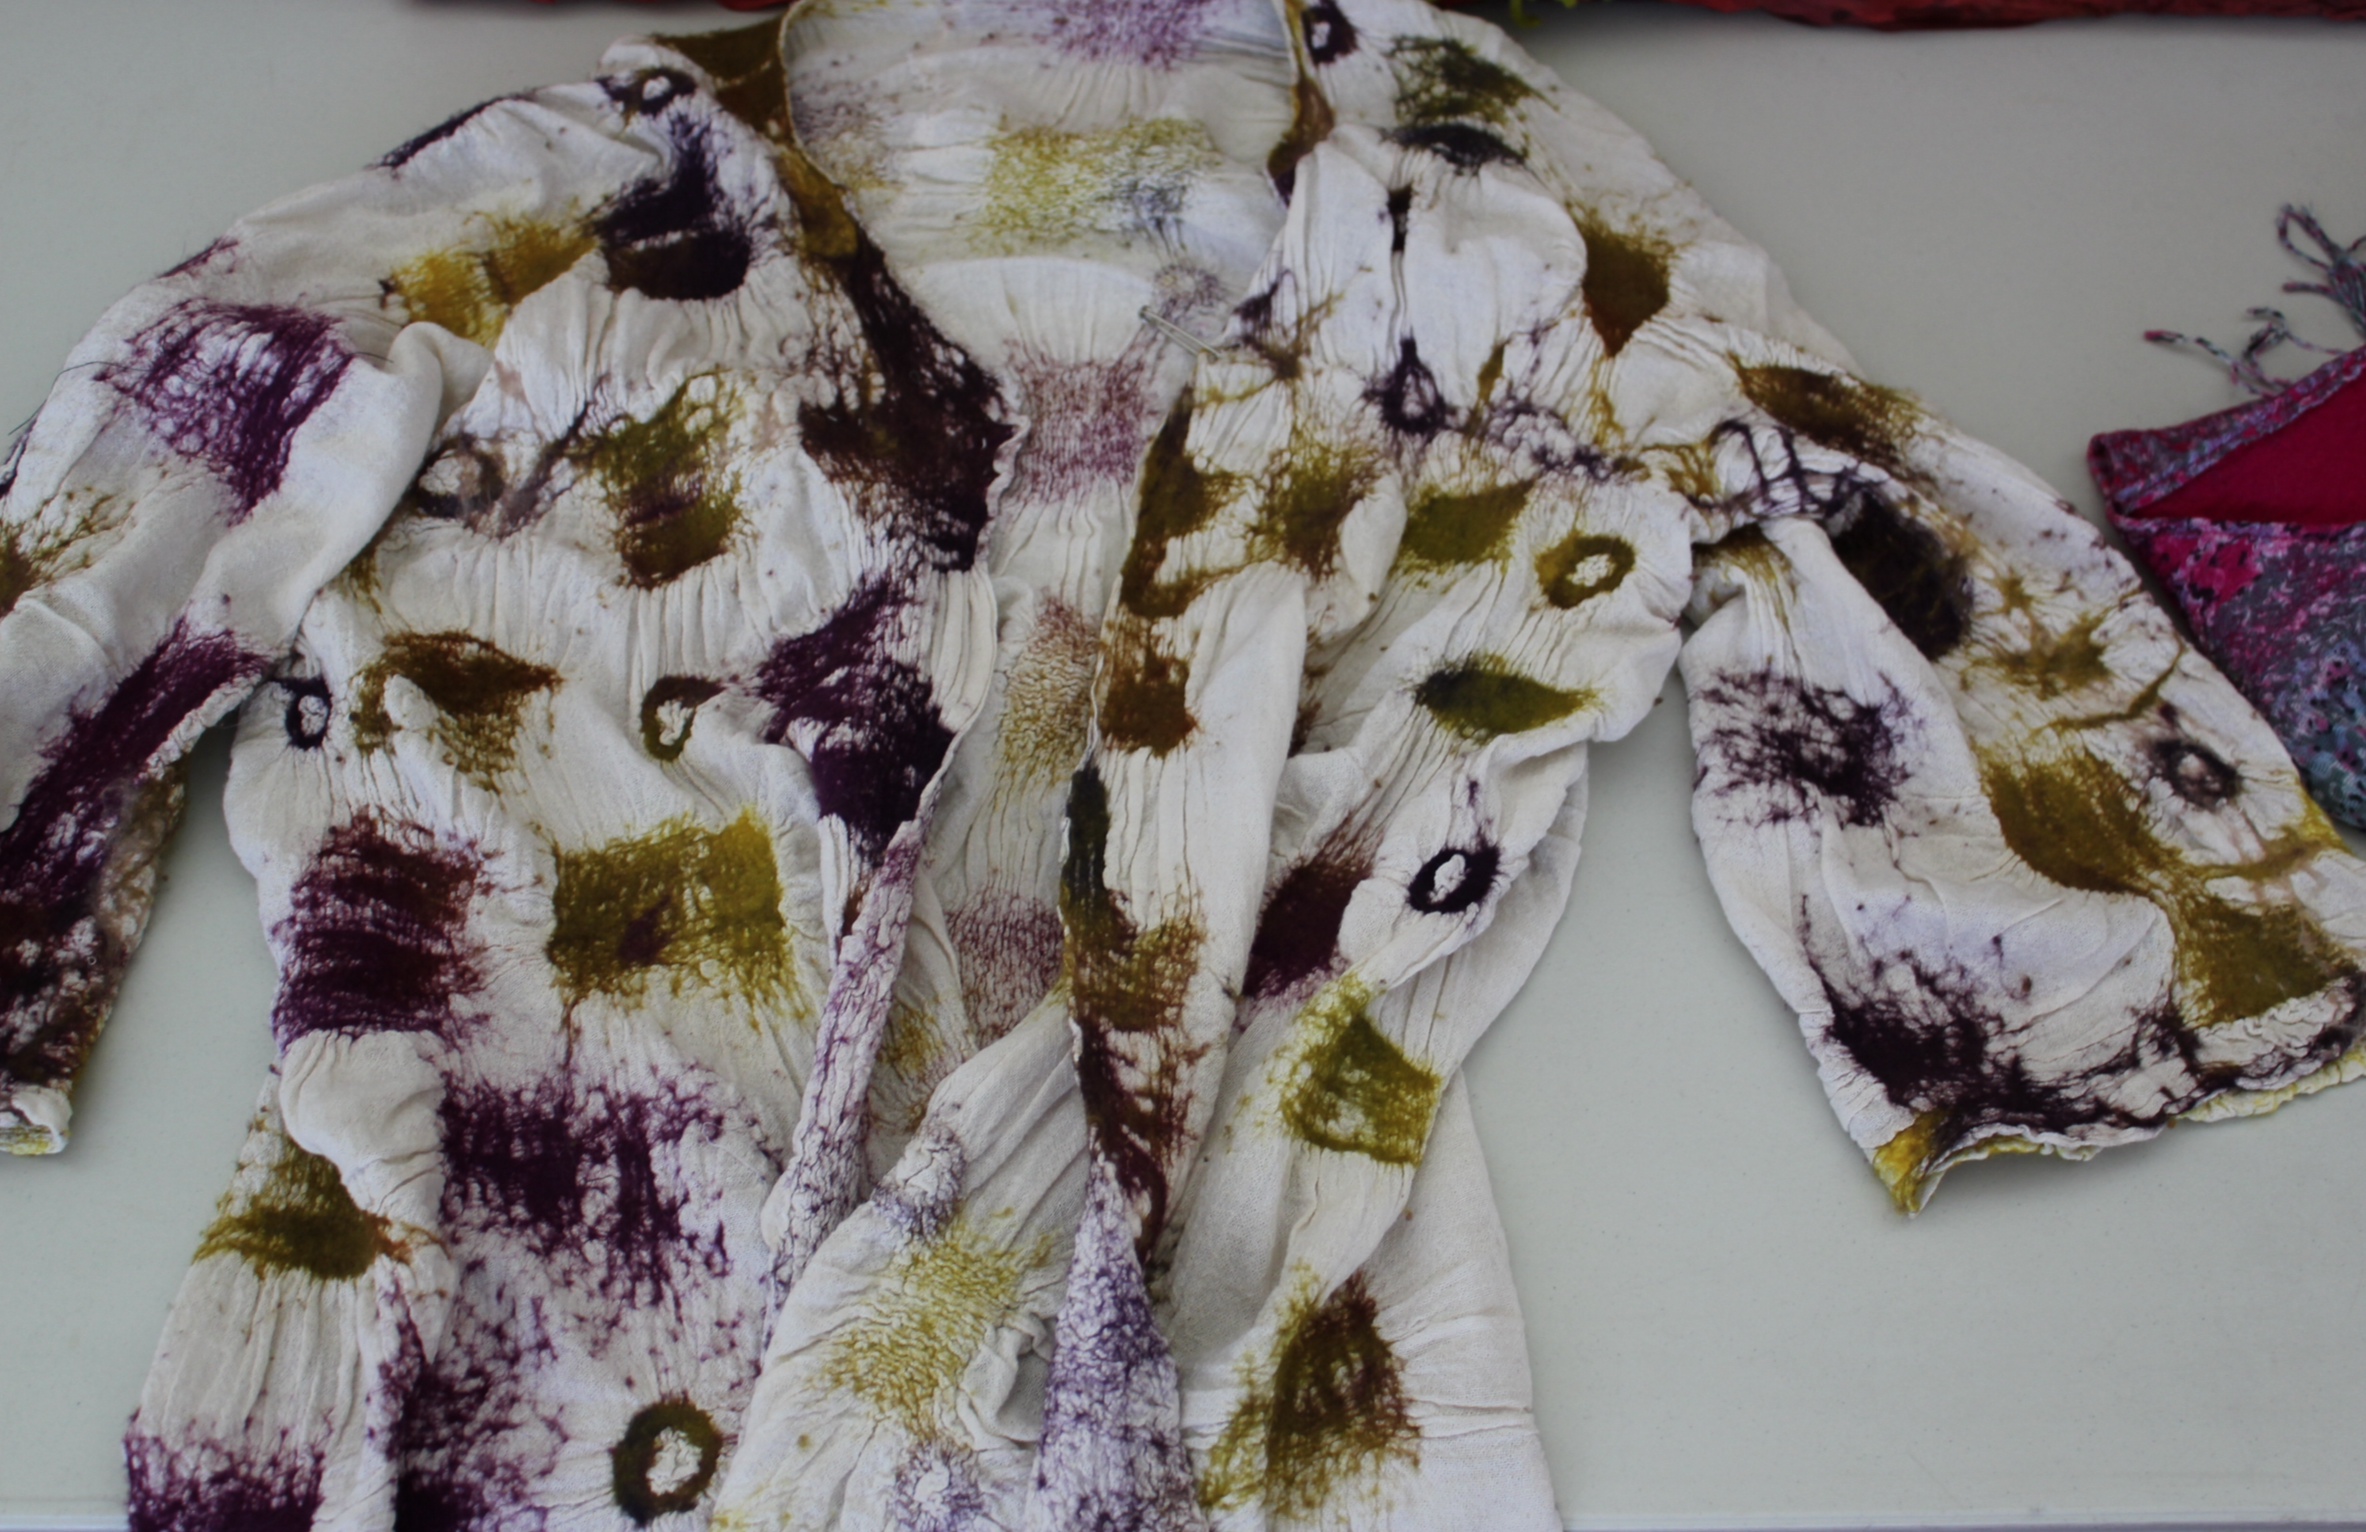
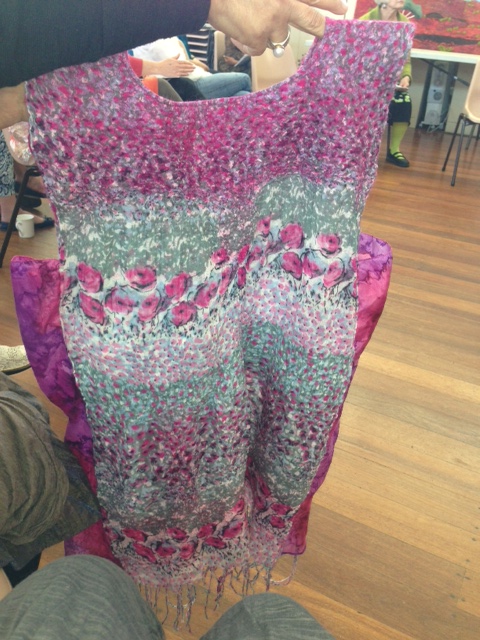
Judy Barkla designed this nuno dress awhile back but we always enjoy seeing it!
Sue Espie has been making Christmas angel decorations to sell at the Fremantle Arts Centre Chrismas Bazaar and the Rotary Fair at UWA next week. Needlefelted with dresses, hair, and wings of roving, the meeting thought they should sell like hot cakes.
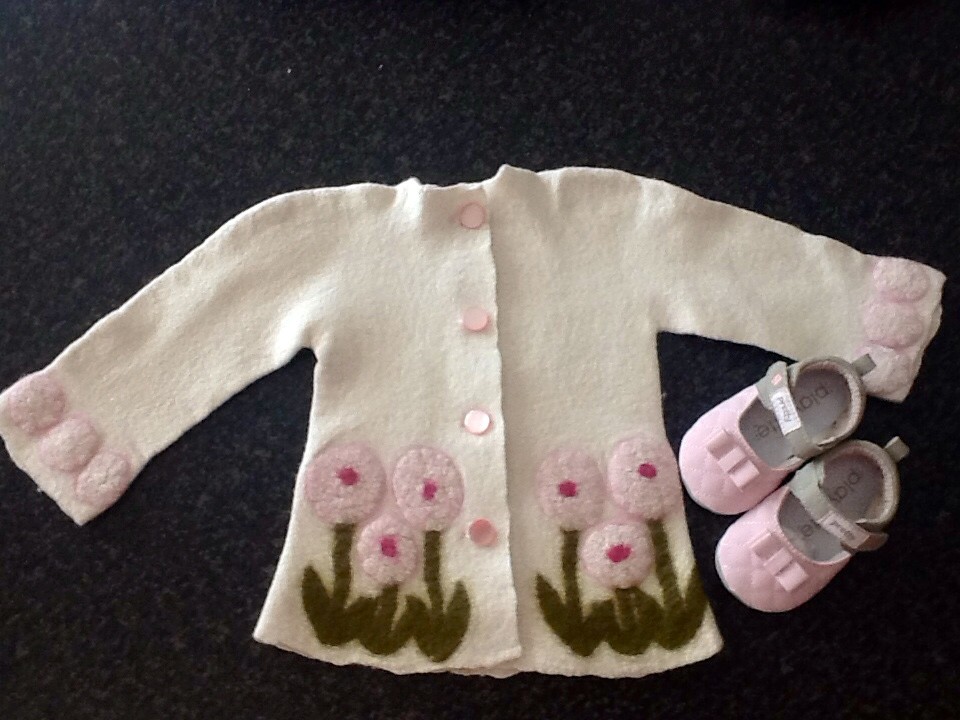
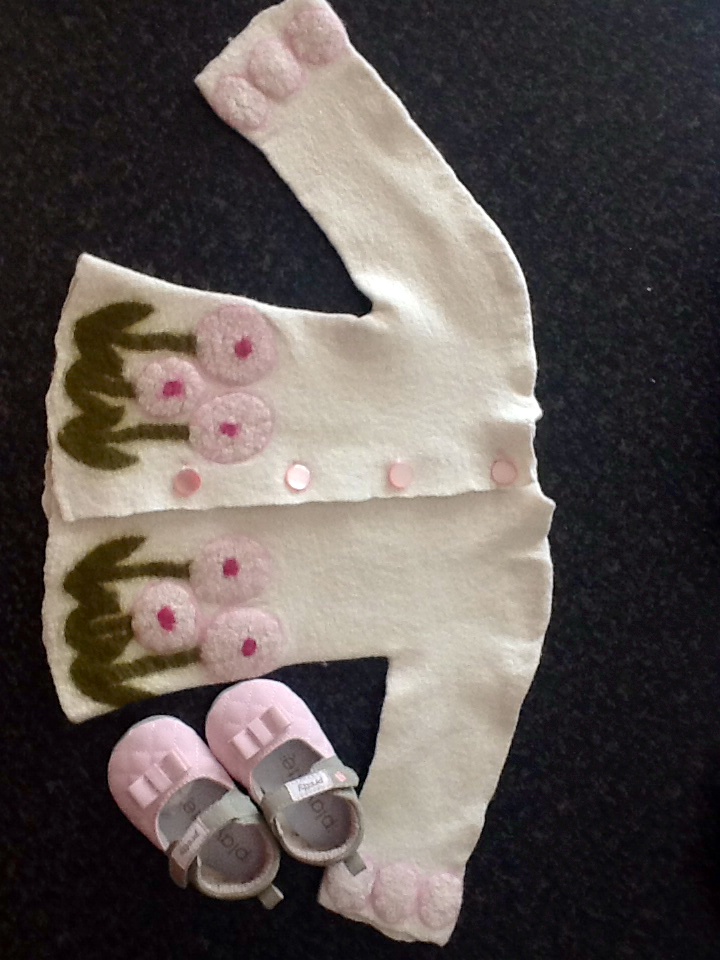
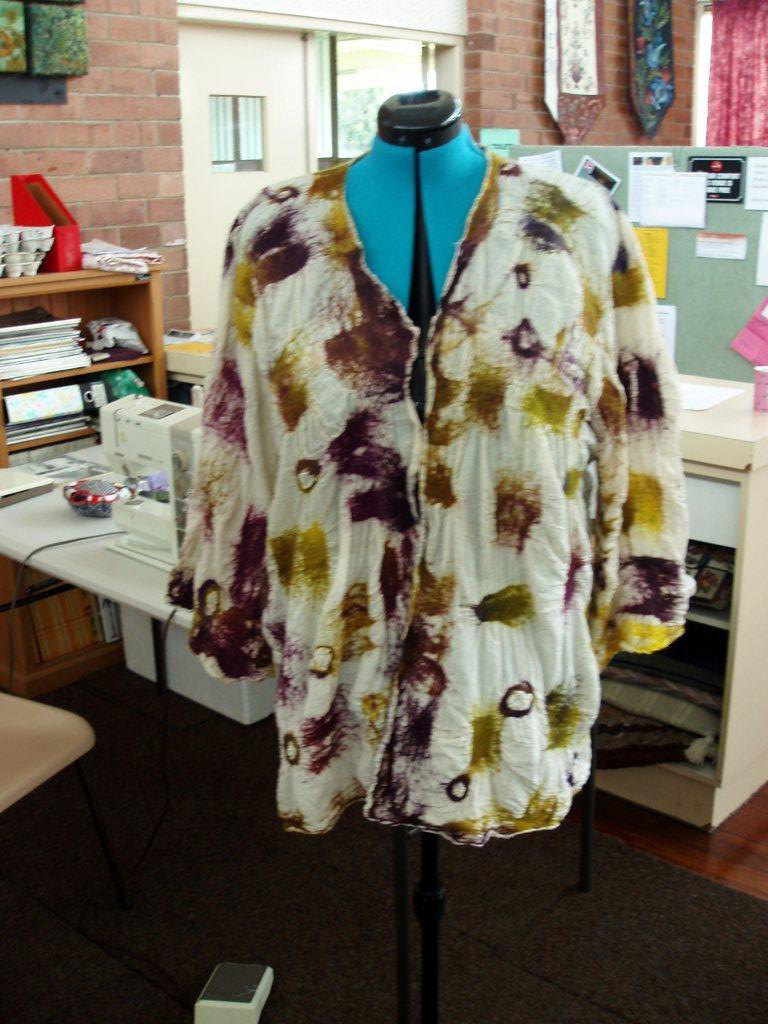
Juliet Hargreaves said how much she enjoyed Mary Ann Dawson’s recent baby bunting workshop Although the jacket she made there has already been given to a baby, a photo of the jacket appears in the review she wrote about the workshop. Juliet currently has some work displayed in the Biennale Exhibition 2014 of Designing Women (“Seams and Layers”) on show at Nyisztor Studio, 391 Canning Highway Melville 22 October – 5 November 2014.
Jill Jodrell said she had been given a white batt of indeterminate fibre but which was very cobwebby and so she put some merino wool on the batt and felted it. The textured result she showed us she said was a lovely surprise and she thinks now it will be ideal as a baby’s rug.
Finally, our guest speaker Sue Clay won the raffle this month!
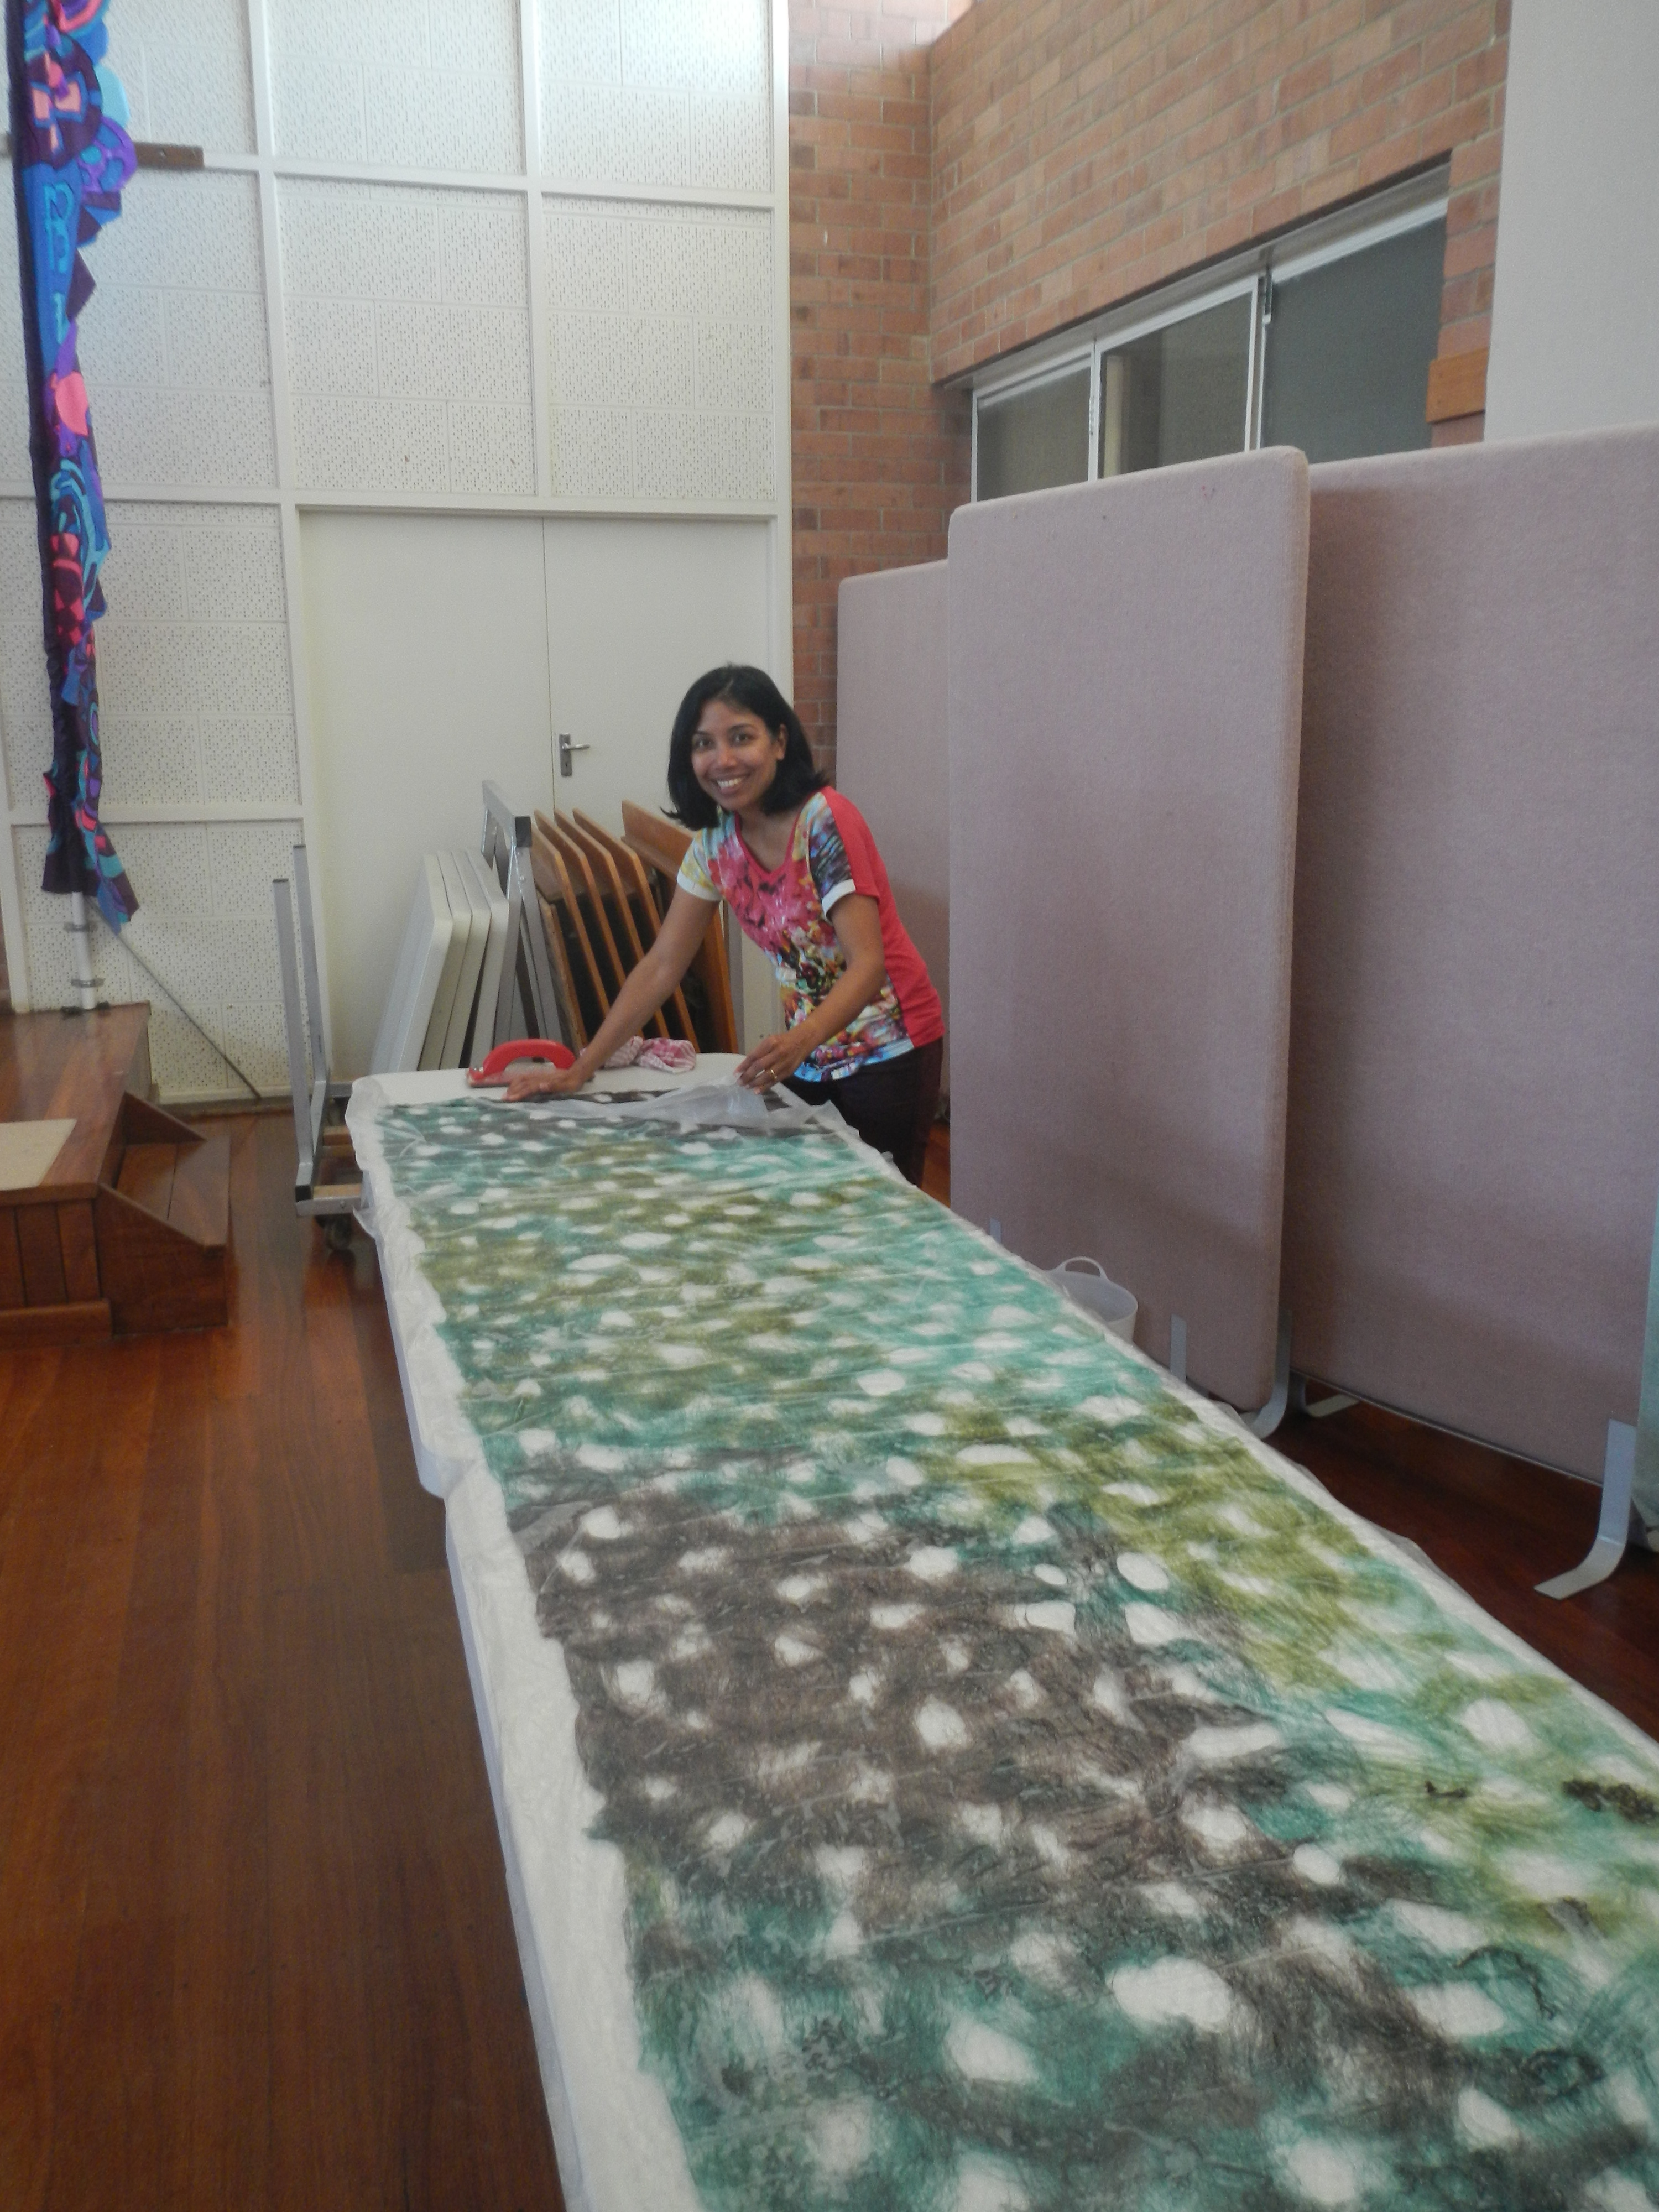
It was a wet and grey morning when we gathered at Craft house on the 6th of September, but the sight of Mary Ann’s creative baby jackets rapidly lifted our spirits. We felt fortunate to have such a high tutor: student ratio which meant our questions were rapidly dealt with as well as providing an environment to easily get to know each other. I chose to do this workshop as it provided an excellent opportunity to learn more about making jackets in a very manageable way i.e. a baby jacket might be just that, or it could be a sample for a bigger one. Either way, I thought a baby size jacket would be achievable in a one day workshop and being largely self taught, I was eager to learn from someone with Mary Ann’s experience.
Our first surprise was the size of the template Mary Ann had kindly prepared for us. It seemed enormous and only just fitted on one table! However after a closer inspection of her samples and a demonstration of laying out the jacket we were on the way to being persuaded that this was the size we needed to start with.
One of the tips I found really useful was the way in which Mary Ann prepared pre-felt using a dry felting method. This is such an easy way to build a collection of pre-felts and can be done while you are watching TV at night with no mess. Mary Anne guided us through the process of building in an overlapped front, and extending the sleeve for a roll back cuff for those that desired it. We all got down to some serious laying out of wool tops on the jacket template for an hour or so, at which point Mary Ann demonstrated a number of different ways to embellish the jacket. Of course we were all dying to get on to this part but some of us needed to finish the background first! By lunch- time we were all felting madly and trying to stave off hunger pangs so we could start to see some shrinkage. The rolling, and massaging continued until we were able to remove the template and cut the front open. At this stage we all still had fairly large jackets that would have fitted two baby Buntings, but there was a general air of satisfaction at the results so far. The embellishments were recognizable and even produced a few surprises such as three-dimensional flowers as the felt and lace shrunk!
We headed home eager to complete the task and delighted with the comprehensive notes and sizing charts Mary Ann had provided. For my part further felting was accomplished by hand, the washing machine and the dryer (I had a deadline). Finally the best measure of a workshop, even if it is after the event, is a completed article. My jacket departed for Melbourne the following Thursday for the grand daughter of a close friend. It’s hard to imagine it could shrink any more so might even survive a washing machine! I’ll have to make another one now to keep as a sample.
The professional presentation of this workshop and generous sharing of her highly developed knowledge of felting made it hard to believe this was Mary Ann’s first workshop. It was great value and if she runs it again I would highly recommend it.
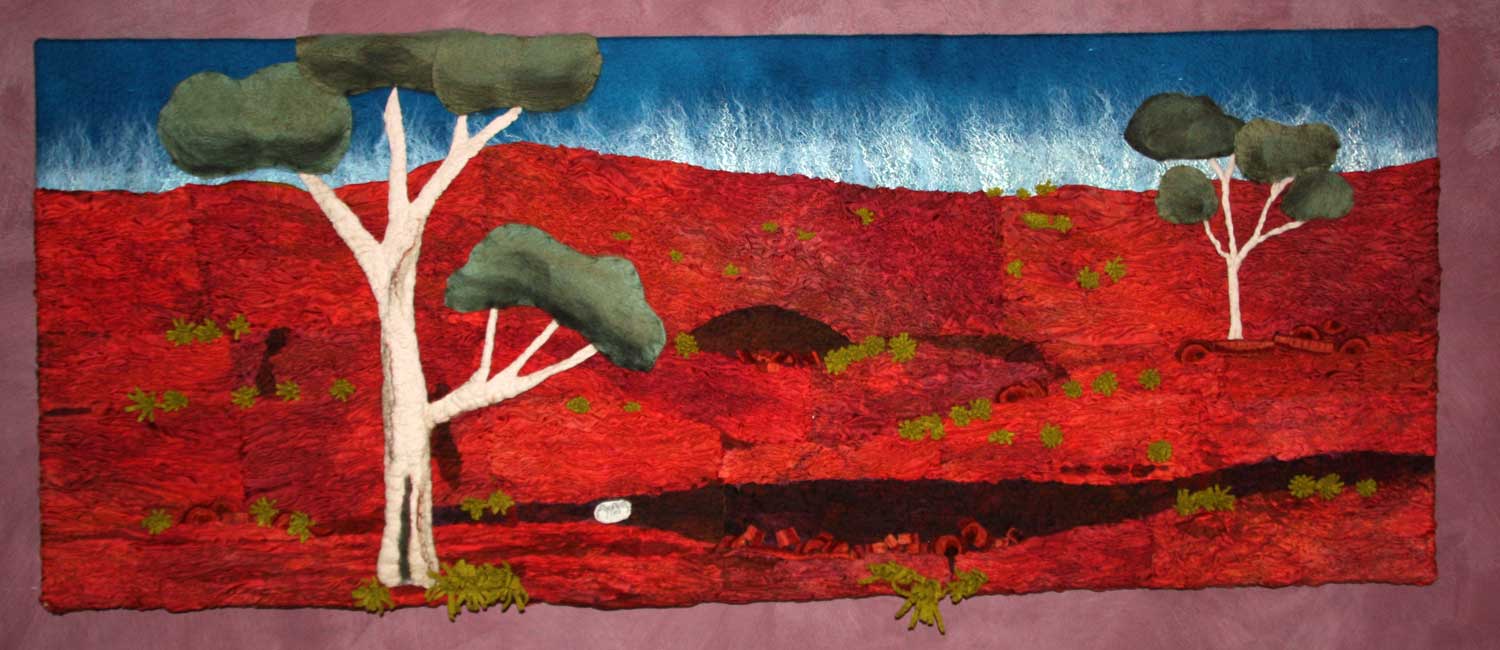
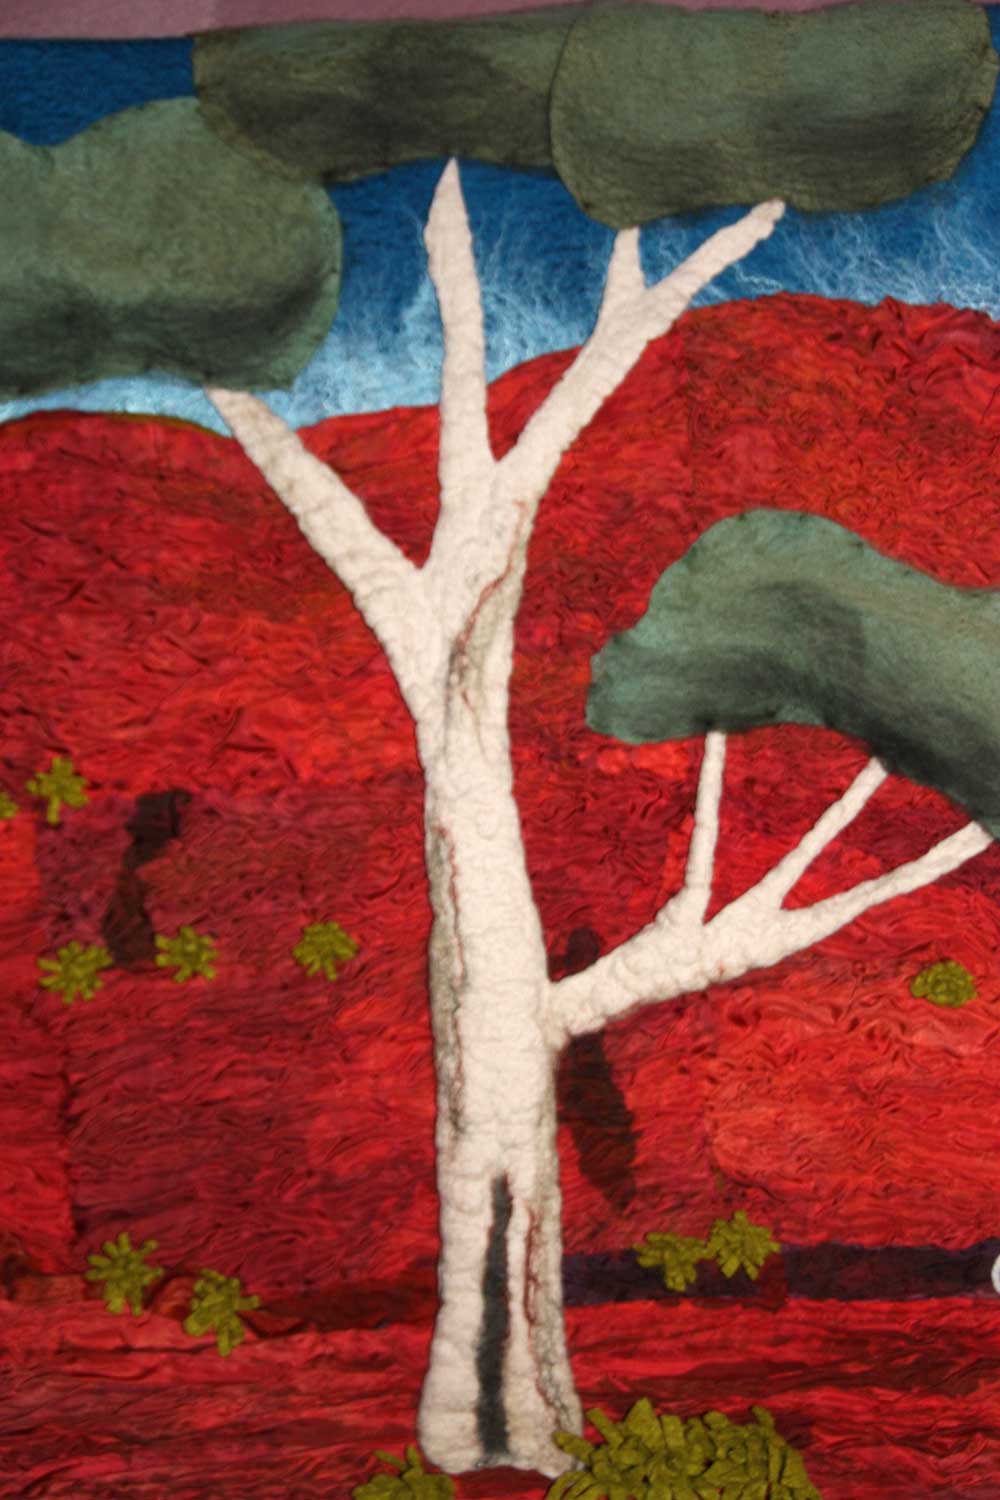
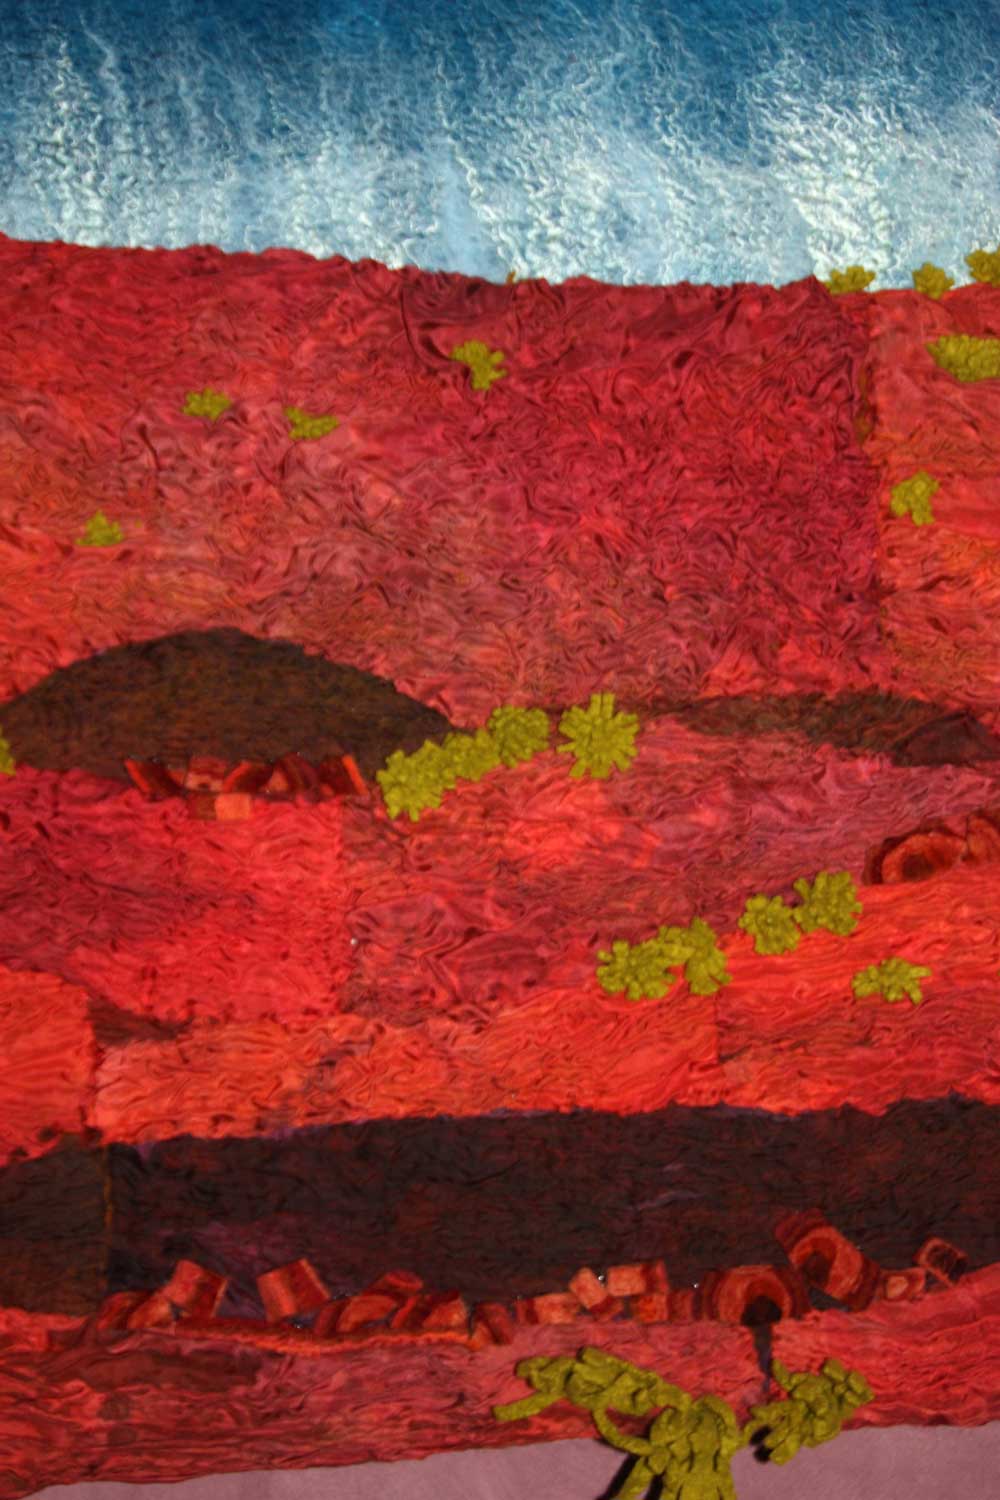
Soosie : showed us a large framed piece of work she created for her friends as a house warming present. It has an Australian Aboriginal theme depicting the Wandjinas people at Chamberlain Gorge. Using wool and the “Nuno” felting technique Soosie has hand dyed and stitched this wall hanging.
Juliette: created four small felted decorative items using techniques learned at Donna’s tutorial.
Pat: passed around a finely knitted white blanket she’d made for Goodram’s grandchild to be, using her knitting machine.
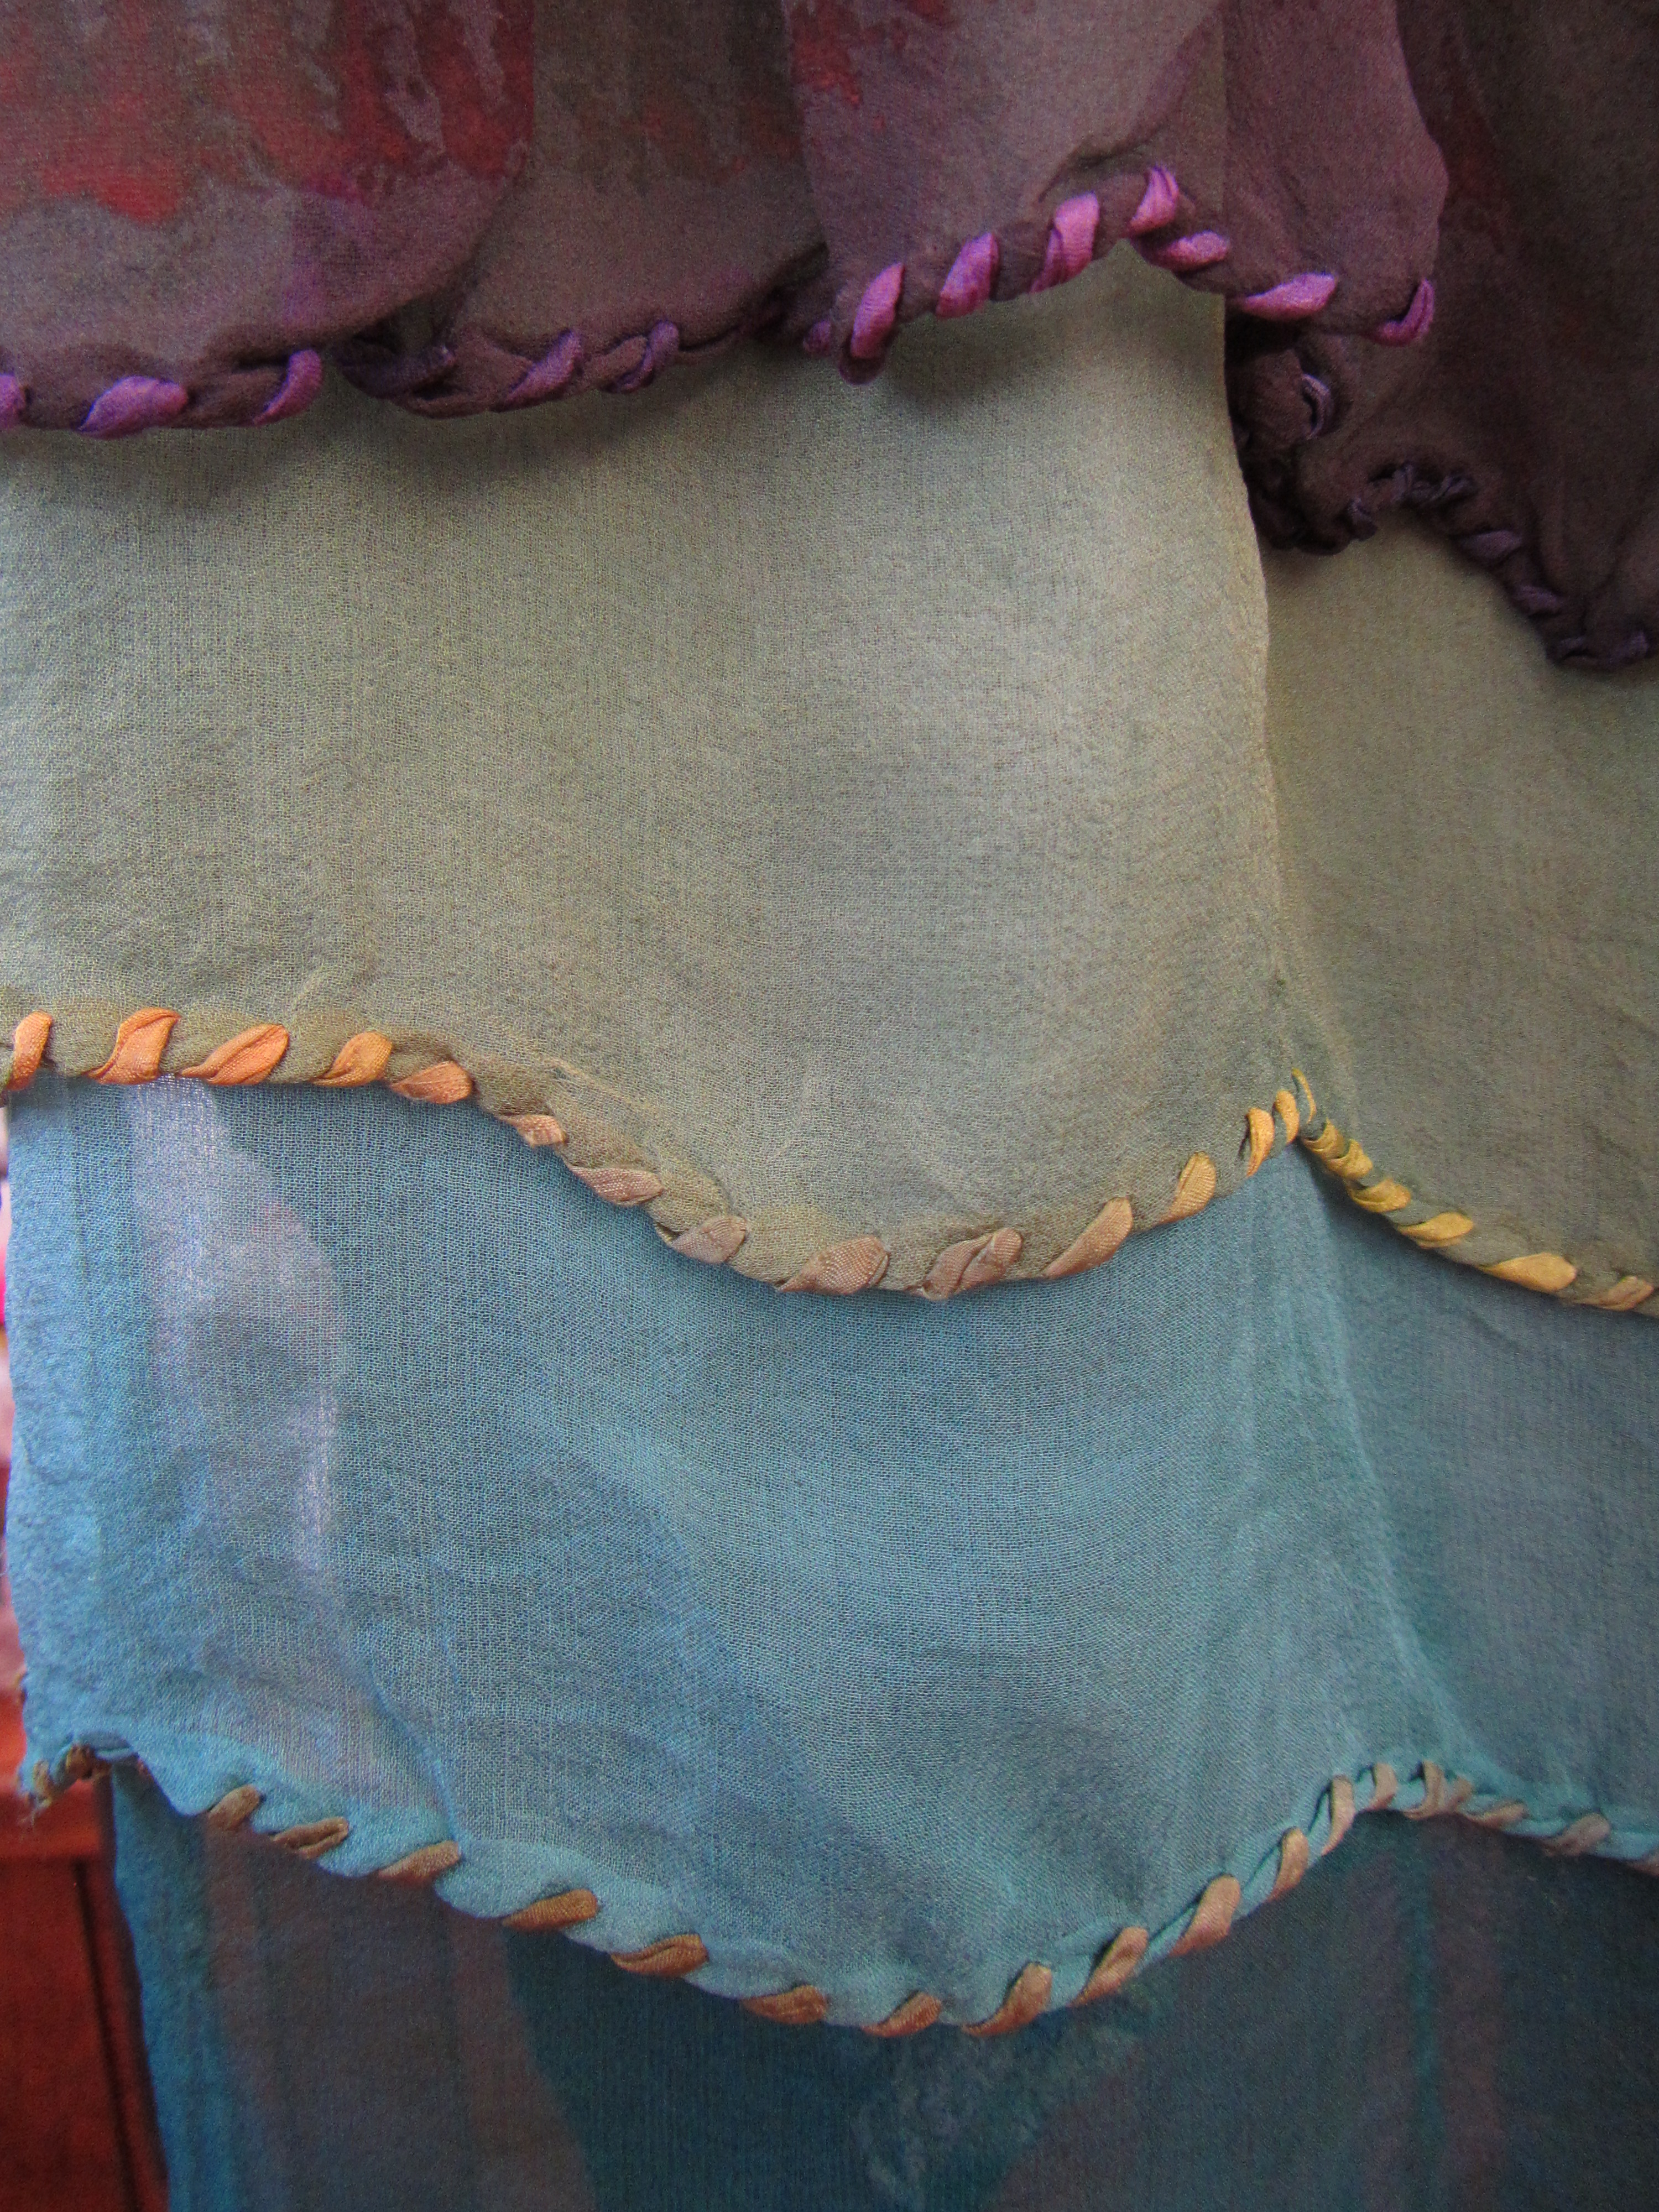
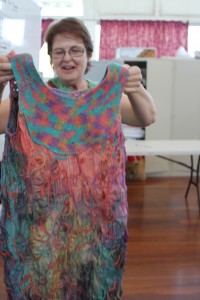
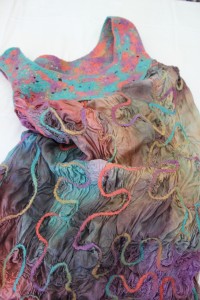
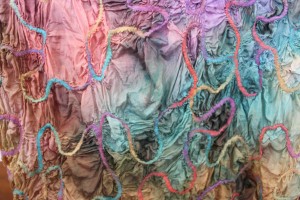
Beth : using India Flint’s method of making a silk and wool fabric, Beth made this multicoloured and embellished skirt.
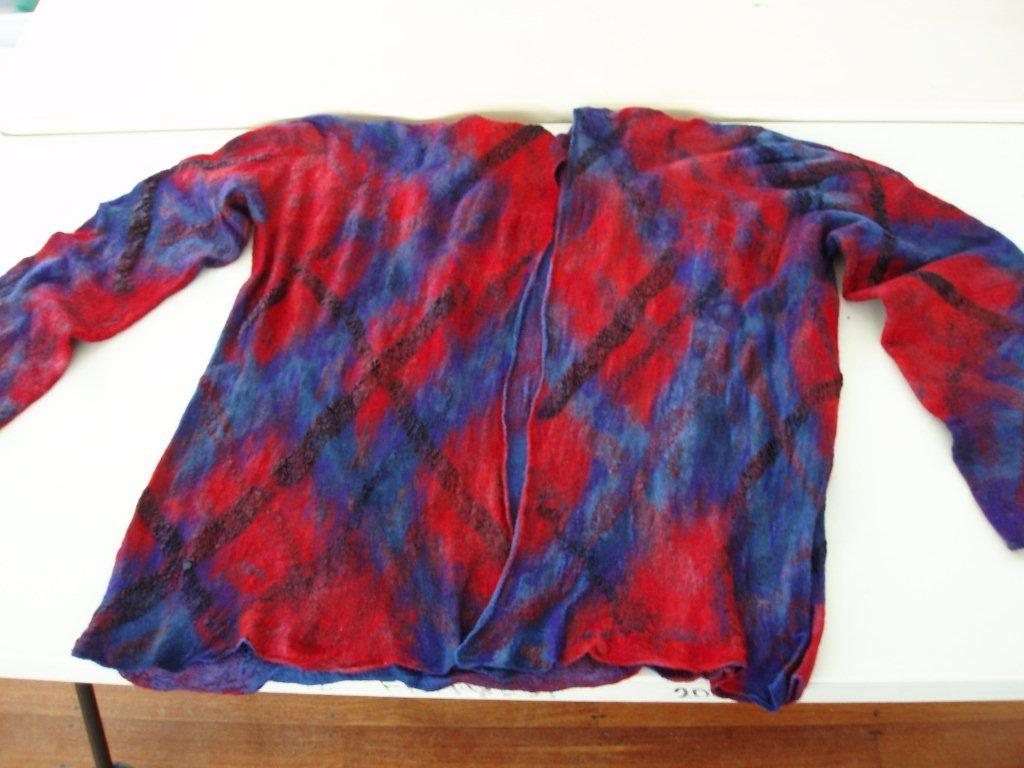
Vianne : following Janice Manning’s jacket making class Vianne showed her multicoloured jacket.
Dawn: attended Janice Manning’s class and made this light coloured jacket.
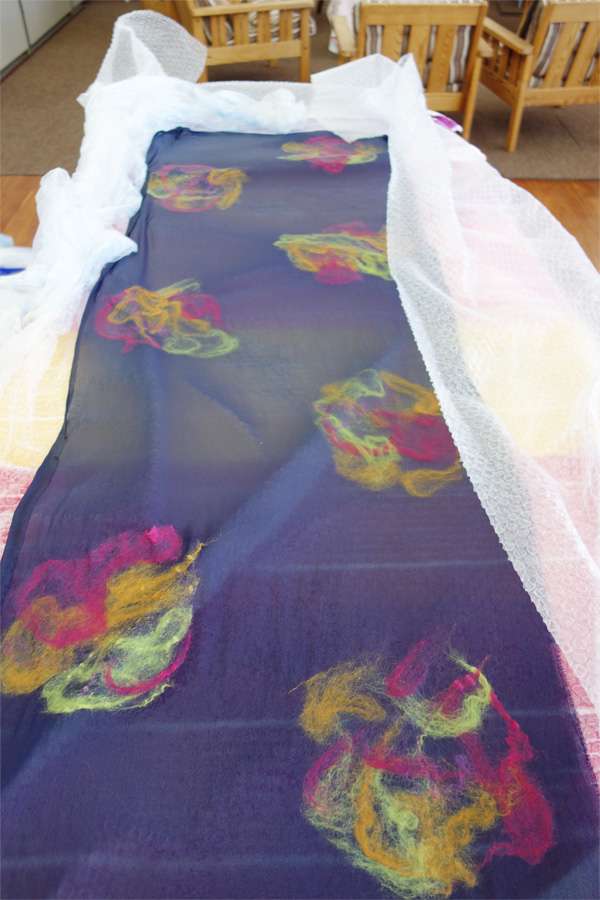
Nancy : showed us her scarf of black tissue silk embellished with silk hankies of various colours.
Jeanette : Nuno silk dress in Fuscia and mottled green. The wool has been used in such a way as to create shape, contour and colour change.
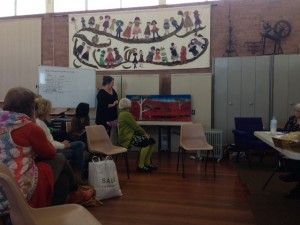
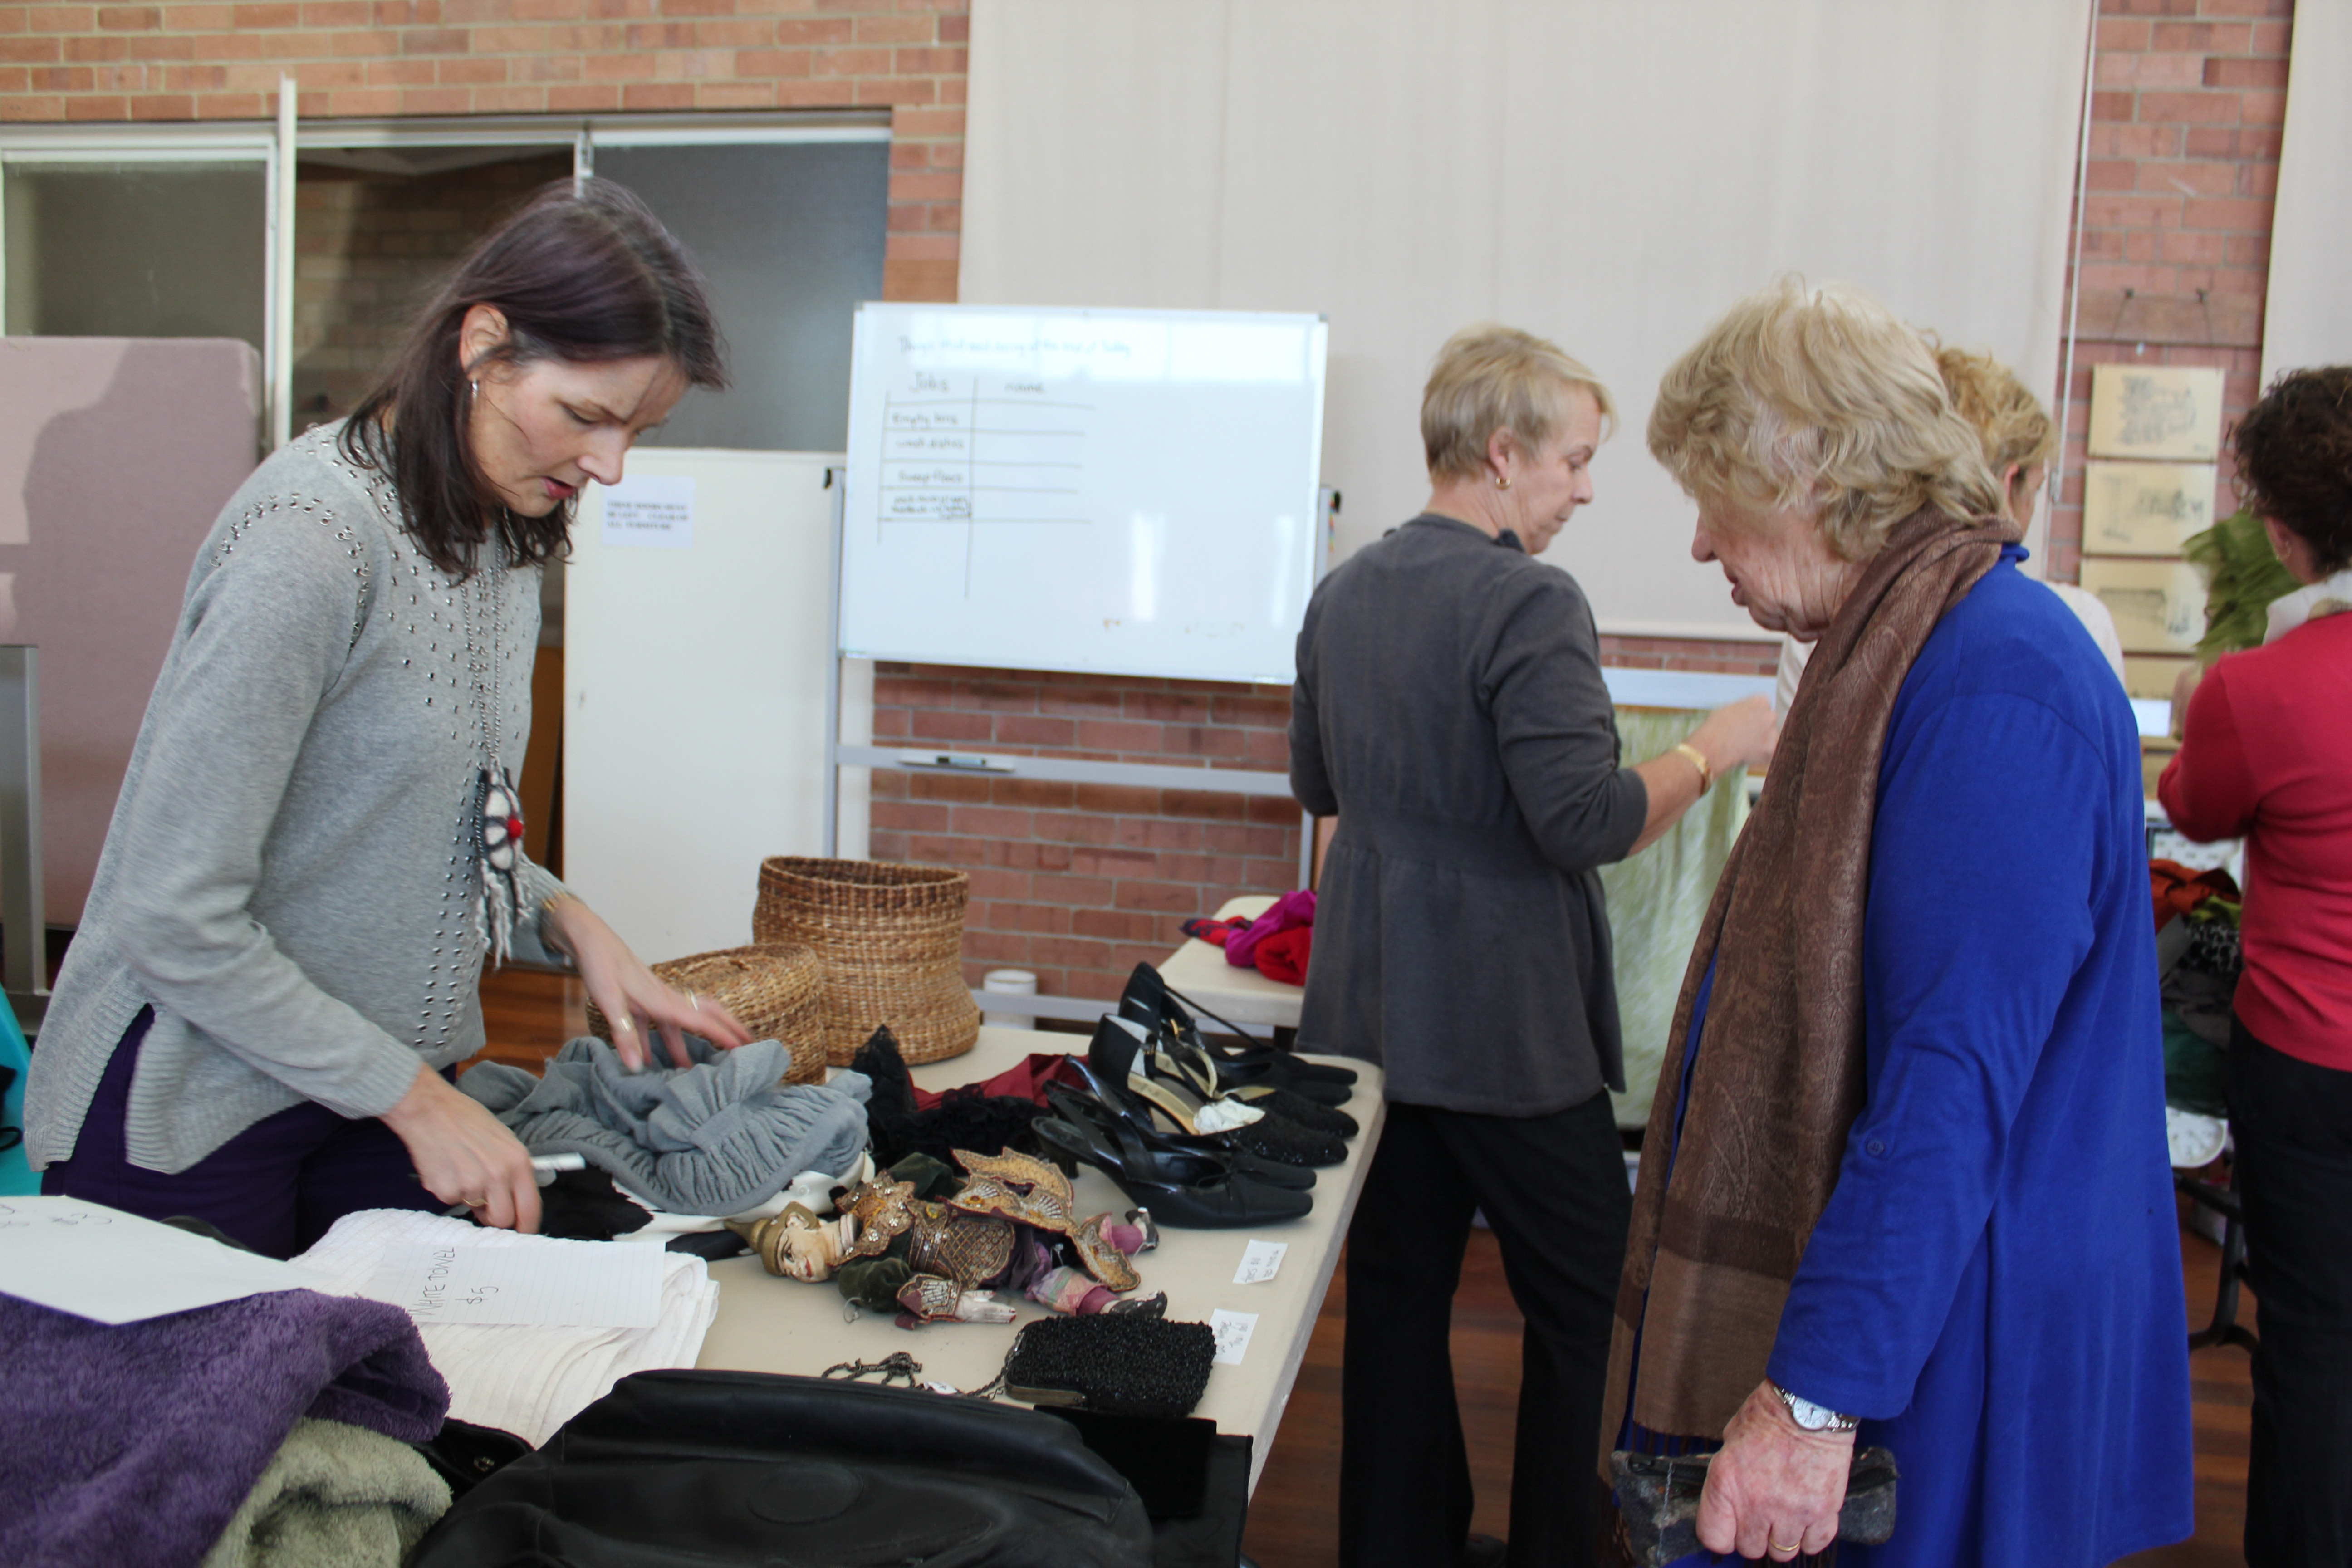
Photos from the AGM, our wonderful speaker Richard and Trash n Treasure:
Sue Swain: attended the “Jacket Making” workshop and showed us her three quarter length coat in natural coloured wool. The wool was laid onto cotton muslin in a diagonal fashion.
Lyn: also completed the jacket making course and completed a jacket and a hat too.
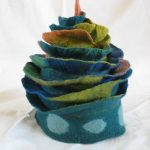
Soosie: showed a couple of large 3D felted cacti she created from felt. One was embellished with tiny beads and was “in flower” too! She used a sausage technique to make the stem. Soosie experimented using shellac on her 3D fish.
New member Laura: presented her very first felt creation, a purple scarf incorporating swirls of wool.
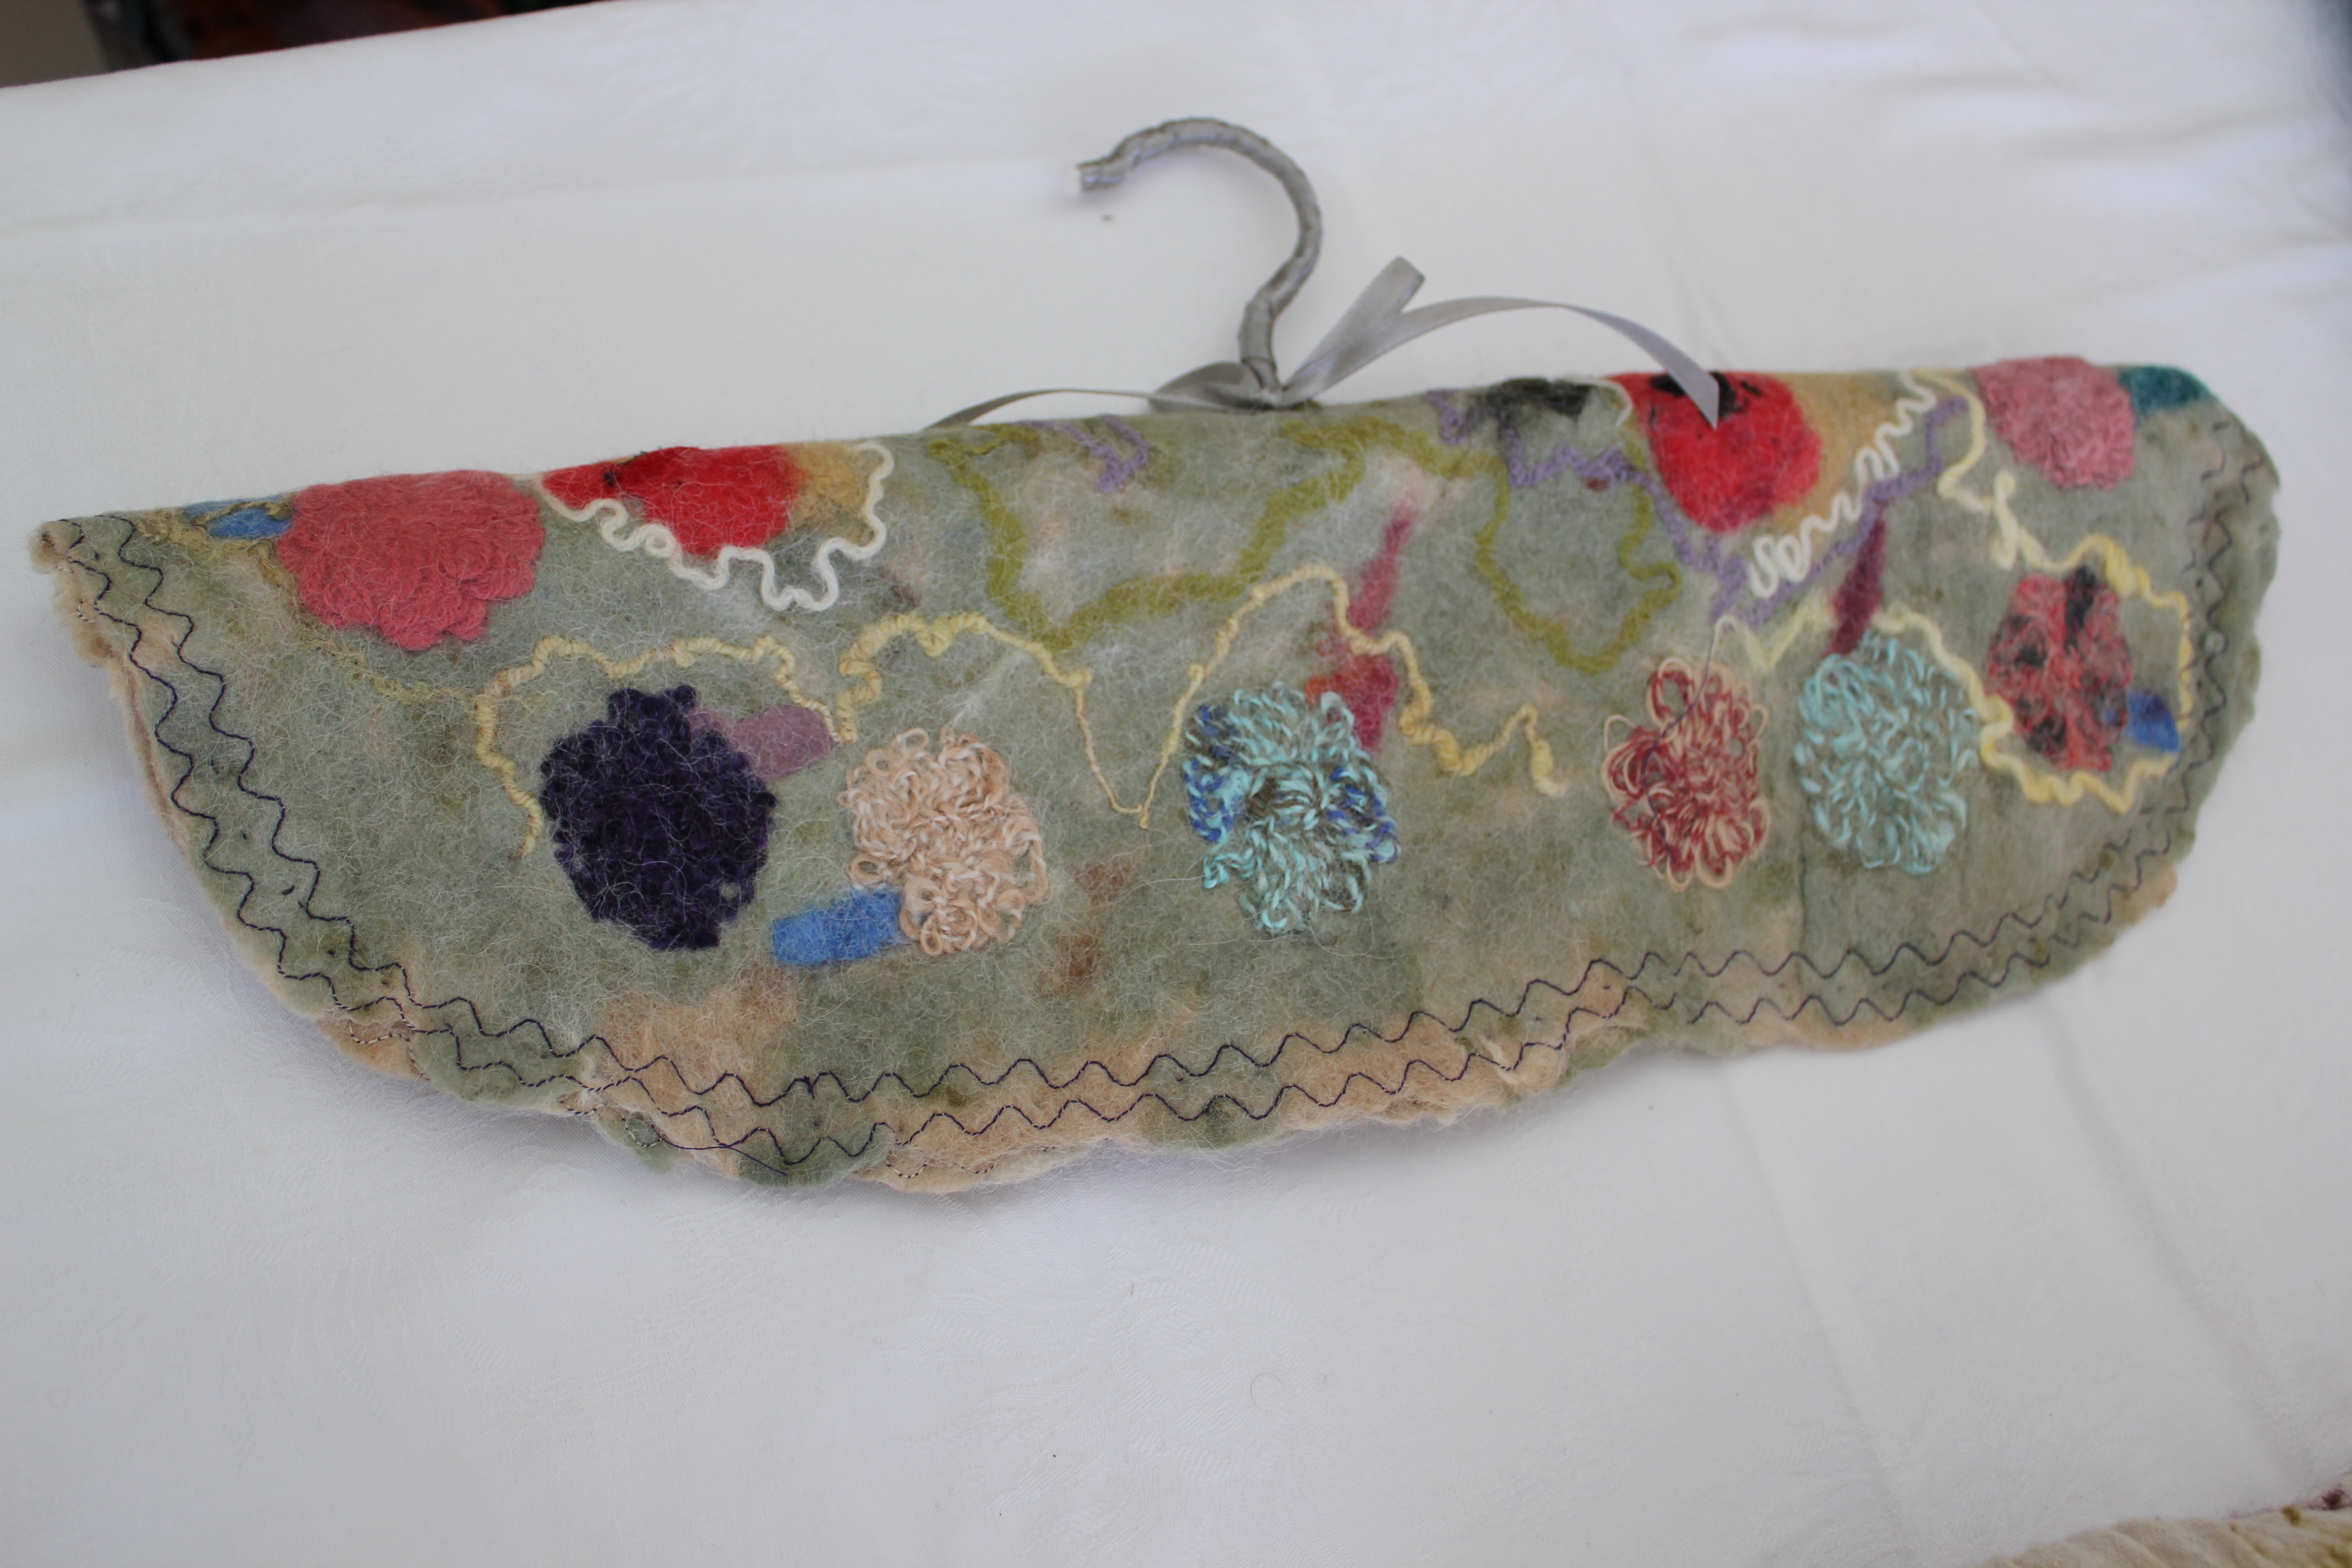
Judith Shaw: pointed out her felt covered coat hanger which has multiple features. The “non slip” hanger has plenty of room to pin things to it and has a pouch to hold items.
Judith also had tips on how to use up scraps, and examples of this was a felted spectacle case decorated by freestyle stitching, plus, a tea cosie.
Vianne: explained her love of texture and showed this in her piece of blue crocheted yarn sandwiched between two layers of wool.
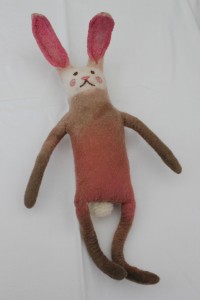
Sue Eslick: following Nancy’s work shop, showed a string of blue felted balls on cord, embellished with red beads. She also made a felted rabbit, baby bottle holder and denim bag.
Kim and Katrina: used the skills they’d learned following Nancy’s workshop and produced strings of woolen beads.
(Kim’s, rust coloured).
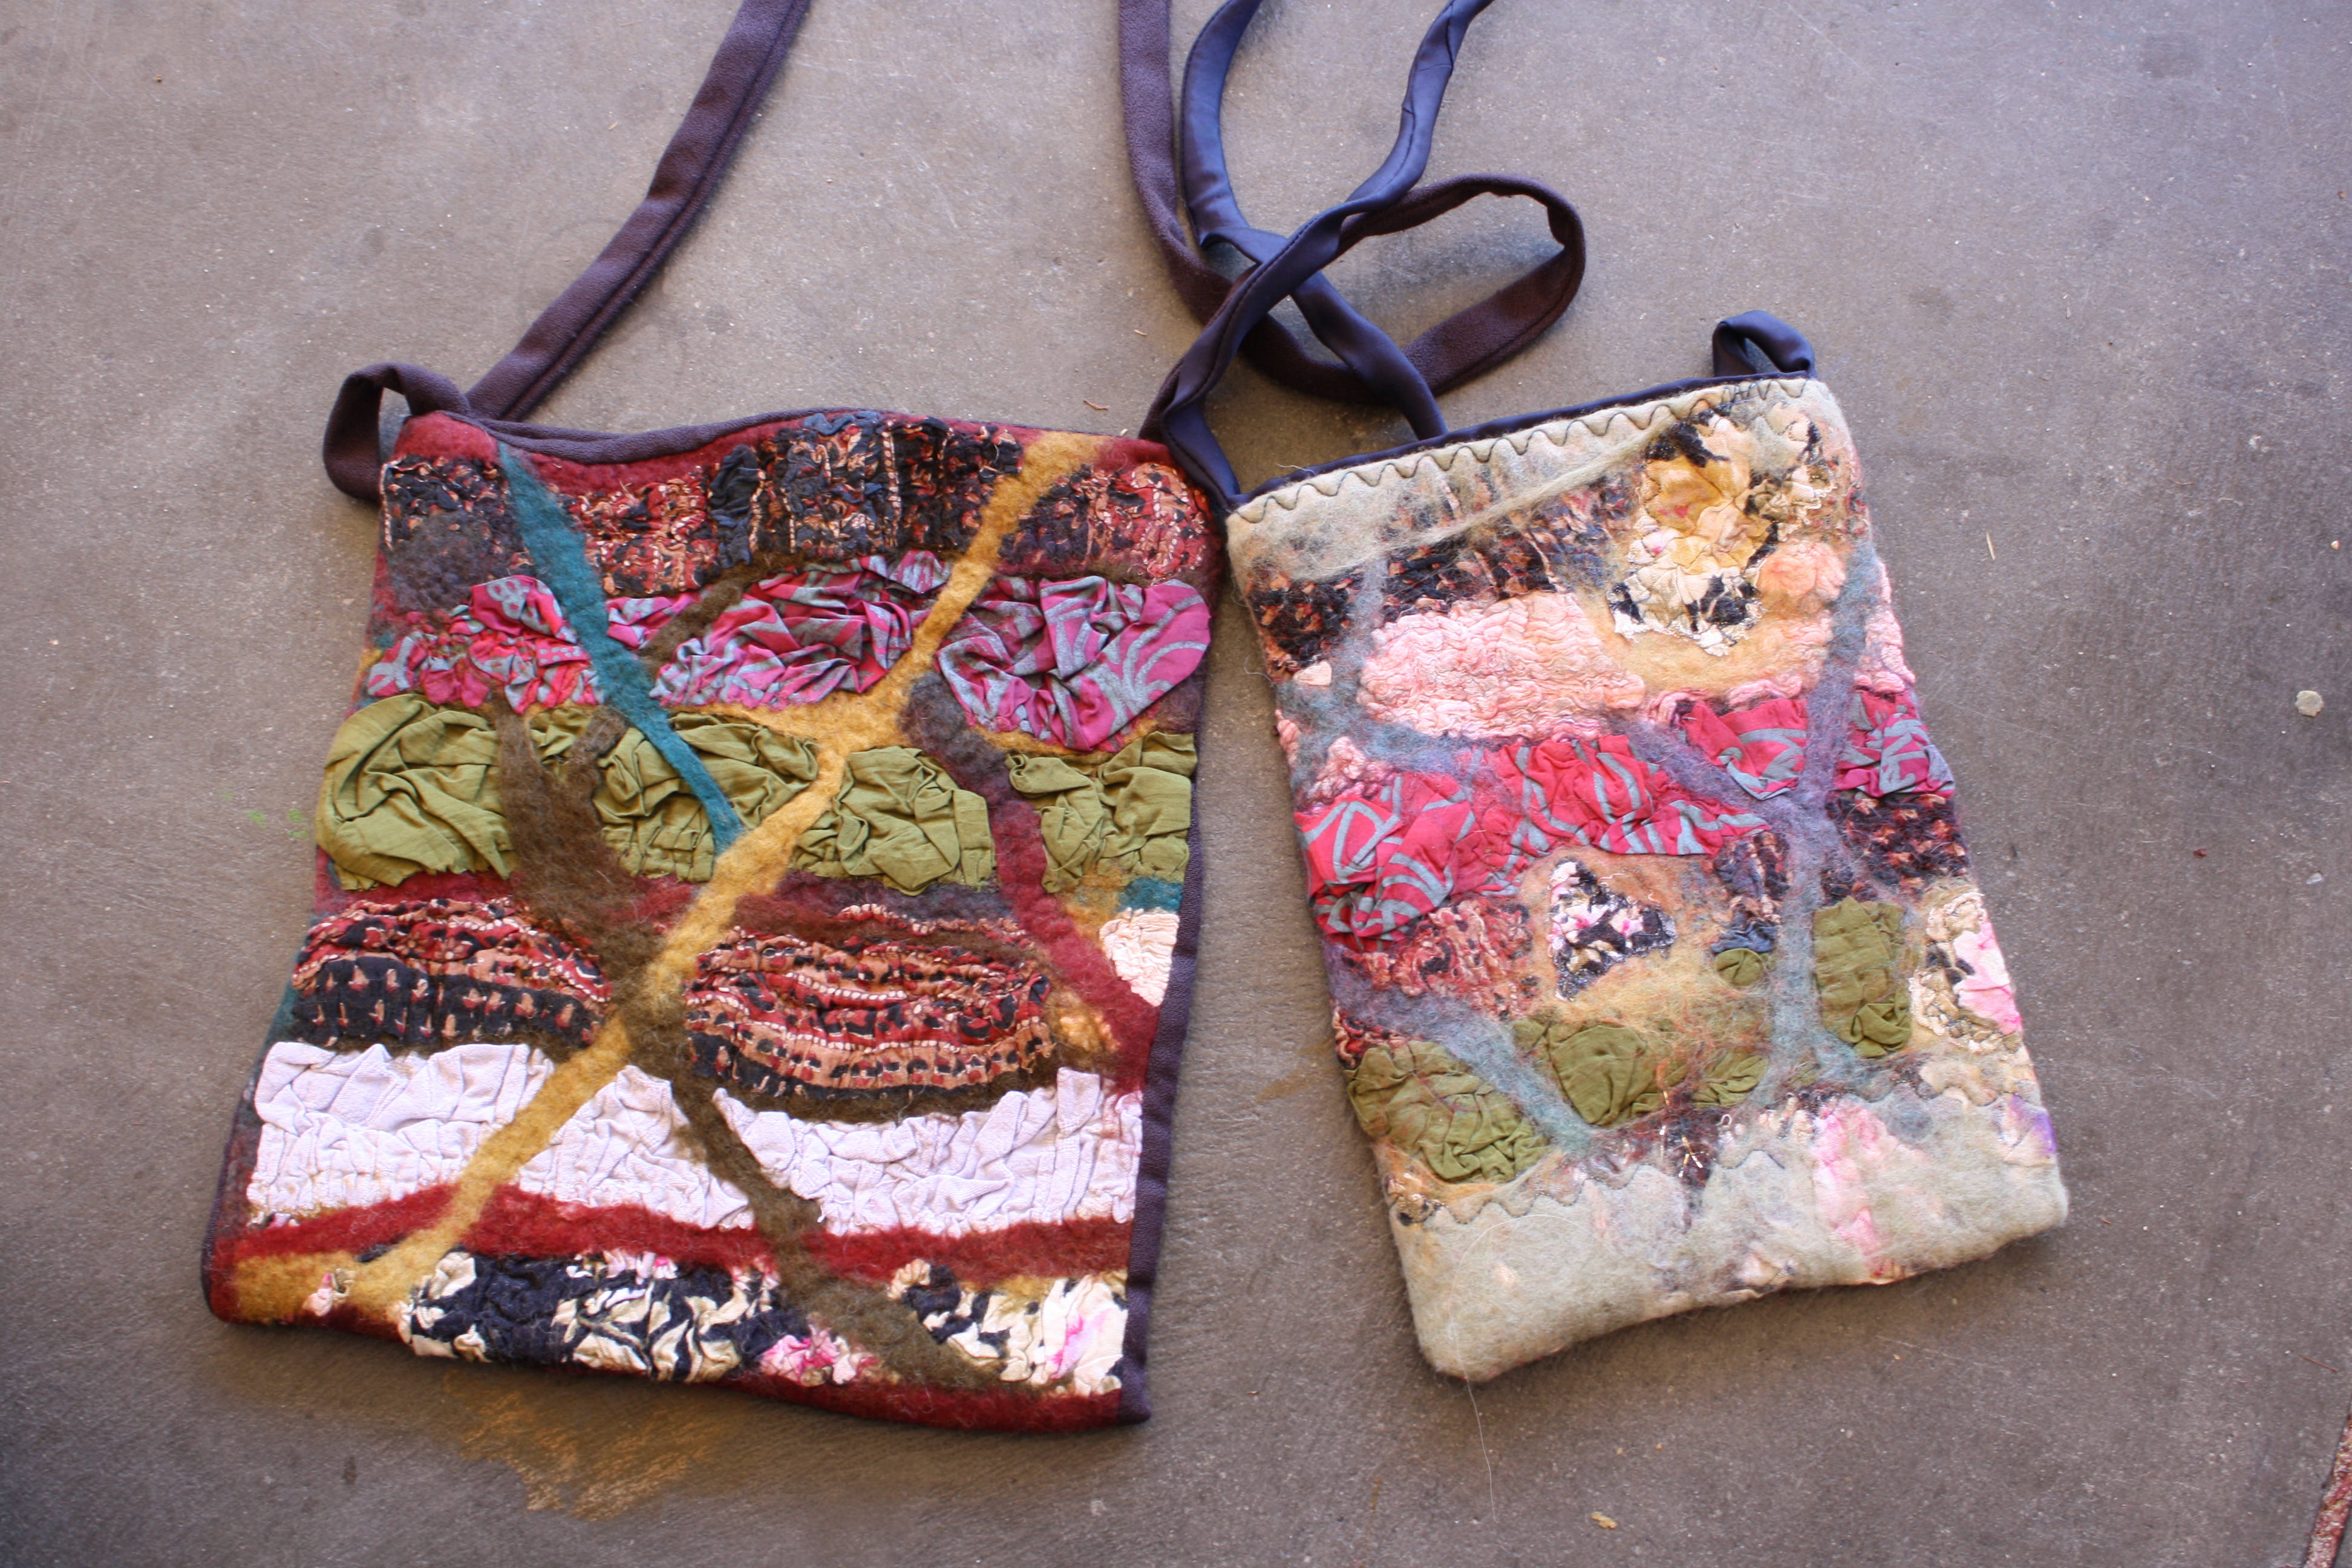
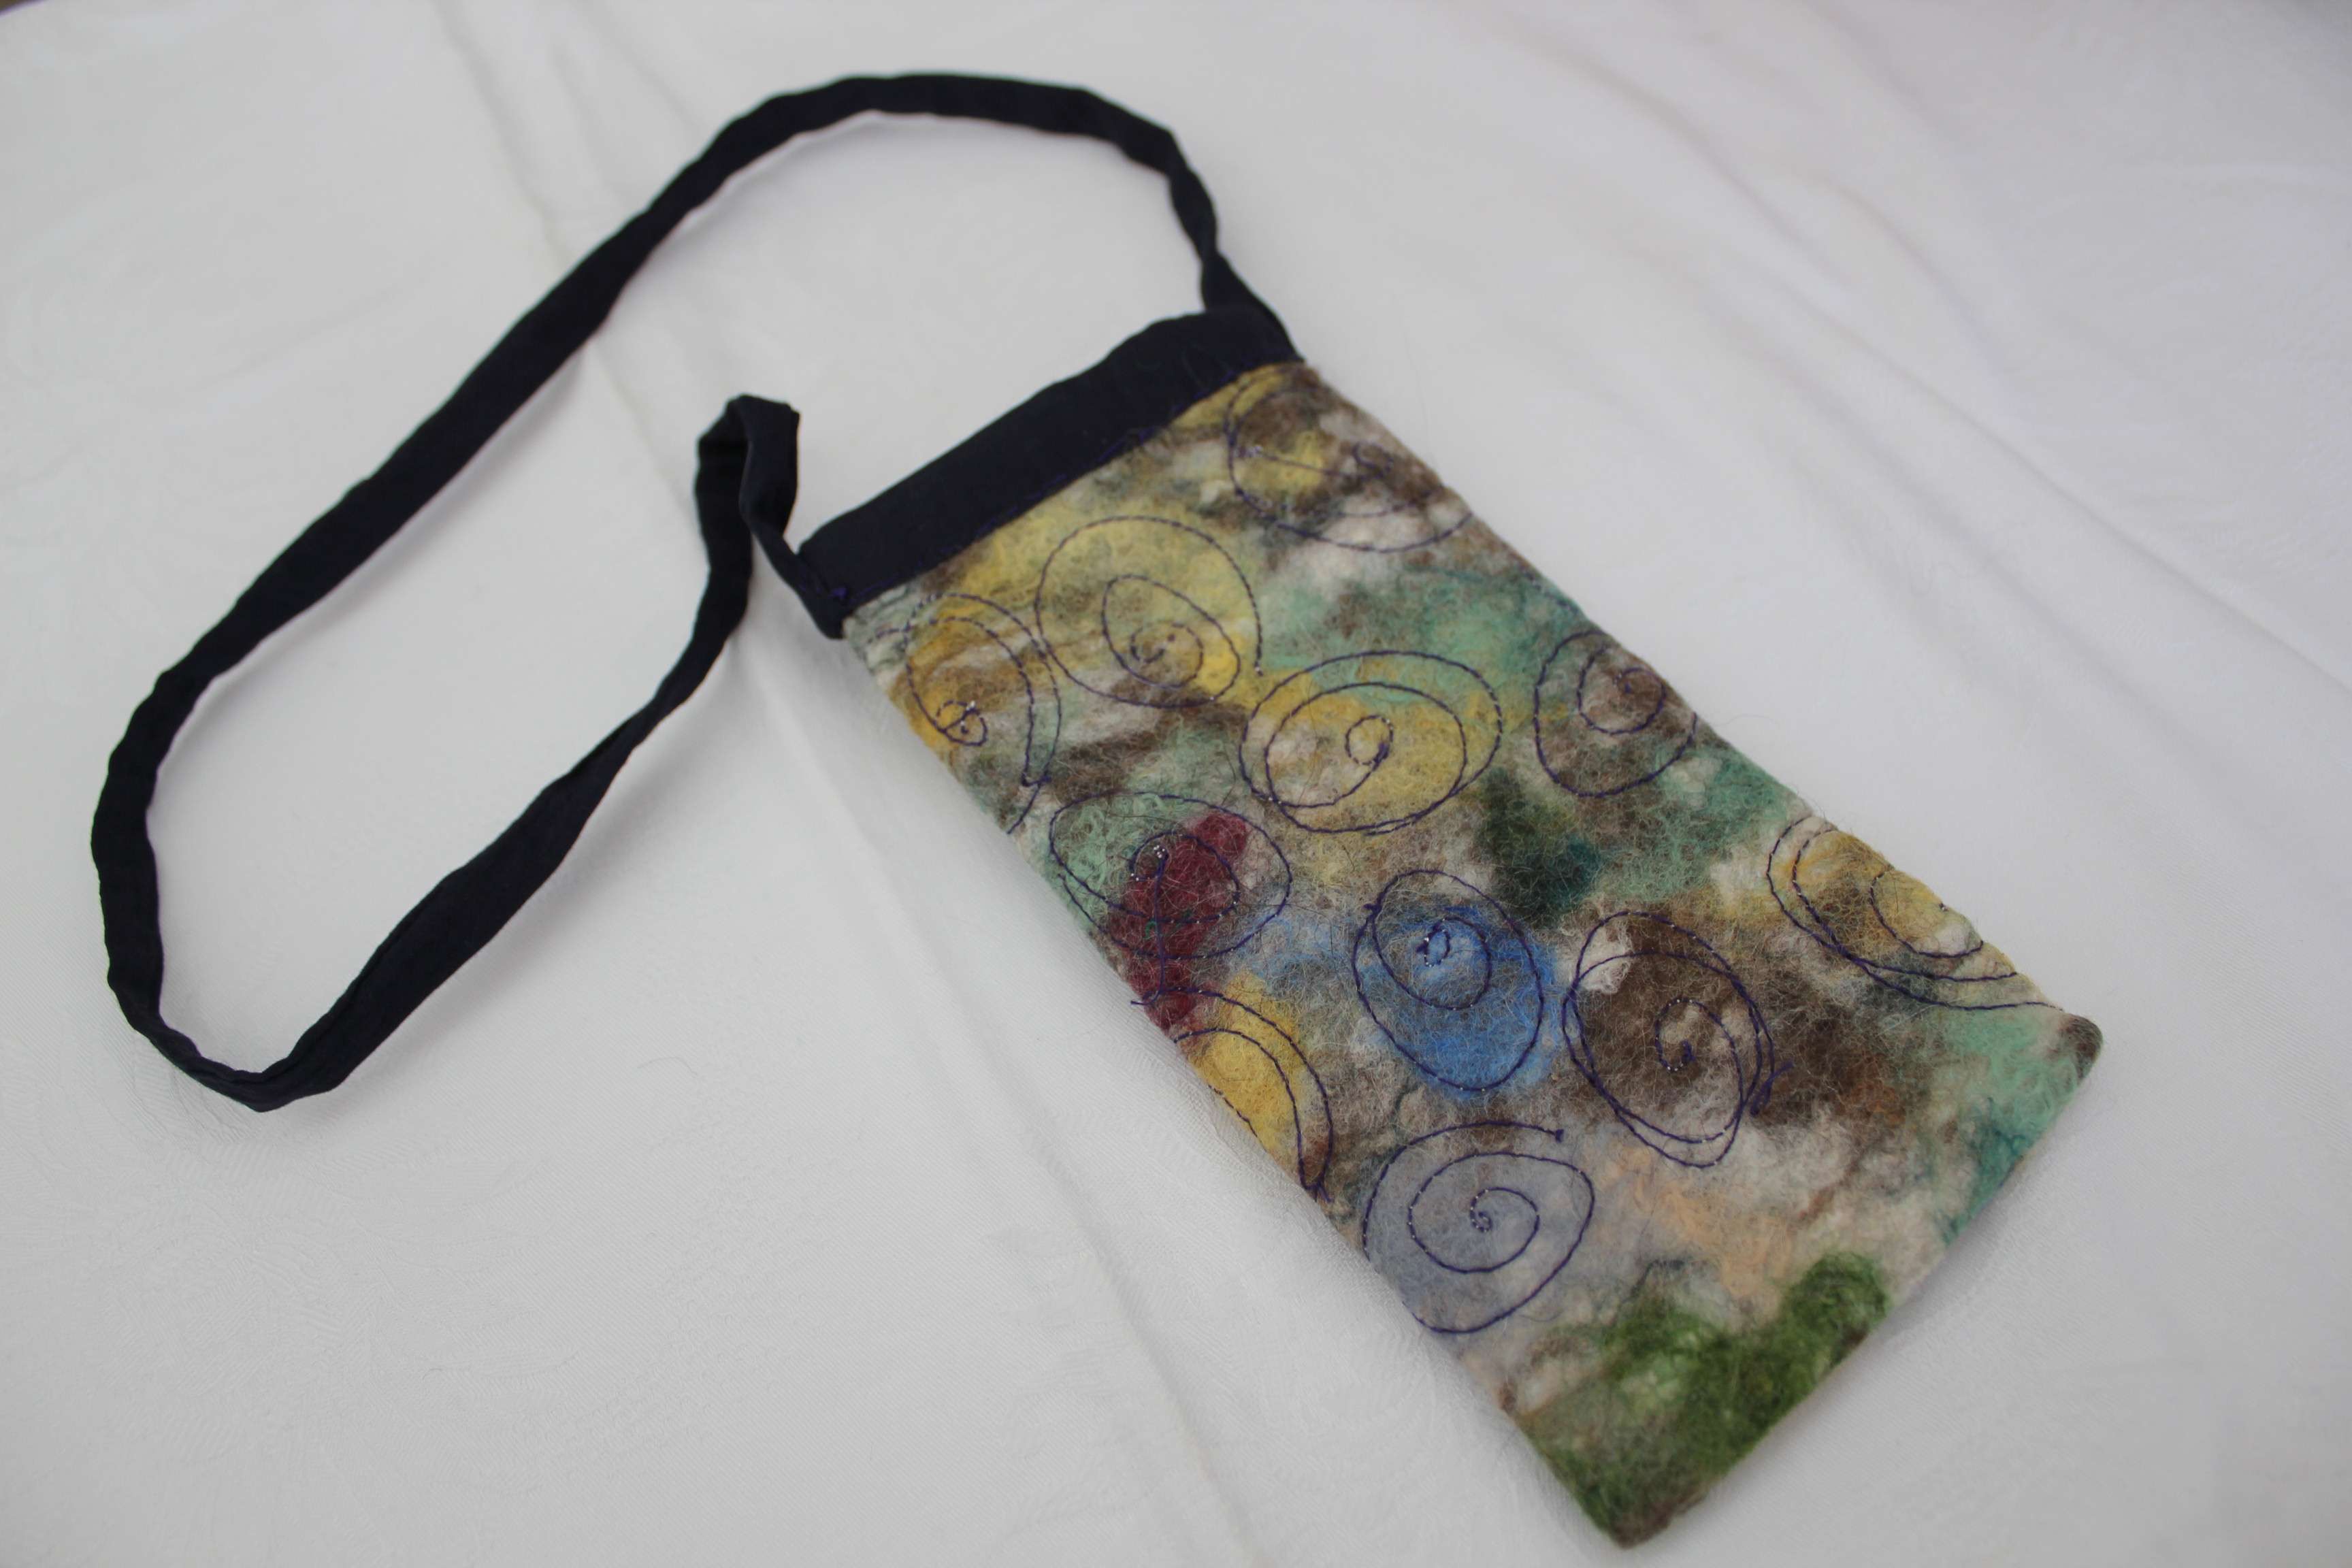
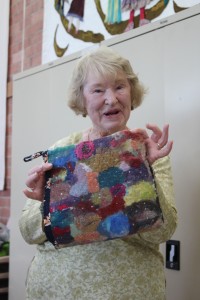
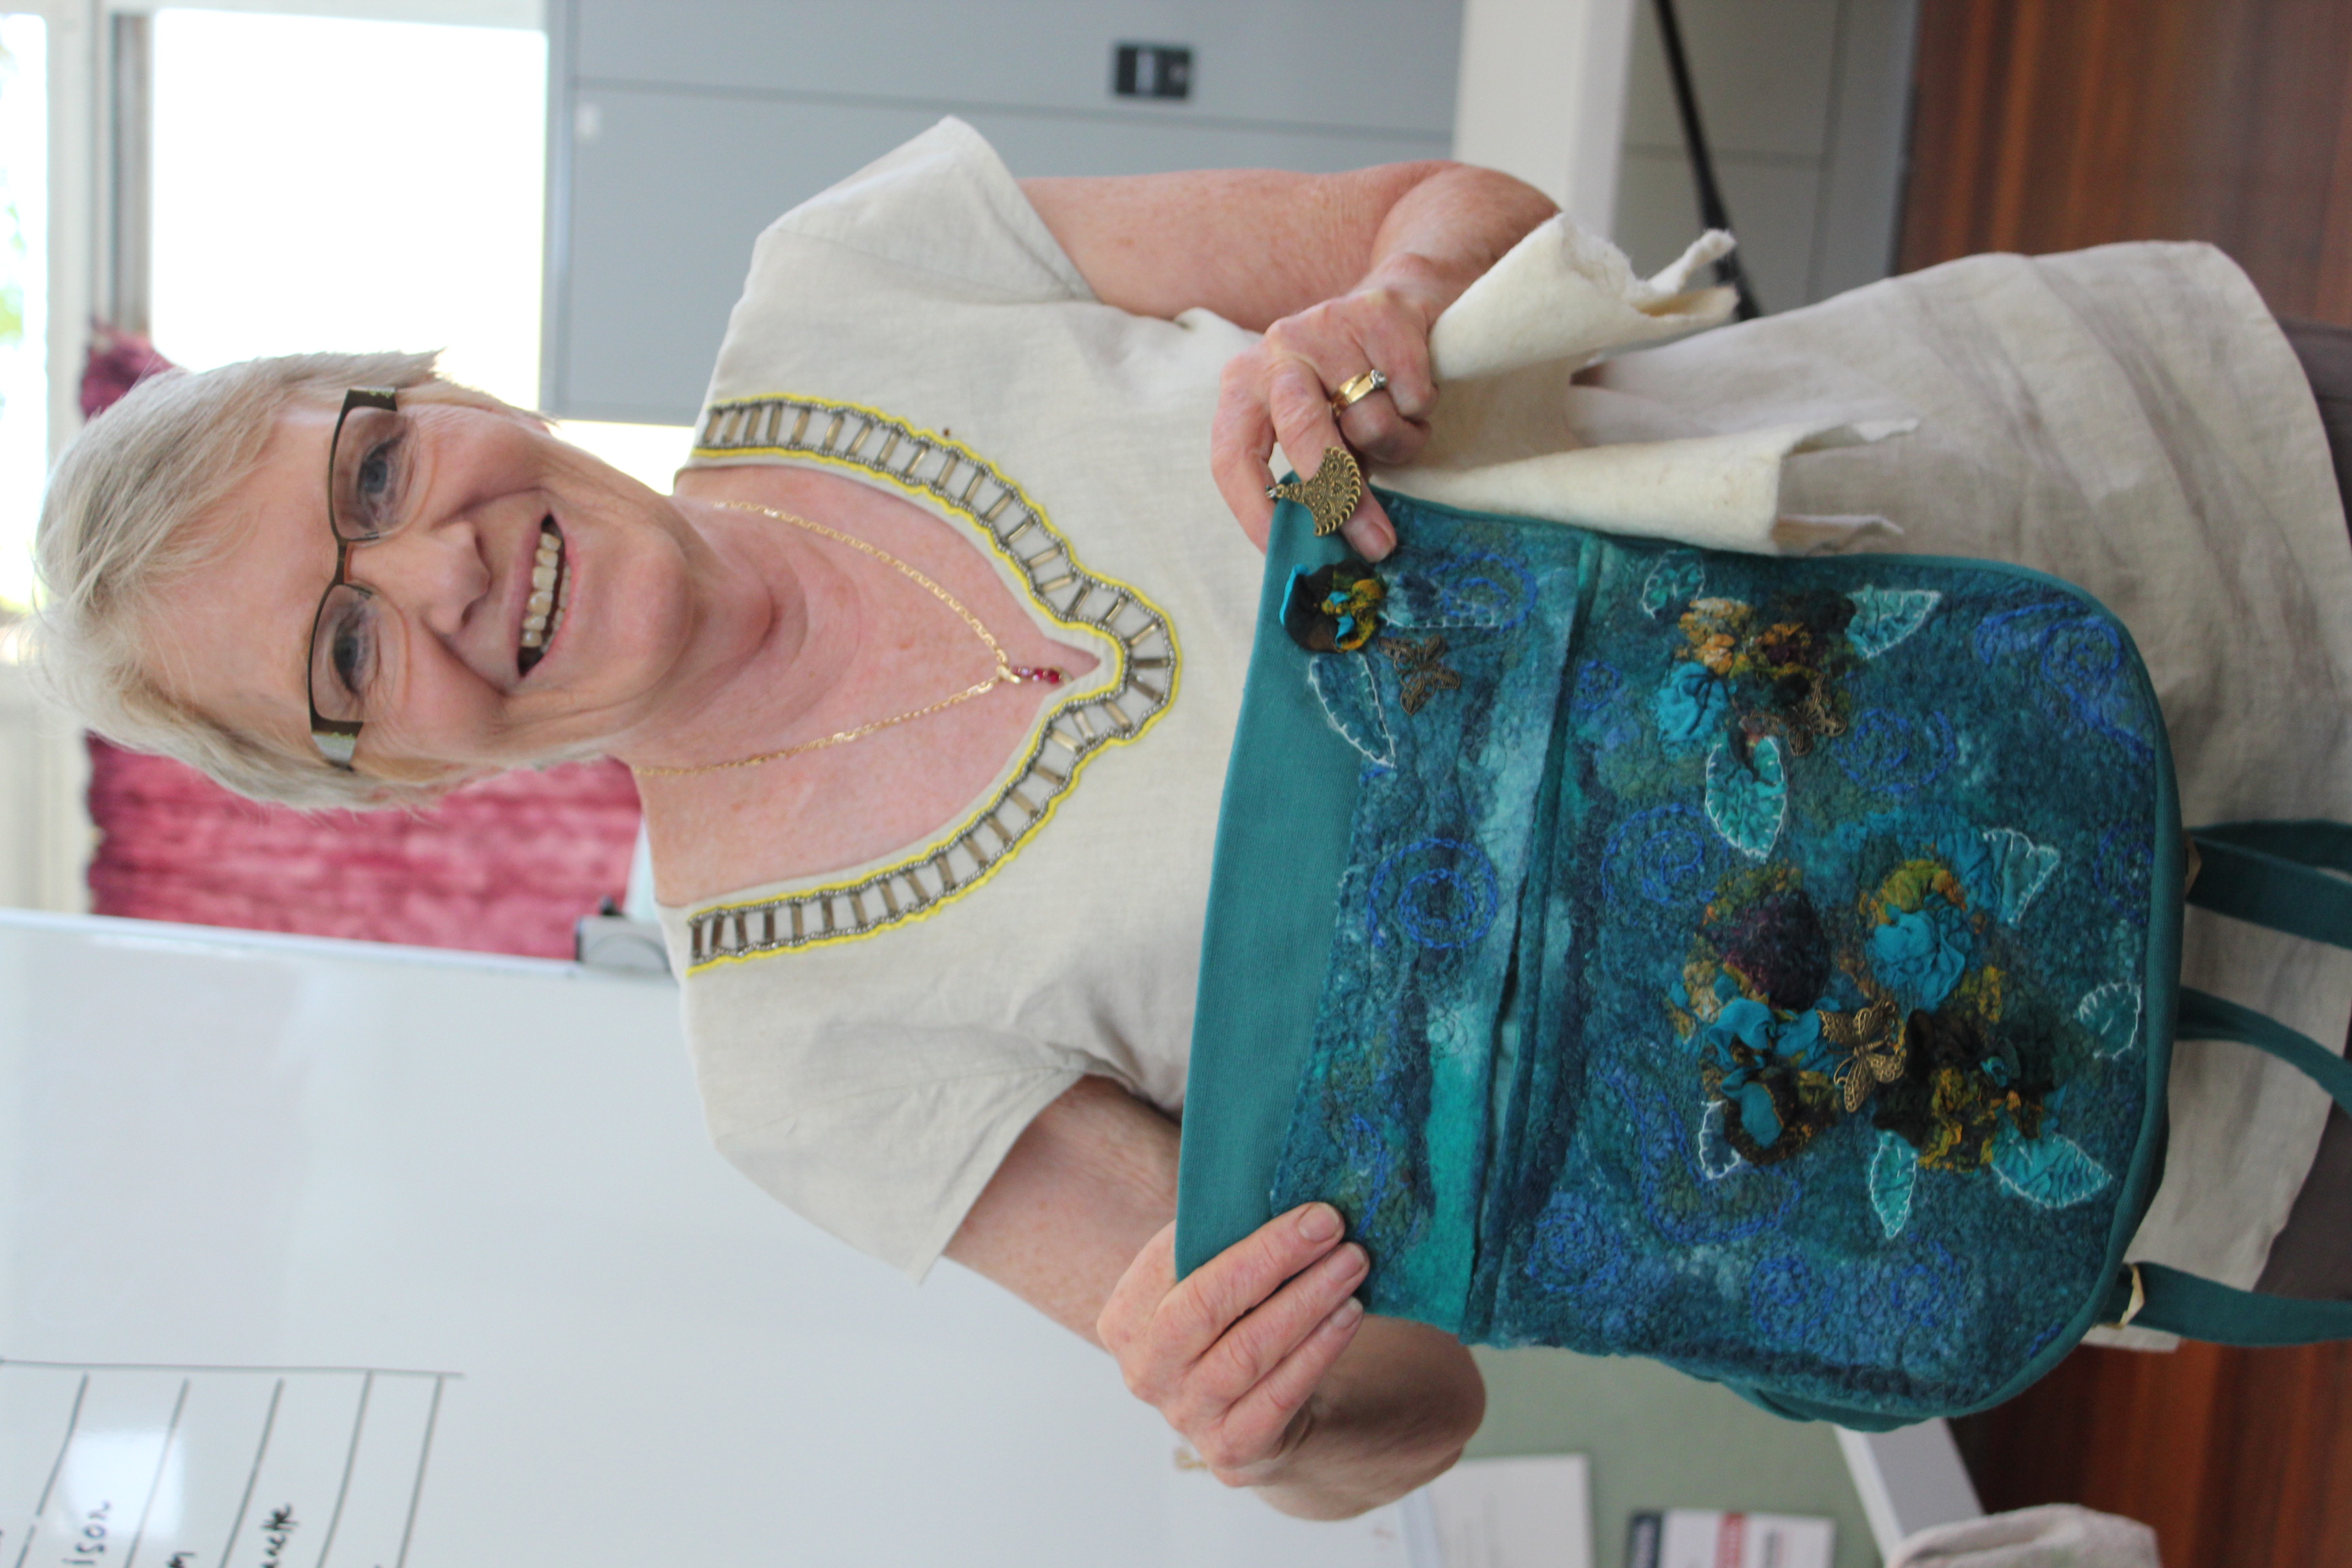
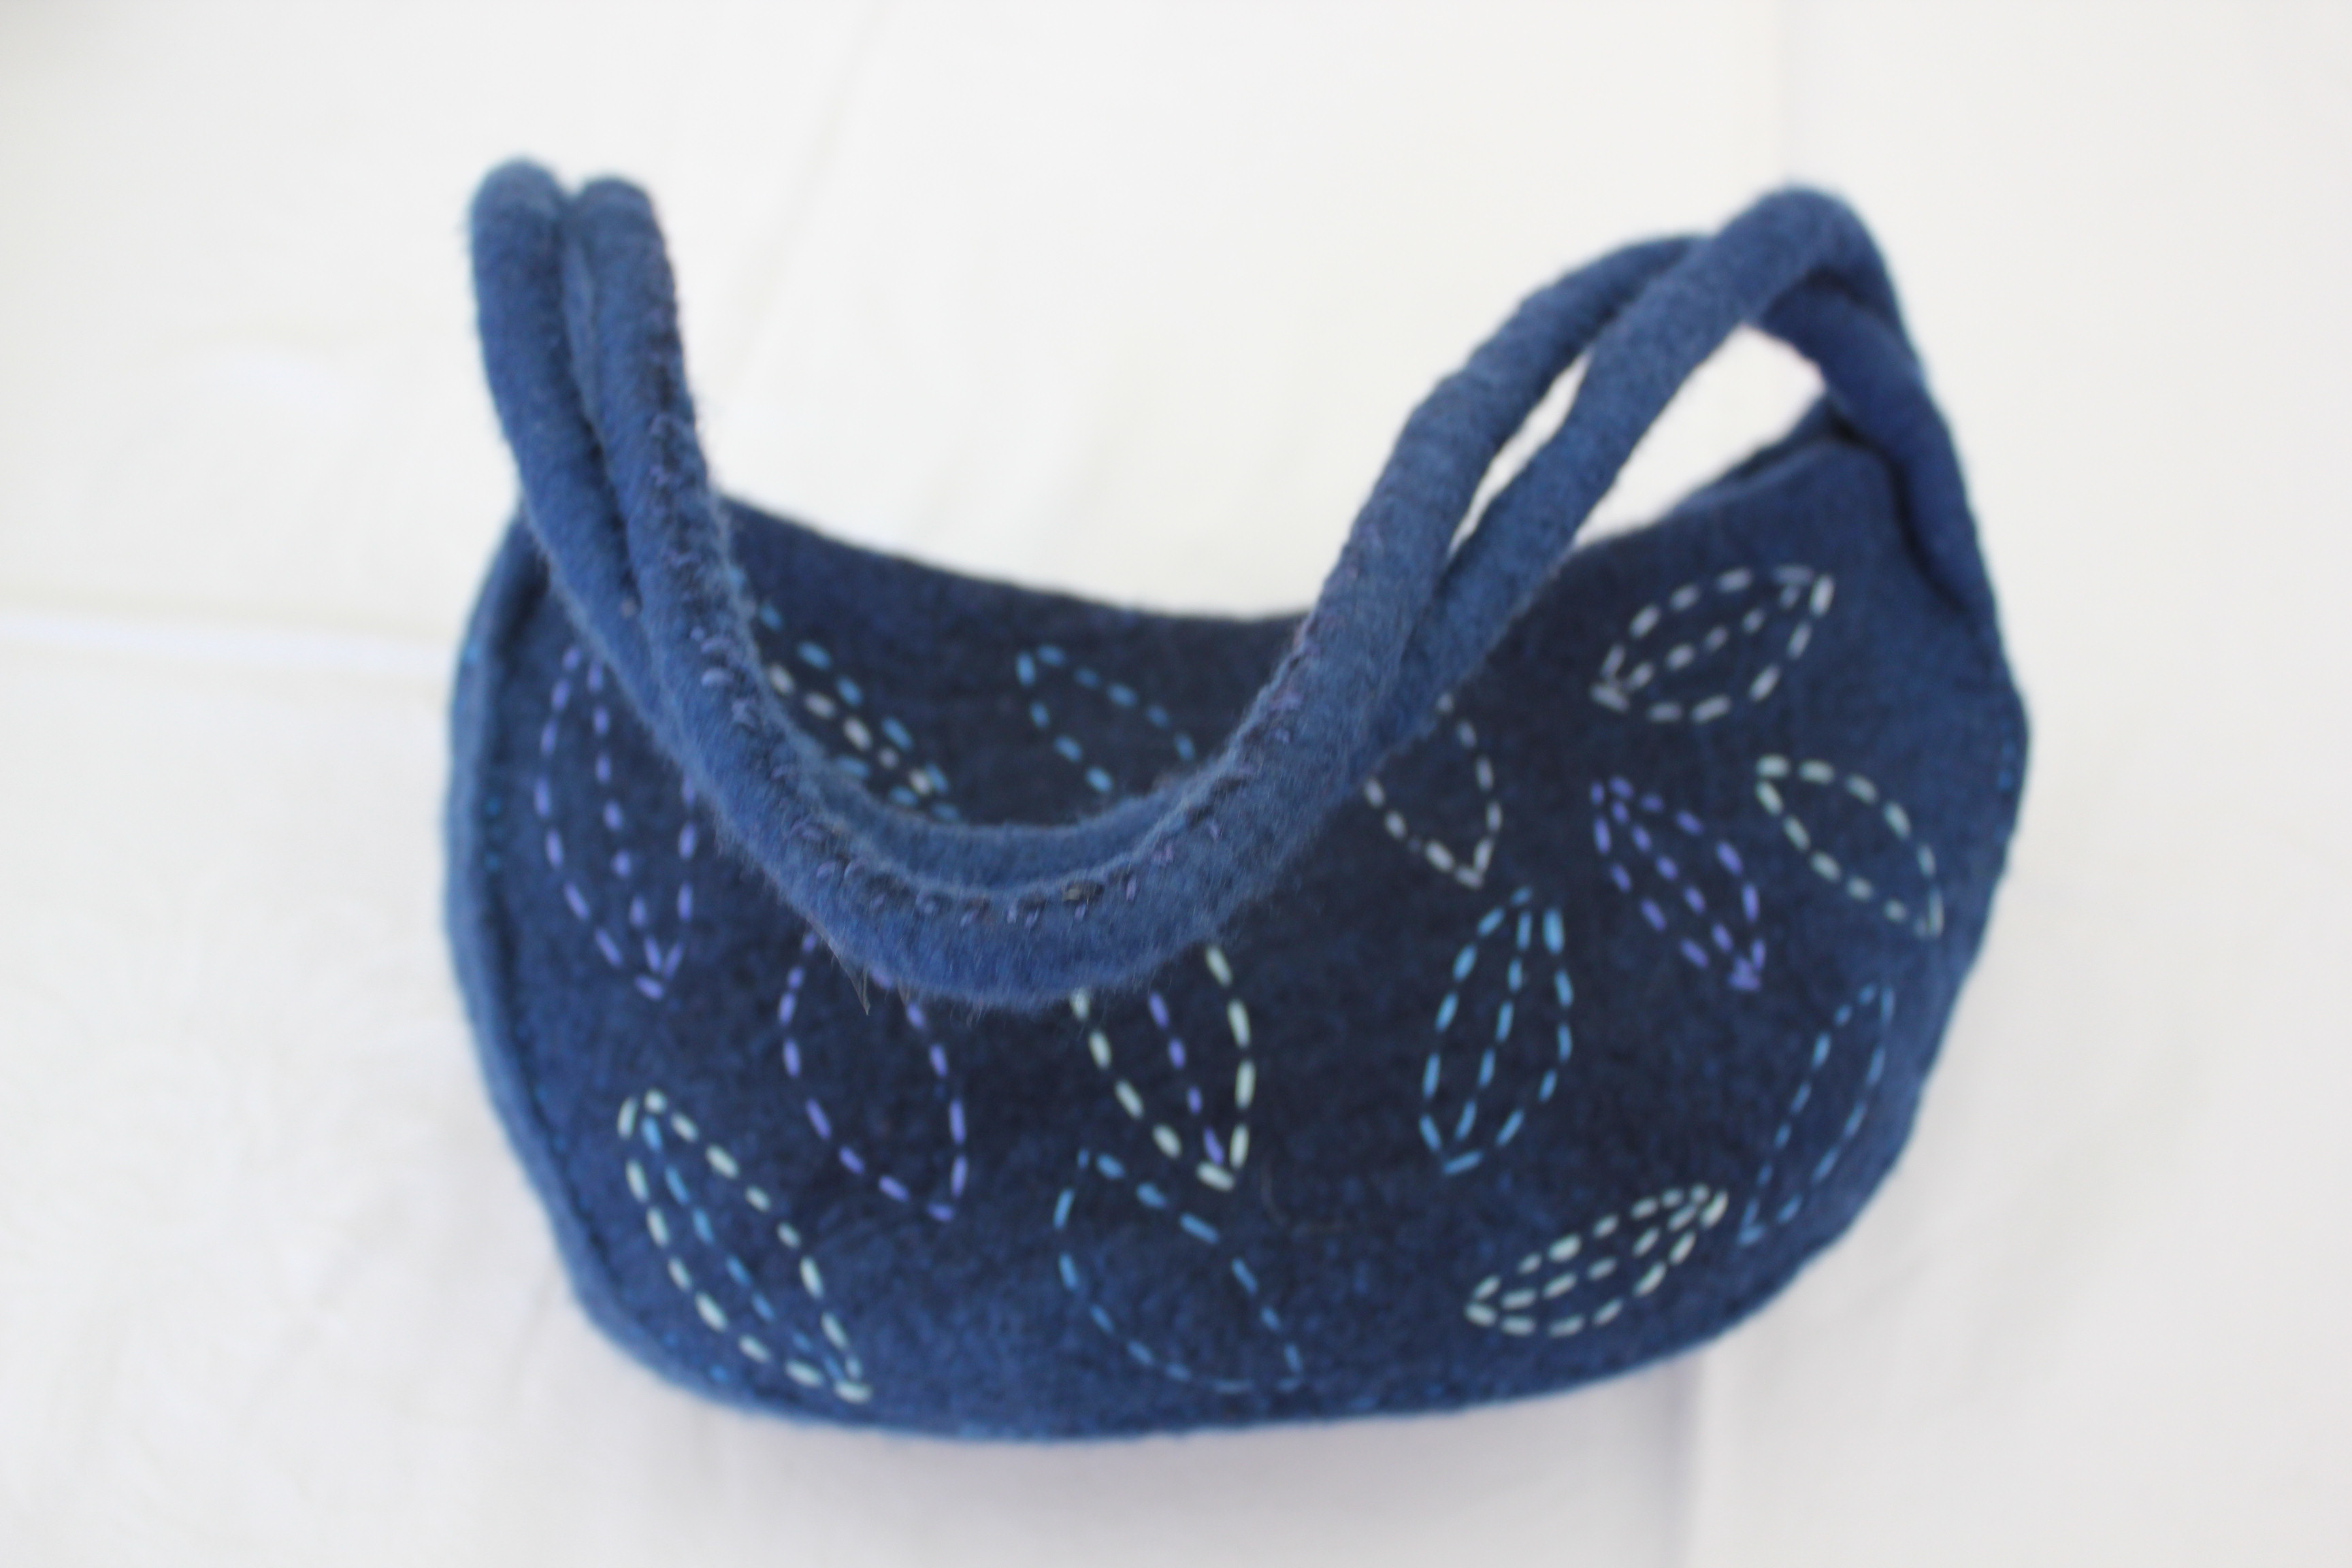
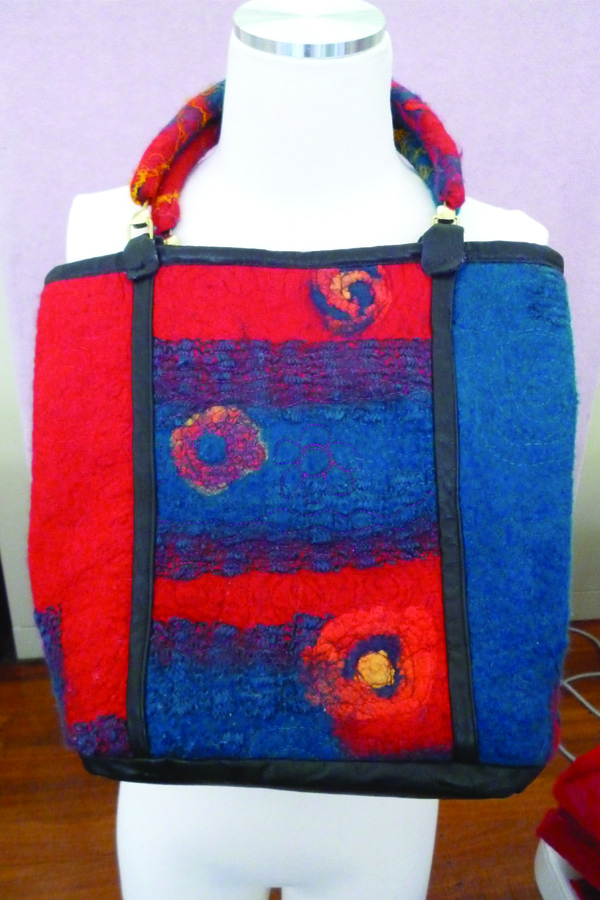
Jill: after gathering materials from the “trash n treasure” bag Jill created this turquoise bag which is fully lined then embroidered.
Jeanette: used a cross weaving technique on the yolk of her pastel coloured felted dress. She explained that it gave additional strength to the garment. She experimented with other techniques too in order to prevent the blending of colours and also the joining of her seams.
Vera: needle felted picture.
Nancy: described how her reversible felted jacket is able to be buttoned up using a single set of buttons. She achieved this by attaching the buttons very close to the edge of the garment and passing them through loops on the other side as opposed to button holes.
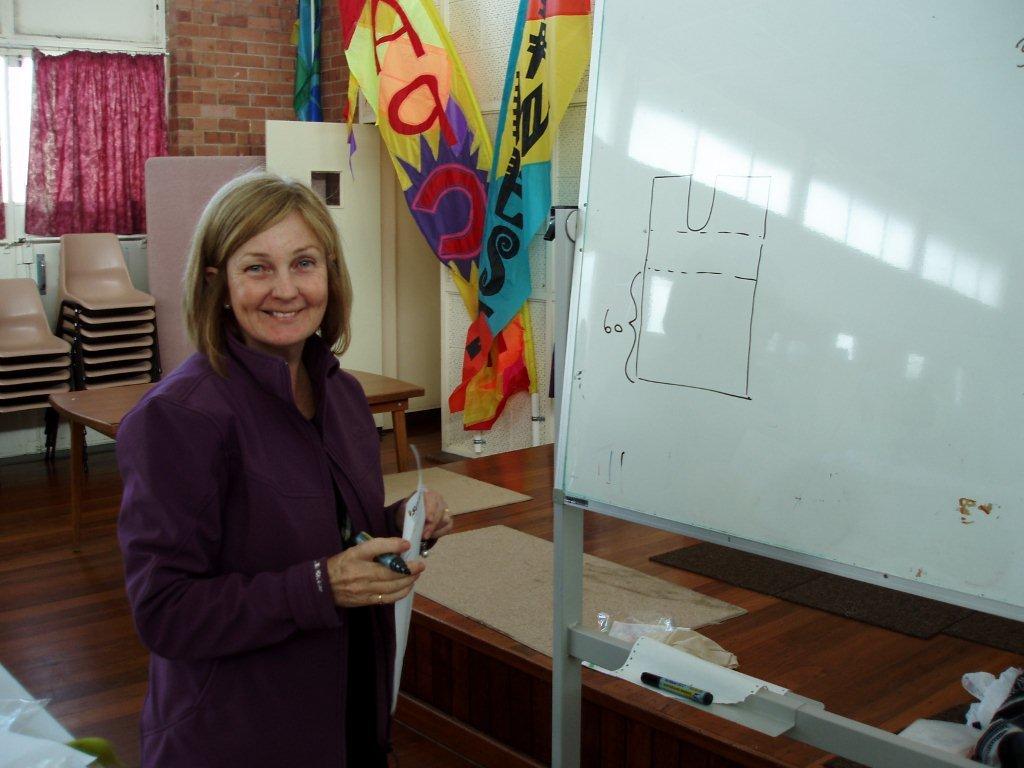
Janice gave an overview of the simple pattern to make the cinderella jacket.
We each received a mini me piece of paper to replicate the cutting method for the jacket.
A DVD is available for purchase on the internet called “Truly Simple Garments” by Maris Herr – the DVD has several examples of patterns that you can make for felted garments.
Next came the array of beautiful pre (almost) felted fabrics produced by the participants (yes we all did our homework.)
Using our mini me pattern we cut into the material and then Janice showed us how to felt the seams so that it looked like the rest of the felt on the jacket.
Over lunch Janice explained all about the difference between Llamas and alpacas. Llamas are big like horses (not quite) and alpacas are small like sheep.
After lunch we finished our jackets and went home satisfied.
Janice is very inspiring and it was a great workshop.
Vera has made some stunning jackets and vests, inspiration coming from Phyllis Hoffman’s book Felted Vests. Vera first drafts the simple pattern from the book, she also has used a simple commercial pattern for some of her jackets. Next a large piece of fabric is made from a length of silk fabric covered in wool. If you are trying this remember to make a sample of fabric for the shrinkage rate. Vera thinks about whether she would like a collar or sleeves on her garment and makes the fabric large enough to accommodate these, and incorporates any design she may want to have on the bottom edge of the jacket or sleeve. Next Vera cuts the pattern out of the fabric and sews the shoulder seams together. The garment may need to be adjusted slightly on the shoulders before you sew together. For strength Vera uses ribbon or similar under the stitching. Trim one side of the seam and fold the other over the stitching and stitch down to hide the seam. On some pieces Vera has left excess fabric around the neck and folded it over to make a collar, on others she has cut a straight piece from the fabric and added it to the garment. Another idea Vera has used is to finish around the edges with a row or two of crochet using interesting wool.
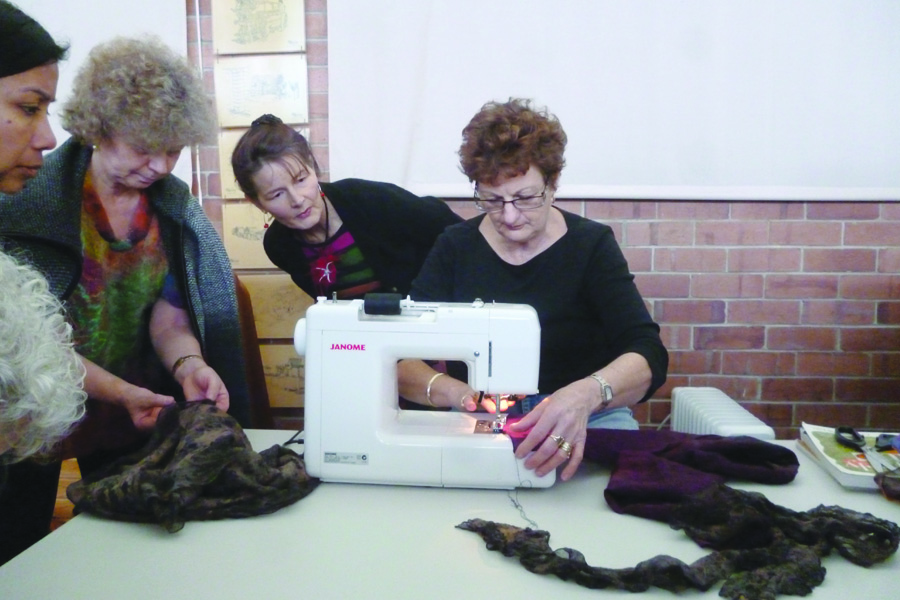
Toss and Tell Lynn Blasgund kindly showed us how to neaten a raw silk edge with just a simple zig zag stitch. It is best to do this before you felt but can be used as a fixer afterwards. Use a sharp and fine needle for edging silk and practise on a scrap of same fabric first. Set the stitch wide, and short in length, for example width at 5 and length at 1. Using your zig zag foot, drive the fabric along the centre of the foot so the stitching will be half on and half off the fabric. This causes the stitch to pull in and roll the fabric. Sew straight along the edge and off at the end, don’t turn corners, just trim the excess afterwards. This will leave you with a beautiful edge.
Although I have been felting for quite a long time, I still learn different things from workshops which help refine your own technique.
I’ve always admired Alison’s work and thought I could gain some inspiration and ideas from her workshop.
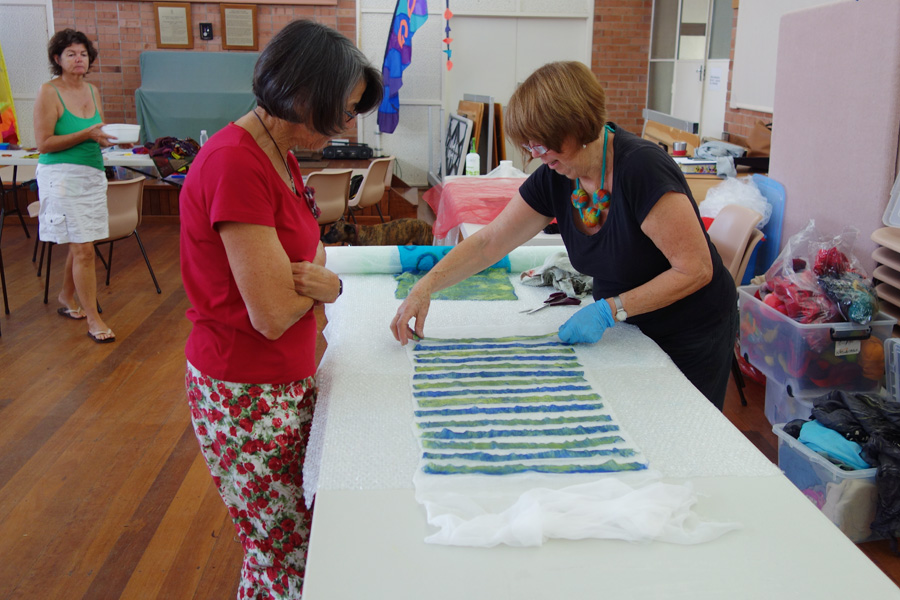
So it was with this in mind I attended the nuno workshop in early April.
We began by discussing what was nuno felting. Then Alison gave a quick demonstration of laying fine layers of wool. Finer layers give more drape, but also have greater shrinkage.
She recommended to sketch the design and then work out the best way to proceed. Examples of 4 different ways to construct nuno were shown and we talked about what each one would produce.
The final stage was how to produce a well felted piece.
Next we were given the option to either use 2 different nuno processes in making a scarf, or making some samples to experiment the different nuno techniques.
Of course also needs to be given to colour, symmetry or asymmetry and proportions.
Everyone was busy making decisions, laying, rolling, fulling and chatting for the rest of the day.
What did I learn? I learnt that Alison’s beautiful feltwork does not happen by chance it is well planned and executed in a methodical way.
Thankyou Alison.


 It was so good to have once again the diverse culinary delights, everyone excelled in the preparation of Savory and Sweet treats, making it a very successful Xmas party.