BOYD or the Bring Out Your Dead Project

Our year long project for 2012 has been BOYD – Bring Out Your Dead; a challenge to “fix” pieces that other members have deemed dead. I love this! I resisted at first.  I looked at some of the dead and heartily agreed they should stay dead, but on closer inspection I could see that these sad, rejected poppits had a place in our ongoing quality discussion. What struck me was that most of these Boyds were extremely well made pieces of felt; fully fulled, strong, durable and some really good shapes but what made their owners abandon them to a dark shameful corner of their studios?

Mmmm. I pondered this for a while and through a wonderful instance of serendipity I came across a really insightful statement about our creative processes (see image below). Although aimed at beginners in any creative field it is also appropriate for us “old hands”. Sometimes what we have in our heads does not match what we produce, this isn’t always a bad thing, sometimes we create what we should have created despite what’s in our heads. But (there’s always a but) sometimes this preconceived idea of what it should have been, clouds our perspective of what it became. It’s not how I wanted it so it’s going in the cupboard! We are all guilty of this. I have a box of them.

Over the next couple of posts I will talk more of my process to revive the dead.

Why didn’t someone tell me?

Copyright Article

Sue Eslick as kindly provided the following articles about copying.  Hope you enjoy. Soosie

Copyright

When Marjolein Dallinga visited Perth in 2012 she shared with us her views on the myth of intellectual copyright and gave us copies of the following two articles.  As artists, felters are very conscious of not copying the work of others – at least not selling or teaching ideas that have come from other people. However, these articles point out that it’s not that simple.  Ideas don’t come from a vacuum – we are all influenced by and learn from what we see. Whilst we may be able to identify who has introduced us to a new technique or design idea, can we really say that the idea ‘belongs’ to that person? They too were influenced and learned from others, and these other people may or may not be acknowledged. Take a look at these articles and let us know what you think this means for our community of felters …….

  1. Elephant-Article about COPYING
  2. About copying

Is it cheating?

I have had a few curious conversations about technique of late, and I can’t fathom where this has come from.  There seams to be this underlying current of almost an elitism about technique and skill; that some kind of purism has crept into our craft.  What am I talking about?  That some techniques are viewed as cheating.

Is it cheating if I glue something onto a piece?  Is it cheating if I use a pattern instead of free hand?  Is it wrong if I stitch up a hole – one that I didn’t intend to create?   How about if I cut some superfluous bit off?   What if I sewed a prefelt down? This isn’t to say that we should approve of slapdash methods (anyone who comes to Toss n Tell knows of my soapbox tirades on shrinkage, and we have discussed much about quality) but I don’t think that using alternative technique is wrong.  As long as  it is well executed.

Lets have a look at some basic definitions.  Felt making is a craft, so lets start with that, according to one of the many online dictionaries the definition of craft is: Skill in doing or making something, as in the arts; proficiency. An occupation or trade requiring manual dexterity or skilled artistry.

Next the definition of skill:  Proficiency, facility, or dexterity that is acquired or developed through training or experience. An art, trade, or technique, particularly one requiring use of the hands or body.

The highlights for me in these words are proficiency through training or experience.  It doesn’t say anywhere that I can’t glue, stitch, chop, fold, bend or mend my felt.  Maybe if we were willing to include other skills and techniques into our felt we could eliminate the BOYDs (Bring Out Your Deads) in our studios.

Soosie 🙂

October TnT by Mary Ann Dawson

Soosie gave us a short demo on different ways of making pockets using resists. Including how to make pockets on top of pockets. The key to using resists on resists is to do some felting or massaging of the wool between the resist layers otherwise the lower layers won’t felt. Also remember to take the resist out before completing the fulling process otherwise it will wear a hole through the felt trying to get out by itself!  Lindy  reminded us that we need to bring our goods to Novembers Toss n tell for the Fremantle Arts Bazaar and that all the information we need is on Feltwest’s web site, just go to the calendar and click on the event. There will be people at November’s Toss and Tell to advise on pricing.

The next Toss and Tell will also be the last opportunity this year to return borrowed items from the Library, so please ensure that all loans are returned by then. Chris is now our new Librarian so please ensure you return them to her and not just leave them on the table. We have amended the library rules and opening times, as we have a number of books that have not been returned and are concerned about this loss, hence the borrowing rules have been tightened.

The Ebb and Flow Project should be completed and hung for the November Toss and Tell.

Soosie tells us that the Web site has undone a radical change. The demise of the printed newsletter means it is now on Feltwest’s Web site in the Members Only section but you must log in to be able to access it along with all of the various reviews and articles written.

 So our Toss and Tell begins:

Pat shows us a table runner that she did at Liz Odd’s workshop. It is embellished with stitching which took her hours.

Judith showed us her wool and alpaca bath mat. She has made it from salvaged wool that had got wet from a leak in the roof in her shed and is in the process of adding stitches to strengthen it.

Soosie is continuing her “use up what I have theme”, she has made a small bag to hold her glasses when she goes out in the evening, using all scraps.


Dawn has made a scarf using a piece of felt left over from something else and she has decorated it with whatever she had on hand, It is a work in progress.

Chris showed us the many different luggage tags she has made for sale. Beautifully stitched and each one unique.

Sue had Linda model her black and white wrap. Sue wanted to retain the black and white zebra pattern, so after cutting the fabric across the pattern she nuno’d the edges into the white felt wrap.

Juliette has made some iPad cases to sell at the Craft House open day. She has been playing around with mesh fabrics which she says retains the colour better. She has filled them with a layered foam available from the Foam Shop in Myaree.

Denise, Daughter of Helen from Sal’s Wool Den, brought in the beautiful throw she has made using up her Mothers samples. Louise was also wearing a top that her mother had felted at Pam Hoggles workshop in Bunbury, she then sewed it together to make the top. Louise also brought in a lampshade she has made as well.

Beth hasn’t felted in three years but she is now back amongst us and showing us her work today. She made a rug in Liz Odd’s workshop using scraps, some beautiful necklace cords and a scarf using India Flynt’s techniques. The rug’s back was completely different to the front.

Jeanette made a skirt from an evening dress that she cut off under the bust. It is felted in strips and uses machine embroidery on top for a more decorative effect. The shrinkage rate was about a third.

Alison showed us the doll she has made for the Ebb and Flow Project. It has delightful little bows on her shoes and around her neck.

Sarah, a new member, made an iPhone case out of the felt from her beginners class.

Some lovely rugs were made in Liz Odd’s workshop, with advice from Nancy, sue and Liz.   We also saw a version of a care bear made for a friend that had cancer, and has been perfecting it to produce a very cute result. She is investigating the idea that FeltWest as a group might make some hearts to contribute to CWA Associations efforts in giving these hearts to patients in palliative care. Their families can keep them afterwards. She will keep us posted.

Sue has made a wonderful white vessel with black circles which have been stitched around the edge in white for contrast. She only used one layer of black and several of white to prevent the black overpowering the white.

Lindy showed us Donna’s and Nancy’s scarves made in Leiko’s workshop. She has a beautiful scarf she also made using Leiko’s’s technique. All of them are intricate, labour intensive and very beautiful.

Virginia did Leiko’s’s one day workshop and completed a sample using just merino wool. Leiko encouraged them to try a wool silk blend which adds a sheen. She also made a nuno sample in Leiko’s workshop. Virginia recommends using different colours to give a better effect. Another creation was a rug made in Liz’s workshop. It needs to be shaved to bring out the colour better as the colored layers needed to be thicker to reduce the backing colour coming through. She tried using a bright red piece of lawn between the backing and top colours but should have washed it first to reduce its water repellent properties. Always wash your fabrics first!

Boxes are needed for the raffles. We also would like people to return the boxes from previous raffles.

Needle felting by Kate Ryder

I stumbled across needlefelting about 3 years ago just by being inquisitive. So, the story starts at the Craft and Quilting Show at Claremont and I was rummaging about in the boxes in one of the stalls, when I came across some Needlefelting Needles. I didn’t buy any at the time because I thought they were for a sewing machine (I hate sewing!!), but when I got home, I surfed the net on Needlefelting was and found a whole new world of felting. So I purchased some needles, some foam from Clark Rubber and because I am a spinner, I had the fibre to start something.

I thought I would begin with an alpaca as I am also a member of the Alpaca Craft Group and off I went about creating my new little creature. I had no idea how to start it – so I created as I went. You see I thought everything had to be added at once, so I was trying to do the body with the legs and the neck all in the one action. I have since found out sooooo much more and learnt so much just by reading and You Tube and by doing and I do things differently now!

I believe that a good piece is one that can be handled and touched. I create very solid parts of my piece, so that when you press the piece, there isn’t much of an indent. It should be a hardy item. However, I do display my items in plastic boxes now to save on them collecting dust. Some of my pieces have been made using an armature which is a wire supportive core. I have used plastic covered garden wire or pipe cleaners depending on what I am doing. This kind of core gives the piece more support and you can then bend the legs/arms into different positions and still keep them attached! Other pieces are free form and for animals, I always start with the head of the animal, then I have a base to start with for size etc. I find the expressions on the faces of the animals the hardest to do and I spend many hours on the heads. I enjoy Needlefelting as I feel I have more control over the end result and I can do this form of felting anywhere – even when I sit down at Fremantle watching the big ships! I have a website if you would like to have a look: www.spinagoodyarn.com I still have a lot of pictures to upload, but in the meantime, I hope you enjoy what I have on the web. I do commissions for people who have sadly lost their furry friends as well as requests for all sorts of things.

Yours in felting, Kate Ryder

Leiko Uchiyama Review by Virginia Campbell

Sample Making of Pine needle Felting – One Day Workshop

Sunday 22 September was a typically damp and windy spring day but that didn’t dampen our enthusiasm when we arrived at 9am to set up for our one day workshop. Most of us had already attended Toss n Tell the previous day when we had the opportunity to meet Leiko and to see and  listen to her  inspiring slide presentation of her diverse felting work and learn of her journey to become an international felting artist and tutor. We had also at Toss n Tell seen some of the work which had been done by fellow FeltWest members at Leiko’s workshop during the previous two days.

In our workshop we were concerned to make two samples using a technique which Leiko called “ Pine Needle Felting”, and which she had developed after watching pine needles fall onto snow in her native Japan and observing the interesting patterns they made.

To make the first sample we used only very fine merino wool (under 19 micron merino). Leiko showed us numerous examples of her work using this technique, firstly with fine merino wool and then with mixed silk and fine merino wool (comprising 20% – 50% silk). Unfortunately there was insufficient time to use the mix of silk and merino wool at the workshop, but the technique is the same. Our first step was to take fine threads of dry wool from the middle of a handful of roving (cut on both ends, about 20cm long) and place the fine strands firmly in rows on a plastic surface. When one row is completed, you place another row on top of that row but at right angles to the first row. You thus build up a collection of strands of wool of equal thickness and equal length which you are going to use in your piece. These strands are the “pine needles”.  While I used only one colour in my sample, I thought the finished pieces where the wool used was of two or more colours or a gradation of one colour, displayed the technique more clearly.

Before laying out, first decide the size and shape of the piece you wish to make, and mark it out on bubble wrap with the bubble side up. Turn the  bubble wrap over and commence to lay within the marked shape. Laying out comprises taking a pine needle from your pile, dipping it into soapy water and laying it on the bubble wrap. It is advisable to first make the border of the piece with the pine needles and then lay the pine needles in a random pattern within the border. Laying out is completed when you are satisfied with your pattern, including the size and evenness of the holes which have been created by the random laying of the pine needles. Japanese chopsticks, a knitting needle or fine pair of scissors are handy to push the pine needles into position while you are laying them out.

We rolled the samples up in the bubble wrap around sticks/pvc piping approximately 2 – 3 cm in width and tied the rolls with pieces of elastic to keep the designs firm and secure. If you are making a much larger piece you would use a stick with a wider circumference. When the piece was holding together, the stick was removed and more rolling was done in the bubble wrap (initially very gently with no pressure being applied), followed by throwing and fulling of the piece.

The square I laid out measured 25 X 25 cm. At the conclusion of felting it measured 14 X 14cm. The amount it shrinks is determined by the amount of wool you lay and how closely you place the pine needles together (and how large are the corresponding holes in your piece). It is recommended that when trying out this technique you make a sample first so you can determine how closely you need to lay the pine needles to achieve the size and shape of the holes you want overall.

The second sample required the same preparation of pine needles but these were laid on top of soft fine silk fabric, not directly on bubble wrap. Again, the pine needles were separately dipped in soapy water before they were laid. After using the pine needles to make a border, the remaining pine needles were used to create patterns on the silk fabric within the border – spirals, curves, wavy and straight lines, circles – whatever takes your fancy. It’s like drawing in wool and our workshop group found it absolutely absorbing. Spacing between the lines created by pine needles joined end to end depends on the finished effect you want. The closer the pine needles are laid, the more the piece will shrink and the less the fabric will be visible. Again, scissors, a Japanese chopstick or a knitting needle are useful to shape the wool pine needles into the desired pattern. Rolling and finishing of this sample was as described above for the first sample.


We had an enjoyable day learning the pine needle technique together. Creating samples freed us from the pressure of trying to make and finish a larger piece in one day and we had time to relax a little more and concentrate on learning method. Leiko was a patient, well organized, generous and informative tutor and I’m really looking forward to seeing larger interpretations of her technique from our workshop participants at forthcoming Toss n Tell meetings. Leiko kindly left behind for us a copy of her beautiful book “Felt” which contains many inspiring images of her gorgeous work, and this copy you can now find in the FeltWest library.

To make a good rug by Liz Odd

  1. It is best to lay even layers of wool when making a rug. The ‘design’ layer should be a nearly as thick as your base layer.
  2. It is good practice not to mix types of wool in the separate layers,[for example: corridale base and merino design as merino will wear faster than the corridale] .
  3. Different types of wool can be mixed within layers. Utilise test pieces to ensure you know the shrinkage, and the surface reflects the design and texture anticipated.
  4. Edges should be kept as thick as the main body of the rug . This should be monitored as felting progresses.
  5. Good design makes a good rug. Check that the design remains in place during the felting process. To help keep the design in place, dry roll before wetting down. Rinse the rug well and add vinegar to the final rinse.
  6. A good rug is well felted and hardened. Continue to stretch your piece throughout the process to manage the shape and aid the felting. A rug can be steam ironed to assist with the final shaping.
  7. To make a well felted rug ,test that the fibres cannot be lifted from the rug and that the whole piece is firm and will not stretch when pulled.

Liz Odd

FELTING 101 – My Point of View by Alison Gomes

I love to felt. And for me, a huge part of that joy comes from seeing the magical transformation from fibre to felt that happens literally in my own hands. But like every good magician knows, in order to achieve that great result, there’s a lot of meticulous preparation required behind the scenes.

In the world of felting, these are things we all know and do, but since I’m writing about quality felt, I think it’s important to go back to the basics. So please bear with me while I attempt to put down my thoughts on creating quality felt….

Take the felting process through to completion and with care

I know this sounds obvious but I also know how tempting it can sometimes be to hurry things up.

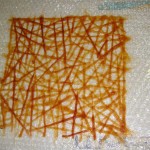
To begin with, lay out the wool evenly, thin wisps at a time, without too much of an overlap between rows. This will reward you with a consistently fine finish. Much better than clumpy laying which ends up being thick or thin in places – not good. Confucius says: Anything worth doing is worth doing well.

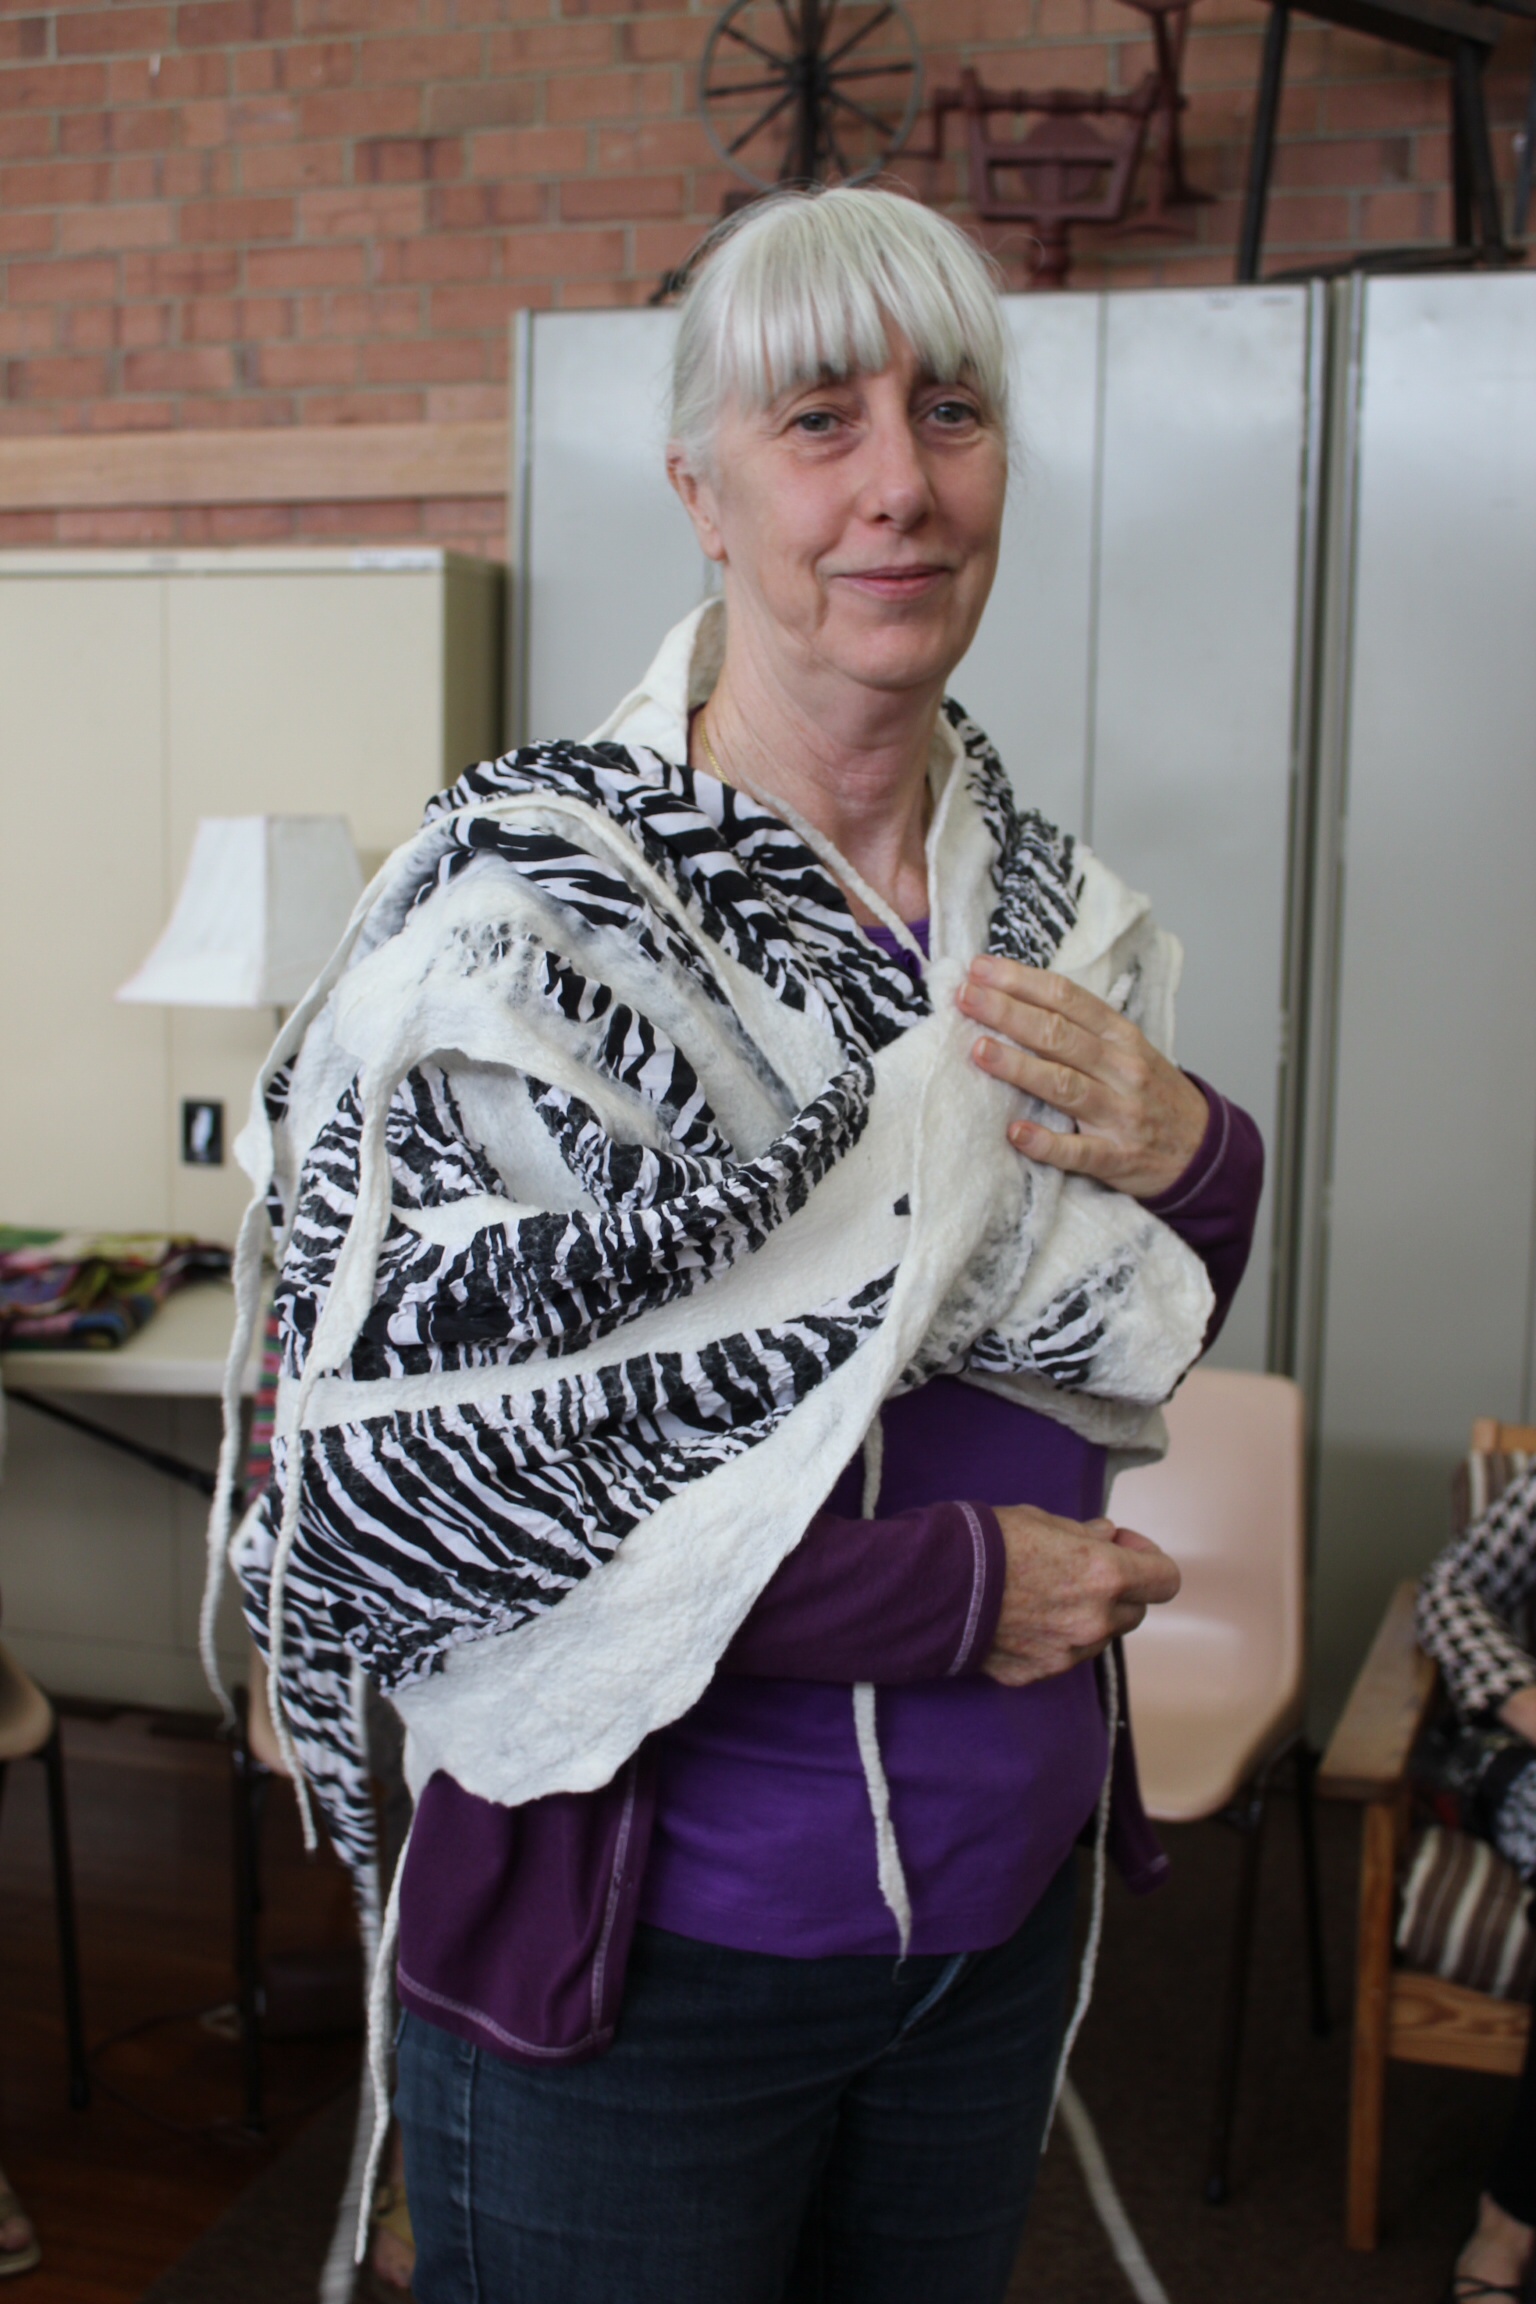
I also believe more fine layers are better than fewer thick ones. Especially for wearables, as you will end up with stronger felt with more movement or stretch, as opposed to a stiffer piece of felt.

Check regularly that the work is coming along as expected. Which means no extra-long bouts of rolling. This way you can also catch any problems before it is too late to fix them.

Don’t skip steps. They all have a part to play in creating good, strong felt.

As we know, different wools and silks behave differently; some work like magic, while with others you’re in for the long haul. So be patient, take deep breaths and drink lots of cups of tea.

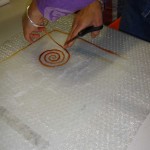
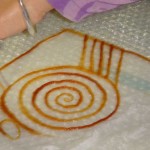
Think about your design

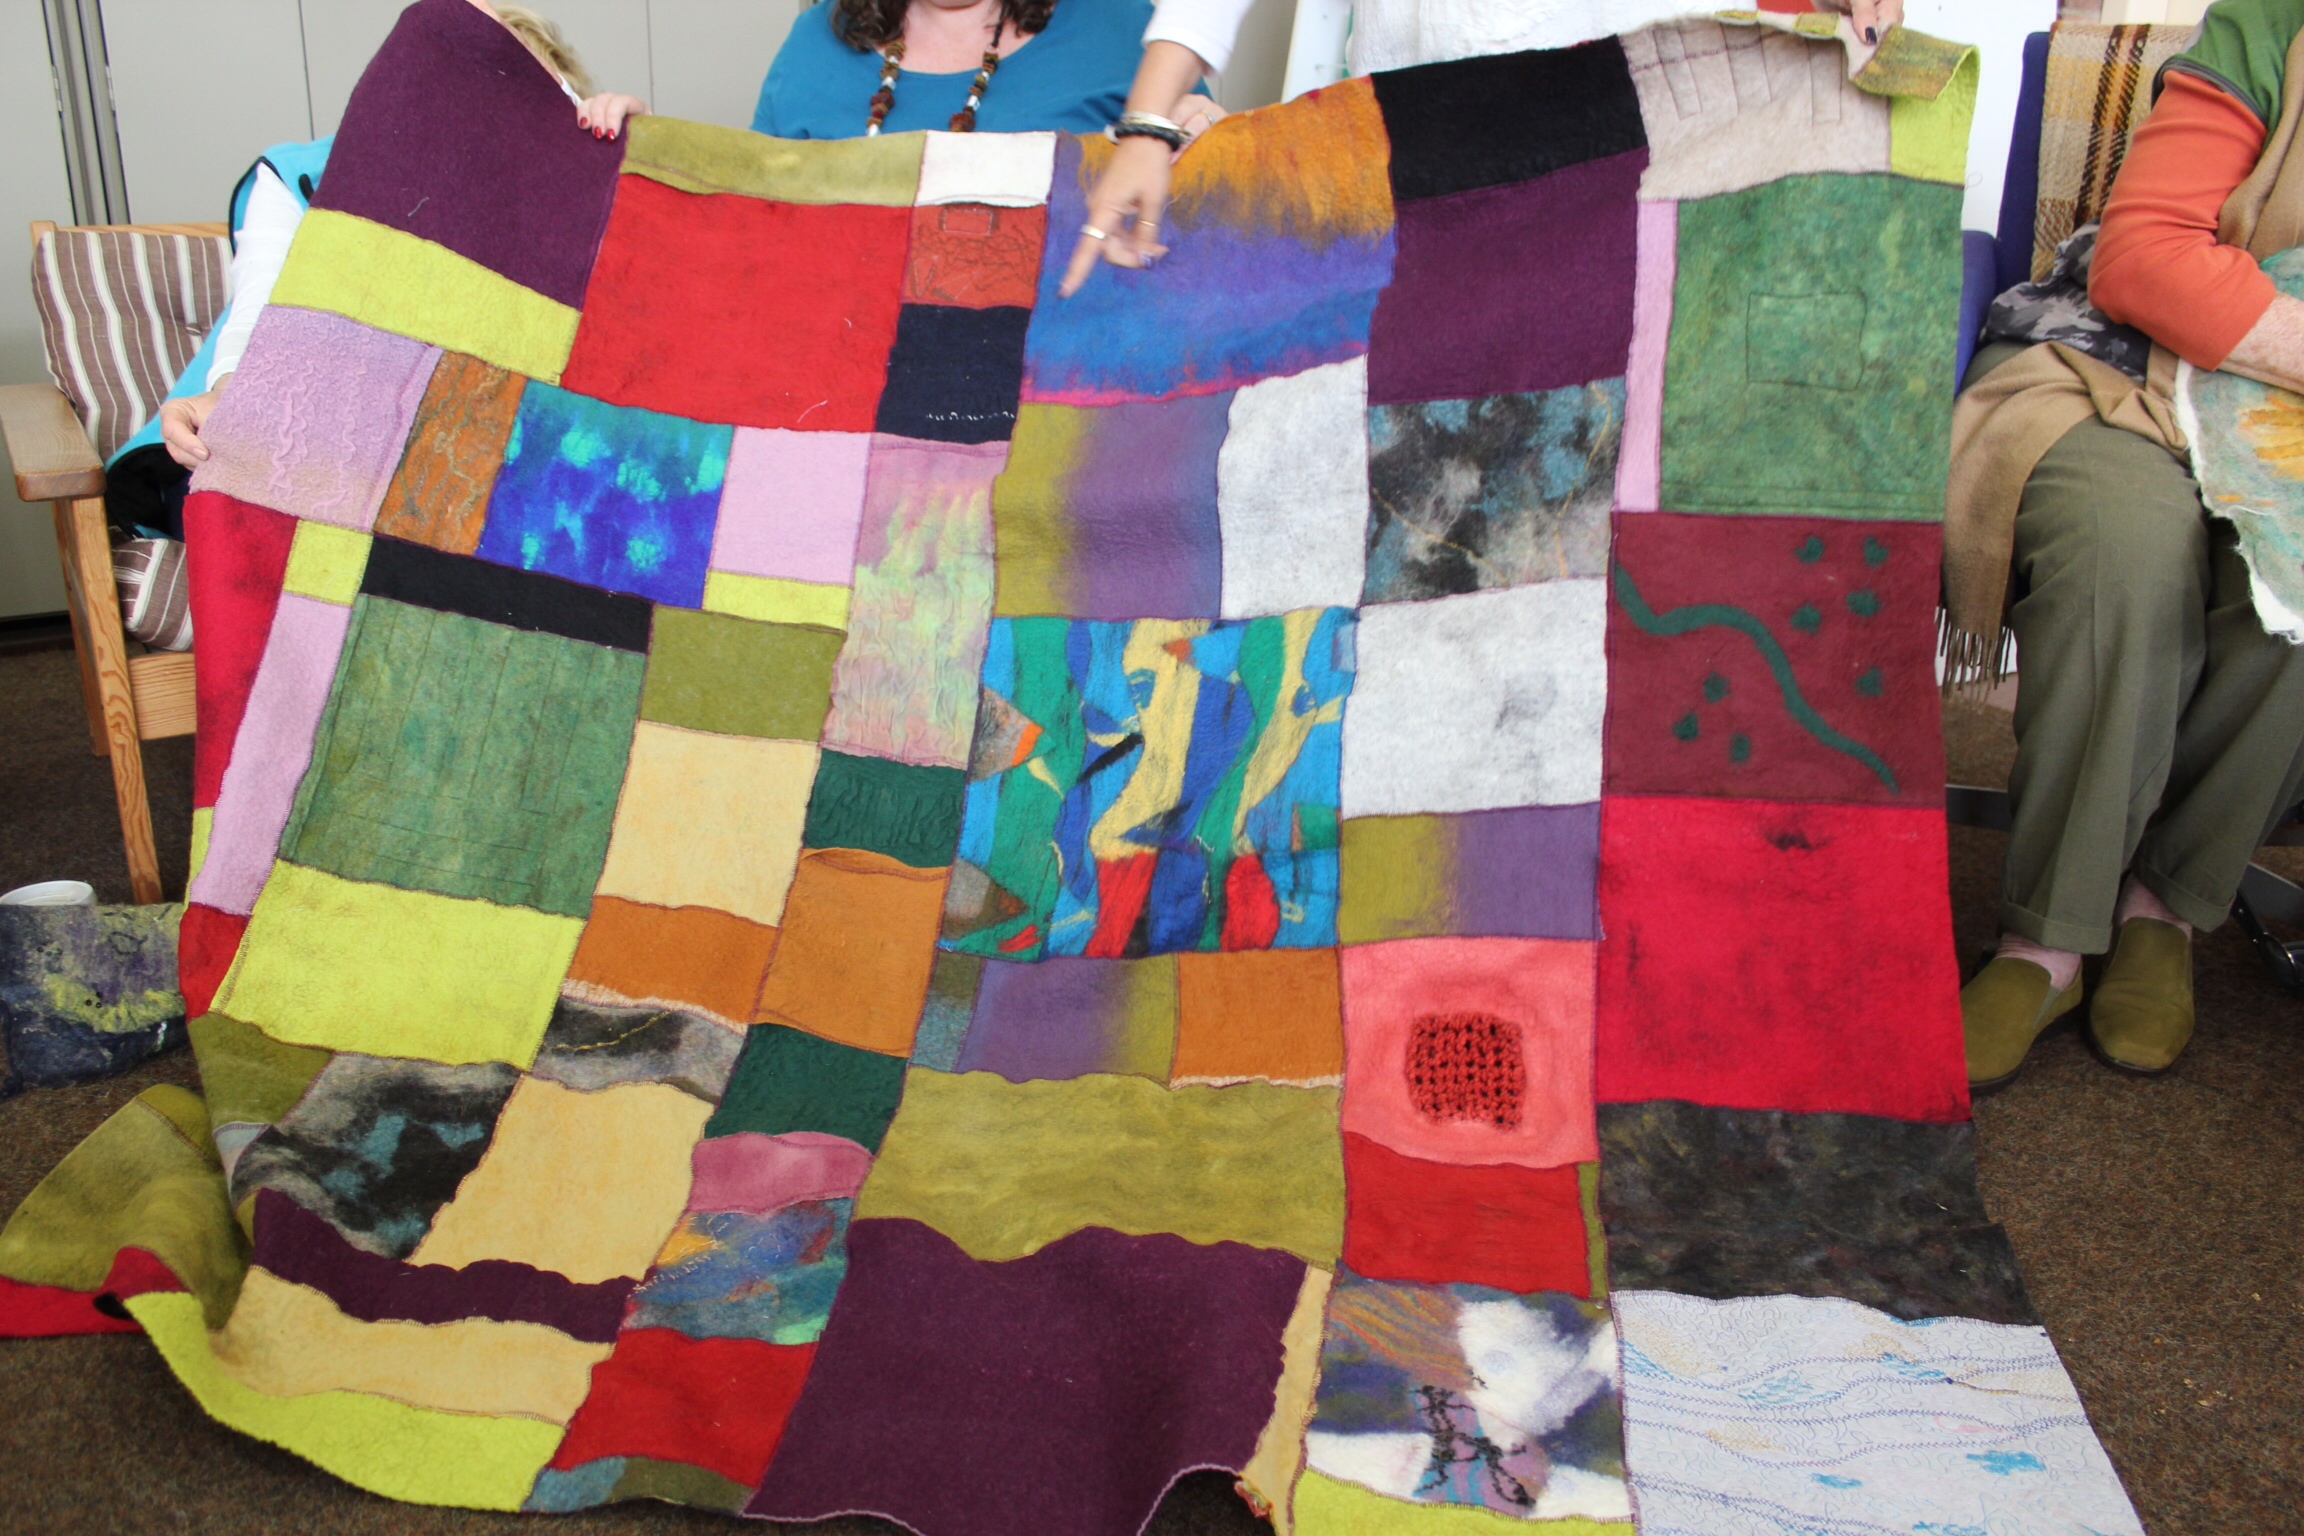
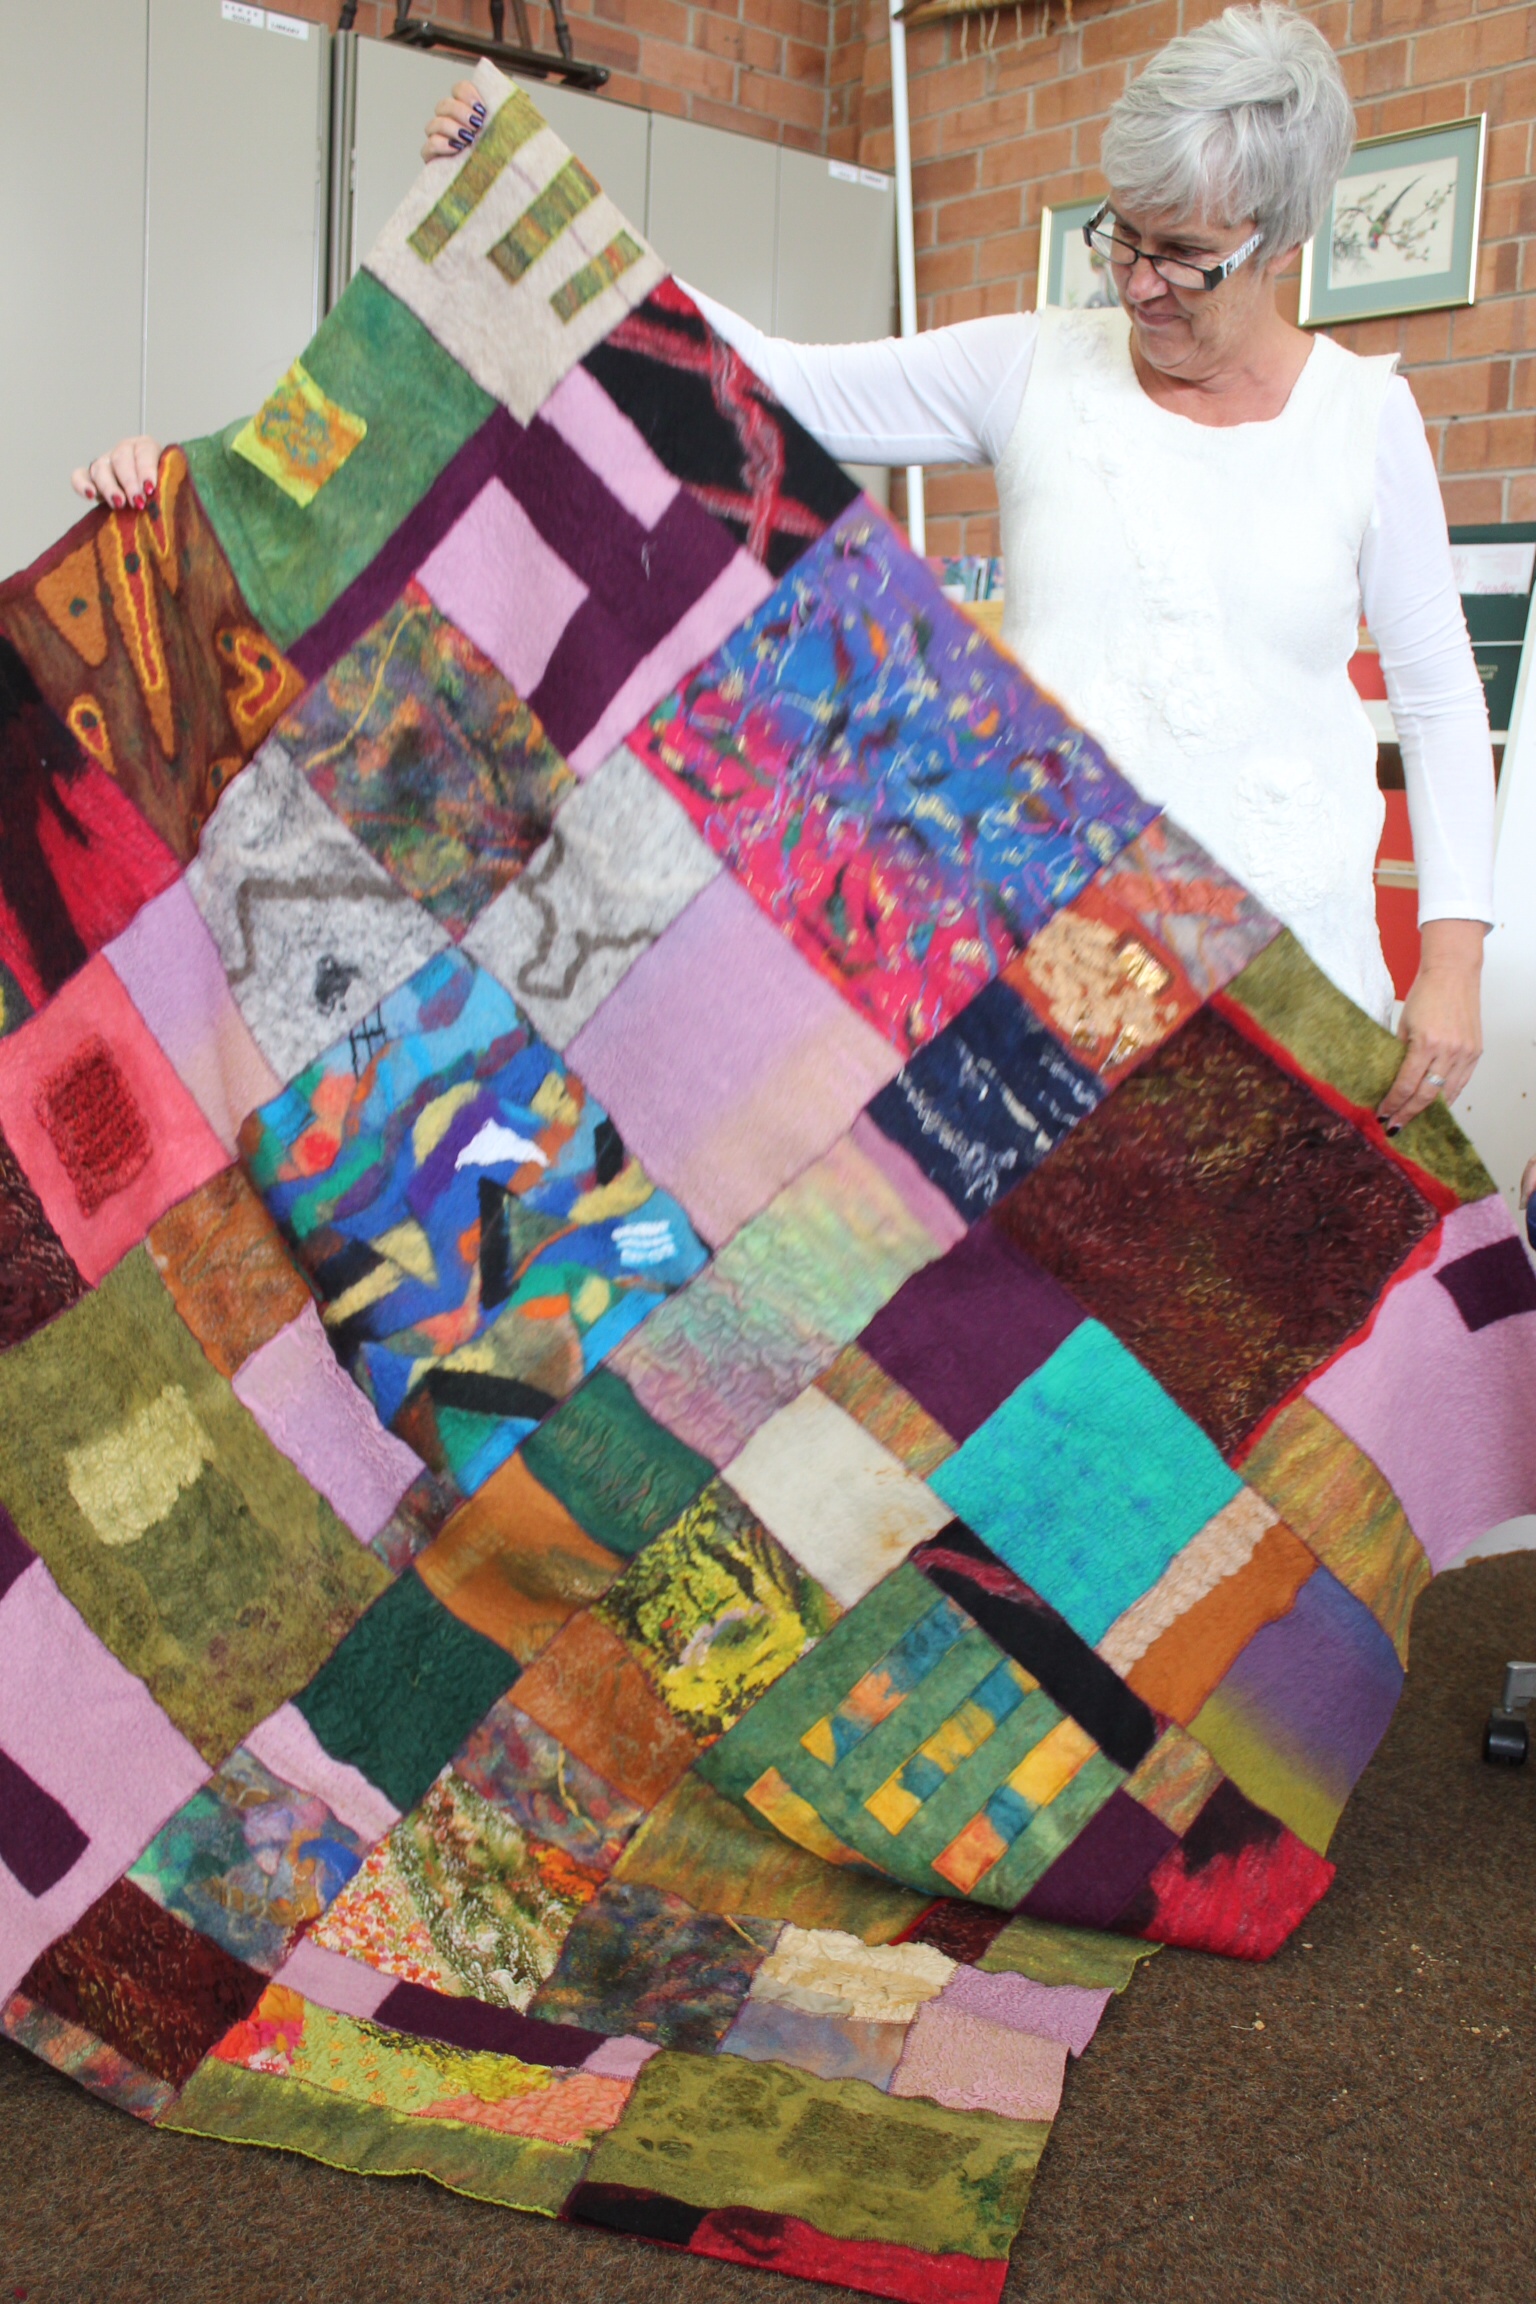
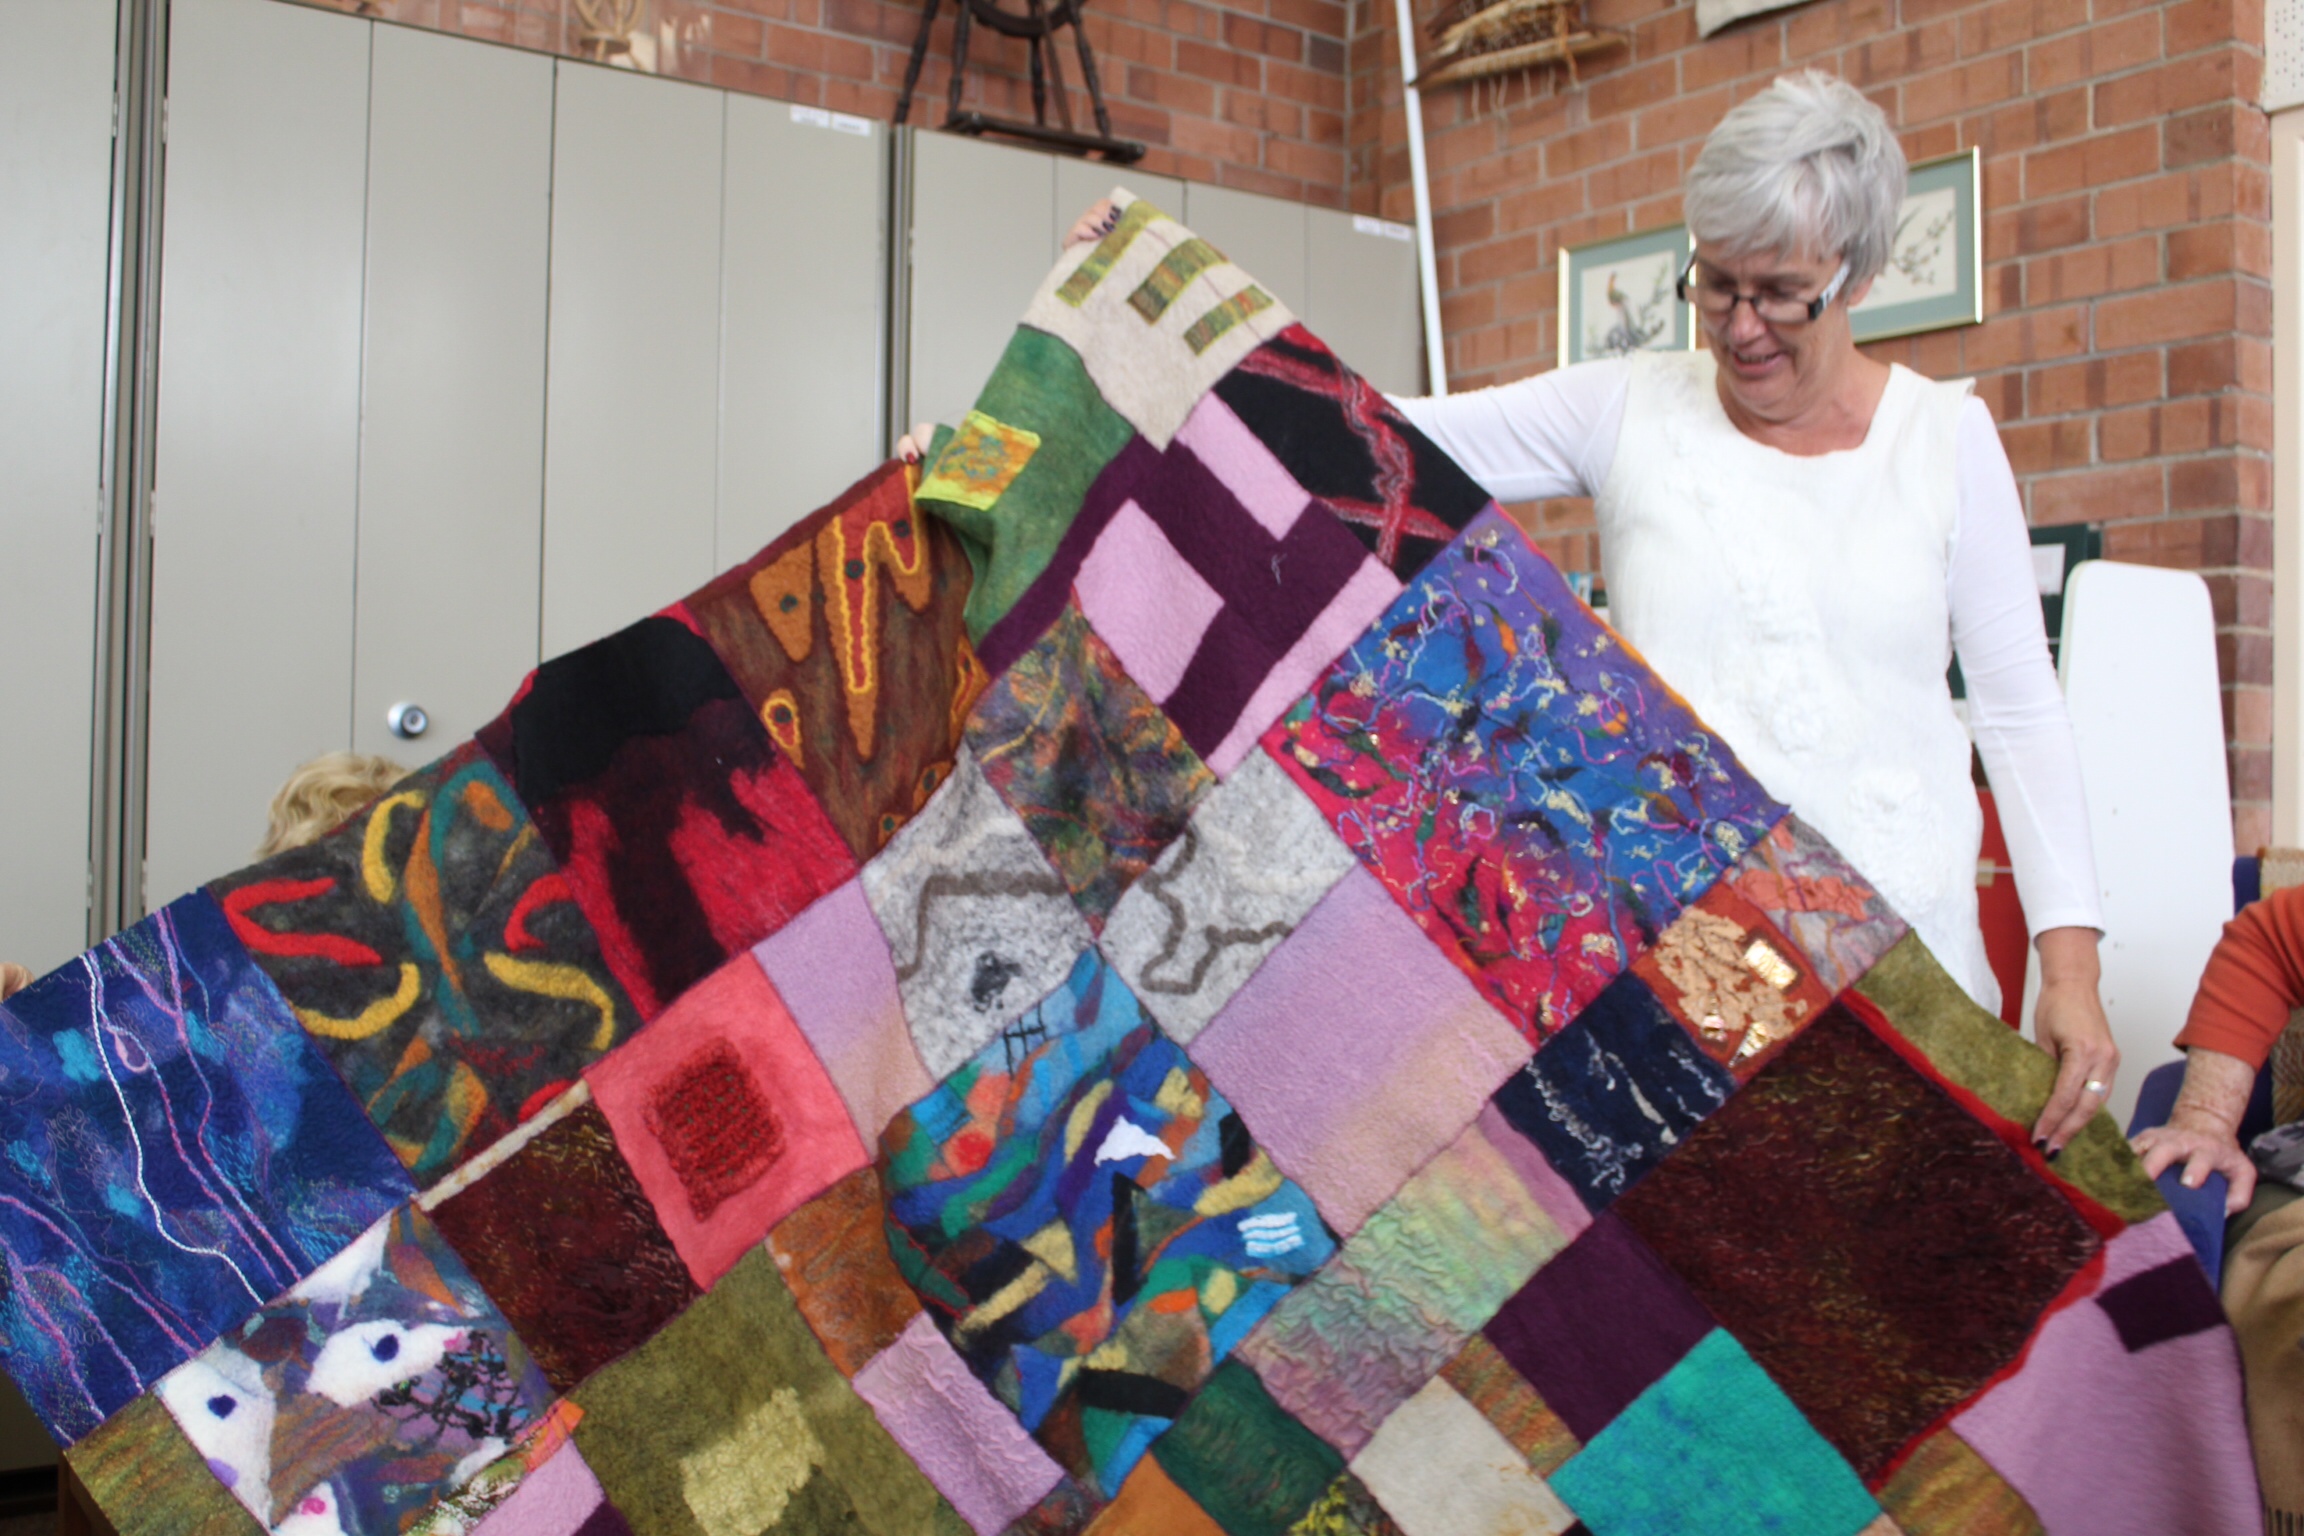
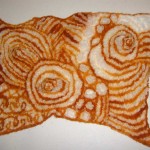
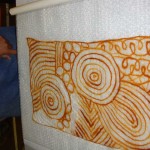
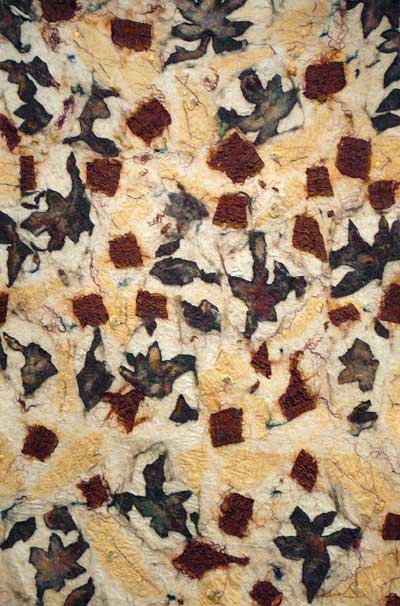
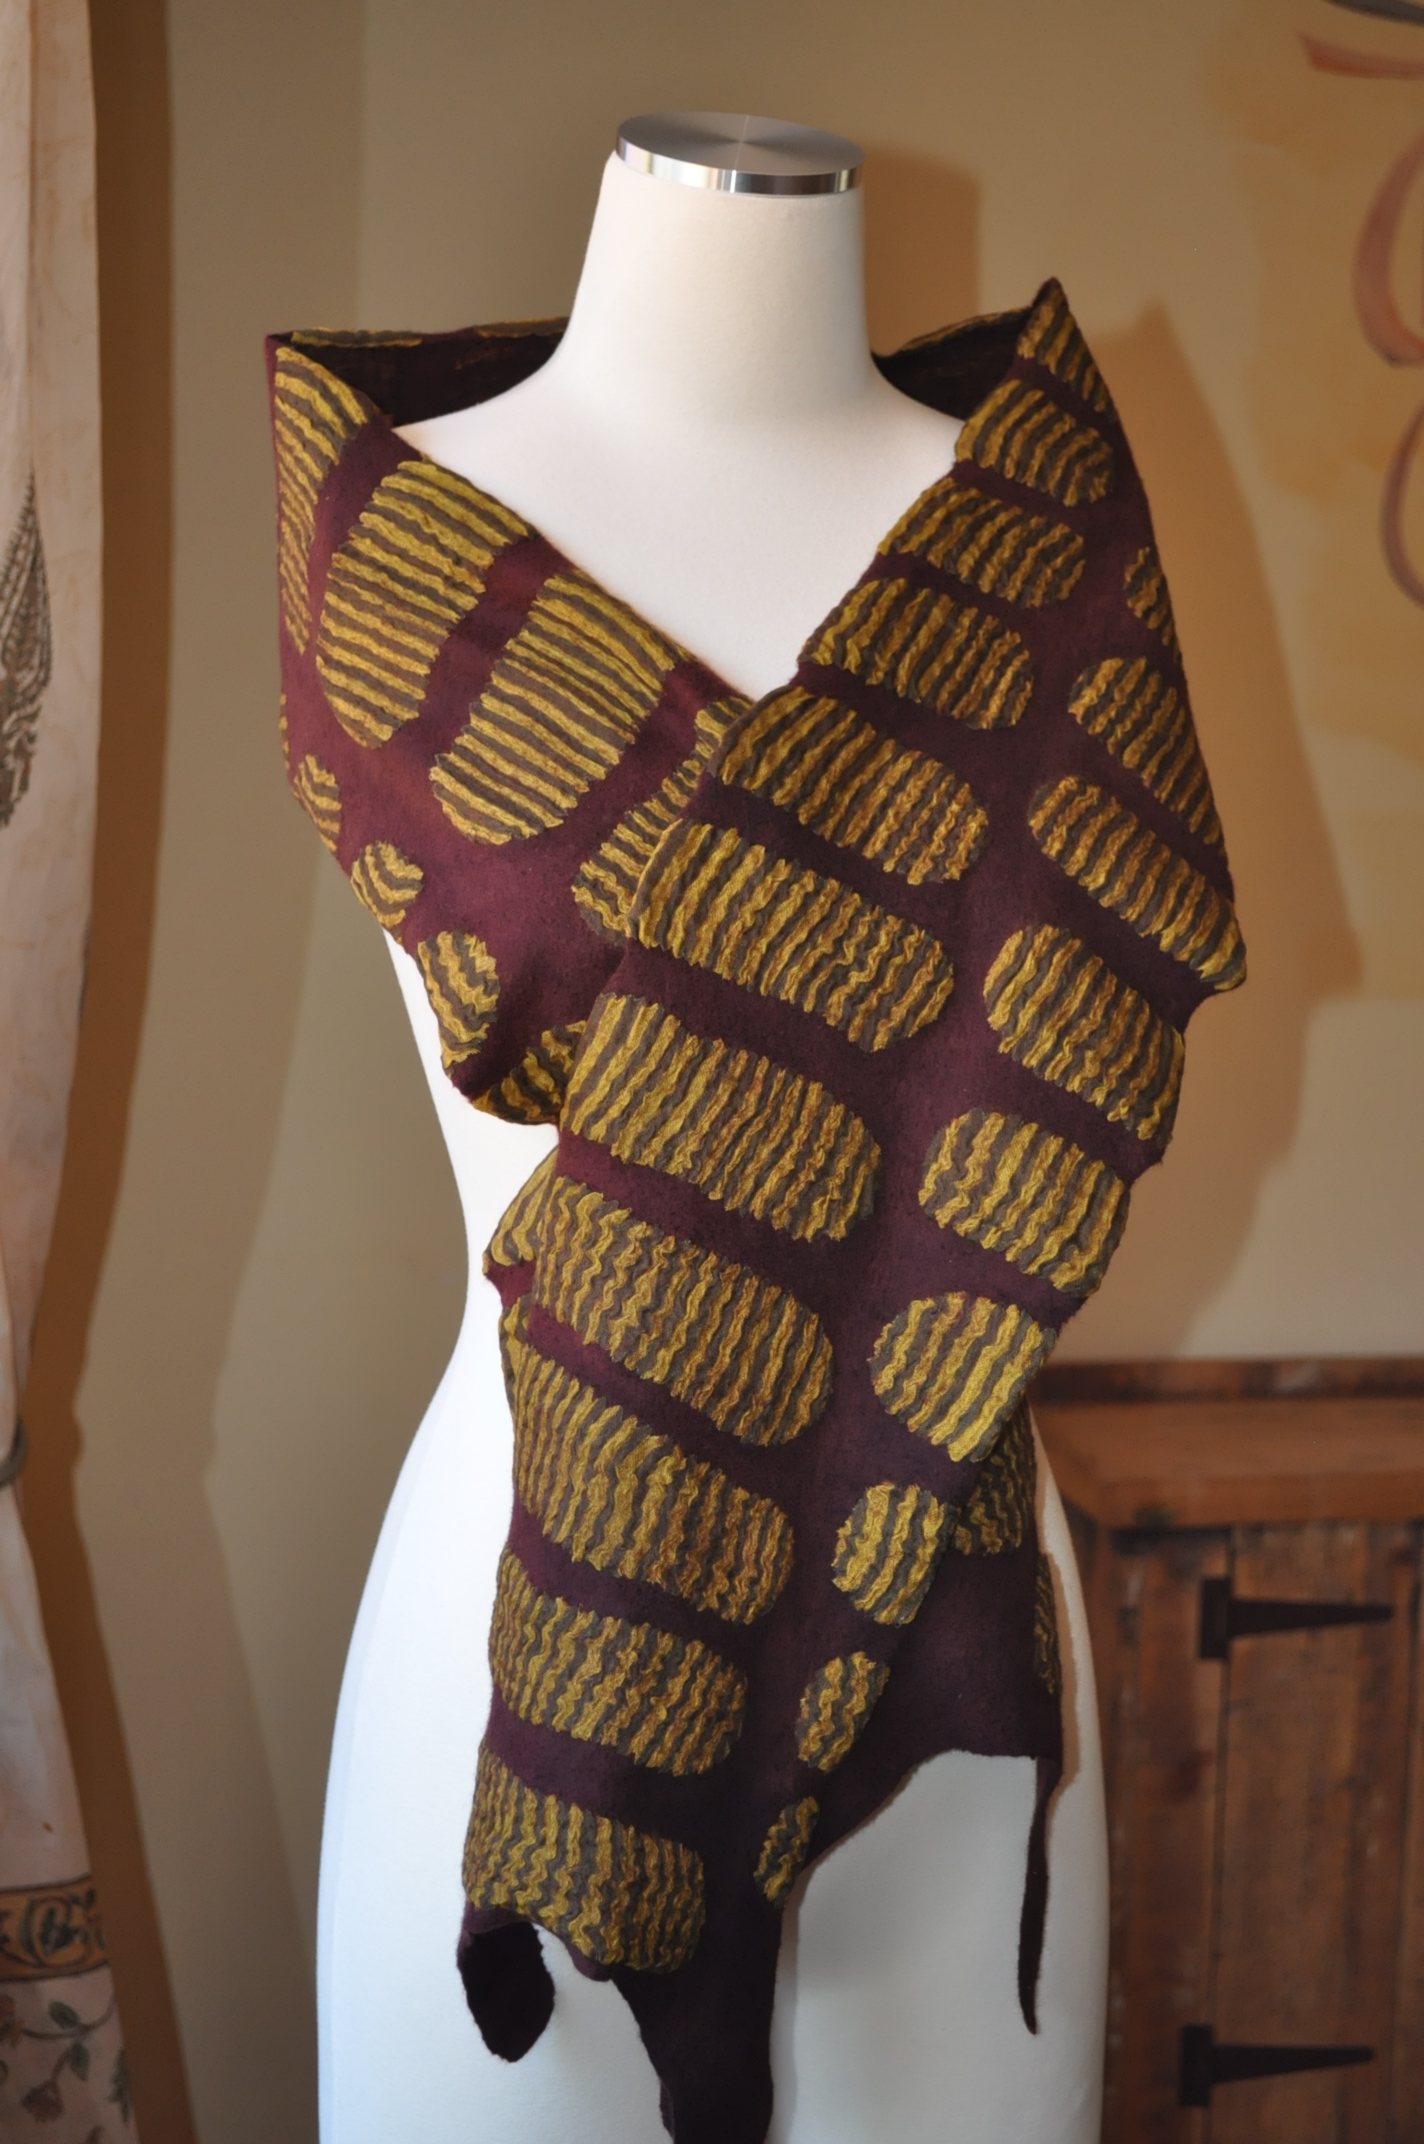
What’s the point of all that hard work if a piece isn’t beautiful to look at? The design of a piece really is the first thing that attracts the eye, so it is worth thinking about. In my opinion, colour, composition and balance are the three main elements to consider.

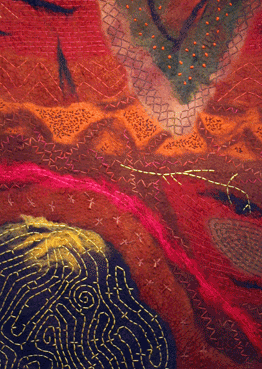
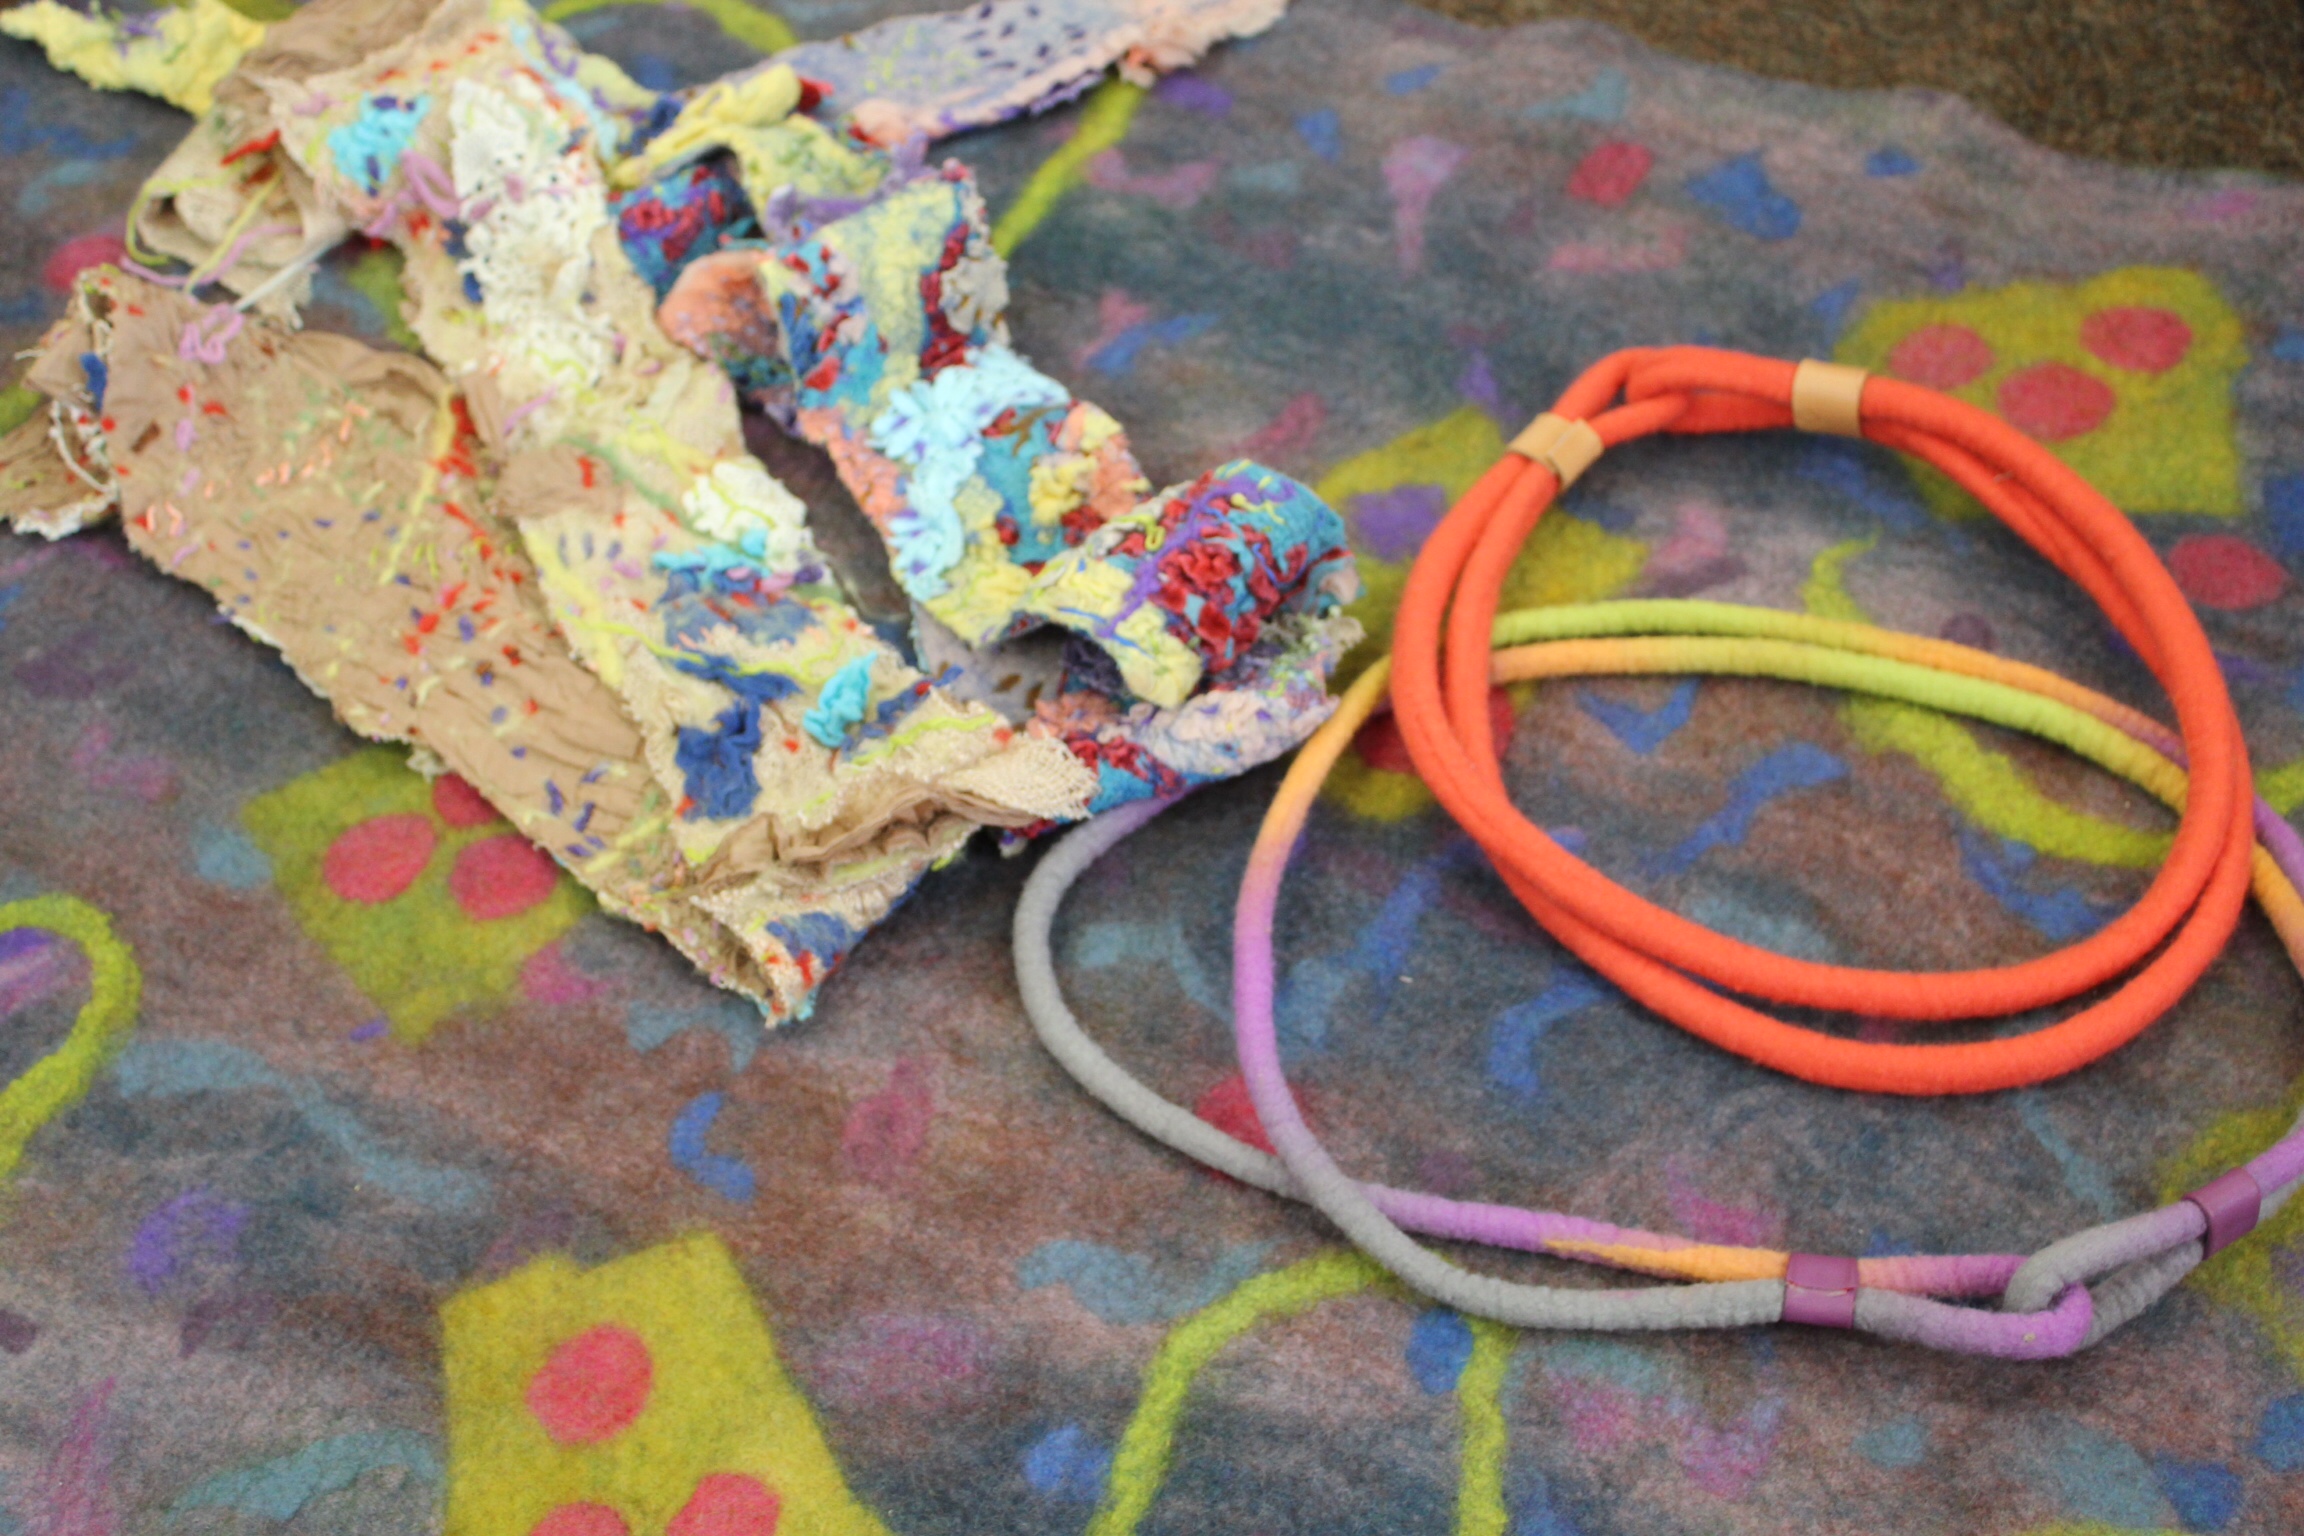
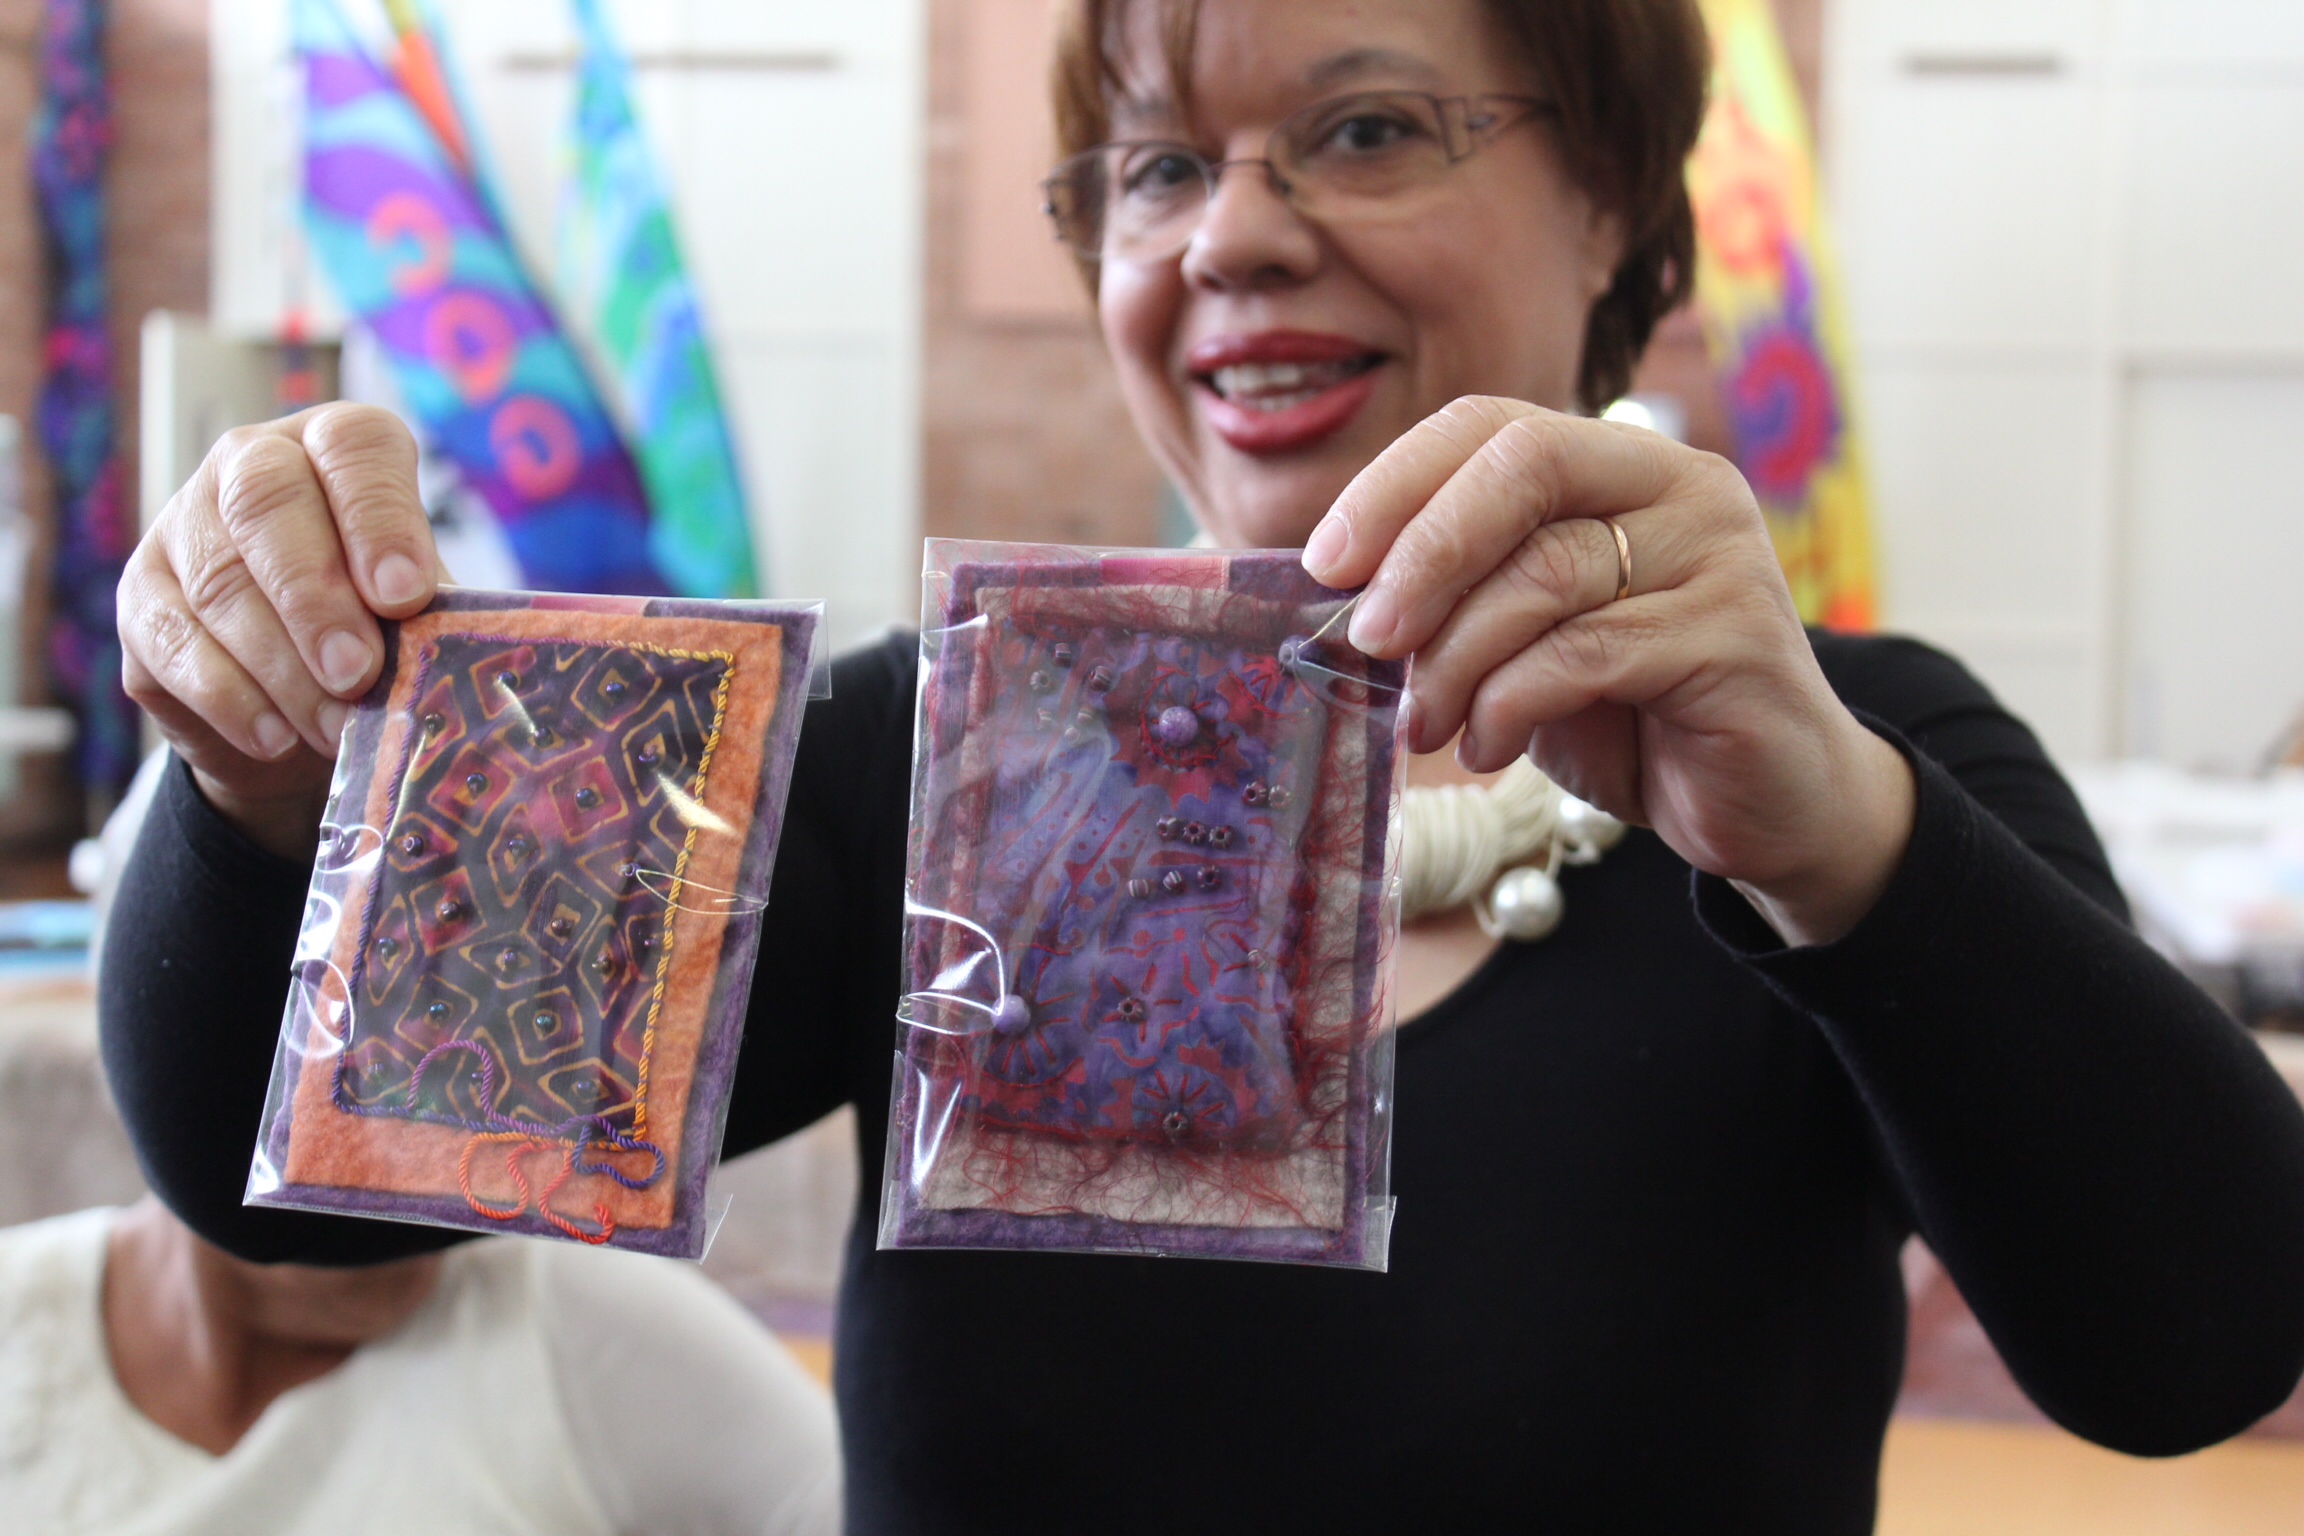
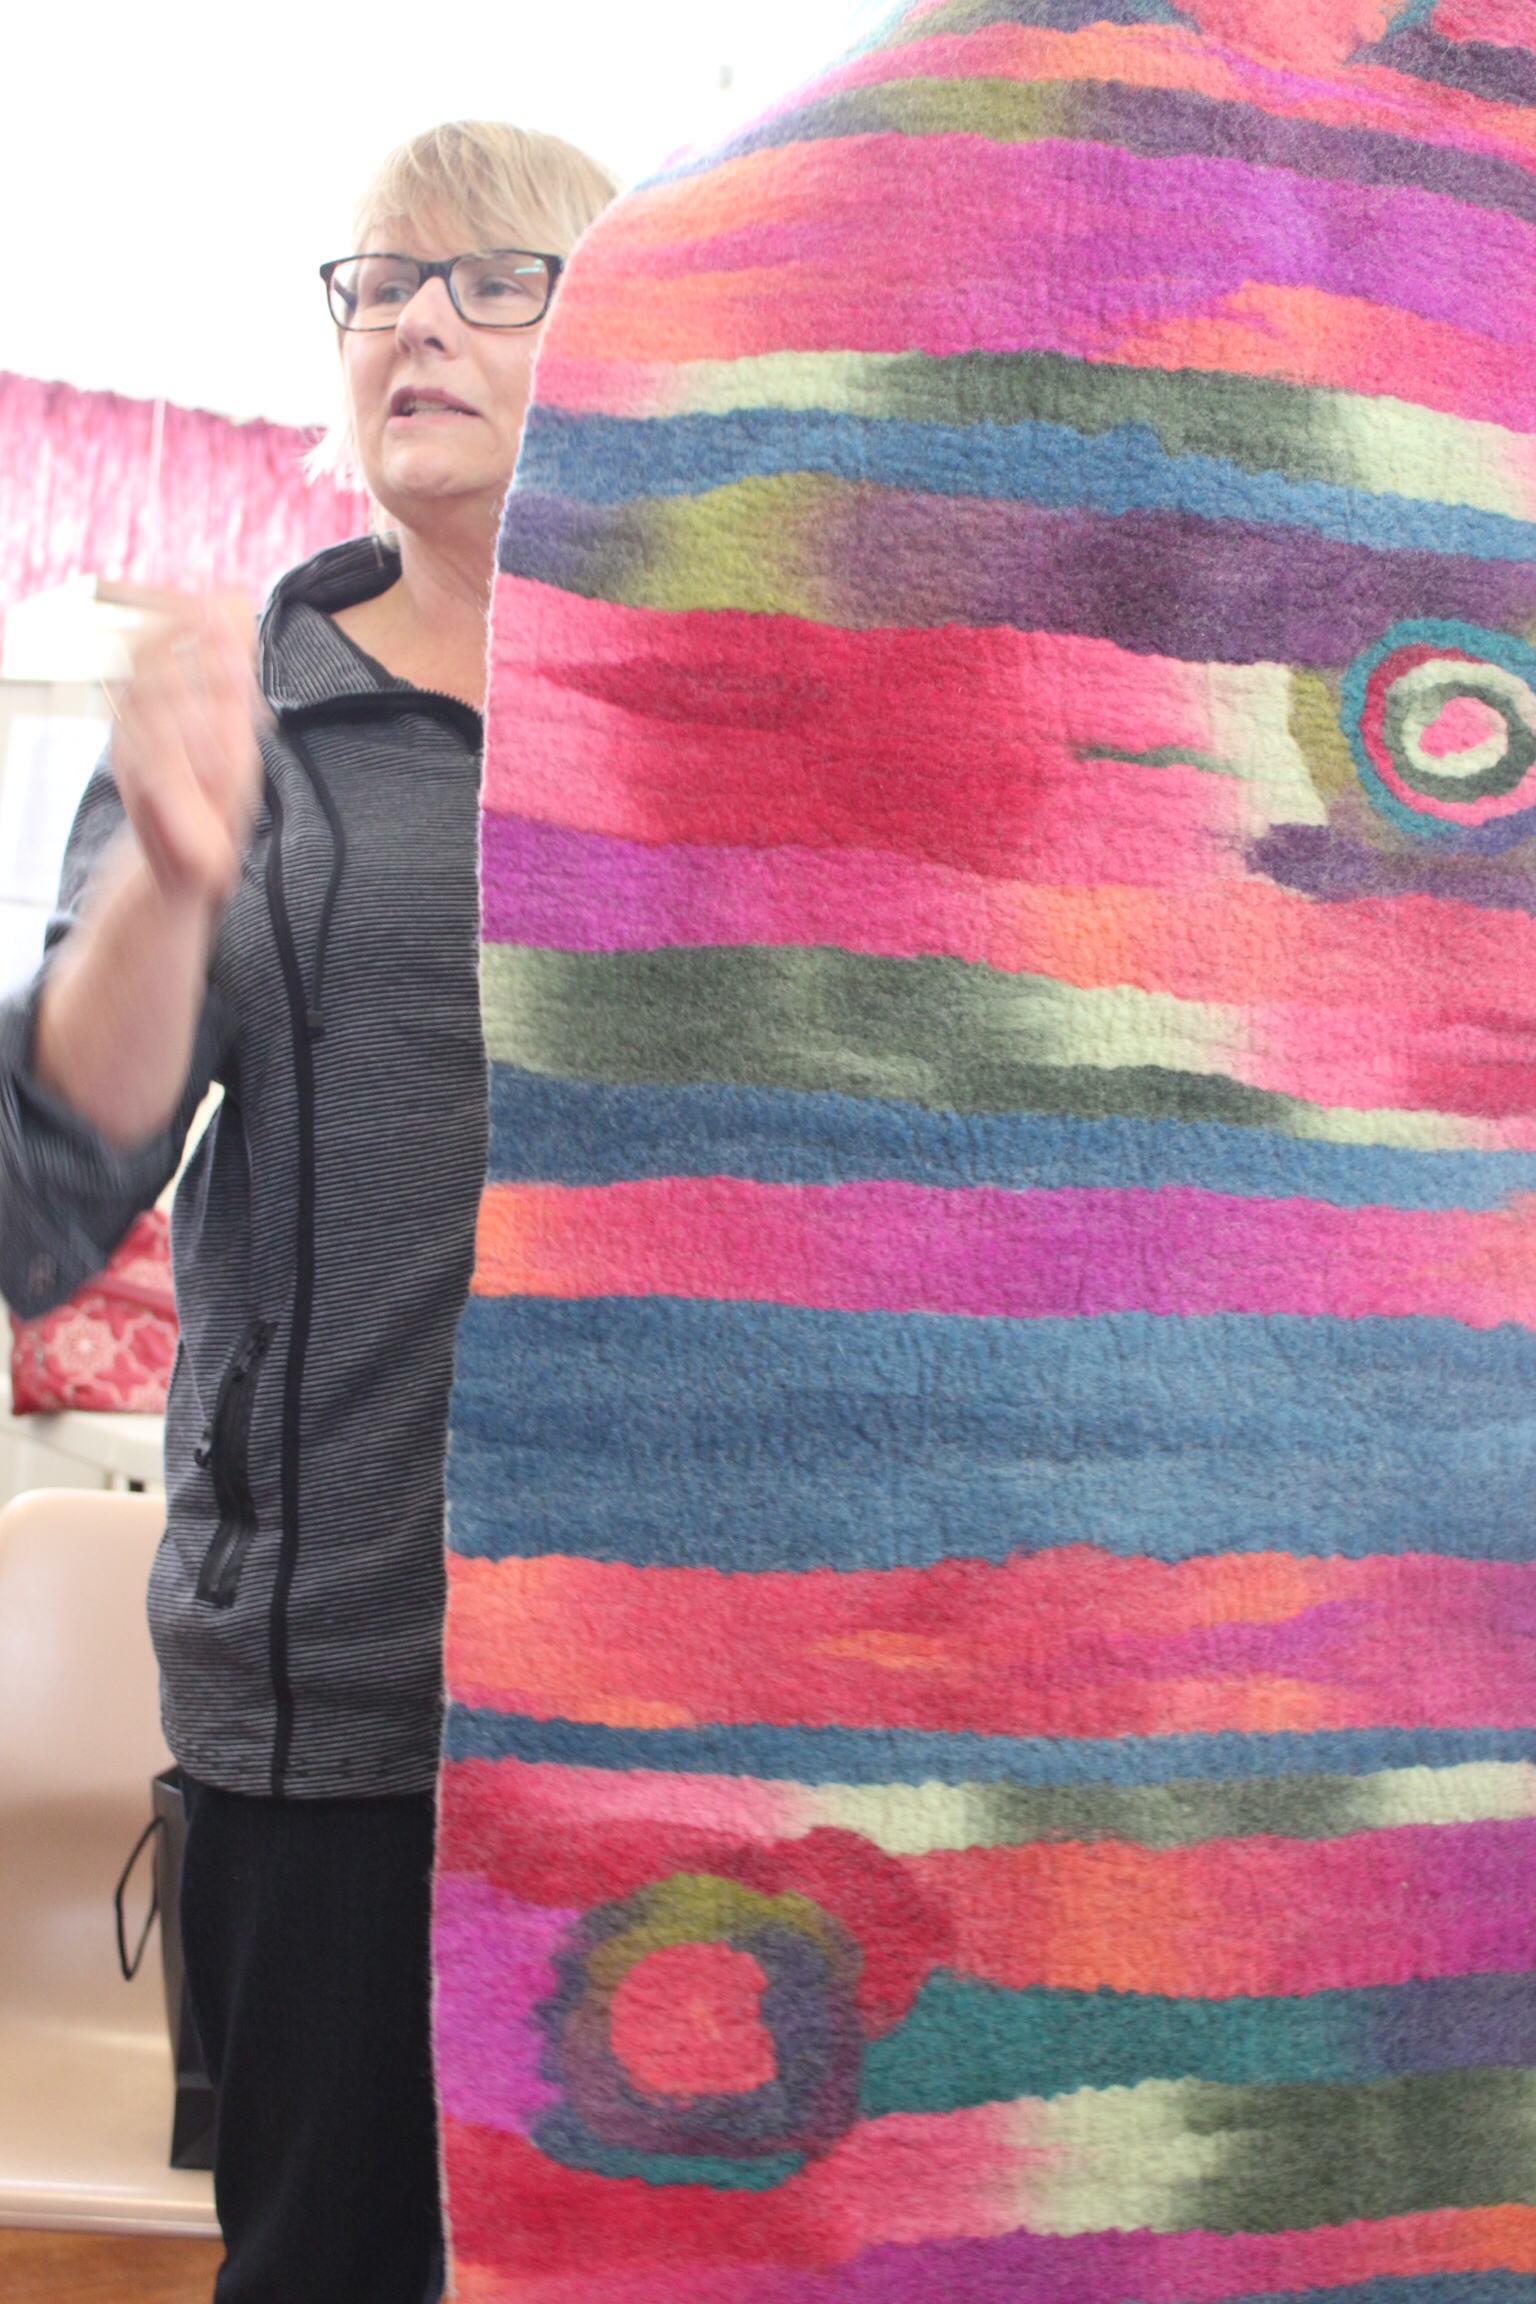
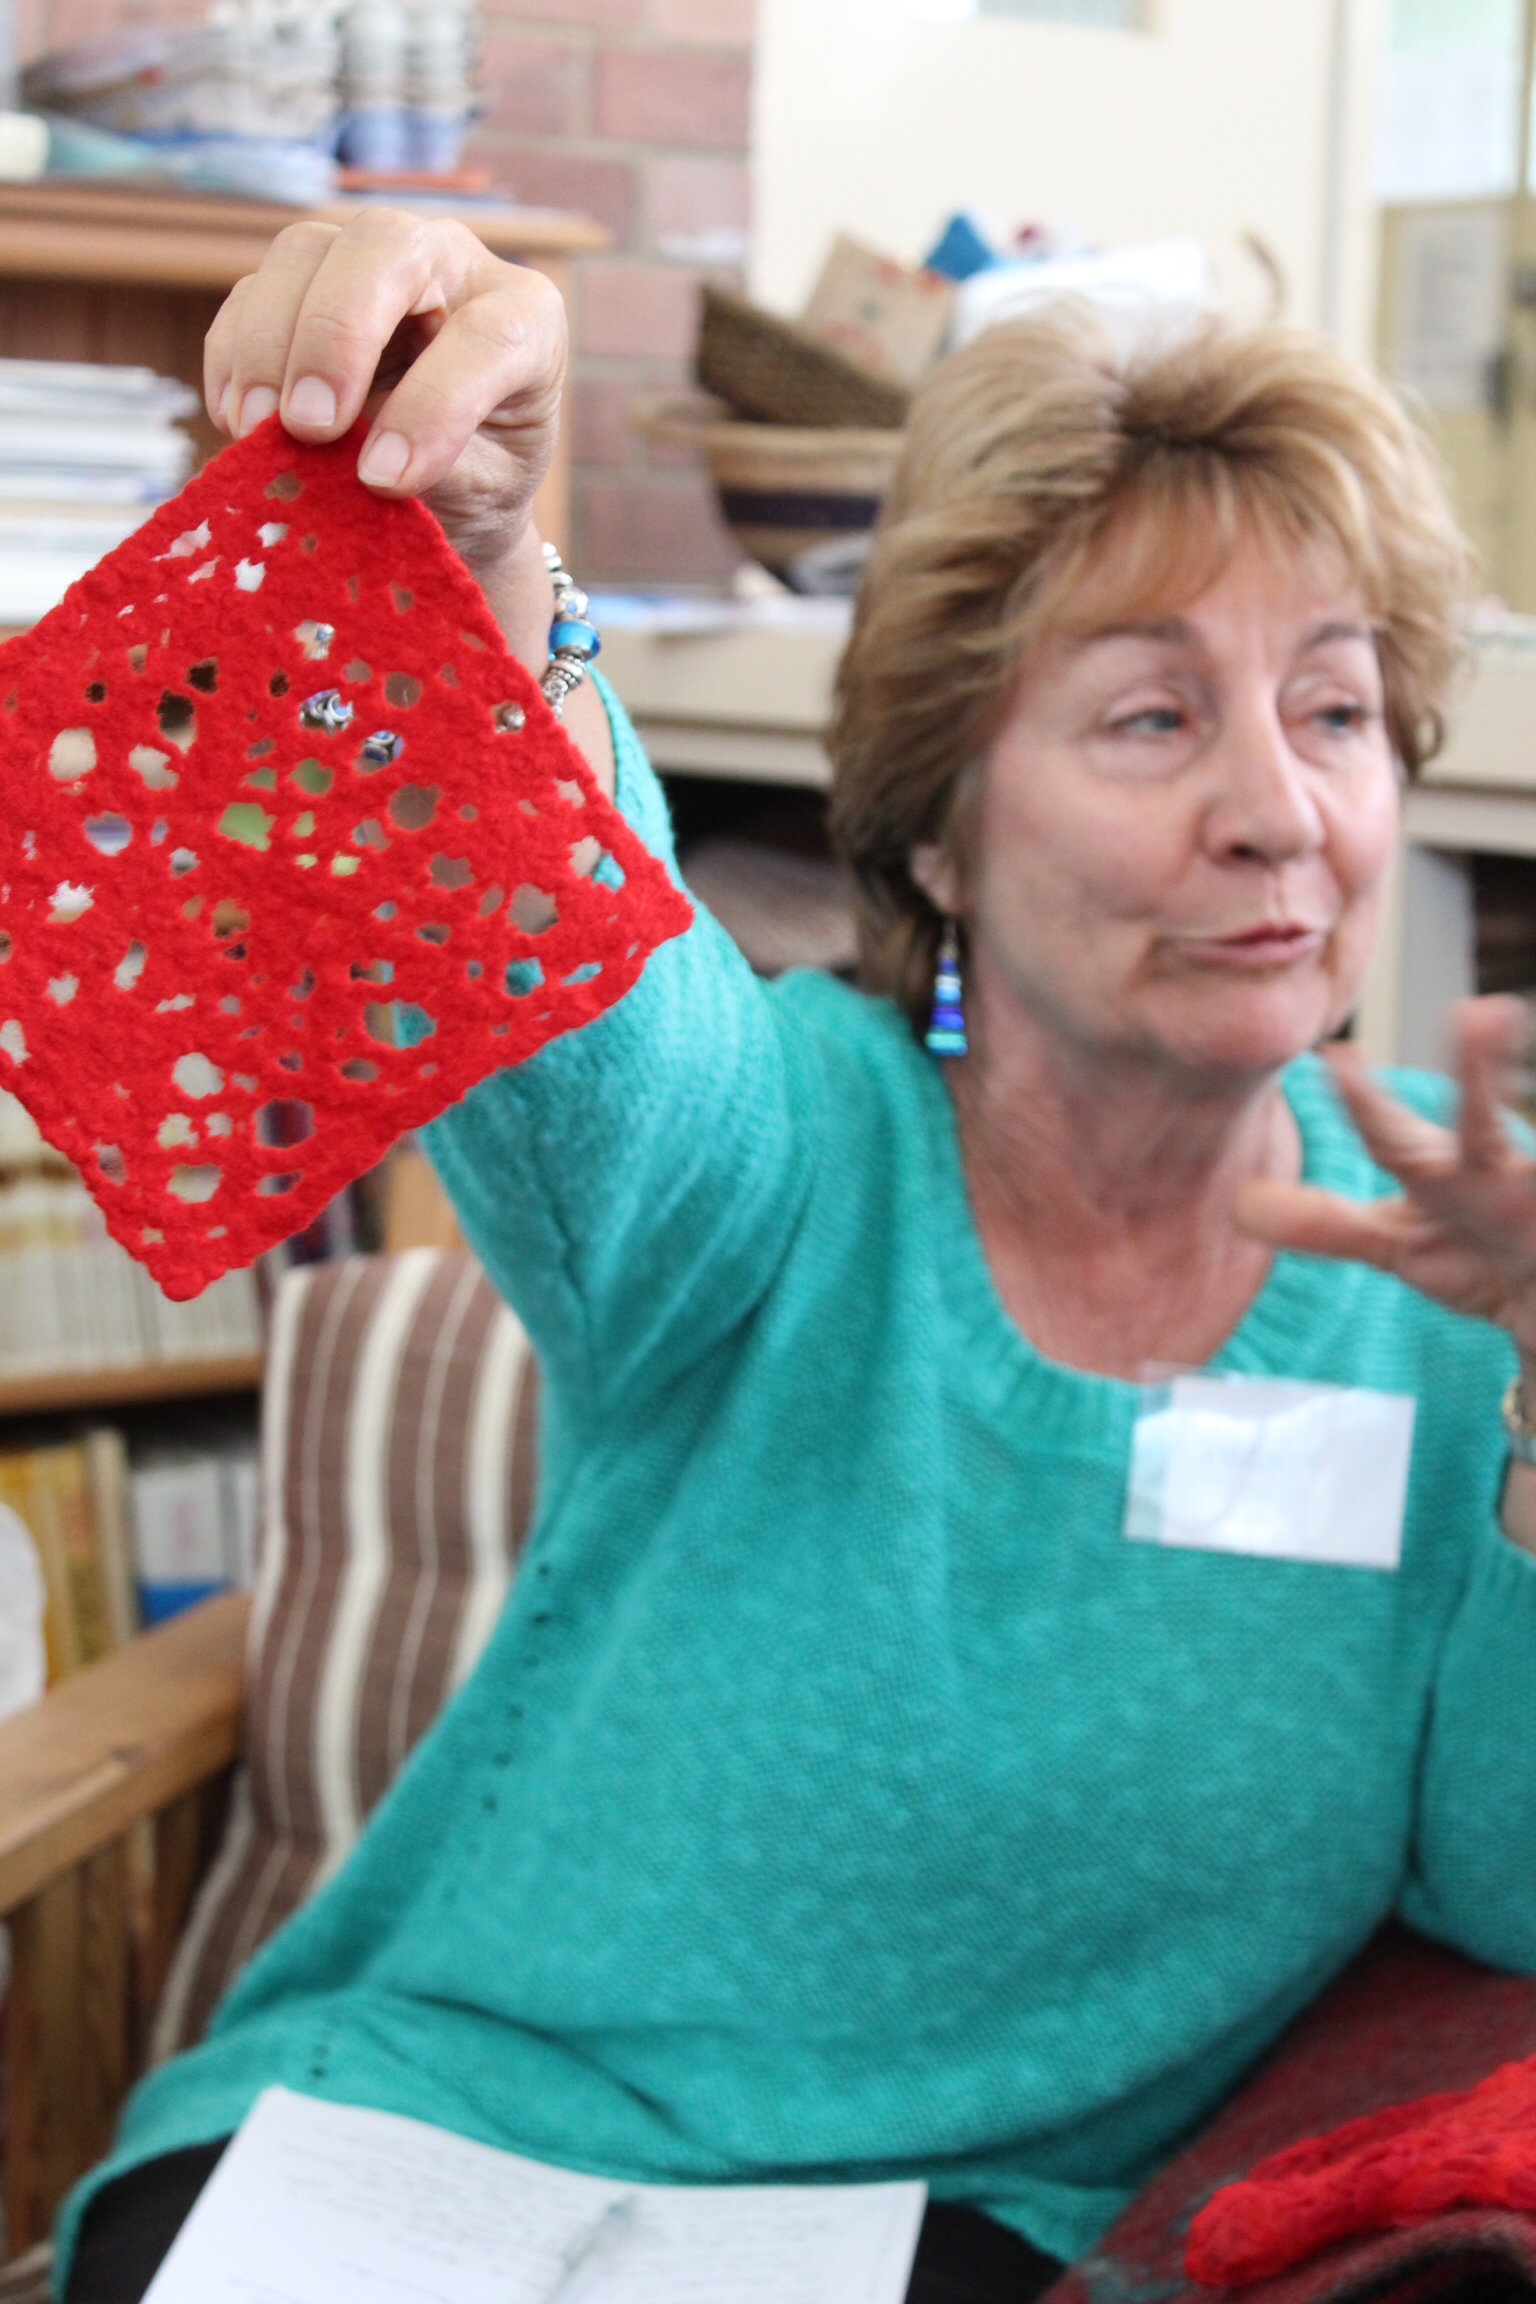
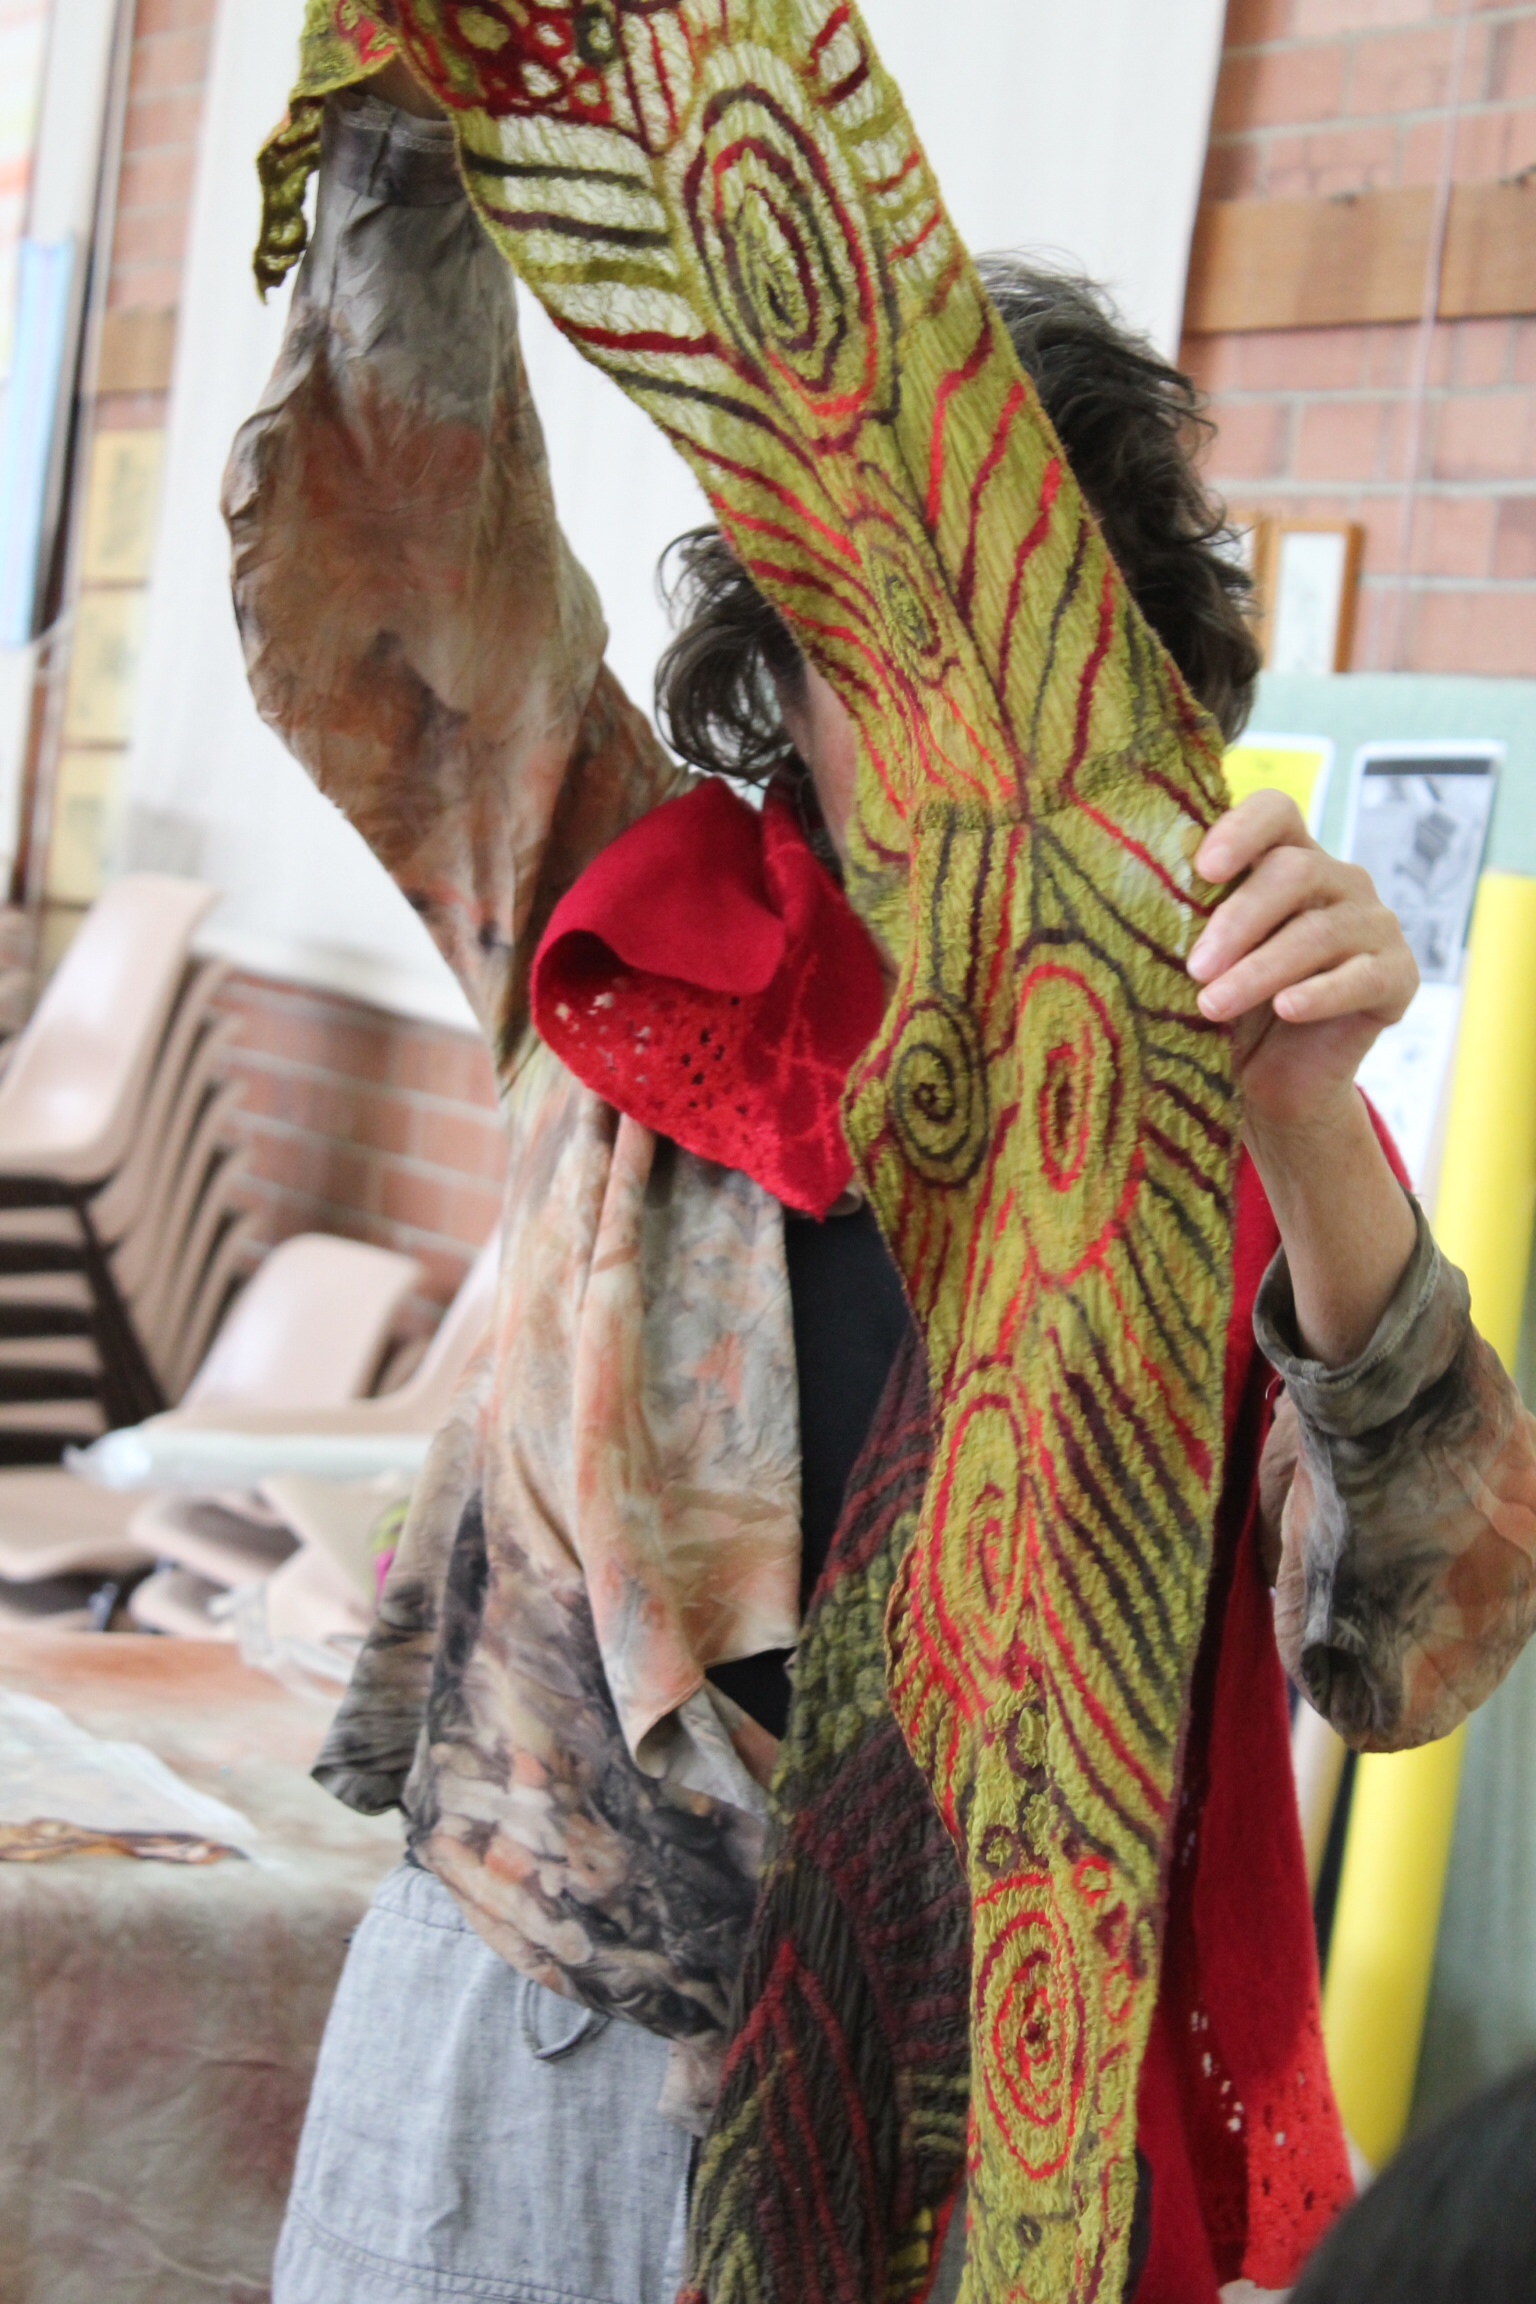
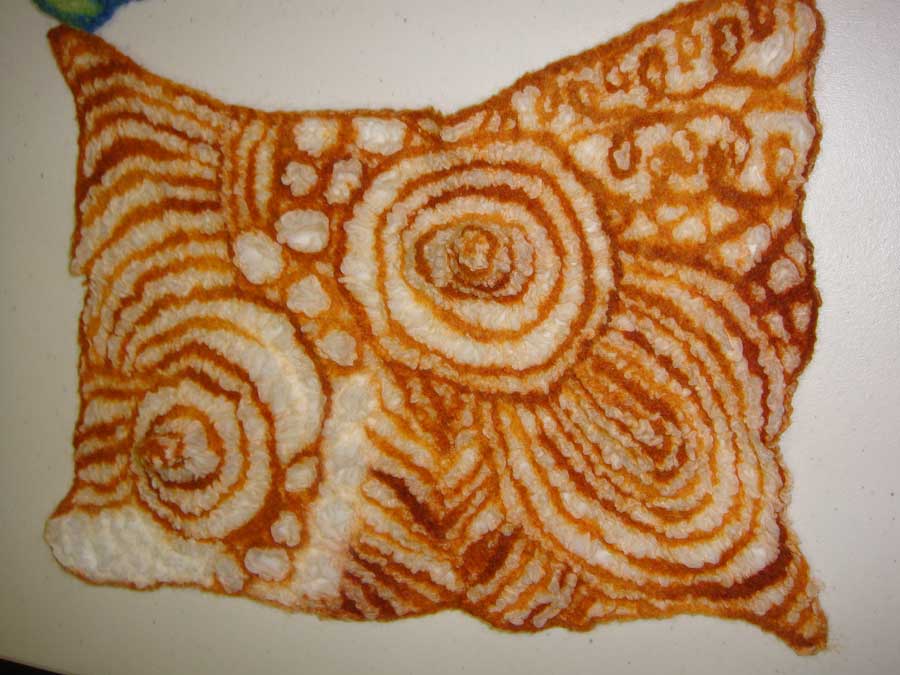
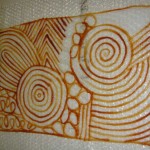
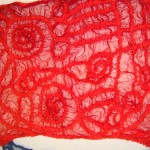
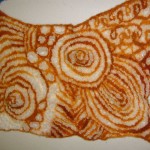
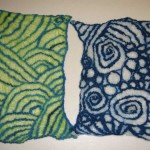
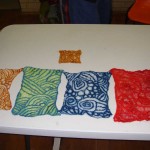
Colour – Colours have an amazing ability to influence our moods and can therefore be a very powerful design tool. I find it amazing how, even using just two colours, you can get two completely different looks simply by changing the proportion of each colour in a design. You may also be surprised at how the most unlikely colours can actually look good together. While classic combinations of colour will always work, it’s the unusual pairing of hues that bring originality and freshness to a design. For instance, orange and red do go well together… trust me, I’ve tried it! Colour is also a simple way to expand your comfort zone, to go where you may not have gone before. A basic understanding of colour ‘groups’ will help with colour scheme ideas. Warm colours, cool colours, pastels, bright colours, neutrals, etc. Most libraries have good books on the topic.

And where do you find inspiration for new colour combinations? Just look around you, they’re everywhere. In our landscape, printed textiles, jewellery, other people’s outfits, and other unexpected colour juxtapositions that happen all the time. Magazines and craft books offer a wealth of colour inspiration too. Or, when you find yourself surrounded by your bags of different coloured wools and silks, etc, try placing two or three colours side by side, then stand back and assess. Keep changing them until you arrive at a combination that makes you smile and want to dive straight into your next project. And do give that hated colour a whirl too… it might surprise you when used in the right combination.

Which brings me to the next point, that a pre-conceived colour scheme generally yields better results than adding bits of colour as the whim strikes. But, if you prefer a ‘colour-as-you-go’ method, then spare a few moments after you’ve laid it all down, to stand back and assess if it does indeed work together, or if some changes might be needed.
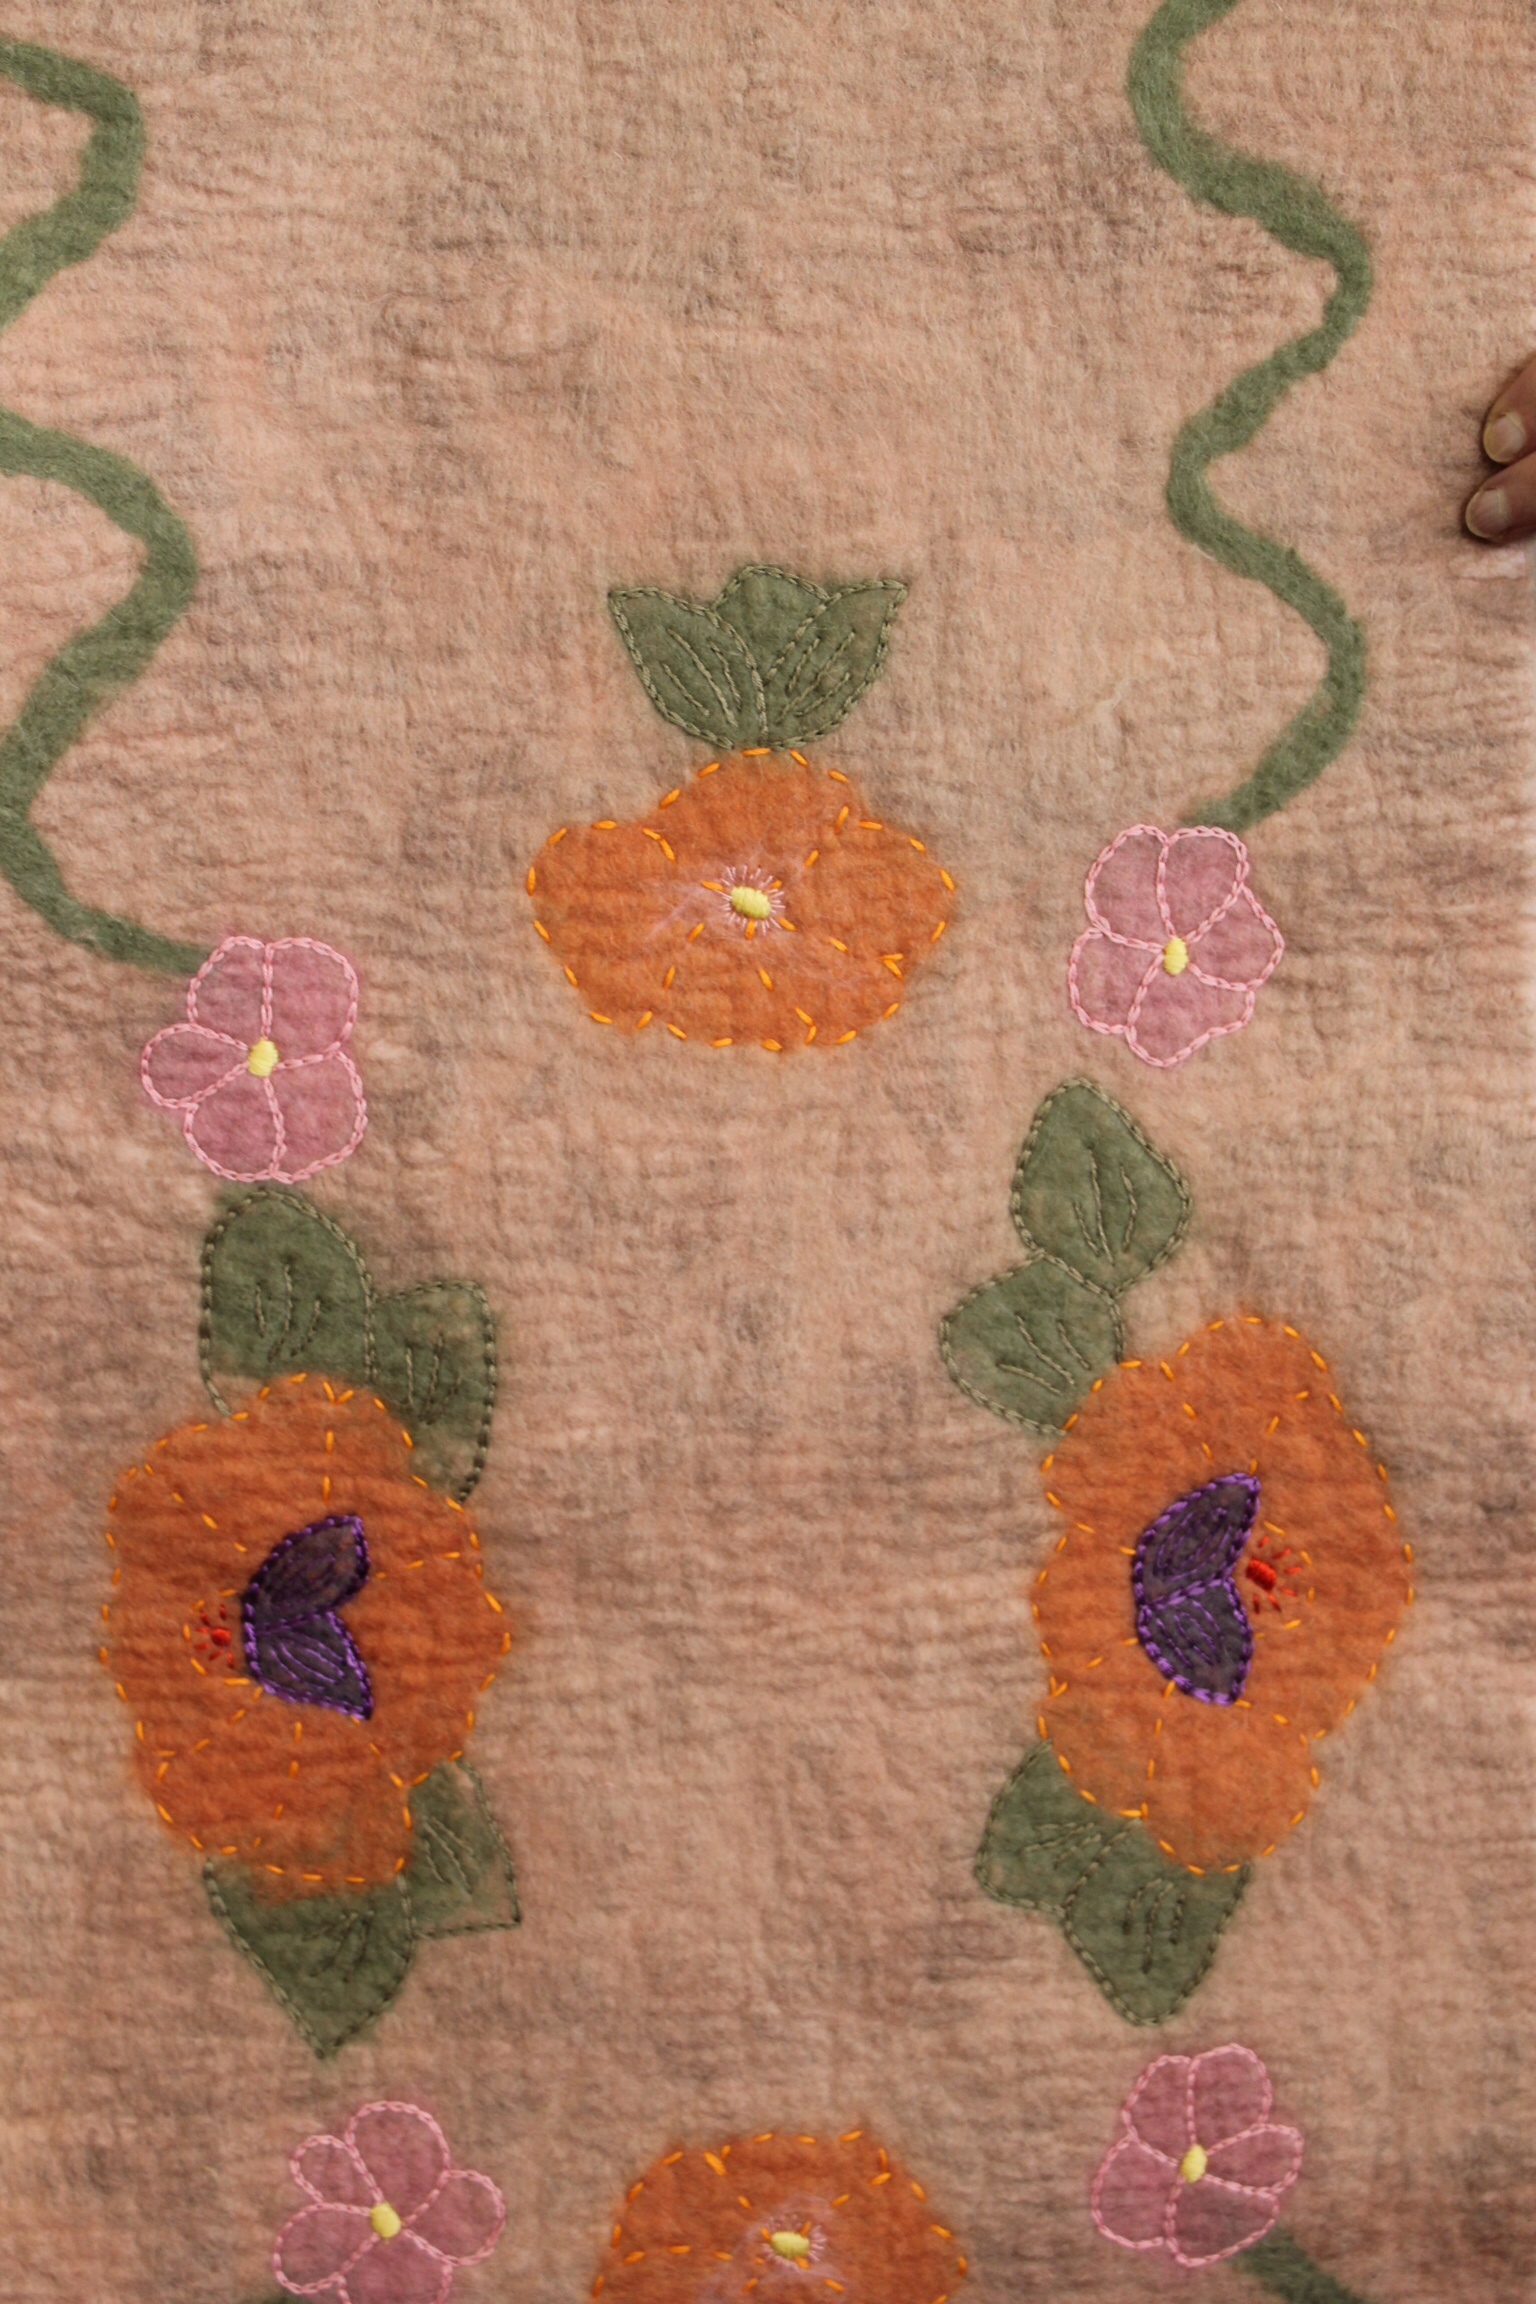
Composition

As we know, the positioning of elements in a design is called the layout or composition of a piece.

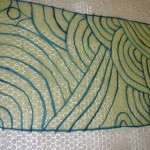
Generally speaking, placing things off-centre rather than in the middle; using an odd instead of an even number of elements and the repetition of a shape or form, are some basic principles of good design. Asymmetry is usually more interesting than a perfectly symmetrical (and often boring), design.

It’s also useful sometimes, after you’ve laid it all out, to try moving things around or removing an element or two. Stand back, look at it objectively. And be ruthless. Just because it took an hour to cut out all those flowers doesn’t mean they should all be there. Maybe just a few would do the trick and the rest would look stunning on another piece of work.

Balance

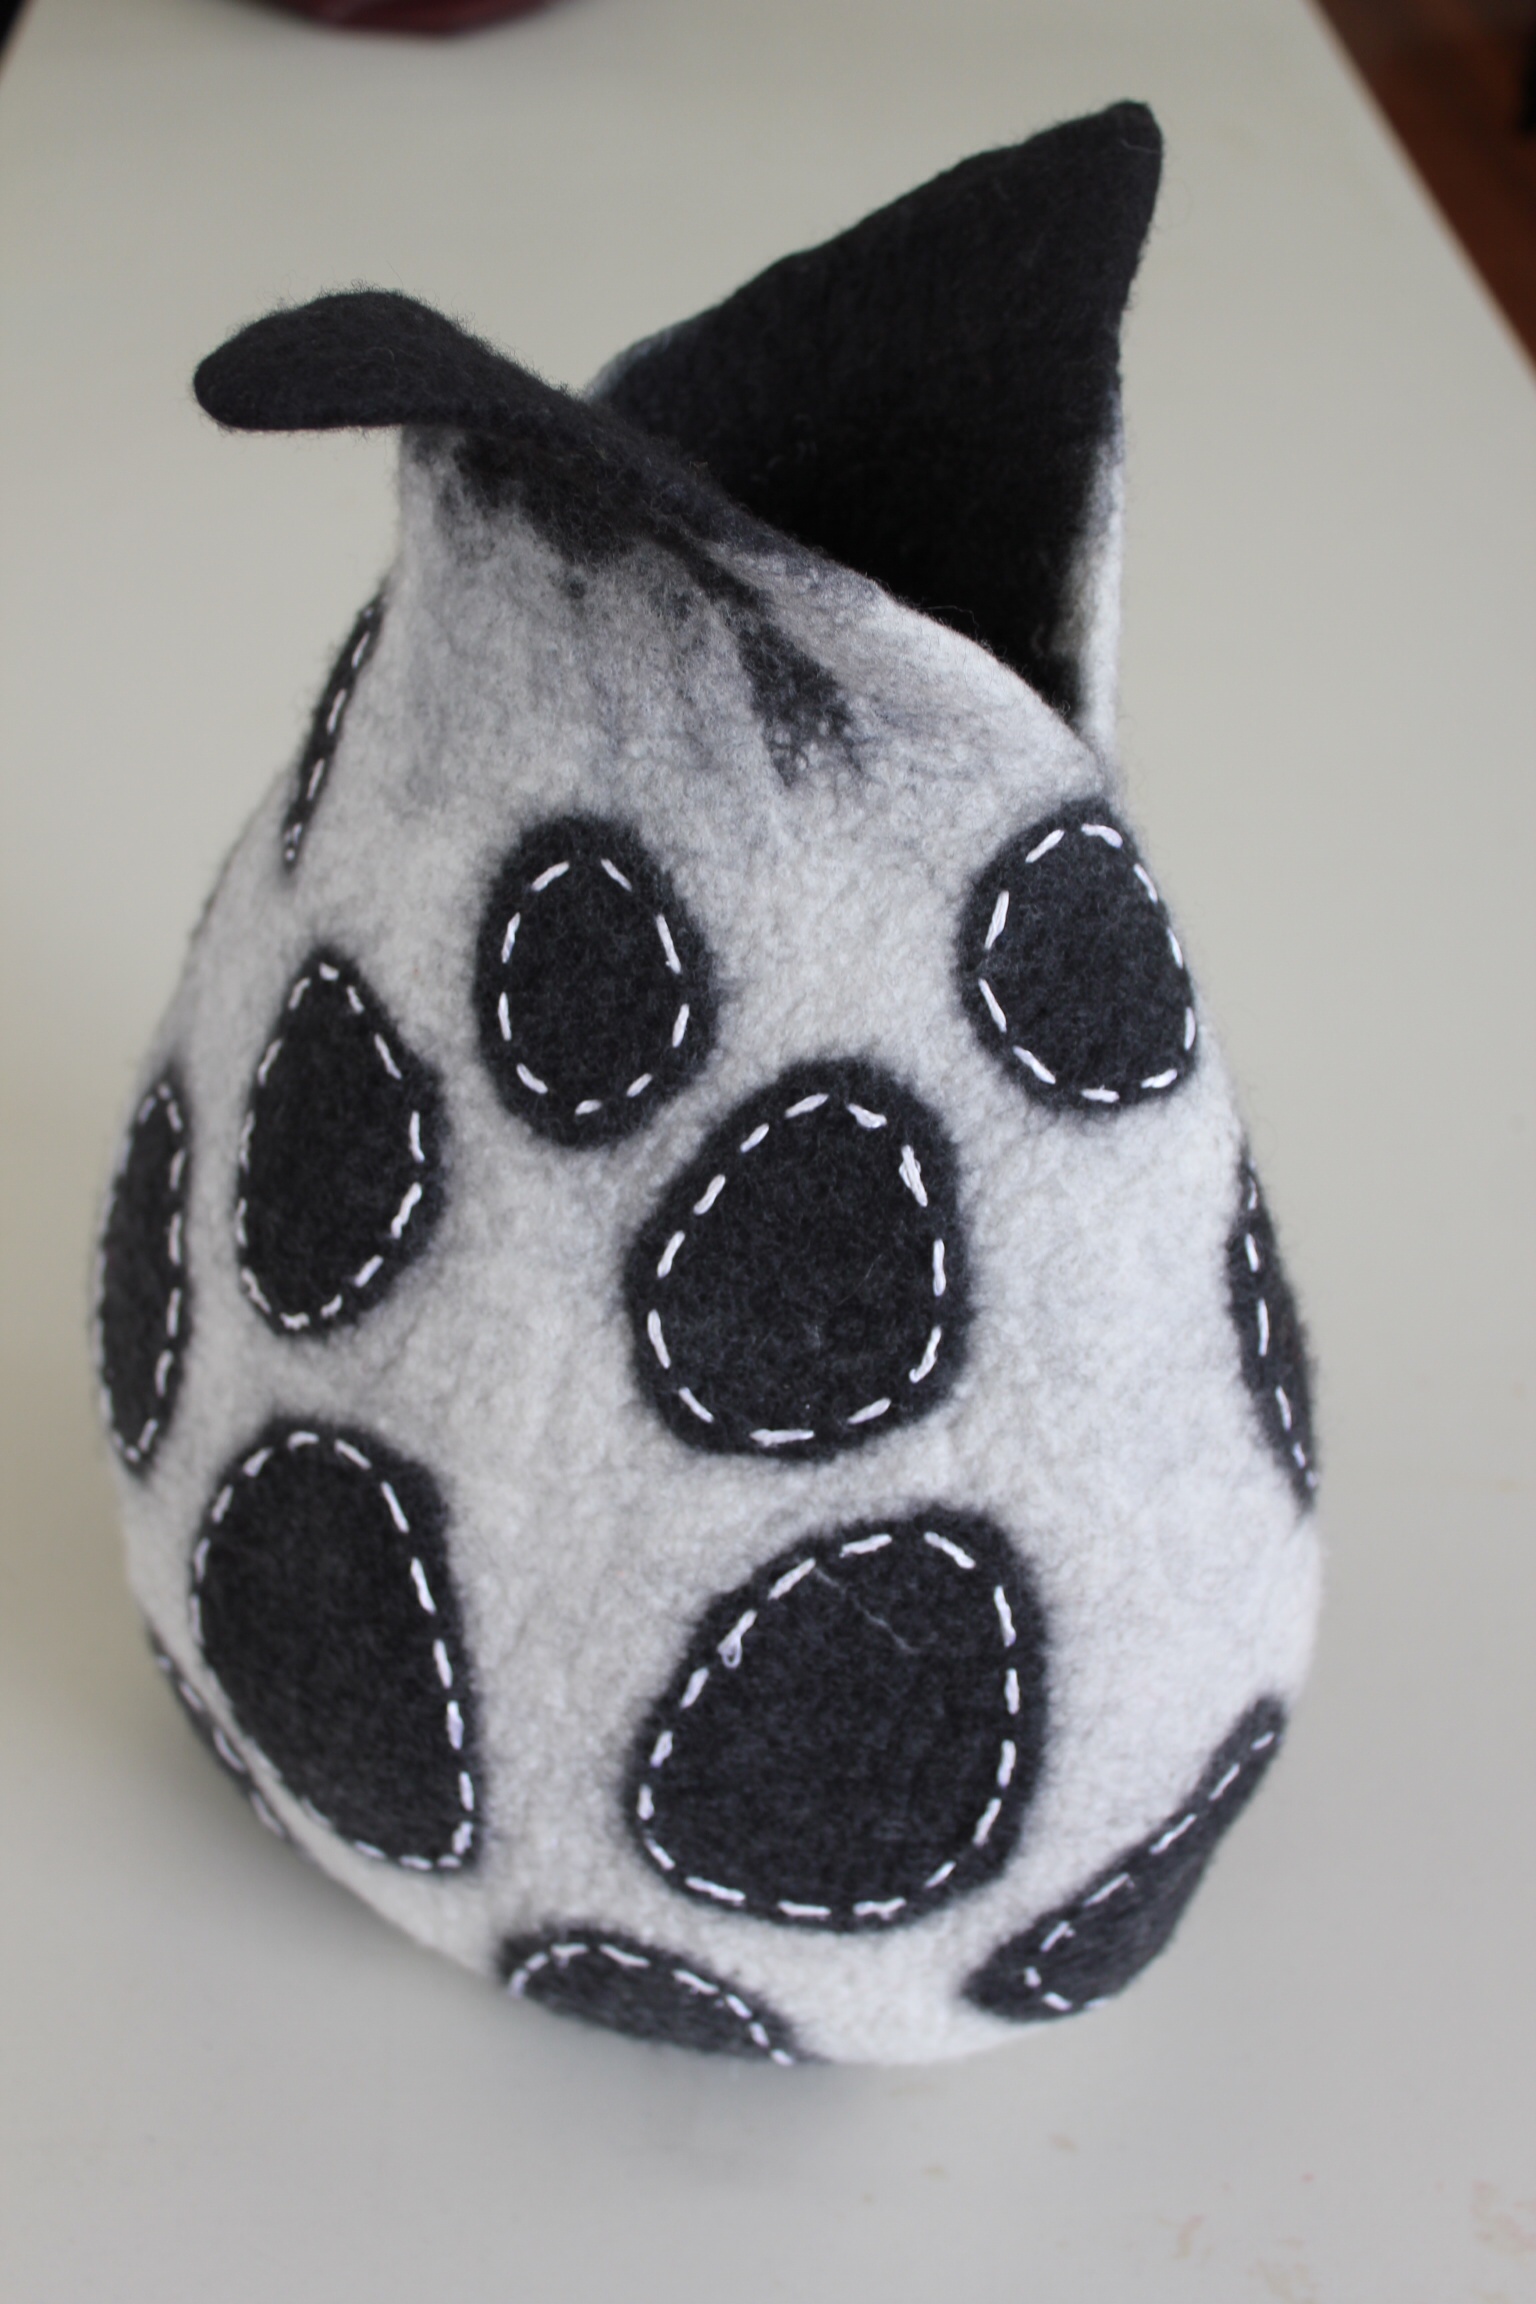
Do all the elements in your design sing in harmony? This can be tricky, but the more you think about it and practice it, the easier it will get. An obvious example of an unbalanced piece would be if one section were very detailed and the rest looked like it hadn’t been spared much thought. It’s about keeping things relatively proportionate. For wearables especially, it is important that one side or half not be visually heavier than the other – not symmetrical, but balanced. Standing back and viewing always helps. (As you would have gathered, I do it a lot.) And it’s best to make any changes before you begin wetting things down. Wet wool doesn’t like to be moved.

I will take a teeny, weeny bit of space here to make a case for post-felting embellishment. Not every piece will cry out for a needle and thread, I know, but there are times where just a little bit of decorative stitching or beading or whatever, will lift a piece straight out of the ordinary.

And finally,

Construct a piece according to its purpose

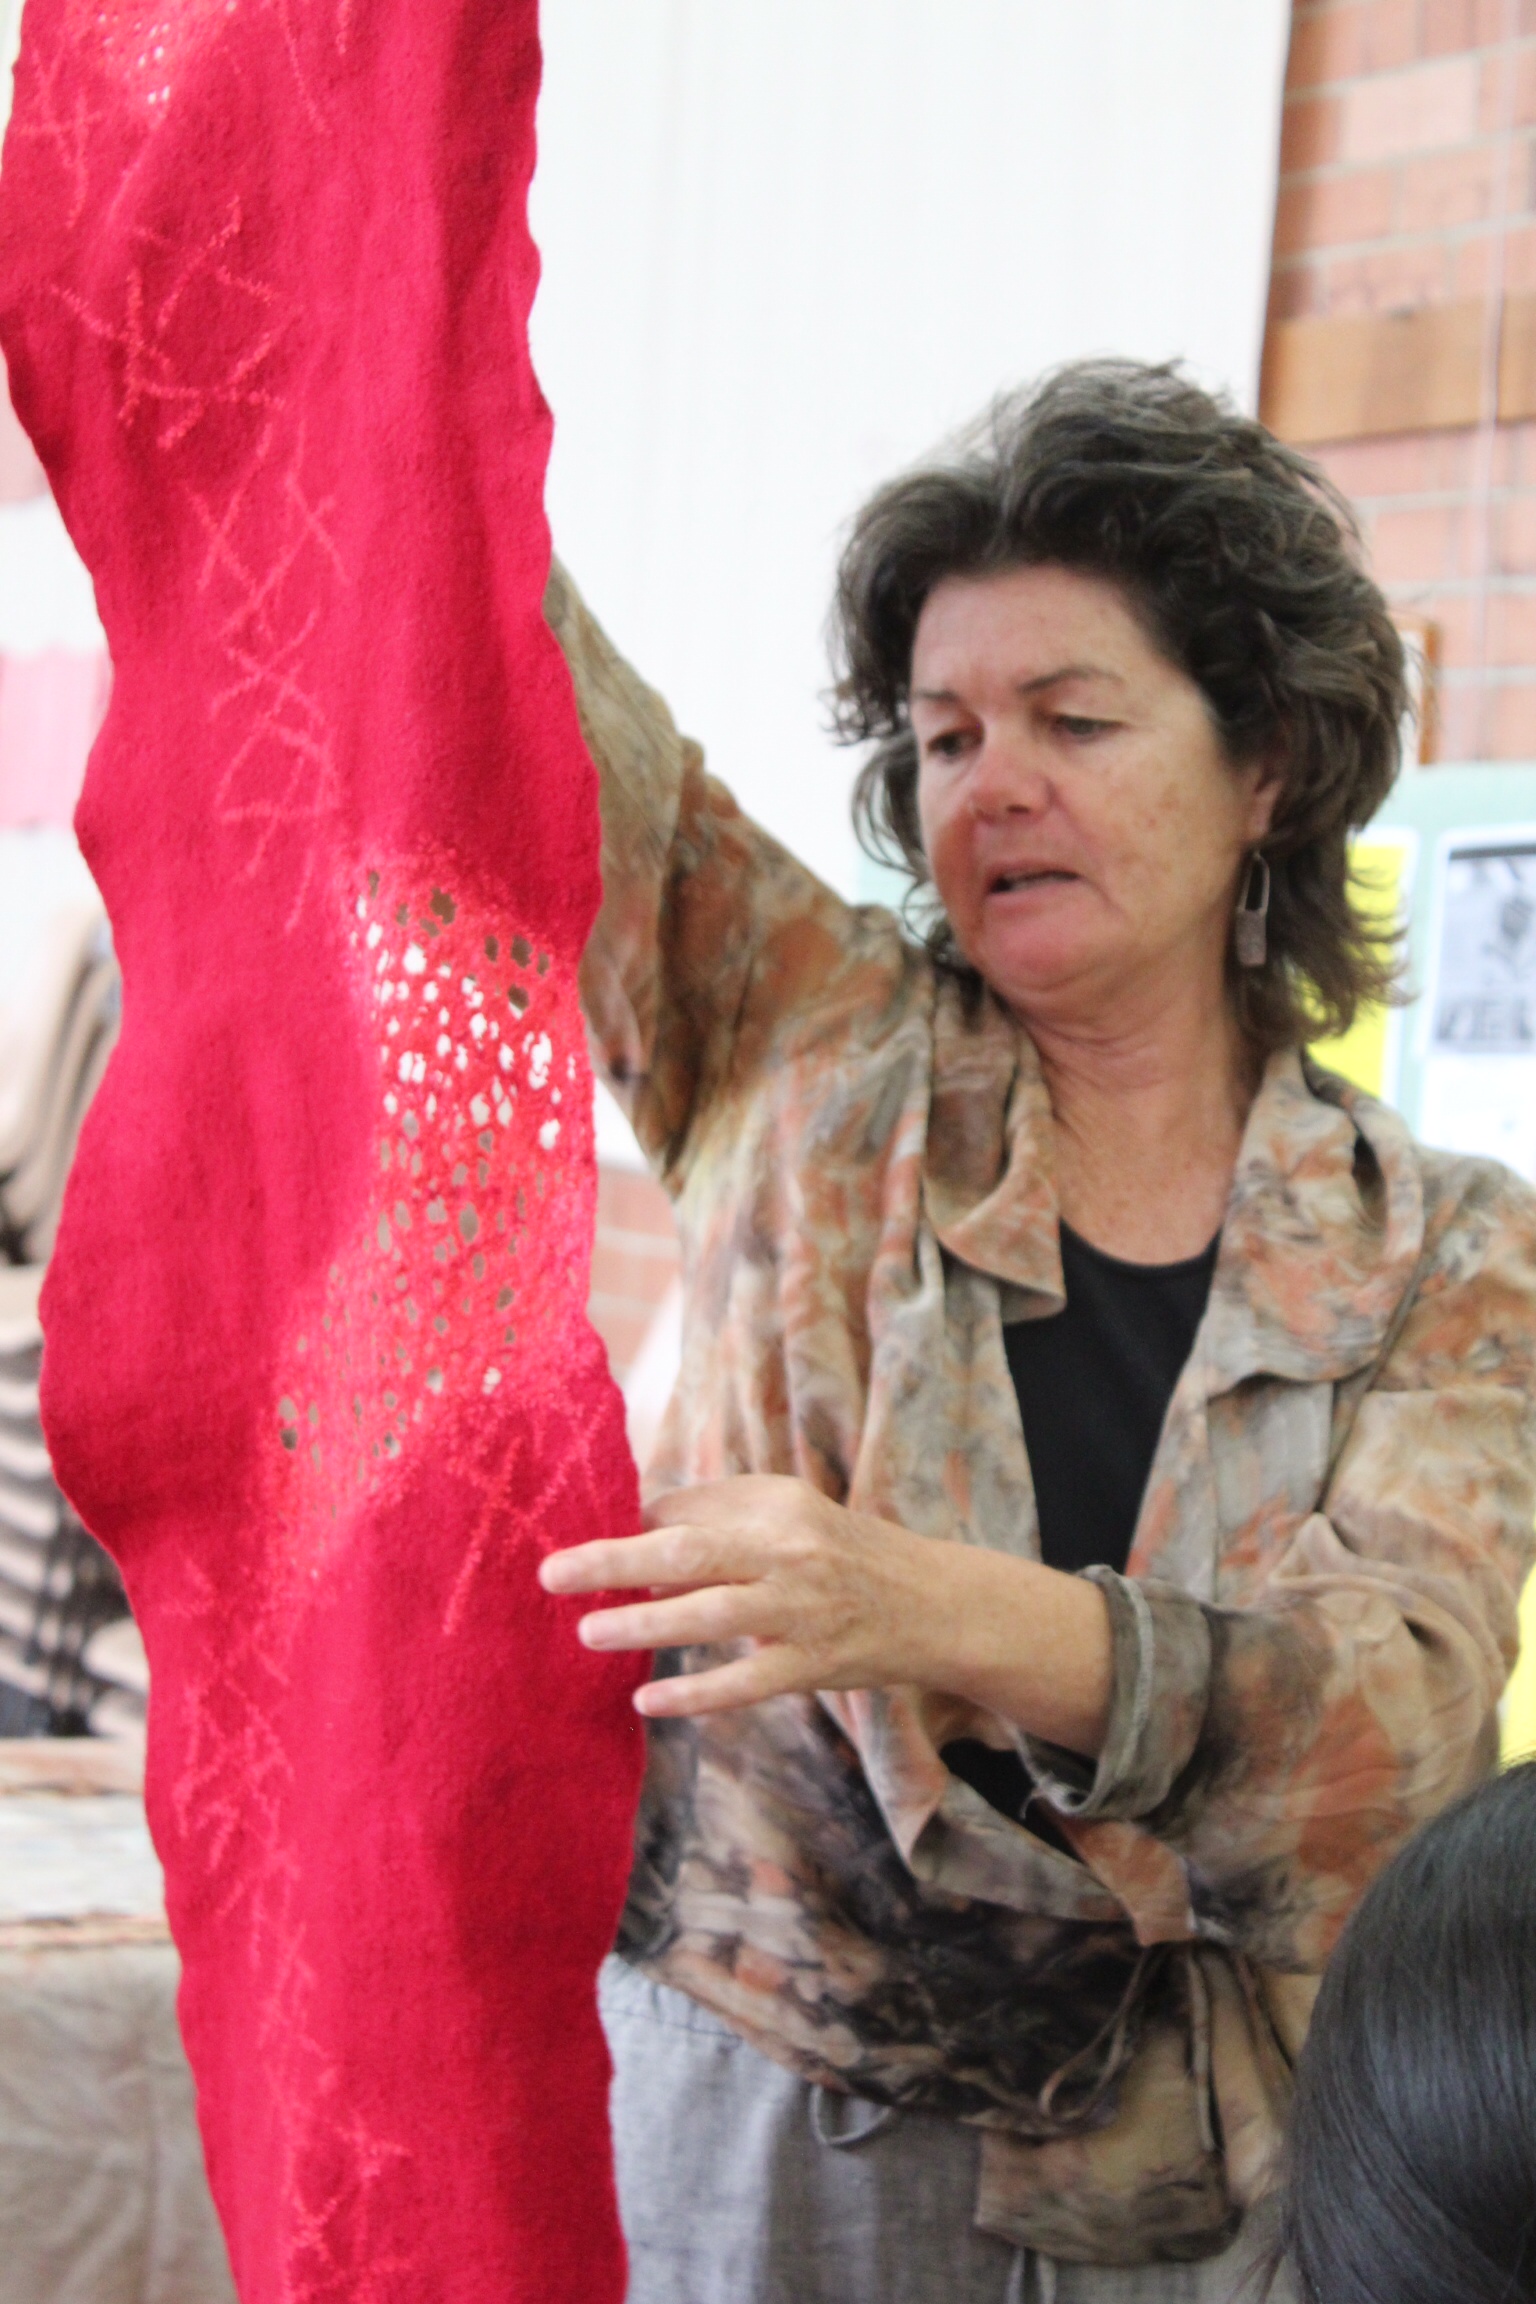
This includes basic considerations such as how many layers you would need, what kind of wool you should use and the direction of laying. Which will lead you to secondary issues, like shrinkage calculation. Should you use a batt or lay down wool tops. Do you need to consider reinforcing certain areas like the soles of slippers? It’s essential to think the whole process through before you begin. For example, to create a bowl with a very firm 3-D feel, it might be best to felt around a spherical resist. With handbags for example, internal pockets, external pockets, etc are all elements that require planning at the construction stage, as you lay down the wool and resists for each. I also think there’s nothing wrong with sewing a piece together after felting it, instead of a single piece construction, if the piece would be better for it. Take the time to think it all through before you begin.

In closing, there’s one more thing I’d like to add. Don’t be afraid to change any aspect of the felting process if you think it would yield better or unexpected results. And just because something hasn’t been tried before doesn’t mean it won’t work. Remember, all the wonderfully quirky, one-of-a-kind felted objects you’ve ever seen have come about because someone tried out something new, and changed the usual felting trajectory to accommodate a new creation.

So go forth and felt. And know that you’re making the world a better place, one beautiful piece of felt at a time.

Alison Gomes