Needle Felting Workshop

I had the pleasure of teaching/working with 12 lovely ladies today.

We looked at different types & gauges of felting needles available & their uses, along with other tools such as multi needle holders, both mine & the students, including a home-made champagne cork version!

We first tried our needles out on making a simple needled doll/fairy/angel/mermaid.

In the course of the day, once sufficiently fuelled by Tim Tam’s many projects were worked on including successful repairs to Kelly’s beautiful textural rug (Used as backdrop in the photos), Kerry Berttucci added needled details to her previously wet felted dog to bring his little face to life. Some made tiny tightly needled creatures, others inspired by Bonte’s charming  Danish troll made a larger more soft/ loosely  felted creature. Several also experimented with adding needled detail to previously flat wet felted pieces. Between us we used a variety of different sheep wools, alpaca & llama.

Thankyou ladies, I hope you all continue to experiment with needle felting, I feel I have learnt something valuable of each of you.

Sue Espie

Workshop review Fun and Functional Bags


026  024 010

It was a cold, wet weekend, perfect for spending indoors with good company, coffee, cake and felting. The workshop focused on forming a strong 3 dimensional bag by laying different thicknesses of wool over a round or oval resist. We laid the outside surface of the bag down first, in what Sarah has christened the –‘inside out bag technique’. We estimated the surface area of our resist and weighed the wool to make sure we used the same amount on each side and to get the right thickness of felt. We kept warm by rolling, tossing, stretching, massaging, and pummeling our felt to get a strong bag that holds it’s shape well. On the second day we finished felting, blocked the bag by stretching and stuffing it, putting in folds and creases to form a strong shape, and learning how to finish off the handles and clasp. Vianne came along to help Sue with the workshop and to help participants who were less experienced or needed help to keep up. Here are some of the comments from participants:

“Wonderful workshop, heaps of ideas, learnt much .Thank you for the workshop and explaining all of the steps very clearly.”
“Sue was absolutely fantastic and very helpful. Vianne was a wonderful assistant too. I learned a lot of new things about working with a resist, felting techniques, shaping the bag etc. We are all very happy with the workshop and with our creations.”
“Thank you for the very clear instruction on a wide variety of bag styles, the notes and templates.”
Thank you Sue for your generosity with time, materials and cake! Fantastic workshop with lots of detail in the teaching of complex techniques.”
“I have learned so much in this workshop.” “Fantastic workshop, learned so many new techniques to add to my box of tricks.”
“Fabulous workshop, well paced, great teacher, great cake. Lots of work to make a bag, I learned sooooo much….”
“Learned some great little tips and tricks as well as a unique bag making method. A generous and patient tutor.”

Retreat 2015 by Vianne Sleypen

This year the retreat was as usual a big success, although we missed out on some “dye hards”. It was a small group but nevertheless the creativity was full on.  Mary Ann started a wall hanging, hopefully for the exhibition next  year, she used several techniques on small pieces which she will bring together in a wall hanging.

Nancy did some homework to prepare for her upcoming workshops by making a blue tunic top in one piece. Gudrun also made a tunic top in warmer shades.  The Barkla sisters went wild in making garments and dresses.  New member Kelly loves her Alpacas so much that she brought bags of their hair to felt into a carpet .

A favourite item ( introduced by Karen ) was the ” toilet seat cover “, otherwise known as a collar style scarf. The pattern was copied by several participants and I am looking forward to the results @ the next Toss & Tell .   We had our Queen of making Rugs Liz Odd, who made a beautiful new one and showed us her first felted rug. I must say; she improved herself over the years.

‘Pom Pom Betty’, otherwise known as Beth, was busy making very unique scarves. Recycling older felt pieces and making strips of felt with pompoms on the end, stitched and connected with a brooch like feature.  As promised, Judith got her spoons out and played together with a house number. She nailed it again.

Katrina was so kind to explain her Art work which will be exhibited @  the Mundaring Art Centre and gave her secret away how she creates them.  This year the masseuse was great, hope to see her back next year.  A big thanks for Christiane who put a lot of effort in the organisation for this year, it was another successful retreat.

Hopefully more people will sign up next year and not miss out on all the fun and camaraderie, the more the better.


June Toss n Tell by Judith Shaw

Soosie passed on her well researched information on how to felt to a predetermined size.  Many aspects of how the shrink rate is influenced, covered estimates of  minimum and maximum shrinkage rates with good general advice to “make a sample”  using the same materials which will be used in the final piece.  Satisfactory shrink rates for well finished felt range from a minimum of 1.7 to 2+.

DSC_0090

Toss ‘N Tell began with colourful collars from Virginia Campbell, Karen Woods and Teresa O’Malley. Inspiration from Karen’s creations came at the recent Retreat weekend.  Swirls of silk flowers merged with wool to magic effect. When Virginia needed help to have her collar lay smoothly, she was glad to have the useful hint of making a tuck in the curved edge.

DSC_0119 DSC_0092

Alison Gomes fine layout technique inspired the red scarf from  Fily Geschichten who also showed a  reworked and resized piece in Alpaca. Soosie Jobson showed two of the pieces from her forthcoming book “Structural and Complete 3D” these works involved multiple resists and the use of negative space.  Her workshop is in October.

   DSC_0141 DSC_0139

Vianne Sleypen produced necklets using wool, silk and cotton, each piece unique.   Marie Marshall also made a collar with silk and wool in blue tones and showed her post-retreat pieces of scarves, red toned, lattice style in purple and blues and a large wrap from a selection of silks and colours. Marie brought along welcome visitors Lynn and Margie. Patricia Kendall showed a two piece machine knit she had created in silver grey with frontispiece and a cardigan covered in matching lace. Always good to see creative artists work. Gudrun made an amazing tunic in warm reds, fine wool embellishments on silk. The layout size required four trestle tables for this one piece garment. When Gudrun told us she was thinking of cutting off the excess fabric at the bottom, the comment was unanimous, leave this perfect piece as it is.

 DSC_0094 DSC_0103 DSC_0099 DSC_0096 DSC_0097

Alison Gomes showed her amazing long scarf made from many pieces of cut silk, butted together and joined with fine wool. Beautiful colours and effects for special occasion wear.  Both Alison and Mary-Ann Dawson used  time at the Retreat to try the resist technique which creates a geometric design by cutting into the top layer of felt, up to the resist, to expose  part of the contrasting colour in a middle layer. Alison used 12 fine layers of wool. She suggests that the top and bottom layers should be equal in thickness.

 DSC_0112 DSC_0113 DSC_0114

DSC_0111

Vera spoke about teaching craft from stories and visits to inspiring  places such as Underwater World produced work based on contributions from 2 to 3 year olds . Children enjoyed the water play and throwing involved. The1 by 2 metre wool and silk based artwork featured  colourful sea life . Potentially, toddlers work can aid creativity of the teachers. It was noted that the final felting had been stopped to retain the full effect of the silk  features and the backing of fine black silk enhanced the effect.  Next work using felt, perhaps masks.  Sue Harrington showed her hand woven/knitted and dyed textile purchases from her recent trip to Peru. Beautiful colours showed how skillful they are at their craft.


DSC_0117 DSC_0150

In showing her sari silk collar of red and orange roses, Teresa passed on the advice that this type of work requires slow felting. Jill Jodrill made an elegant backpack in a mix of blues, lined and with leather trim.   Mary–Ann Dawson  produced a range  of works, experimenting with a variety of pieces. Pebbles of rock from the ground outside the Retreat venue were trapped under muslin on white felt. ‘Cracked Earth’ earth was the title for the white over a core of blue/brown, using a resist to achieve the cracked earth effect.  Her ‘circle of rocks’ was cut into to expose the underlining lumps of  coloured felt.

DSC_0119 DSC_0121    DSC_0147

DSC_0157  DSC_0153  DSC_0160

DSC_0123 DSC_0124

Toss n Tell March 2015 by Virginia Campbell

Toss n Tell Meeting 21 March 2015 and Demonstration by Sue Eslick

Before the formal part of our meeting commenced we watched a very informative demonstration by Sue Eslick on “How to Make Classy Cords”
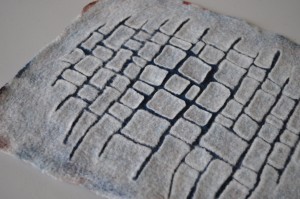
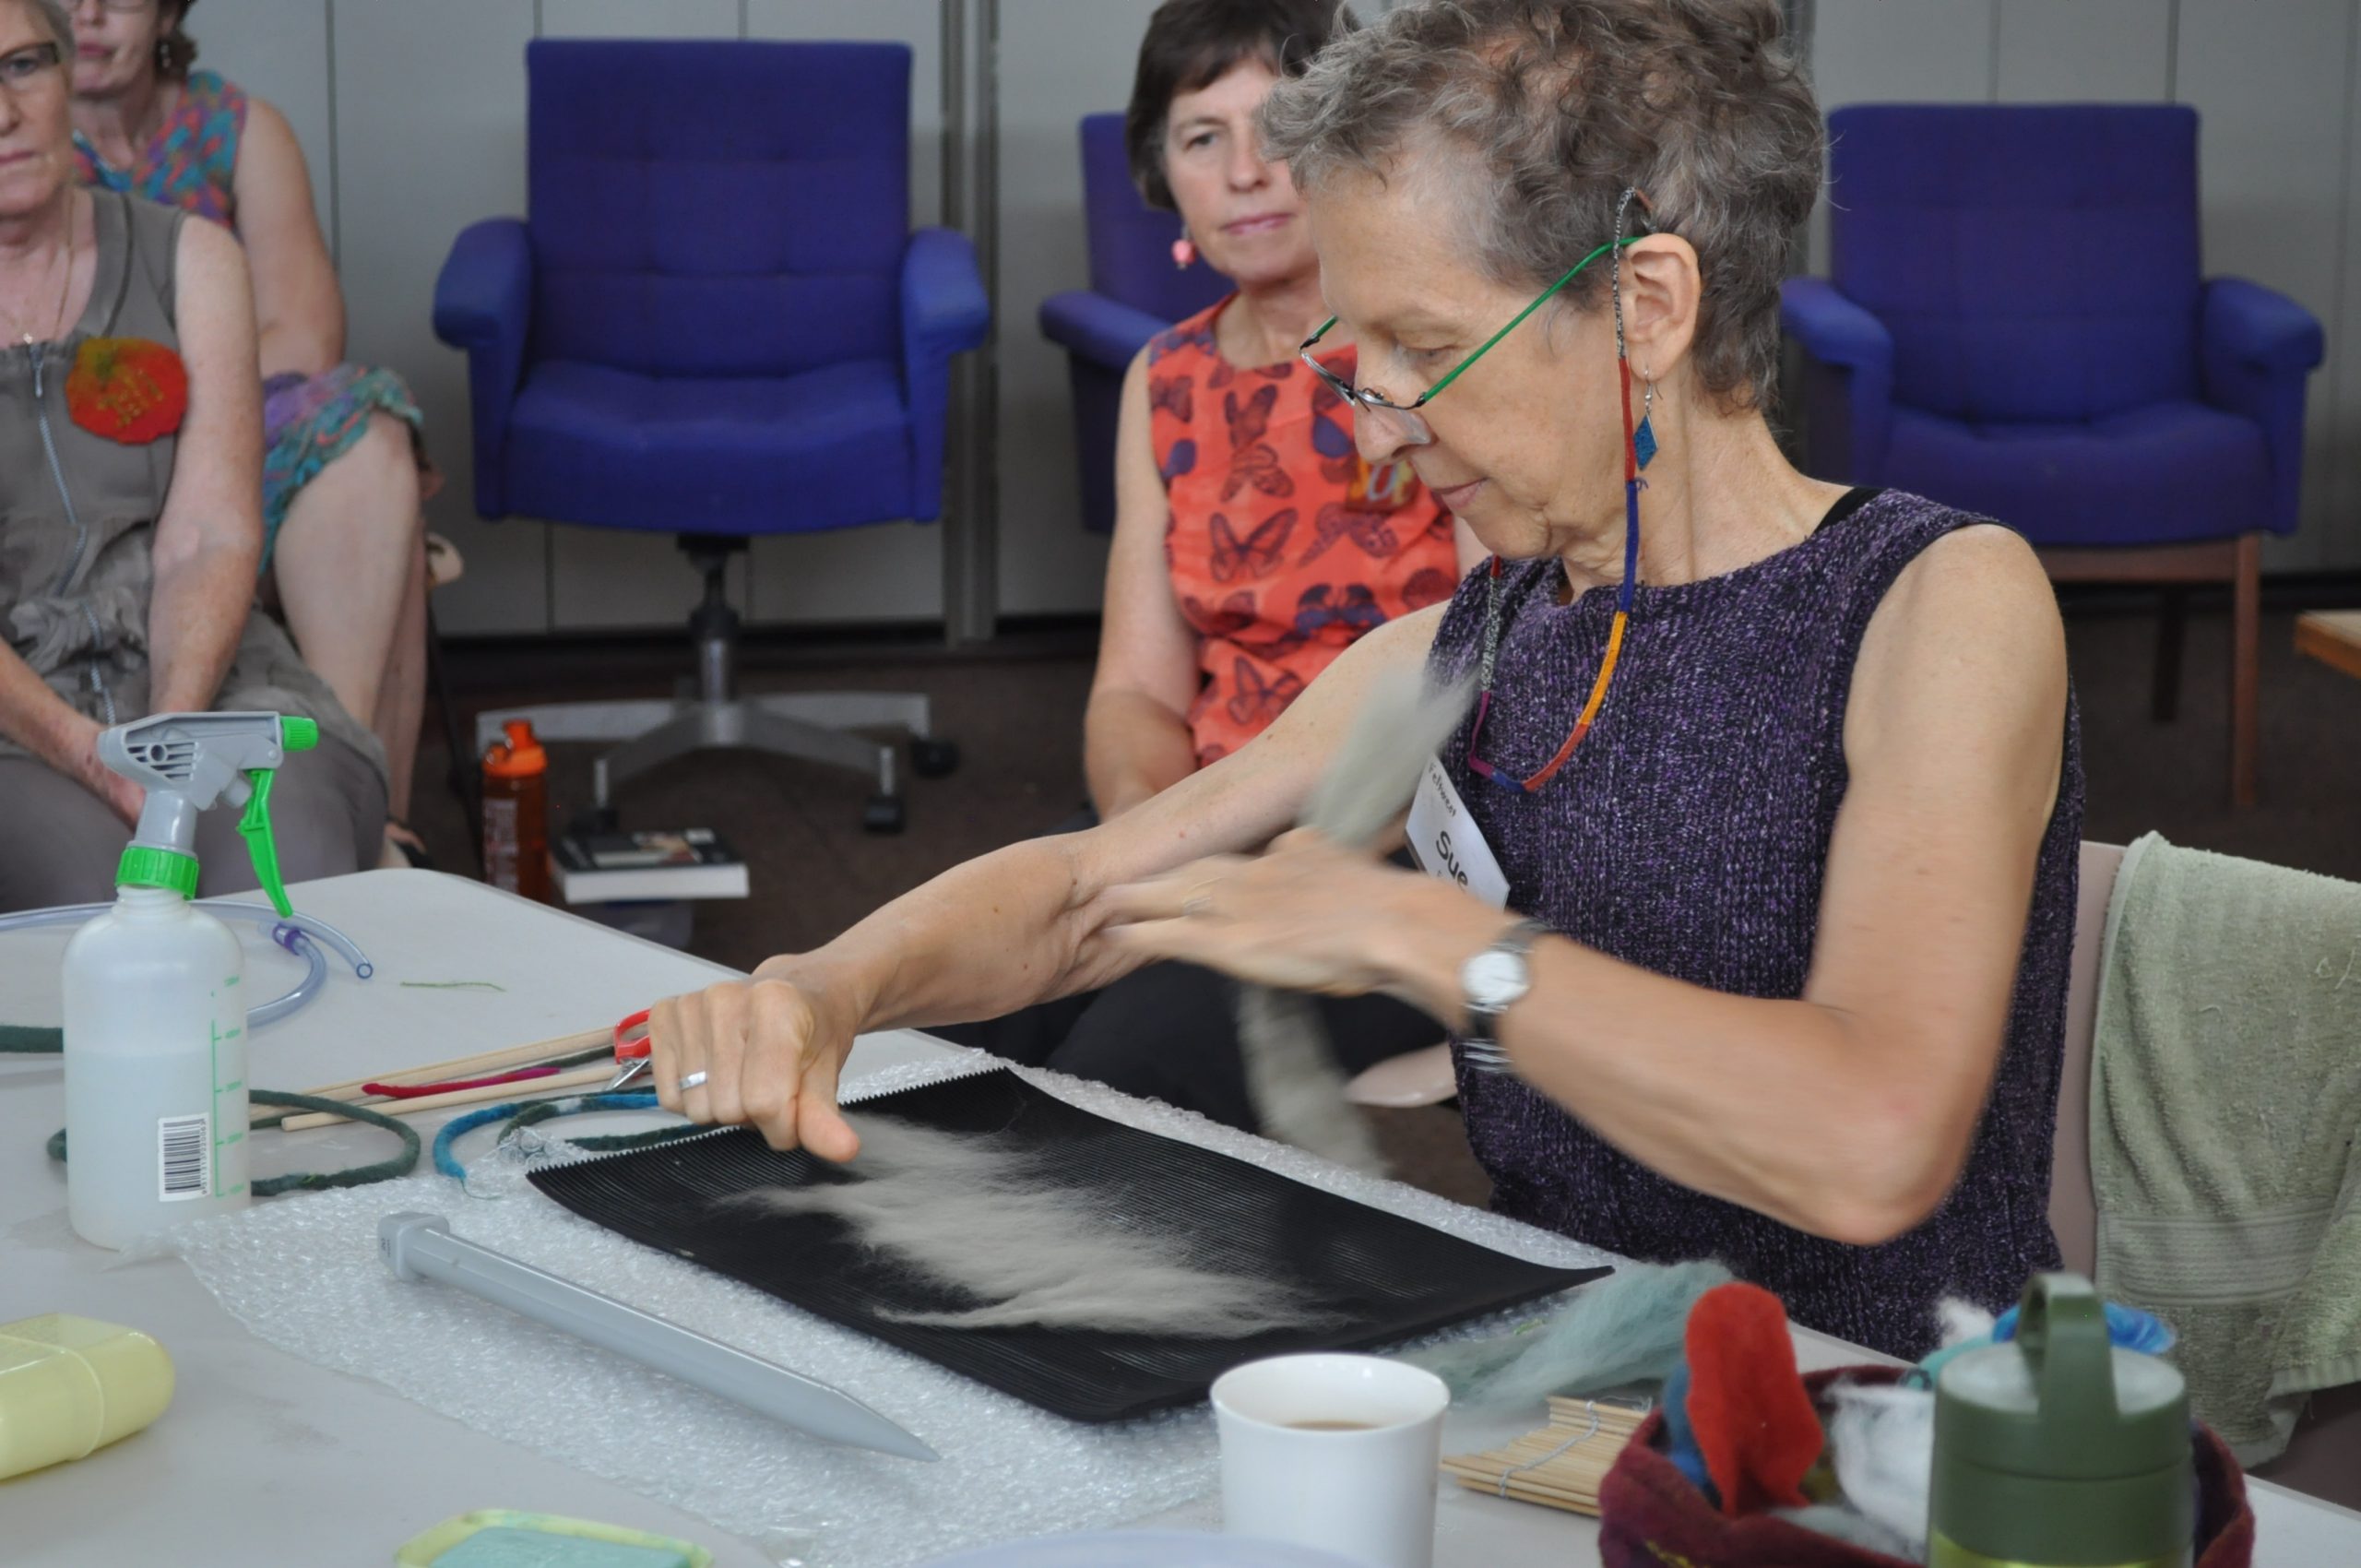
Sue started the demonstration by laying out on bubble wrap 2 layers of wool in crosshatch pattern (ie one layer of wool laid on the diagonal then covered by a second layer of wool laid on the opposite diagonal). She suggested laying a minimum of 2 layers – more layers if you want a thicker cord. She then sprayed it with soapy water (but not too soapy). She laid a very thin length of string the length of the laid out wool, with a little bit of the string protruding on each side of the length of the laid wool . She also placed wooden kebab sticks along the length of the laid out wool. These sticks very slightly overlapped where the sticks joined each other to achieve the length of the laid out wool, and protruded slightly at each end of the laid wool. She then pulled the bubble wrap up to cause the wool to roll over, then gently with her fingers rolled it in one direction (not backwards and forwards – just one direction).

DSC_0682 DSC_0689

She cautioned against making the roll too tight initially as it makes it very difficult to remove the wooden sticks, which you need to do after a short time if you want to make a solid cord. She pulled the kebab sticks out where they were protruding from the ends of the roll and then made a small cut in the roll at the point the kebab sticks were overlapping in the middle and removed the middle stick(s). After removing the sticks she kept rolling.
Sue noted that if you lean on the cord while you are rolling it, it will stretch and become longer and thinner. So at this point you need to think how long and then you want it! After it had become very firm from the rolling, Sue put it in a shushi mat and rolled it more. She said this helps it to become felted more quickly. She recommended also rolling on a ribbed rubber mat purchased from Clark Rubber as this too can help speed up the felting process. She suggested that if you notice it is becoming hairy as you roll it, you need to add more soap and water.
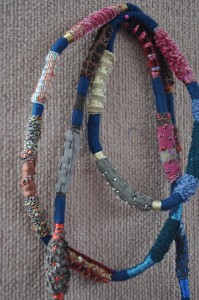
When she wanted to join the 2 ends of the cord together Sue first tied together the 2 ends of the thin string protruding from each end of the cord, covered the tie with a small amount of wool, then rubbed and rolled the join until it felted together. She noted that if you want to make a very long cord it is easier to make the cord in sections and then join those sections together (in the way described above), rather than trying to roll one very long tube all at once.

DSC_0693  DSC_0698

DSC_0695 DSC_0699 DSC_0713
While kebab sticks can be suitable to assist in making thinner cords, different thicknesses of cord can be achieved by using other objects to roll the cord around initially. It depends on how thick you want the cord to be: knitting needles, foam tubes from Bunnings, hollow tubing from Clark Rubber can all be useful! Different effects can be achieved by commencing laying wool and rolling it around a wide tube and then transferring the cord to a narrower tube. Or you can continue to roll the cord on the wide tube, then remove the tube. The hollow cord can then be cut up to make hollow beads. You can create a cord with a concertina texture by commencing to lay the cord around a thick knitting needle, rolling it, then transferring the wool tube to cover a narrower foam tube and in the process, pushing the wool tube together and letting it dry scrunched up on the narrower tube. Sue showed us a number of different effects which can be achieved in using these different resists. The concertina texture cord idea, for example, makes a very interesting necklace.
We were very delighted to learn these special techniques and tricks which will help us when wanting to create a good looking, well felted cord. Many thanks to Sue for sharing her skills and experiences in this interesting demonstration.

President Sue Harrington opened the meeting with several announcements of exciting forthcoming FeltWest events including the fact that bookings were open to register for our annual Retreat at Muresk 28 May – 31 May 2015. Members were advised that they need to first log onto our website to enable them to get through to the relevant section of the website to register. The early bird price for the full retreat is $340 and includes all lunches, dinners and 2 trestle tables, as well as lots of felting fun and camaraderie.
Sue expressed our grateful thanks to Jennifer Blair and Liz Odd for their generous and continuing work over many years in creating the raffle prize awarded at each Toss n Tell meeting to a lucky winner. She advised that in future there will be 2 raffles drawn in a year – at the AGM in August and at the Christmas lunch in November. You still need to take a raffle ticket when you pay $2 at the beginning of a Toss n Tell meeting but be sure to legibly write your name on the ticket stubb and keep your ticket because these are the tickets from which the super raffles will be drawn at the August and November meetings.

DSC_0715 DSC_0717
Sue also again invited all members interested in teaching beginners’ workshops to apply to do so by sending a short summary of their teaching and felting experience to our workshop co ordinator, Sue Eslick.
FeltWest again has a stall at the Craft and Quilt Fair held at the Perth Convention Centre 20 – 24 May 2015. Mary Ann Dawson, Chris Gray and Alison Gomes are co ordinating the stall. A roster for members to work on the stall on morning or afternoon shifts has been drawn up but there are still a number of spare places which need to be filled and we are looking for more volunteers to add to the roster. Please contact Chris, Mary Ann, or Alison if you are able to help. Working on a morning or afternoon shift on the stall entitles the volunteer to free entry to the Fair for the day!
Sue expressed our great appreciation to Antoinette Boyd for her continuing inspiration, hard work, and dedication of time in the creation of our much enjoyed, wonderful magazine, Retrospective.

DSC_0705
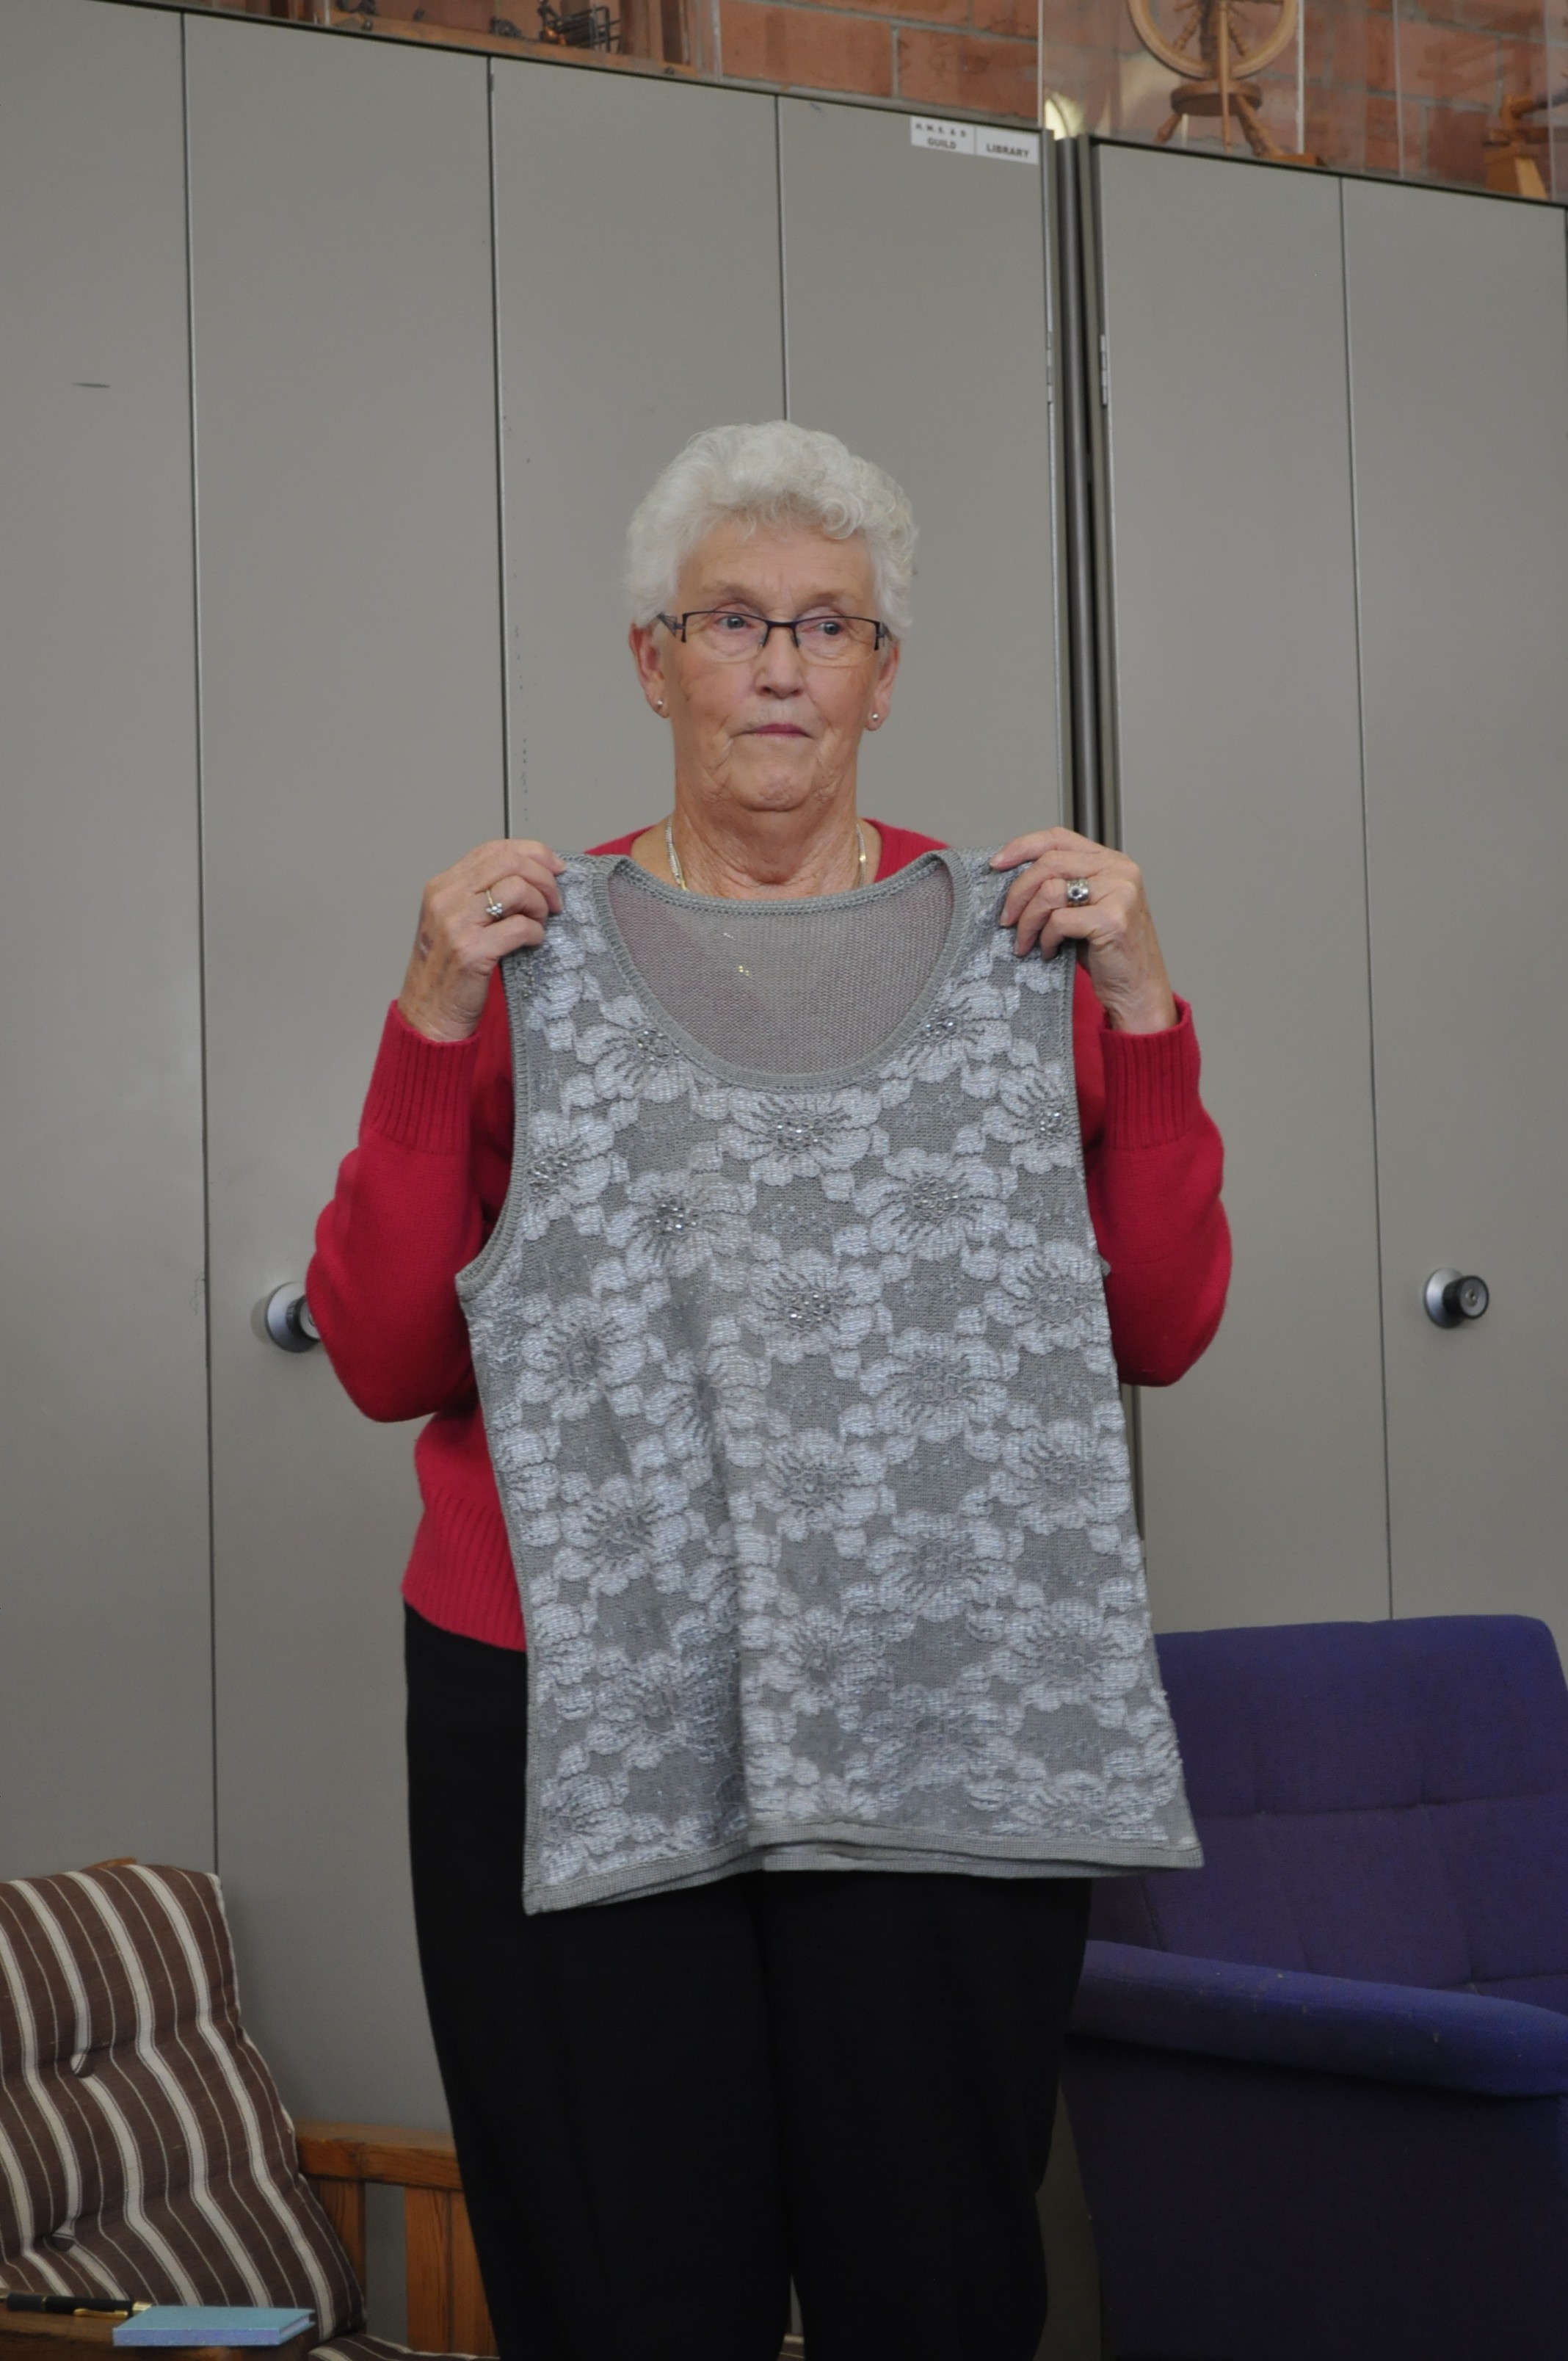
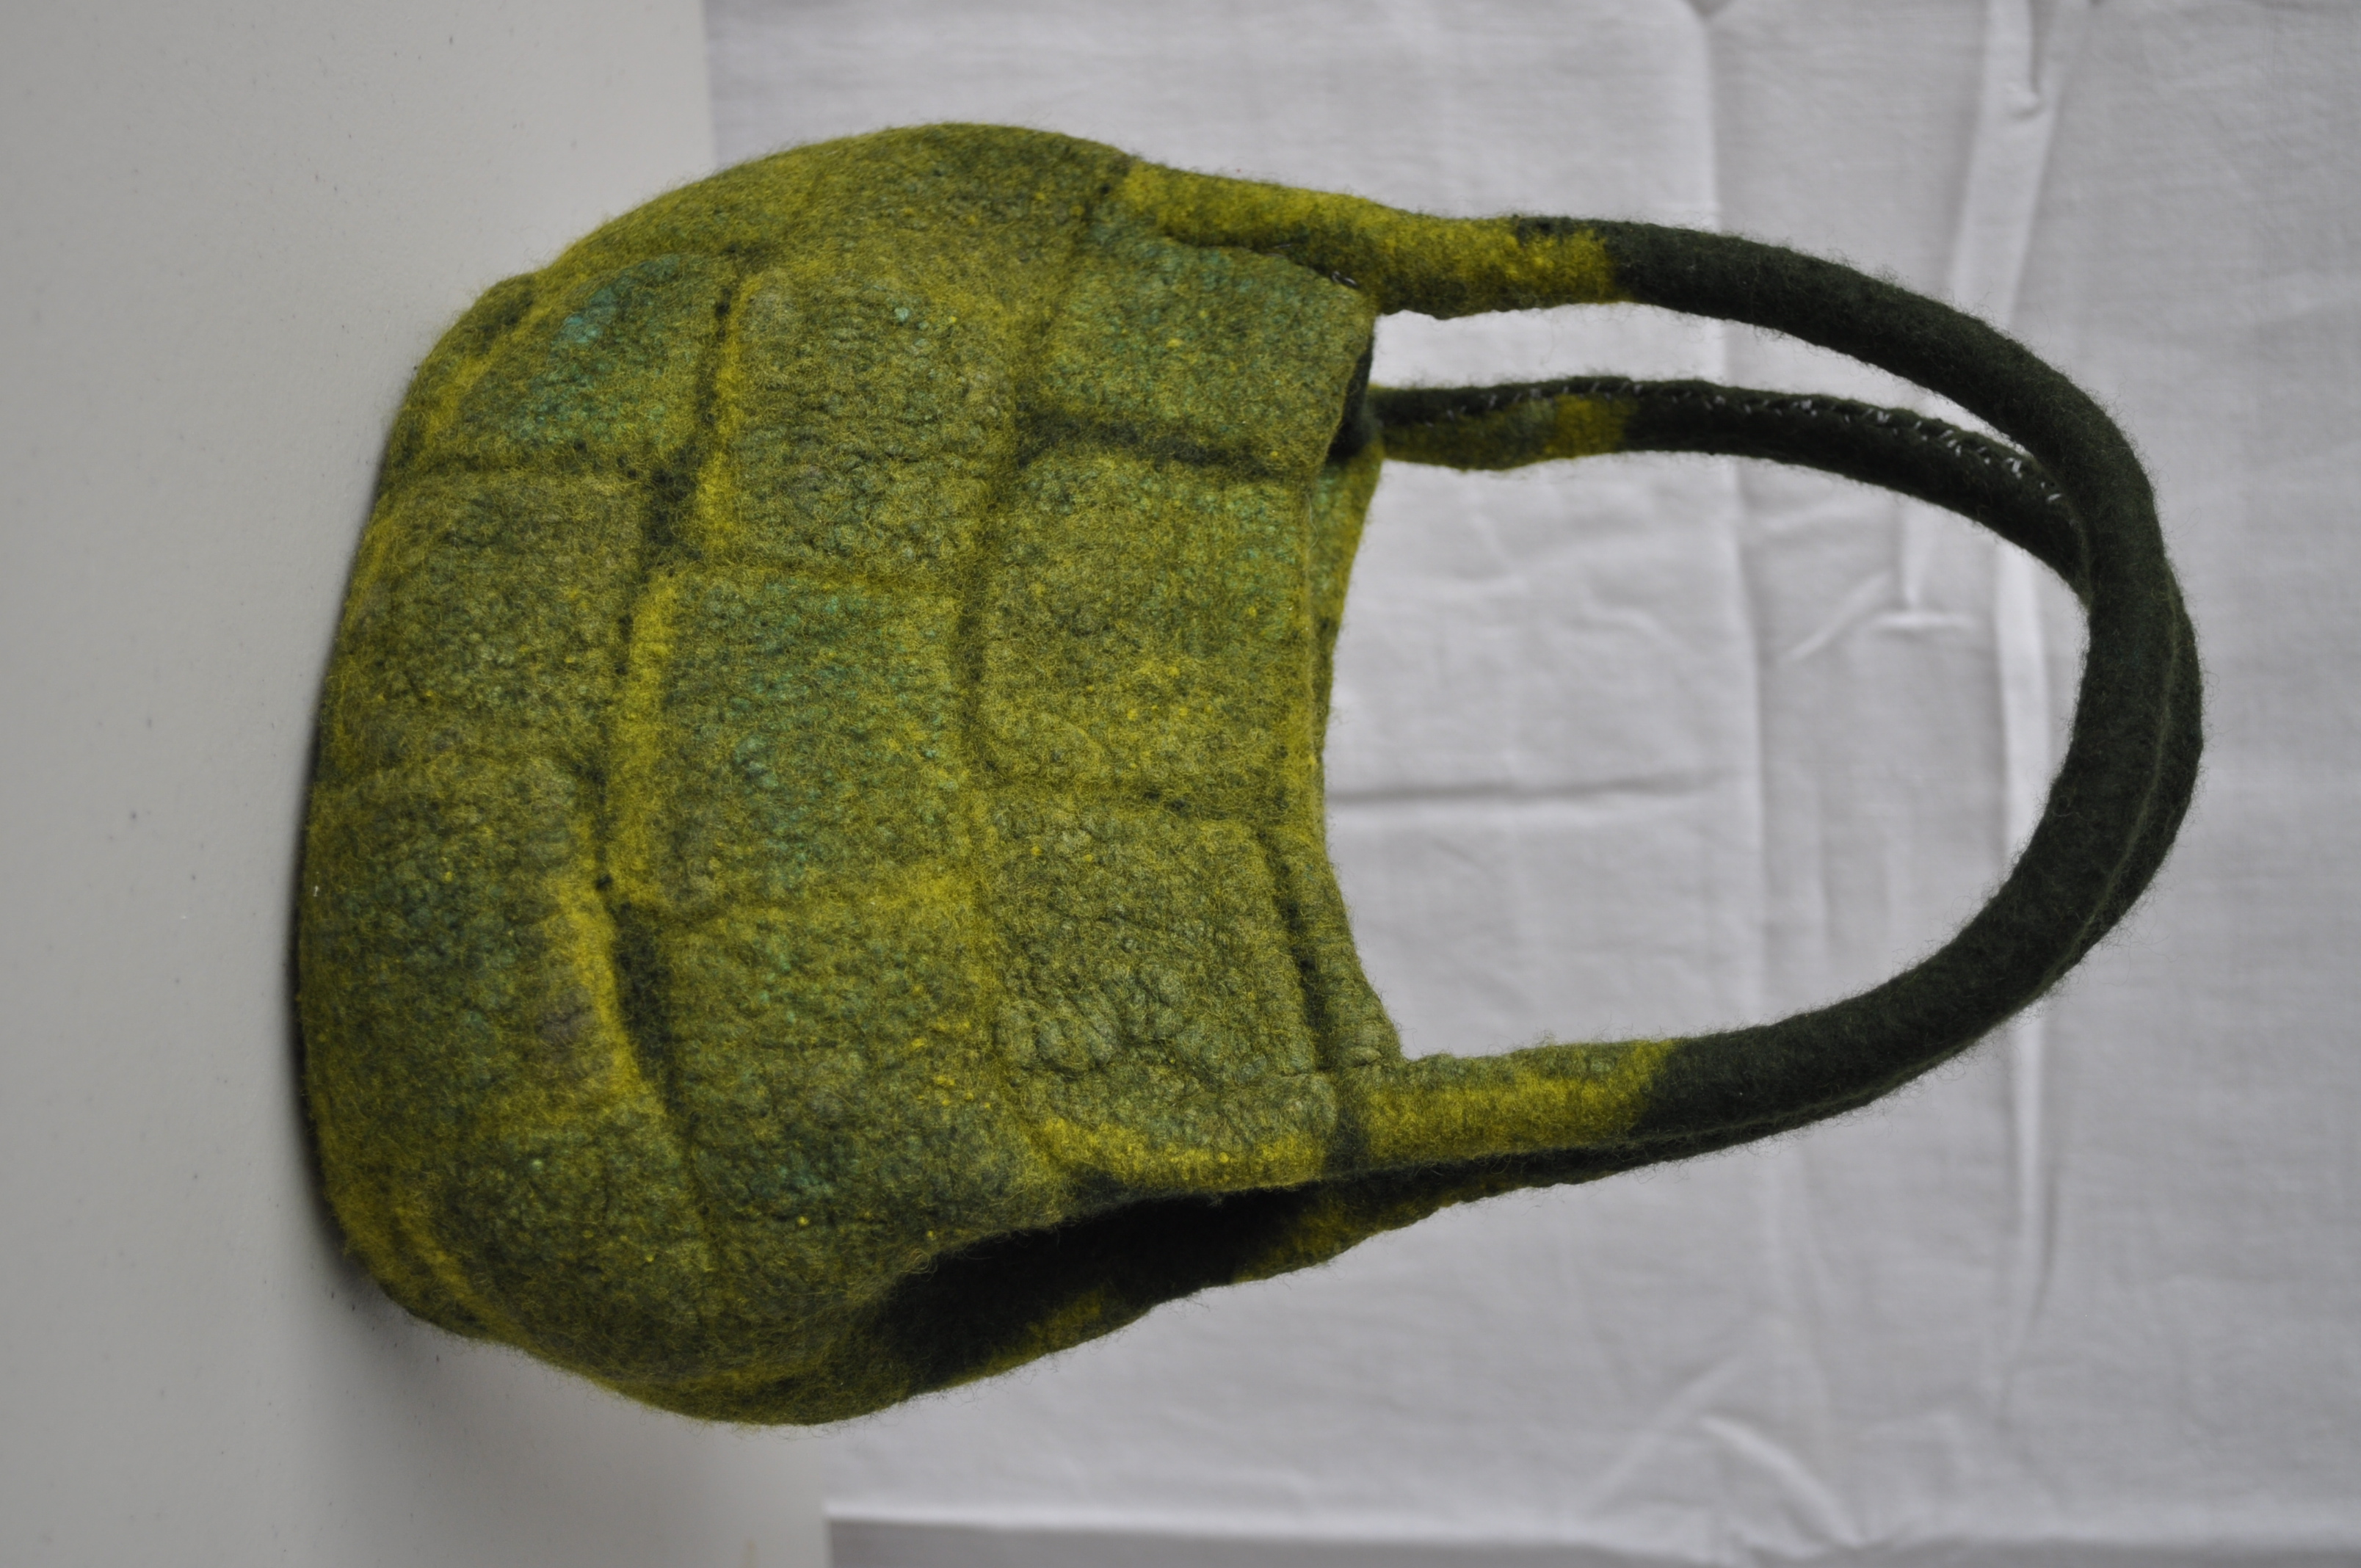
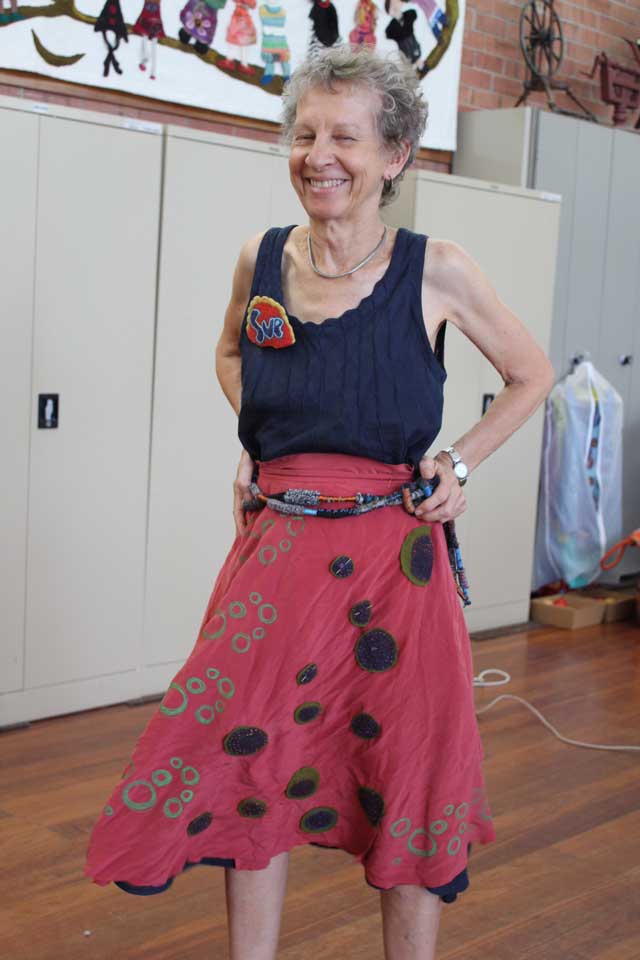
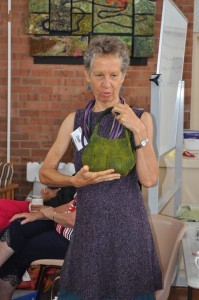
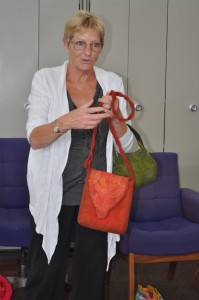
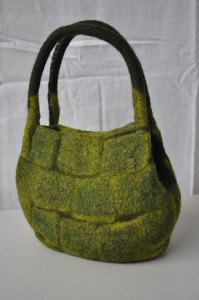
Sue Eslick spoke about the forthcoming felted bag workshop which she will be teaching over 1 ½ days on Saturday 4th and the morning of Sunday 5th July 2015 at Craft House. The cost will be $75. She brought along to the meeting a gorgeous moss green (in texture and colour) felted bag to show us an example of what participants will be able to make at the workshop.
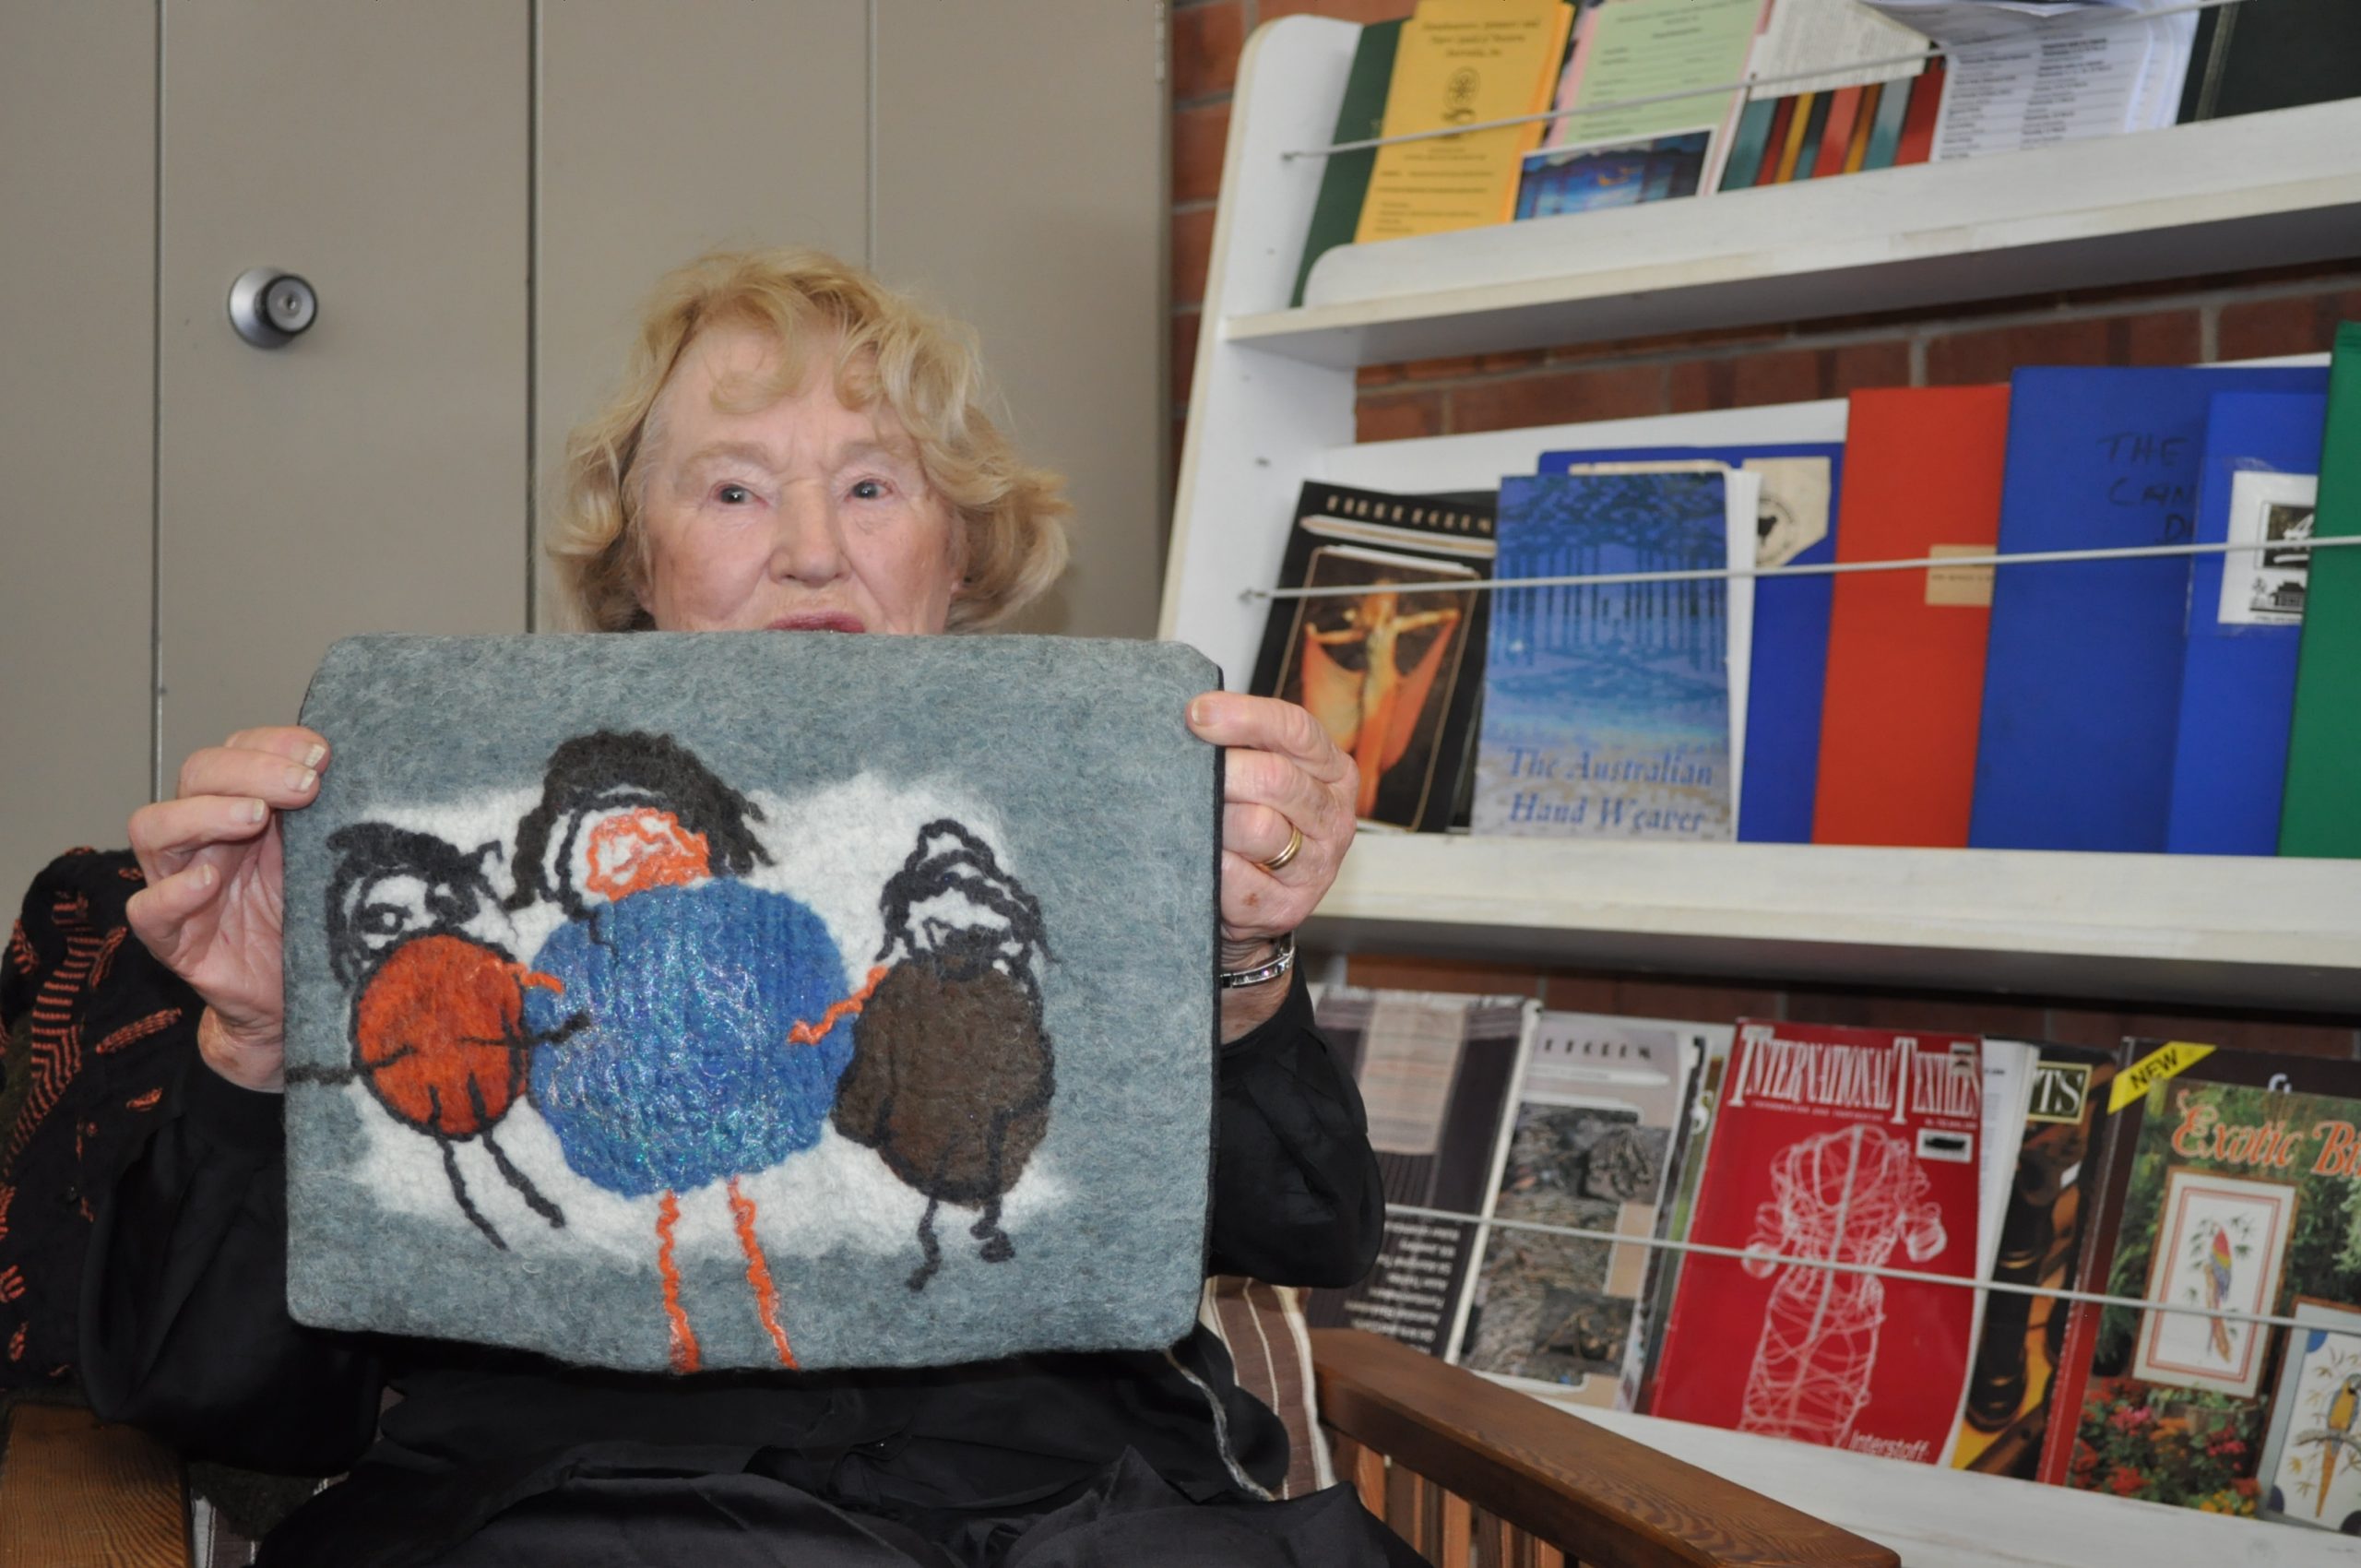
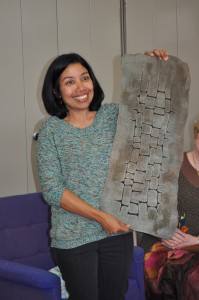
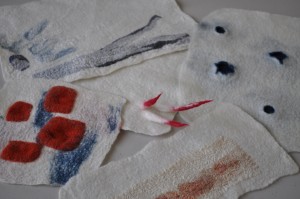
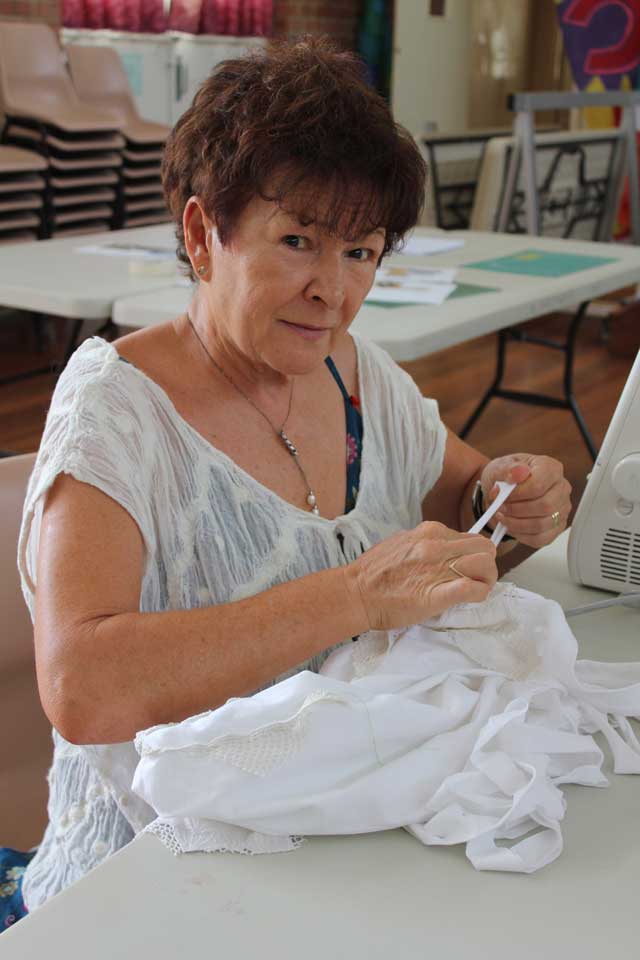
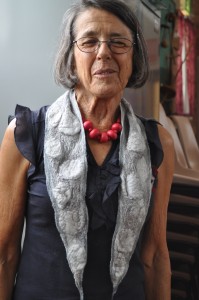
Christiane Gray opened our Library this morning and brought along three beautifully decorated felted necklaces she had made. Unfortunately she had to leave to go to work before the Toss n Tell part of the meeting commenced but we did manage to get some photos of them before she left.
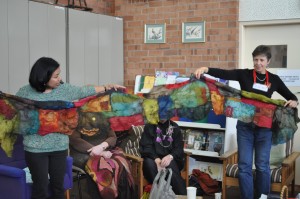
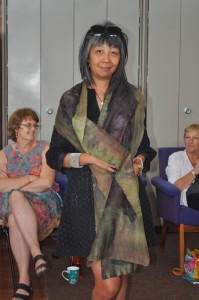
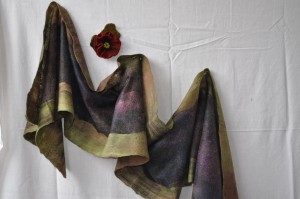
Ai Lin showed us a beautiful red felted flower she had made for Remembrance Day and a very fine wool and silk brown and purple wrap. She said she had pulled the silk lap so finely in the course of laying the piece that she had lost the texture of the silk lap but the silk sheen was still very evident and the wrap draped beautifully.

DSC_0730
Liz Odd had also made a finely felted, beautifully draping wrap, laying a fine layer of grey wool on an attractive animal print silk fabric length.
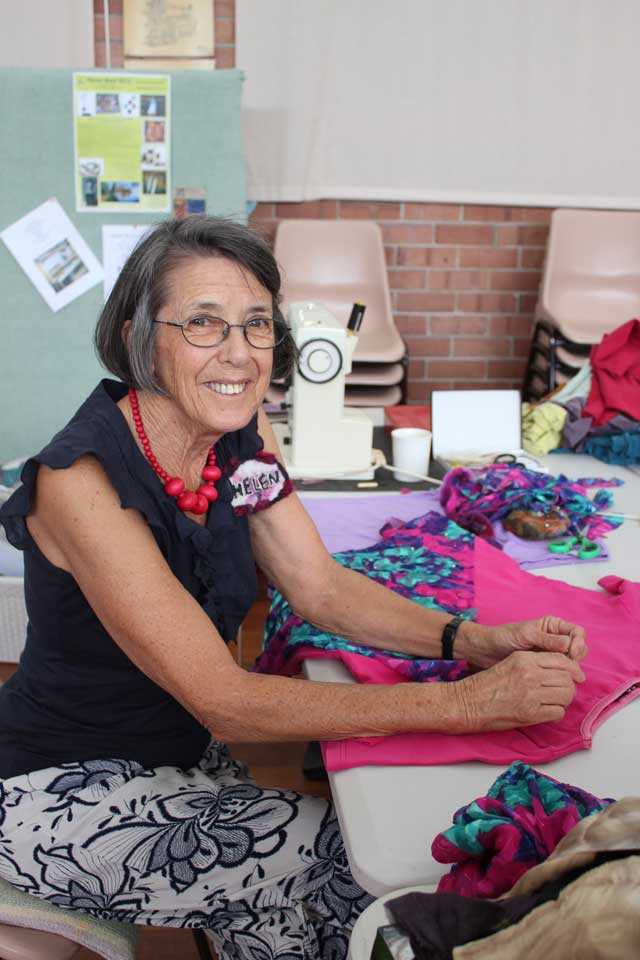
Helen Climas discussed her initial difficulty when making her crescent shaped thin grey and white nuno felted scarf. She had used a waterproof pen to mark out the crescent shape but found after laying out the piece that the colour of the pen’s ink had transferred onto the fabric. This she resolved by pushing the ink to the edges of the piece, with a very pleasing final result.
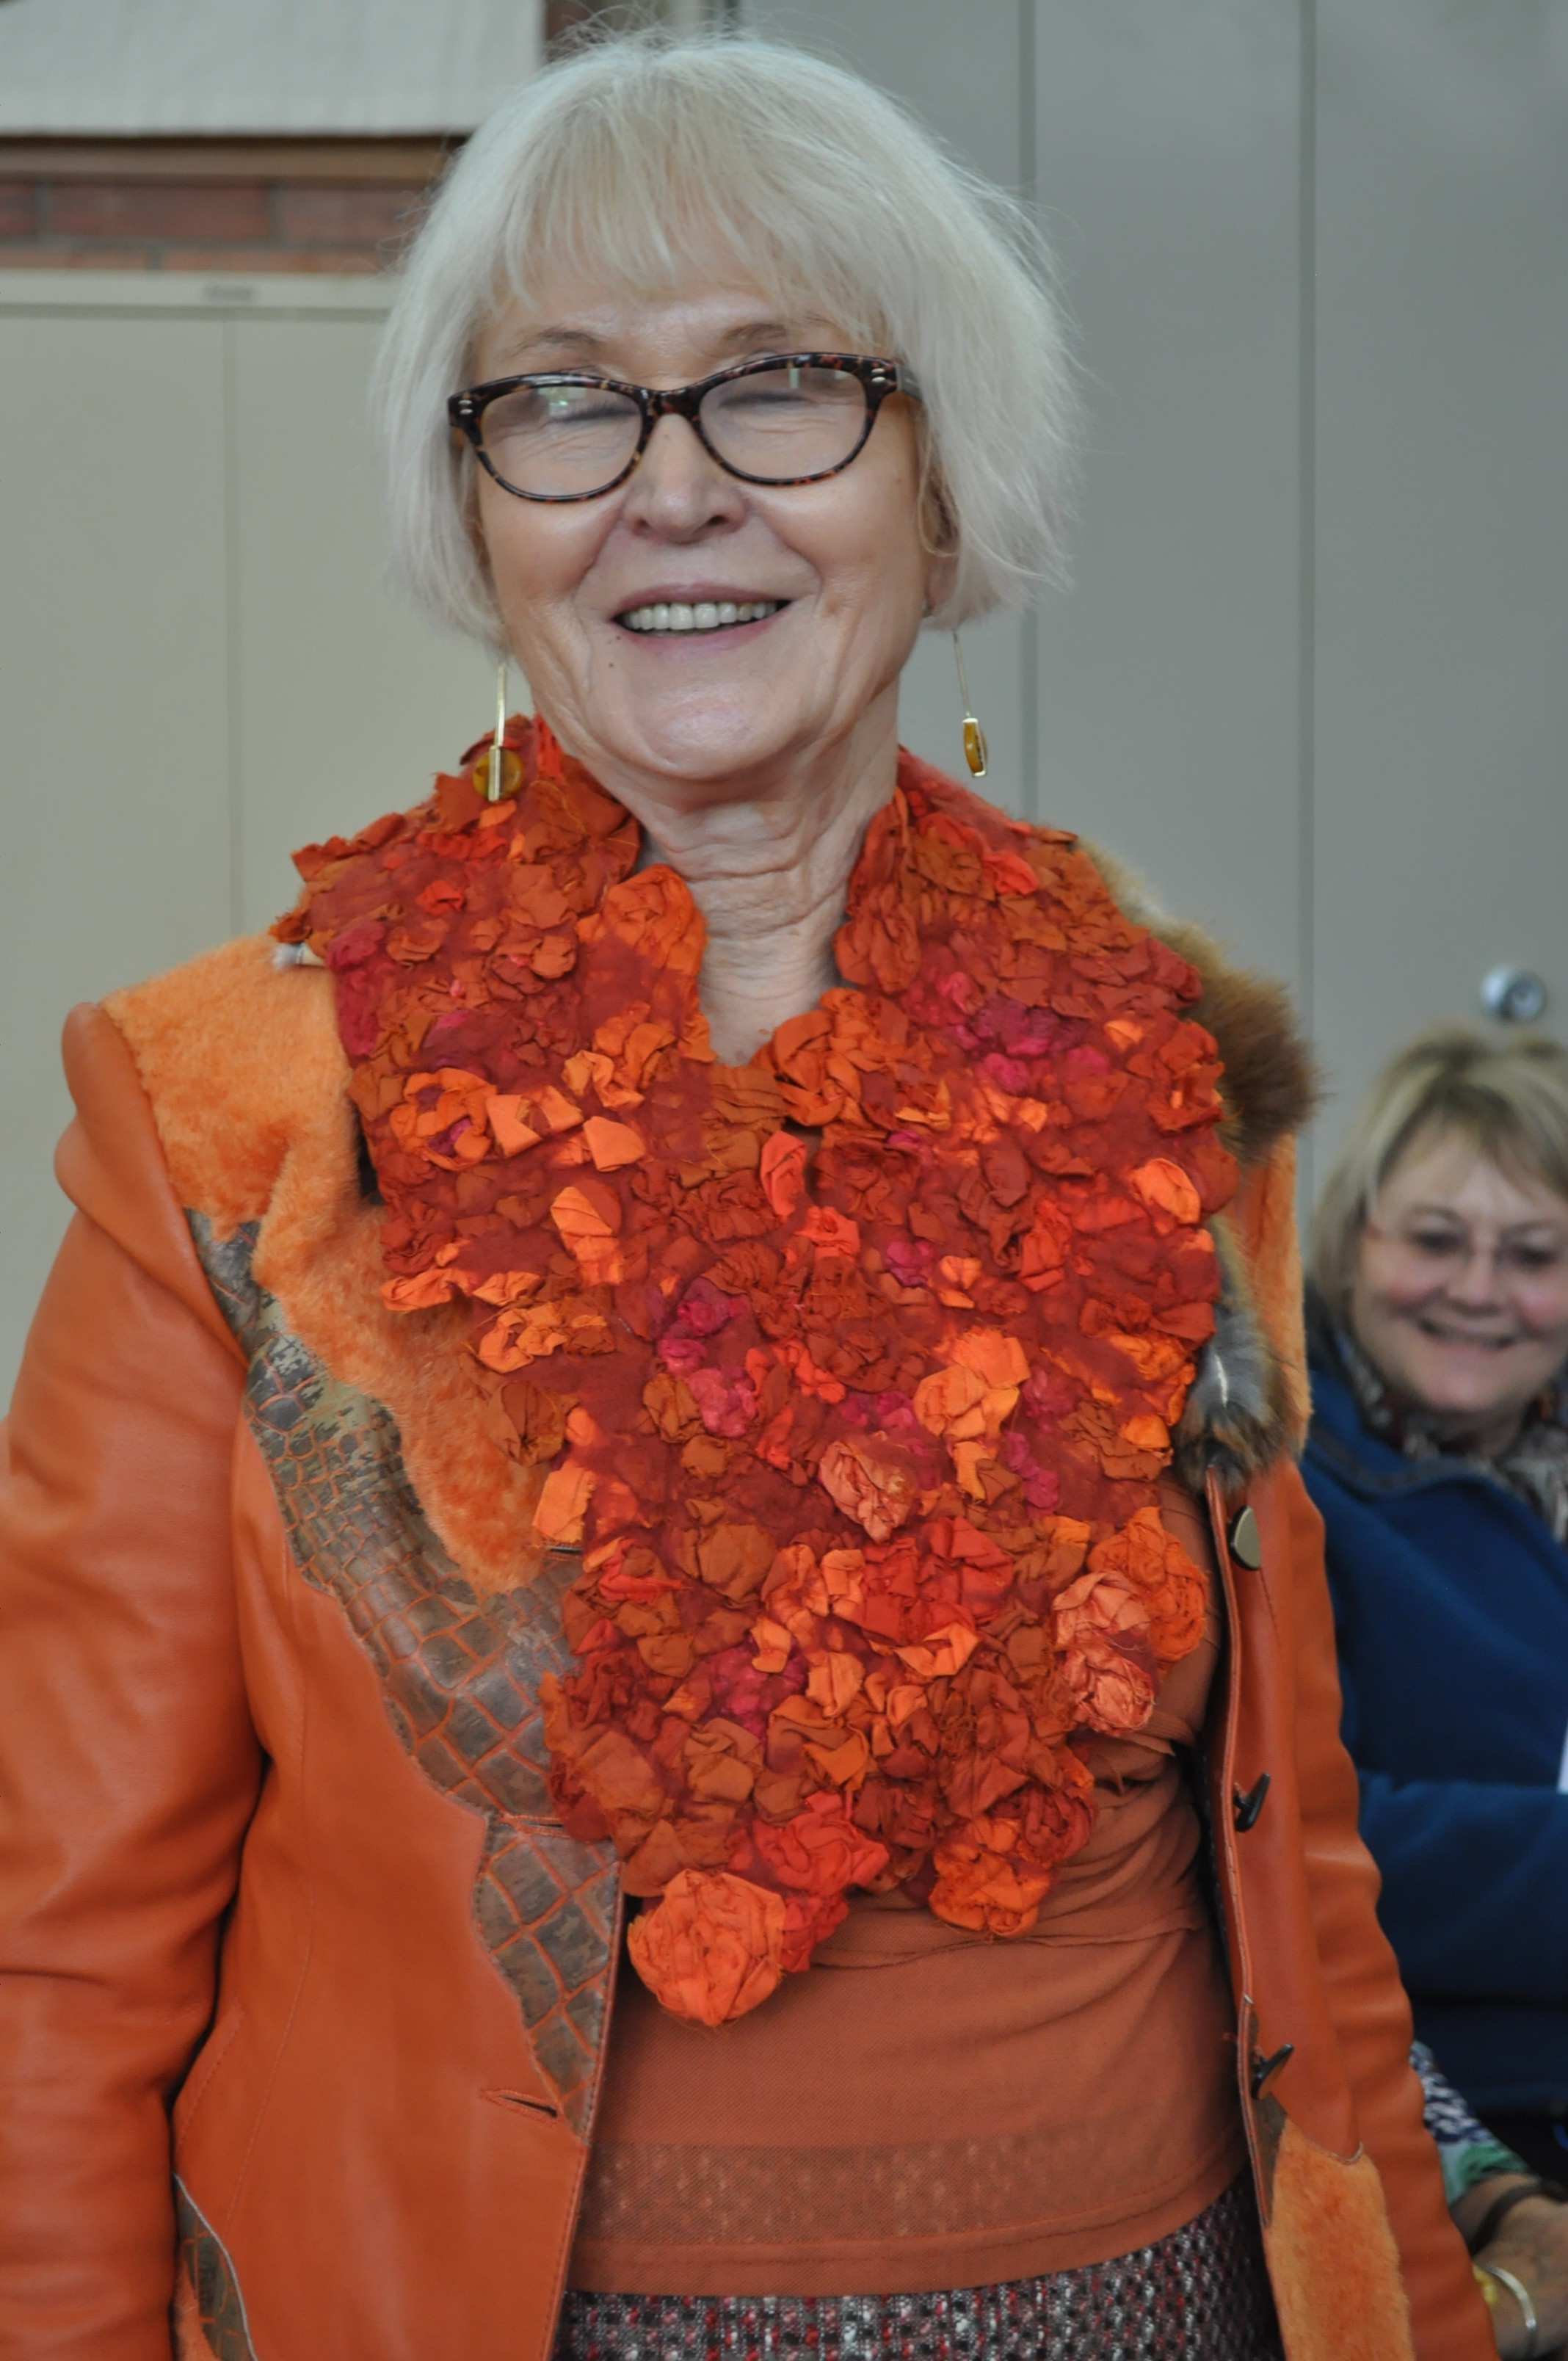
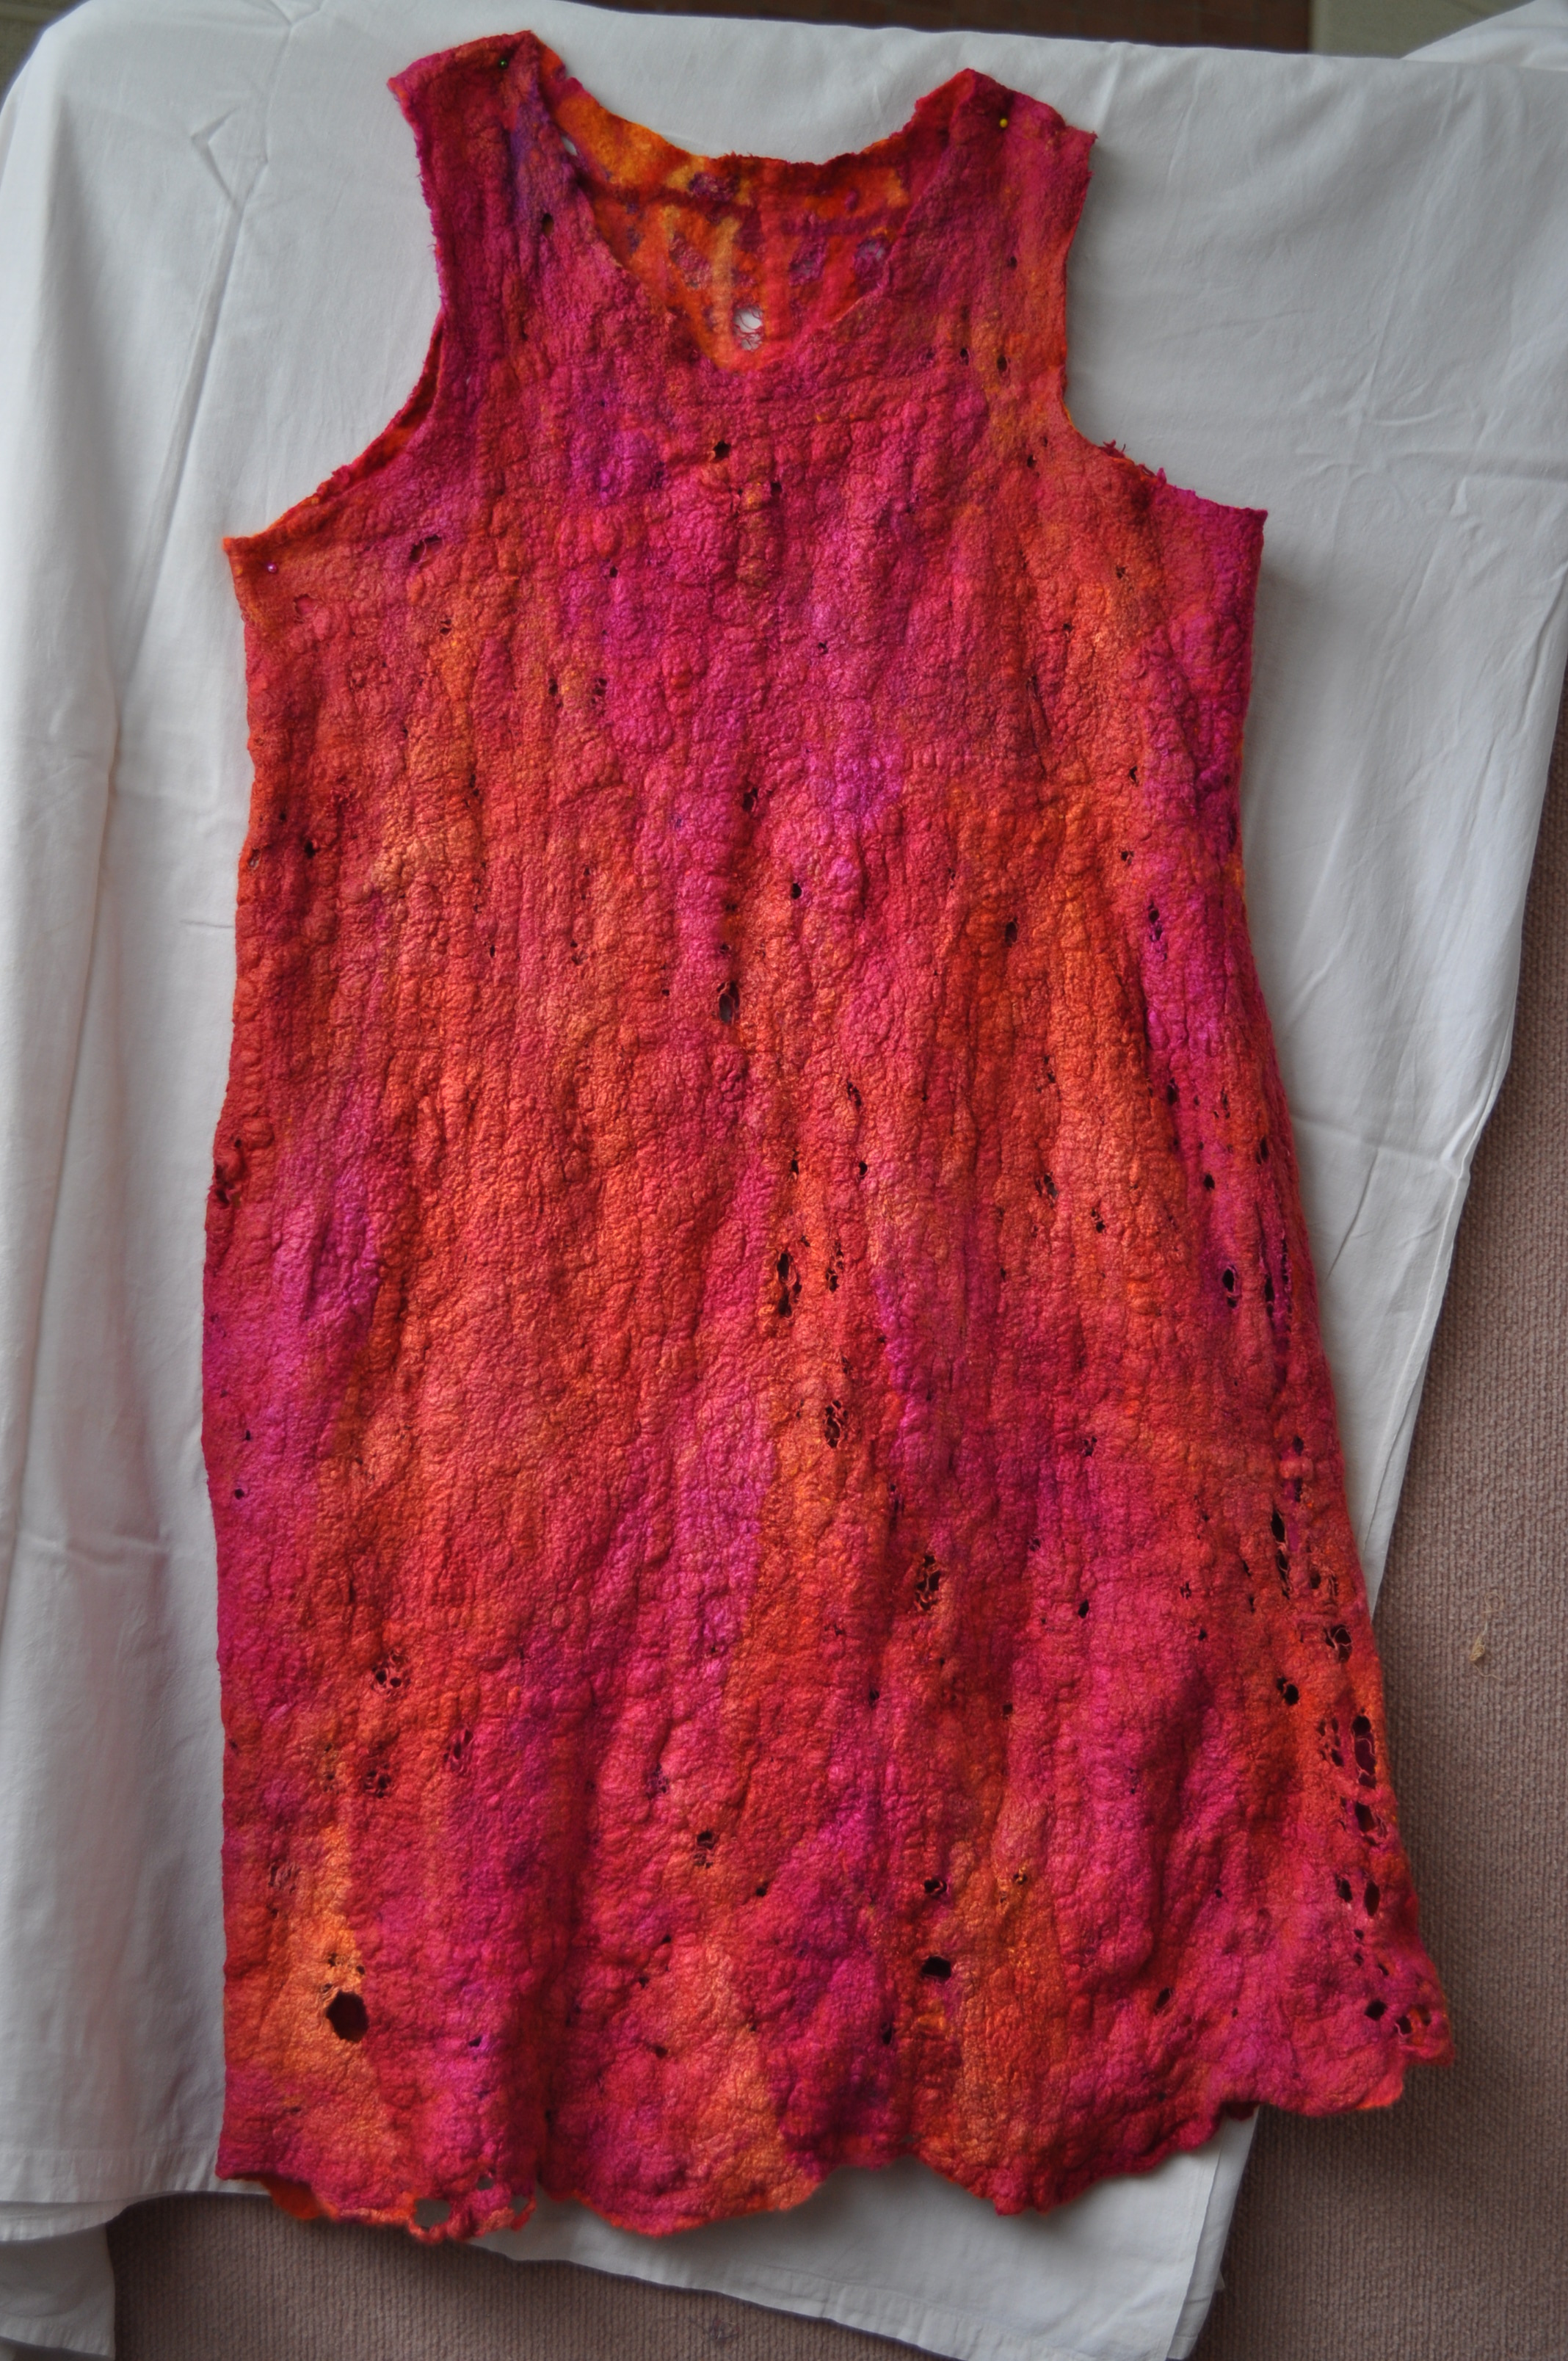
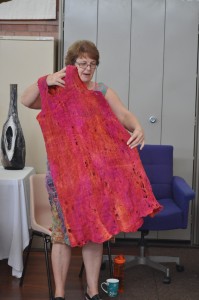
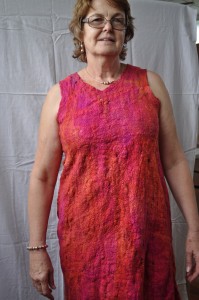
Jeanette Humphries showed us her fitted and very fashionable bright pink and orange sleeveless silk lap felted dress. She said she achieved the effect by cross hatching wool strips over a pulled silk lap stretched over a resist. She added silk hankies where the silk lap couldn’t be sufficiently stretched far enough and said she was fortunate to find a light slip in bright pink to wear under the dress!
Sara Quail displayed her very attractive orange felted bag with long cord shoulder strap. She said it was made of Corriedale wool of 4 layers decorated with silk ribbon.

DSC_0720  DSC_0722
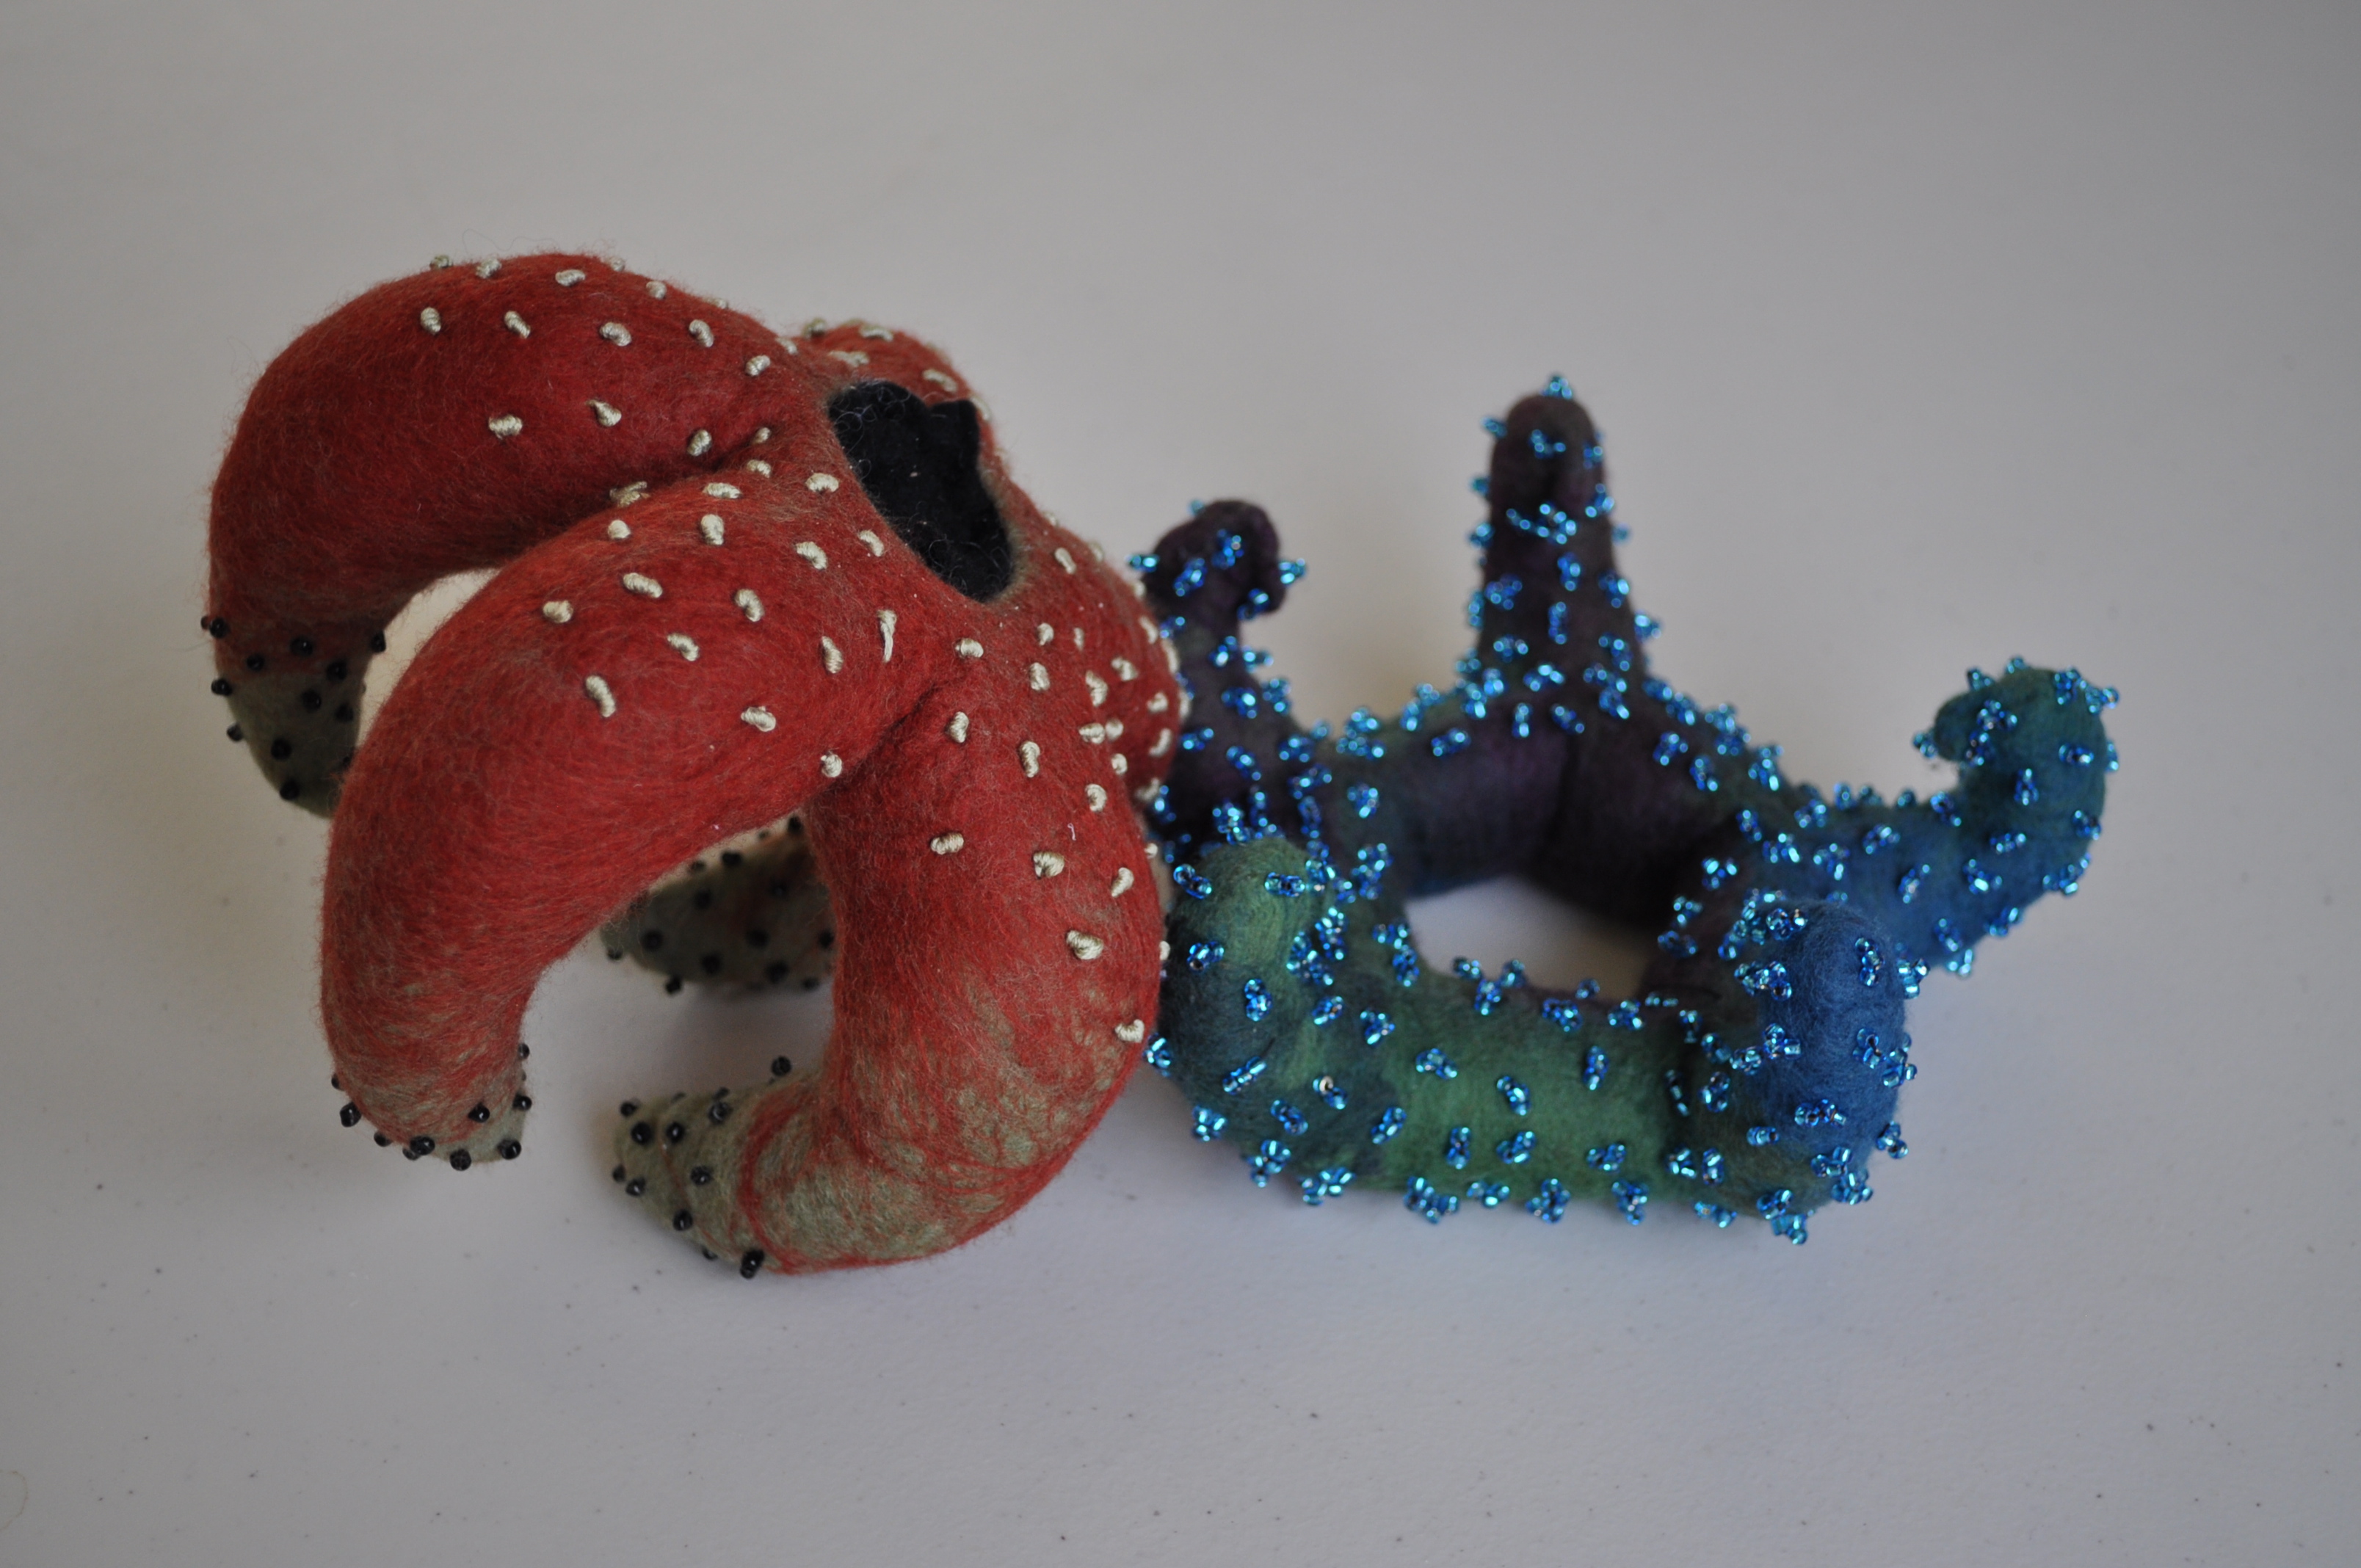
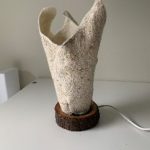
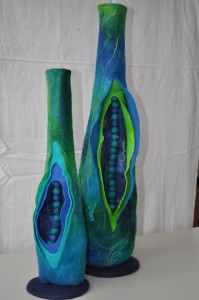
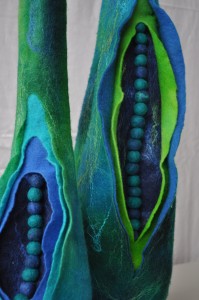
Juliet Hargreaves had made exquisite large dramatic green and teal felted sculptures and grey and white felted sculptures featuring separate contrasting wool layers opening up at the front of the sculptures, attached to each other at the back, and decorated with small felted beads.
In conclusion, Sue Harrington shared with us her felted beach rock from New Zealand. Alison Gomes won the raffle!

REMAKE, REUSE, REFASHION workshop with Heather Davis by Mary Ann Dawson

I wasn’t sure exactly which direction the day was going to take but I had raided my stash of felted ufo’s and collected my old clothes and bought some “new” ones from the op shop, so I was as prepared as I could be for the unexpected.
Heather had everything set up ready for our arrival. Tables ready for sewing machines, and other tables ready for cutting out the stencils for screen printing….yes, screen printing…. and there was a dye pot out the back. Heather offered us so many options for re modeling/cycling our garments.
After Heather went through the concept of re-making and re-cycling garments, our objective became clearer. She showed us examples of garments she had re-created, keeping existing hems, necklines and button features (all those fiddly bits to do) and adding decorative features with free machining or cutting and splicing fabric together. She showed us ideas for printing, stitch embellishment and dying. The options are endless!
Heather came around to each of us to discuss what we could create with what we had brought. Her advice inspired many and the results were both surprising and varied.
It was a busy and exciting day as we were all trying to fit in all the options available to us. Some things were quick to do and completed on the day and some things we had to take home to finish, all in all a very inspiring day.
Heather, as usual, was very prepared and professional and gave of her skills and ideas readily. Thank you Heather for an interesting workshop. I think we have only just seen the tip of the iceberg!


image1a image1b image1d

image1f image2 image2b

image2d image2e image3b

image3c image3d image4