Rug Making with Liz Odd by Eleanor Dennis

Virginia, Pat, Beth, Sue H and I arrived eager to learn how to make a floor rug or in Pat’s case, a table-runner under the expert tutelage of Liz Odd.

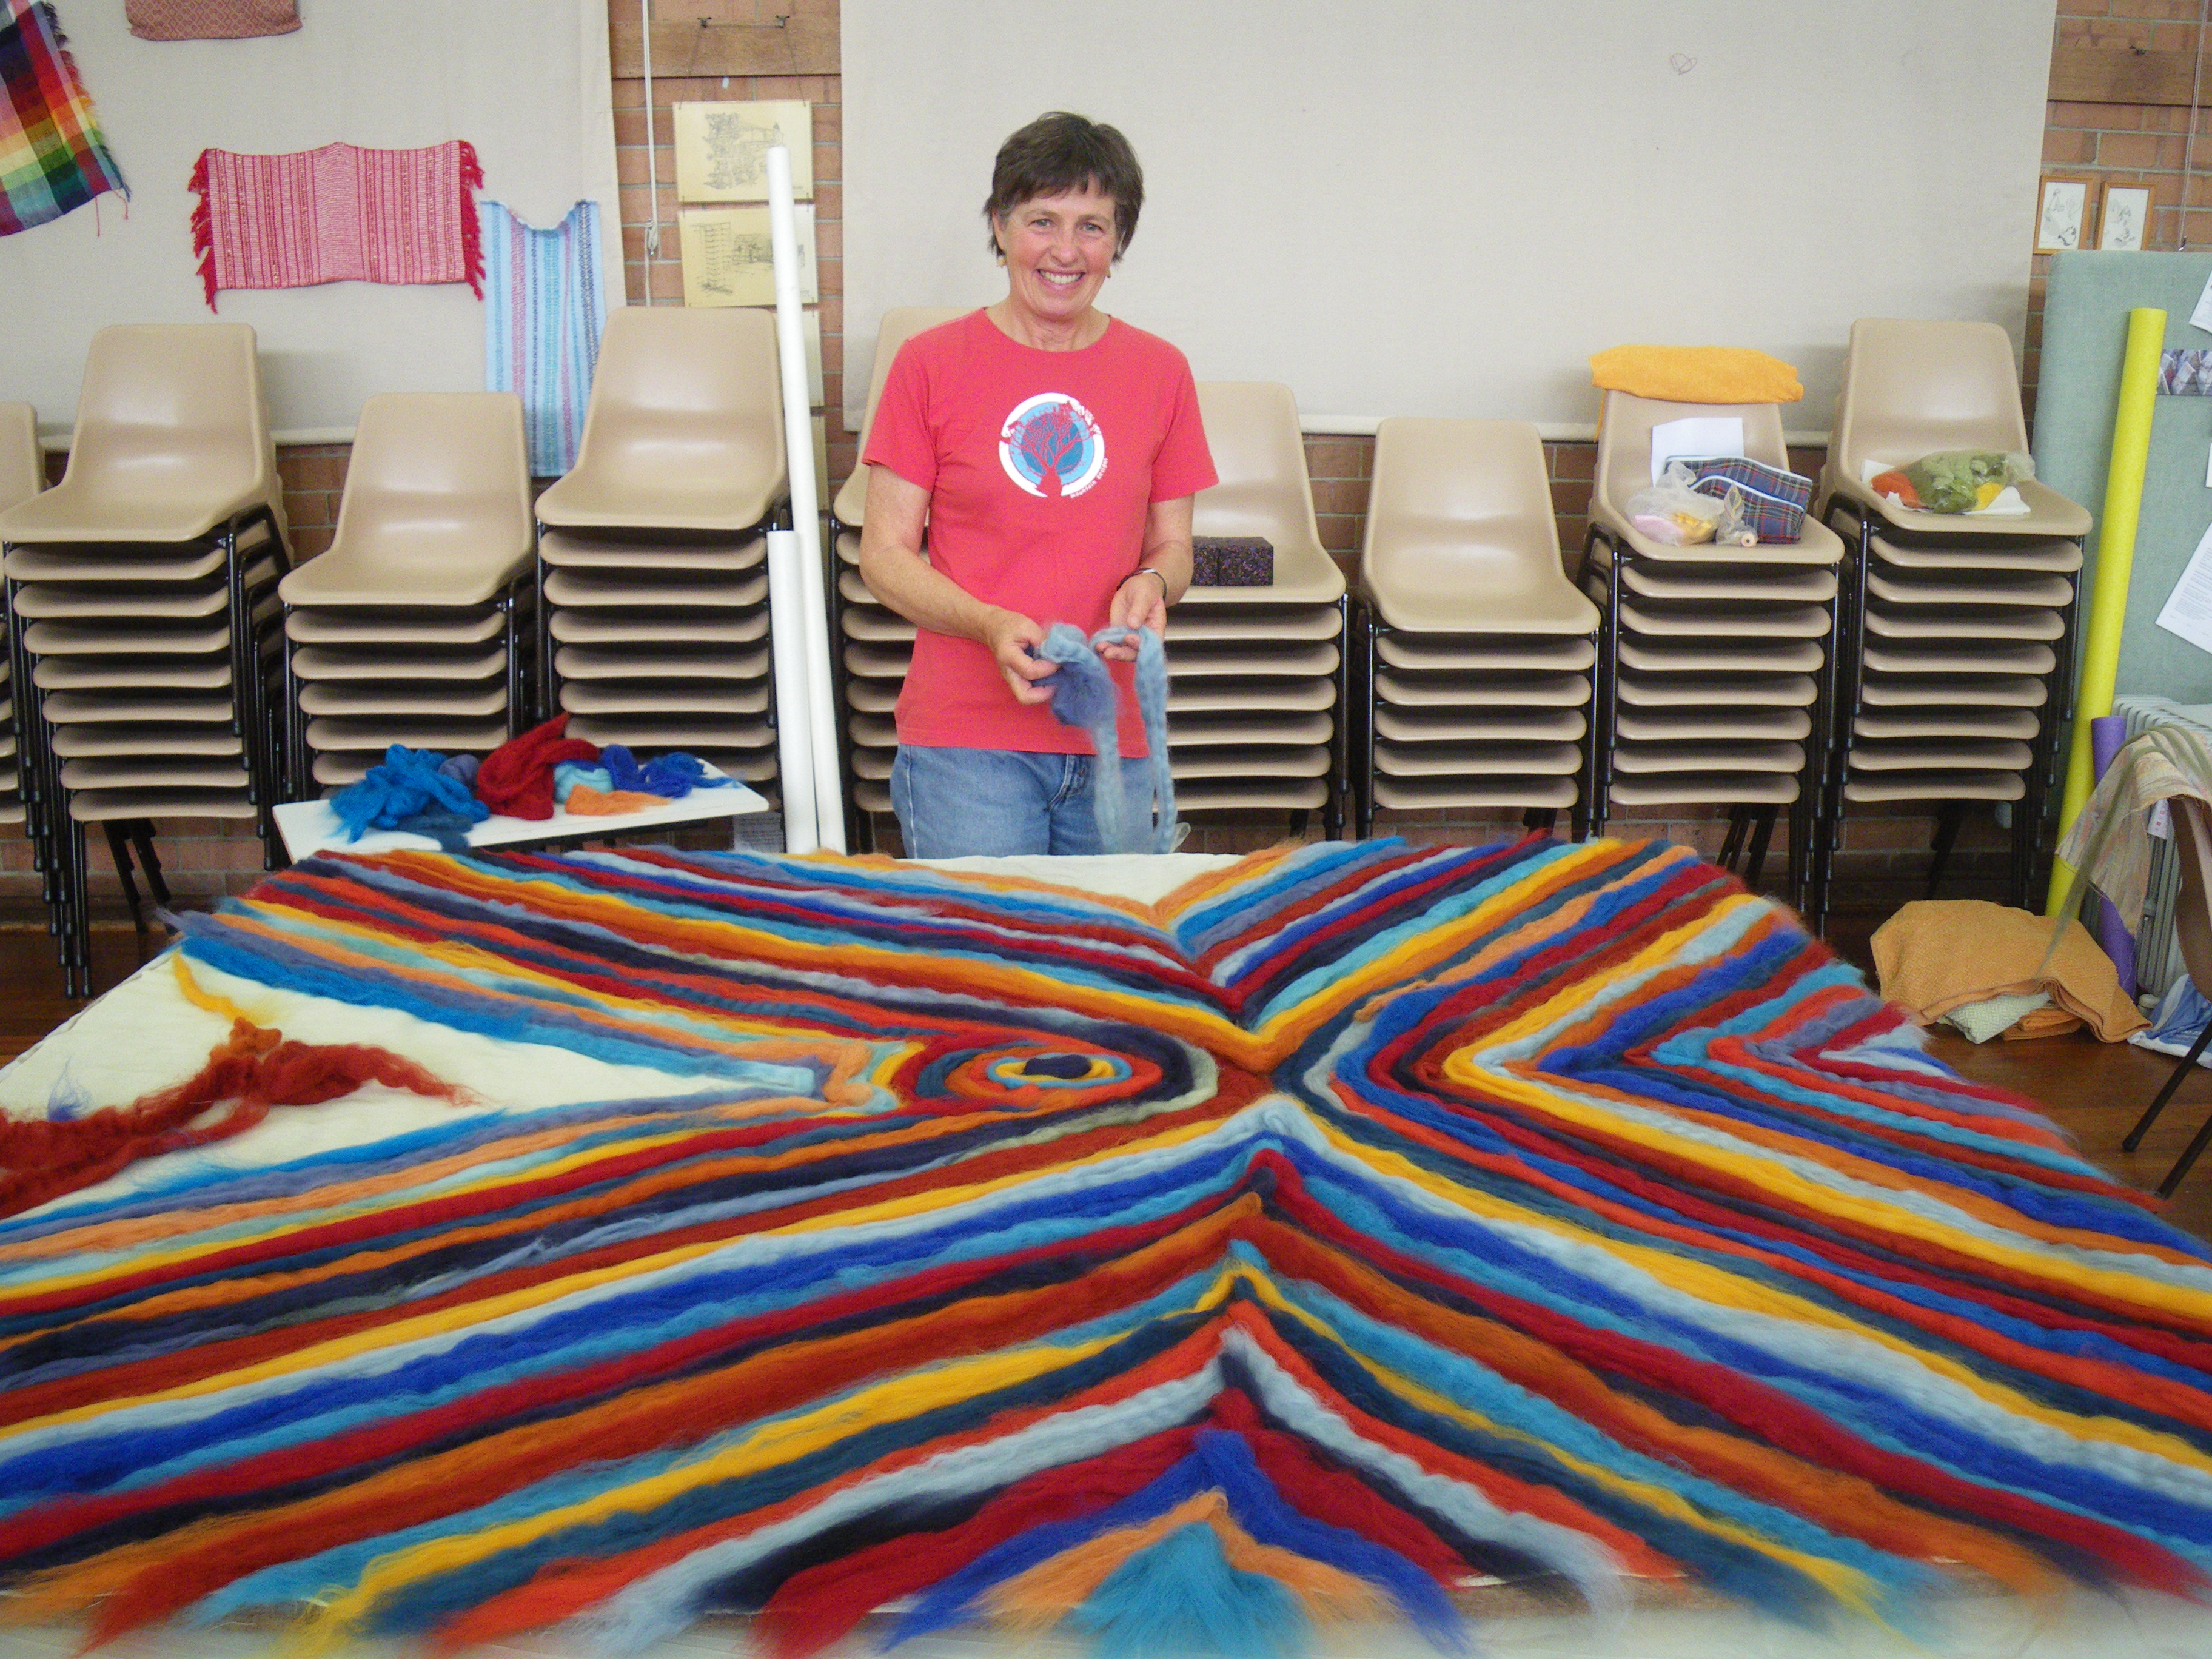
Tables  were set and instructions were handed out by Liz. We had all arrived with an idea of what we wanted to do.  In my case, a simple striped floor mat similar in design to one of Nancy’s creations.  I wanted to learn the technique and not be side-tracked by more complex design or technique.  Liz soon put paid to that!  She showed us various samples of her work and designs from invitations to indigenous art exhibitions and urged us to think about design, colour and use of our pieces.  We could felt both sides with different designs if we wanted too.  As with all felting, Liz made us realize that we could let our imaginations run wild! This led me to change my design whilst keeping the technique simple and to play with shape and colour.  Beth and Virginia decided to felt with different designs the backs of their pieces too.

IMGP6049

Beth had returned to felting after a break of three years and she was flying along, using up materials from her shed. A lovely soft mauve hued bat with lots of brightly coloured pre-felted pieces, scatterings of wool and other embellishments on top and a totally different pattern and colour scheme on the bottom.

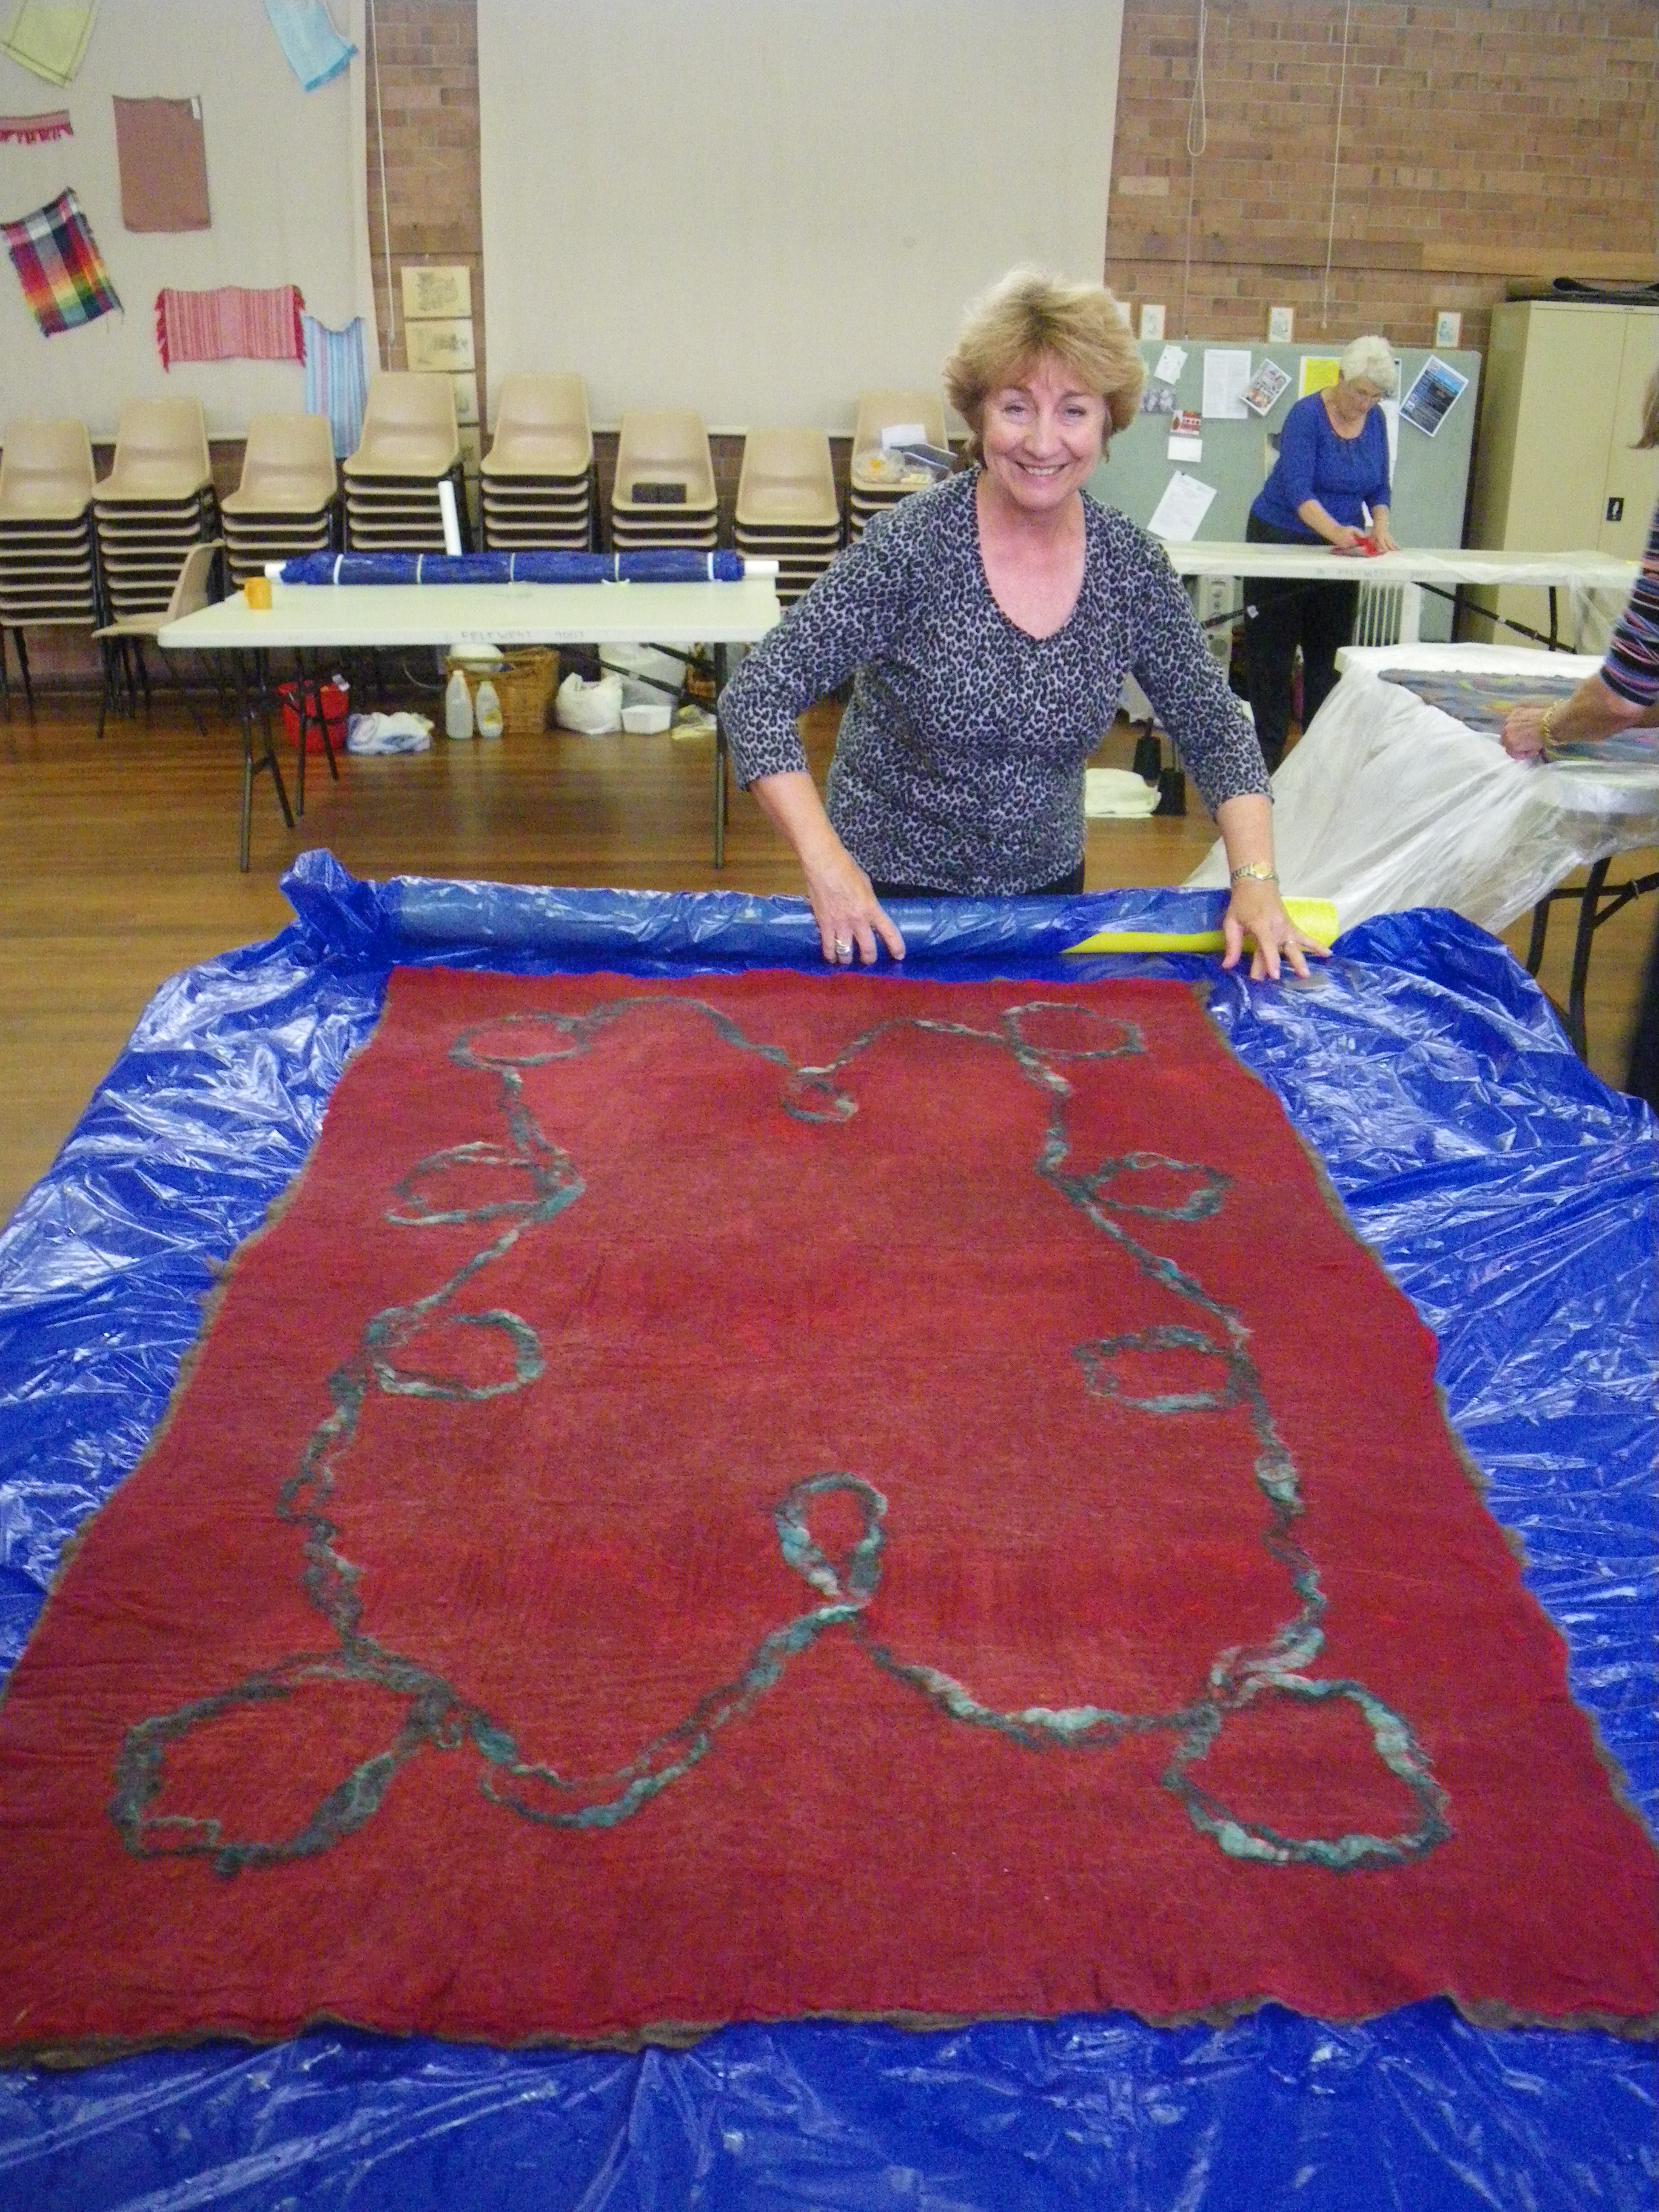
Virginia wanted to make a rug for her living area and she had her design and colours all planned. She started with a ‘Nancy’ bat, then a layer of cotton lawn, topped with a fine layer of wool laid in one direction, topped with a double layer lightweight Felbi bat.  She then laid a scroll like design on top with wool yarn.

IMGP6047

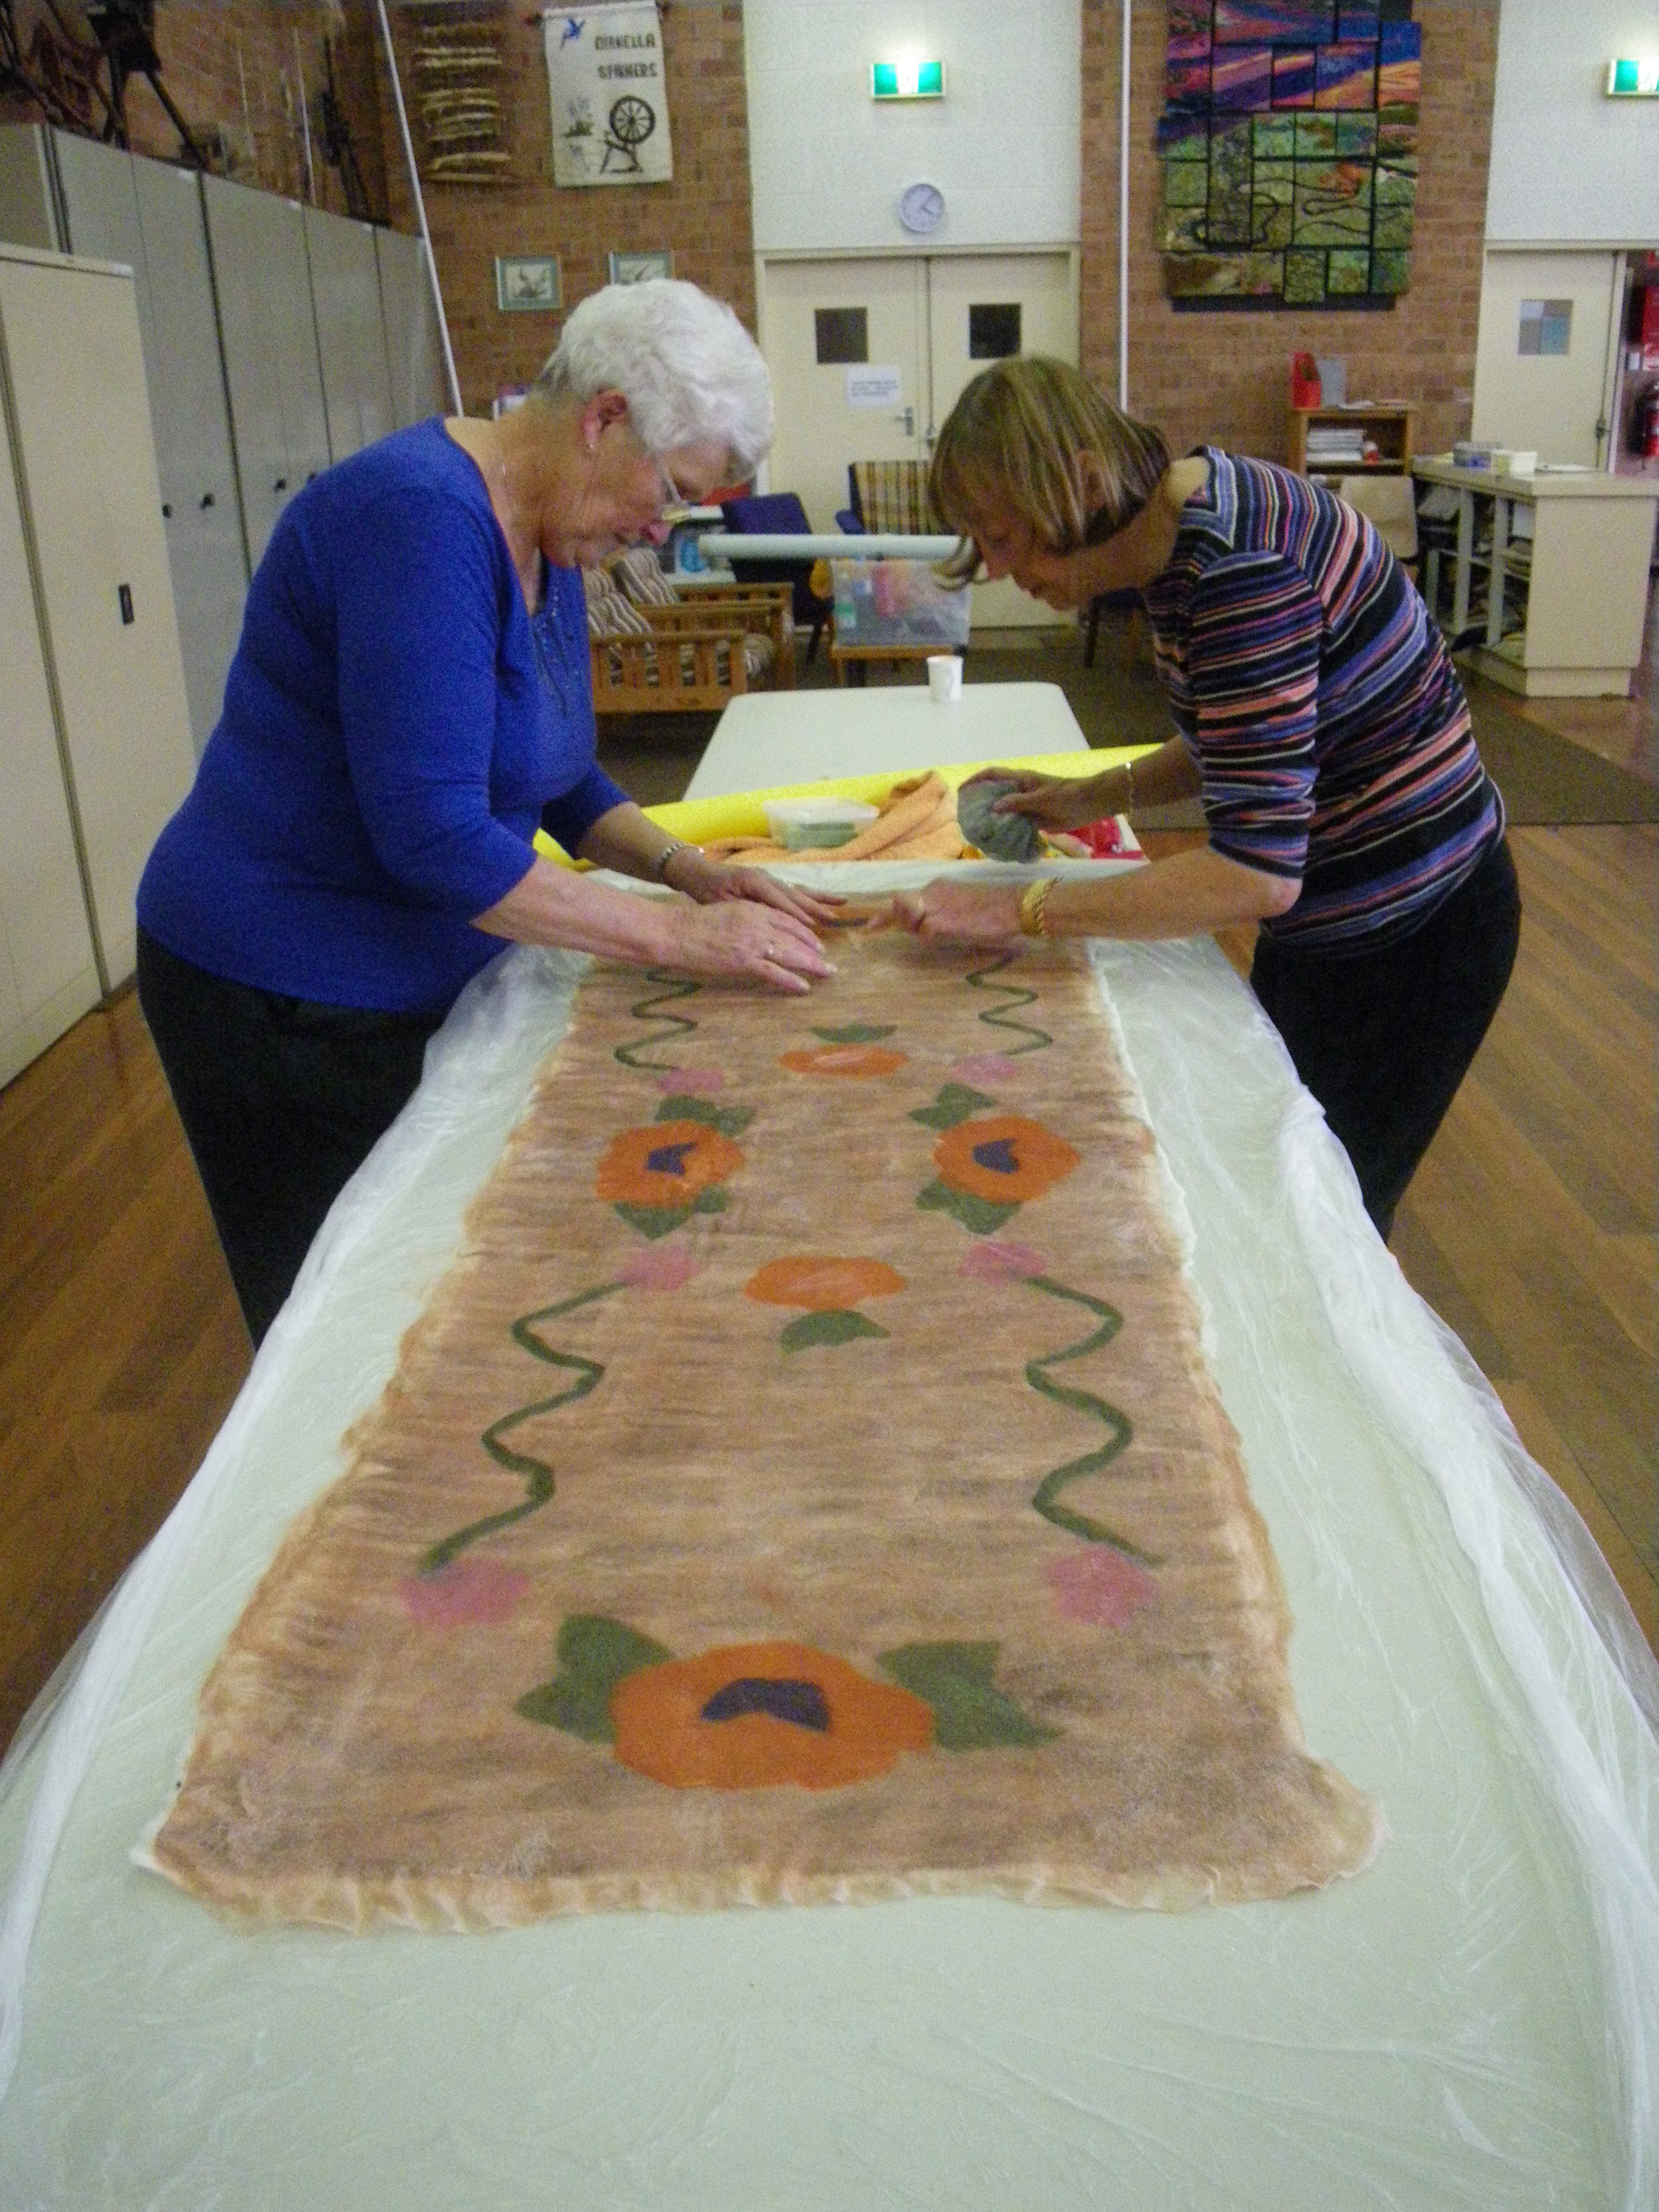
Pat was carefully cutting out her design to use on her table runner and Sue was being very social while she worked out what she wanted to do which turned out to be a stunning rug.

Pat’s table runner was laid on a ‘Nancy’ bat, topped with fabric and then wool and her pre-felt design.

Sue laid out her design on top of a ‘Nancy’ bat. Her rug covered two tables which when dry was easy to manoeuvre but once wet it took two people to lift and carry out to her car!

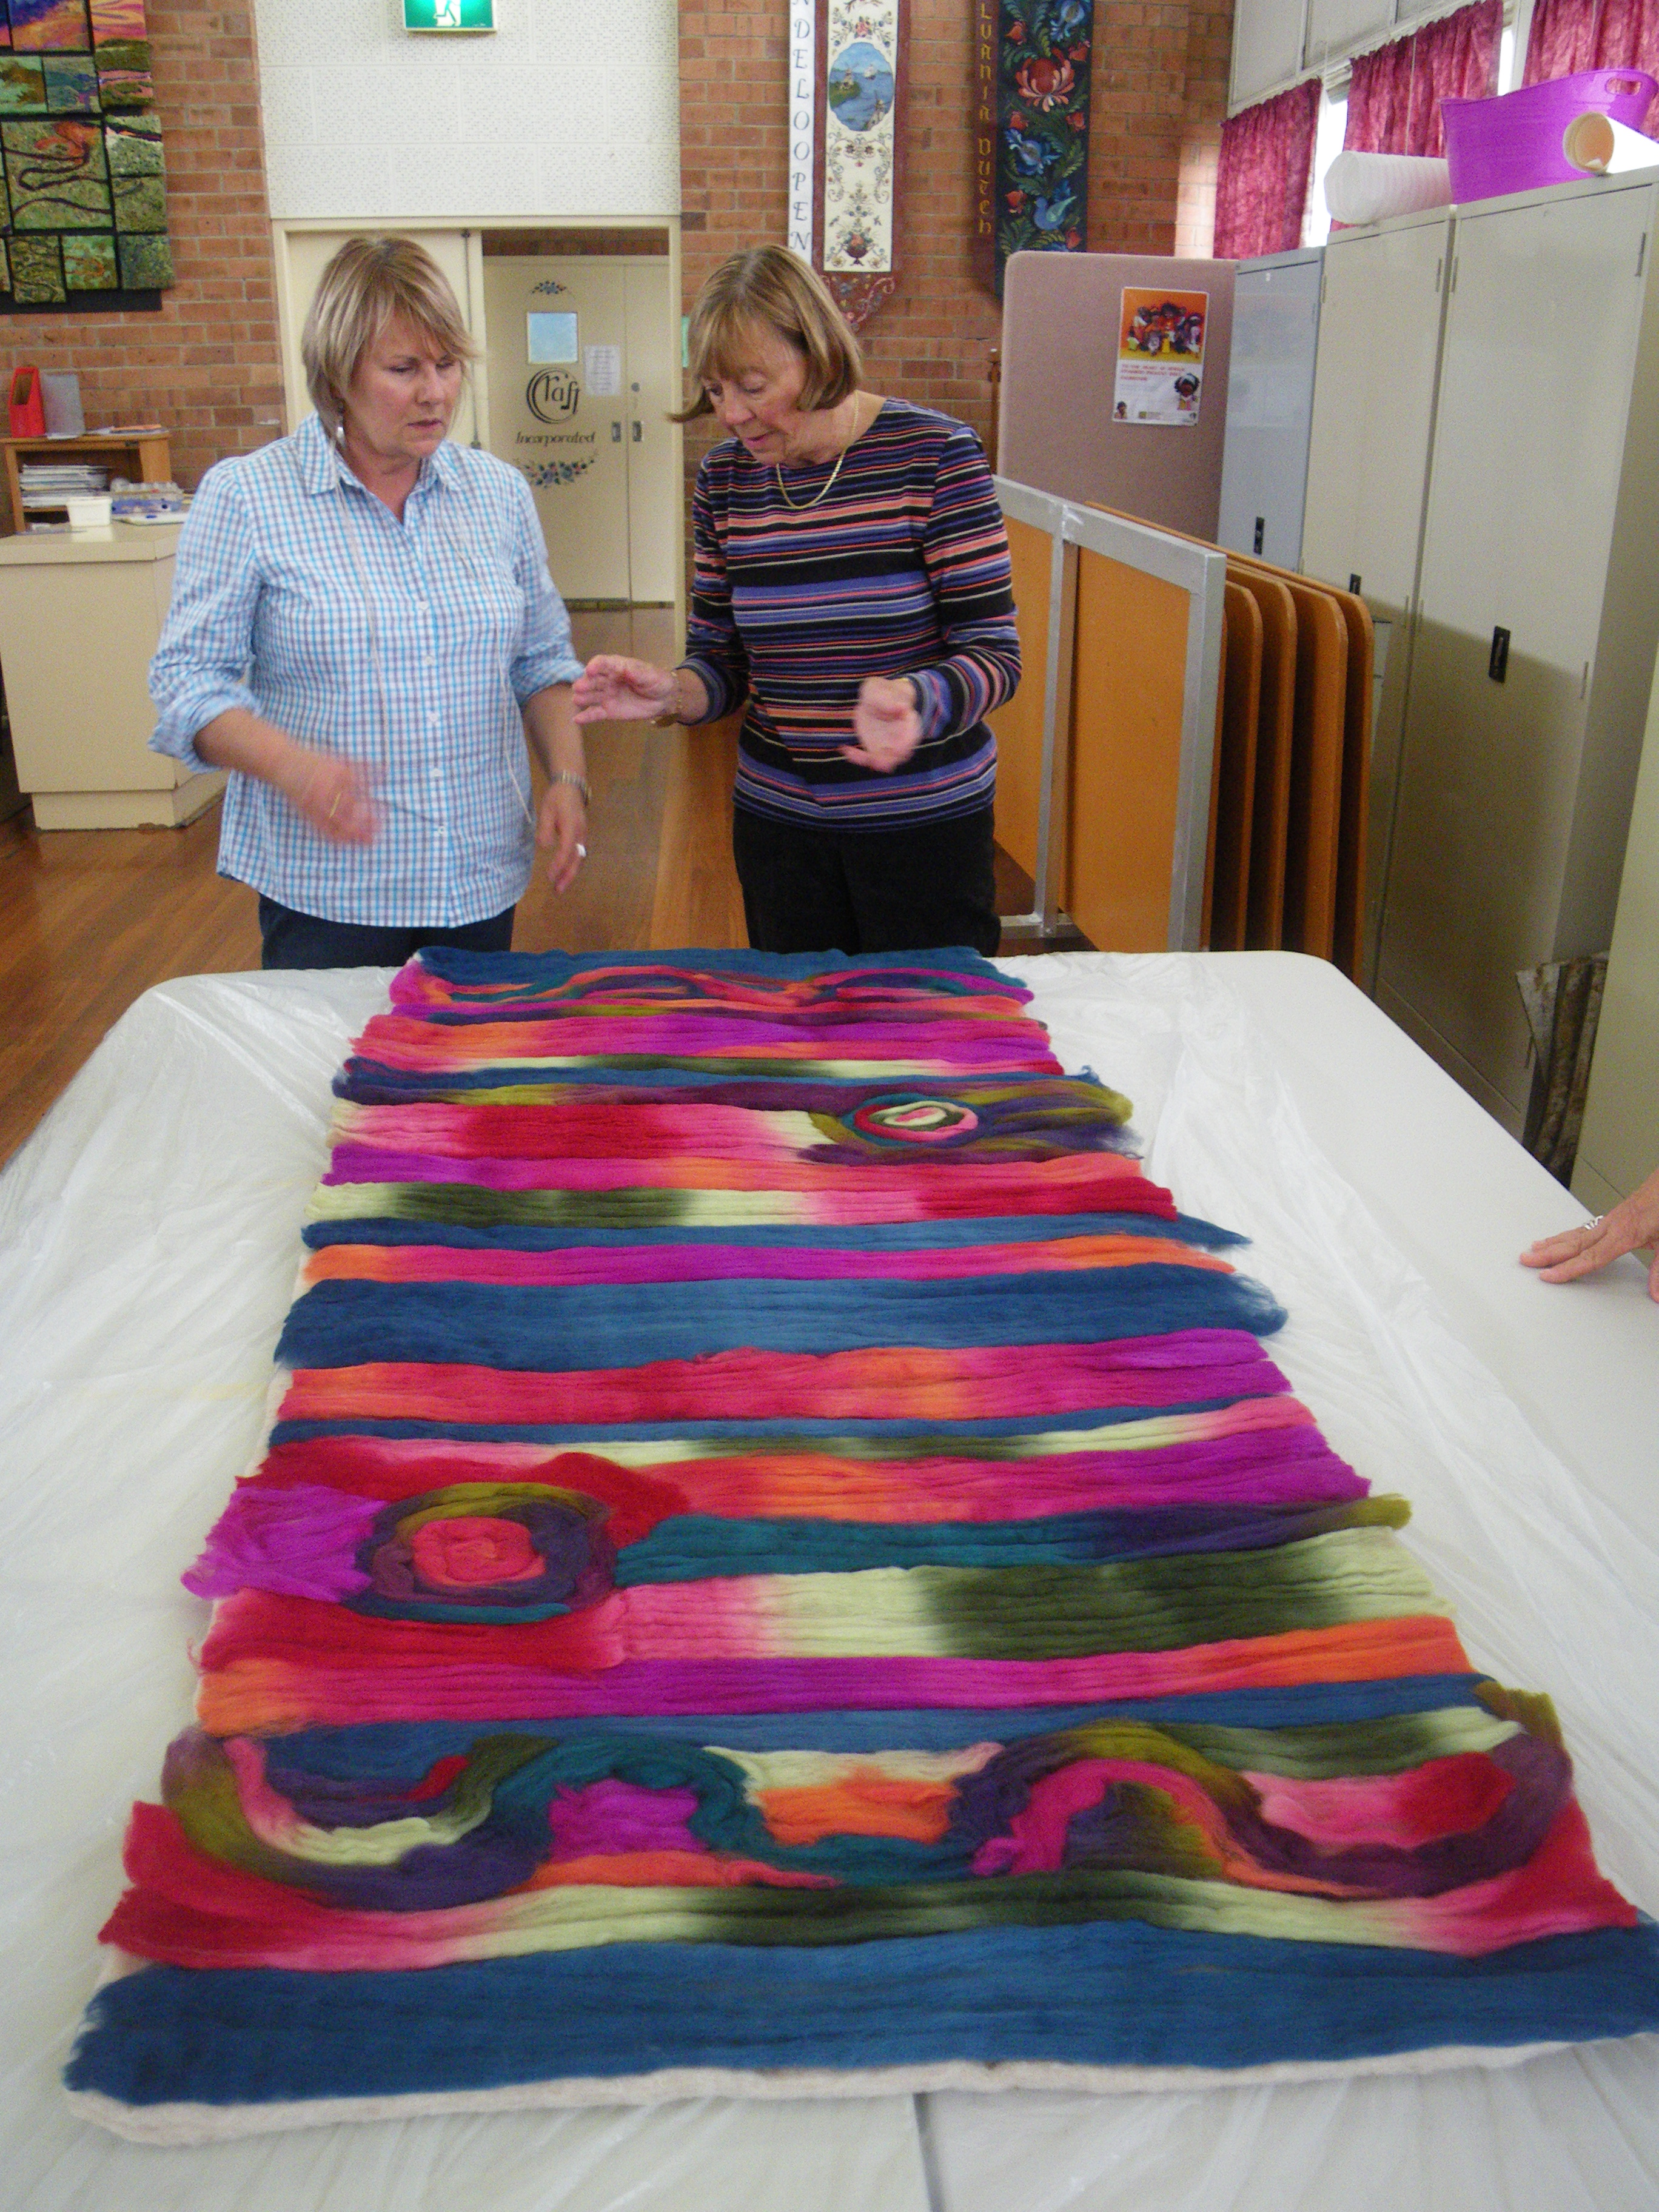
 As the day wore on the creativity ebbed and flowed and Liz monitored progress, providing useful tips and tricks and hands on assistance such as trimming edges, design advice, placing pieces and wetting down.

IMGP6043

Once we had laid out the design, it was time to dry roll our pieces and then check that the design was still in place and that there were no holes where the bat could come through. Once finished with that process it was time to wet down and finish the felting process, remembering to keep checking, getting rid of excess water and stretching.

The day went all too quickly and we all headed off with our efforts to finish at home.

Everyone had a great time. Lessons learned – positive and negative:

  • If using fabric between your wool layers,  wash it first to avoid issues with different shrinkage rates between wool and fabric, the effect of any water resistant chemical  applied to the fabric and dye running.  Liz suggests washing all fabric before use and making a note if it runs or has other problems.
  • In Virginia’s piece she commented that another layer of wool in a different direction between the bats would have resulted in more even felt and a thicker layer of wool on top would have been preferable.
  • Some of the bats were water resistant in patches and difficult to wet so we ended up with too much water and soap. The only solution is to mop up extra water and soap as it is very difficult to tell which parts of the bat will be resistant.
  • If you have a plastic table similar to the ones we use, use the table edge to get straight edges and rounded corners when cutting and trimming.
  • keep stretching the piece between rolling to get straight edges
  • and for new felters like me, use a tumble dryer to felt big pieces. Don’t over- do it.  If using a tumble dryer, less is better ie keep checking every five minutes for shrinkage and stretch edges to keep it straight.

IMGP6041

POST SCRIPT:  At the October Show and Tell, we brought along our pieces for Liz to critique.  Pat had used some stitching on her table runner which brought out the colour and texture of her table-runner.  Sue was not present so we weren’t able to see her stunning rug.  Beth decided that she was going to stitch hers too to bring out the colours and add texture. Virginia’s was finished and looked lovely and mine needs some more felting to harden the edges.

A huge thank you to Liz who not only provided great tutoring in class but followed up with each of us after class to offer advice and help.

IMGP6037

Shrinkage – What’s wrong with percentages? Part 2

Just to recap using percentages to calculate how much wool to lay is wrong.

For example:
Jane made a piece of felting that ended up 20cm by 20cm.  Soosie admired it and asked how much did it shrink by?  And like so many other people she said, “Oh about 30%”.

Soosie heads off to her studio to make a similar piece and thinks to herself (obviously its not me cos I would have said it aloud.  To my dogs.) “Mmmmm.    It ended up 20cm, shrank by 30% so 30% of 20 = about 7.  I have to lay 27cm of wool.”

Off she goes felting away. BUT when she is finished the piece is only 18cm x 18cm!?!?!  She made it exactly the same way Jane did – same wool, same layers, same decoration yet it ended up smaller.   WHY?

Because 30% of 27cm is 18cm.  Jane laid 30cm of wool to get 20cm of felt.  You can’t calculate something you don’t know the starting measurement of.  Soosie only knew the finished measurement.  Here in lies the big problem with using percentages.  How do we fix this?  Use shrinkage rates.  Once you have determined the shrinkage rate you can apply it to any finished size to calculate accurately your starting measurement.

And the only way to calculate shrinkage is by making a sample.

  1. Cut a piece of bubble wrap or foam or plastic (something durable) measuring EXACTLY 30cm x 30cm to maske a sample template.
  2. Using the template lay the wool EXACTLY the same way you intend to make the final piece.
  3. Felt the way you usually felt.
  4. Measure the finished piece of felt.  For example 20cm x 20cm.
  5. Calculate how much it shrank by:- Original measurement divided by finished measurement.
    30/20 = 1.5  this is your shrinkage rate.

How do I apply a shrinkage rate?  That’s for the next post.

I will attached a PDf version of these instructions next post so you can print them out.

Keep sampling!  Soosie 🙂

Shrinkage – What’s wrong with percentages? Part 1

Now down to business. Anyone who has been at one of my workshops has heard my tirades about this subject. Using percentages to calculate the end result of your felting is wrong. It is wrong – mathematically, logically and importantly feltingly. (Is there such a word? There is now.) When someone says “it shrank by about 30%” could very well be correct BUT you can only calculate that after you have made the felt and NOT before. So instructing, advising or informing someone to just add 30% to the size of their template is WRONG!

For those who are not familiar with shrinkage a little lesson first.

We all know that felt shrinks. The age old question has always been by how much. Well that depends on multiple factors:

the wool – species, micron size, colour, coarseness, fibre length.
the number of layers of wool – odd, even.
what you add to the felt – silk, fabric, decoration etc.
rolling and sanding – which direction, how many times, evenness.
tossing and tumbling – which direction, how many times, evenness.
which way you held your tongue in the corner of your mouth..
I think we’re all getting the picture. There are plenty of things that affect shrinkage. So how can we possibly calculate shrinkage? Make a sample first. This is a pretty good motto for all craft, firstly if you have never made this particular combination of the factors (listed above) before, how do you what’s going to happen? I would rather make a mess of a sample and learn from my mistakes than waste my resources on a larger piece that can not be salvaged and is doomed for the BOYD pile.

Secondly, it is the ONLY way to calculate shrinkage.

So enough ranting for one post, next post will explain the mechanics of calculating shrinkage.

Keep felting! Soosie 🙂

BOYD The Purple Bag

This one was a little harder than the cozy, mainly because the colours were so strong they dominated any view of the bag. One side had what I called lattice work and the other eyes. Again this forlorn piece was brilliantly made. It had a beautiful retro 50s shape to it – which is probably what drew me to it, it reminded me of my grandmother’s handbag (which I still have). It was fully fulled, strong and wonderfully constructed. A lot of thought had gone into its construction – no visible seams or stitching, sturdy handles and reinforced bottom edge all perfect for a handbag.

The creator told me she was experimenting with a 3D look, wanting it to appear as tumbling blocks or bulging eyes, in an Escher-esque style, so hence the combination of colours. It nearly worked. I couldn’t see anything but the purple until I piled a whole pile of stuff around it. I would shuffle it every day; add some, take some, move some, until I placed the green glass beads next to it and Voila! I could see past the purple.

Next dilemma was what pattern or design with which to use the beads. The lattice was relatively easy to imagine but the other side gave me some grief! Firstly I thought of peacock feathers using the eyes as the eye of the feather but the scale was wrong. I tried to make petals to surround to eyes but again the scale was wrong. Eventually I decide to make flowers similar to a passionfruit flower. I forgot to take a photo of that side which I will rectify next Toss’n’Tell. (lol).

CPR applied:

1. Applied steam to reshape the bag.

2. Stuffed and pegged it into shape.

3. Couched the yarn to make the vine.

4. Stitched on the beads. Cut the leaves from left over foiled felt.

5. Glued on the leaves.

6. Cut – “Angel Hair” circles and millefiori felt beads, stitched beads to top and glued the lot on.

7. Glued on the leaves.

The lattice work side.


The eye side. The pegs were there to redefine the shape.


Stuffing the bag helped regain its wonderful shape.


Gathered stuff – waiting for the design to “come on down”. Pegs still attached.


Autumn – lattice side finished with vine and fruit.


Eye side with prospective peacock feather. Didn’t work – in the end they became Summer – vine and flowers.