Soosie has started her own YouTube channel with multiple free felting tutorials simply click here to watch and subscribe.
Soosie has started her own YouTube channel with multiple free felting tutorials simply click here to watch and subscribe.

A dedicated group of 9 ladies braved an incredibly hot day to share Susan’s passion for felted wraps that drape well on the body, are simple, lots of fun and quick to make.
She provided inspiration for at least 7 distinct styles with diagrams and modelled many samples. All the wraps could be made with 2 metres of silk and 100gm or less of fine merino wool. Presented with such varied options, choosing a style was the most challenging part for some participants. There was plenty of advice and assistance to help them make their decision. A wrap needs to ‘drape’ onto your body, so patterns were based on curves and asymmetrical design.
Once decisions were made, patterns were laid out using 2 tables. There was no bubble wrap involved. Susan shared tips on working on large projects which included an efficient way of laying out the plastic film on which the silk was placed.
Depending on the design chosen, there was some optional cutting of the silk for shaping and armholes. Nothing was wasted and any offcuts were re-attached to enhance the design. She showed us how to neaten cut edges and reinforce armholes with roving.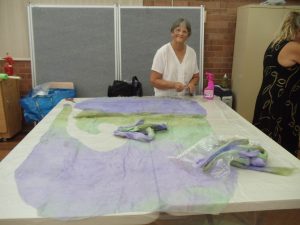
Then laying out the body of the garment commenced using her suggestions of:

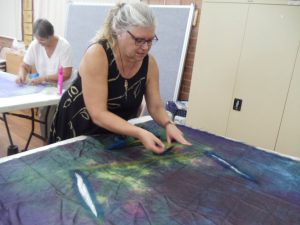
All the wrap layouts were very individual which was accentuated by the different fabrics, amount of wool laid out and colours used.
With some tips on which net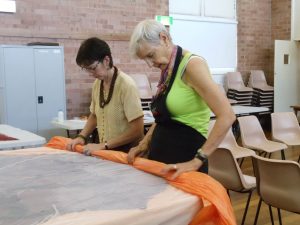 s to use and how to use them effectively, we wetted out the work before commencing the initial rolling. One of her great tips was the use of tee-shirt strips to tie the bundle for rolling.
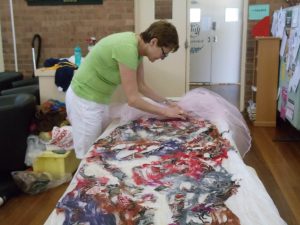
After removing the net, correcting anything that had shifted and applying another layer of plastic film on top, the hard slog of rolling commenced – at least 800 rolls. There was discussion on fulling options including the use of a microwave or tumble drier.
Unfortunately, the extreme heat precluded most of us from finishing completely – but Susan looks forward to a fashion parade at the next Toss ‘n Tell.
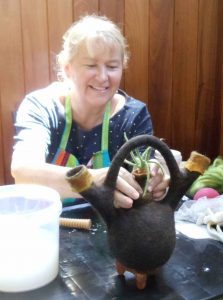
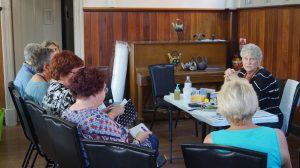
Eleven Feltwest members came bright and early to the first of the three day Pam McGregor’s teapot workshop. After a couple of hours of going through some slightly unusual felting techniques, some ideas about decorations and a plethora of new tools were also explained: balloons, pipes, small rollers, back scratchers, wooden spoons, weird shaped needles, mini doffers and others!
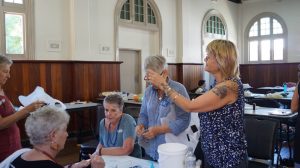
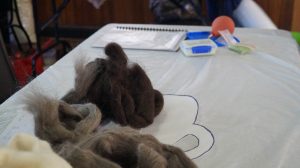
Soon, everyone was keen to get started everyone chose their design and teapot shaped resists were laid made.
Pam explained the difference between different wools, and in the class there was mostly Finn wool, but a smattering of Icelandic and Gotland wools: the coarse fibres of these wools make them very suitable for vessels but the way in which they felt is different from merino.. so Pam recommended NO rolling! Instead a lot of hand working, rubbing and use of various tools was recommended.
In the afternoon of the first day, everyone chose their design, thought about adornments such as beads, folds, colours, where and how the handle might go, the shape and design of the spout as well as the design of the stopper. Then it was straight to laying out: Pam recommended no particular thickness of laying out, but instead emphasized weighing the wool.
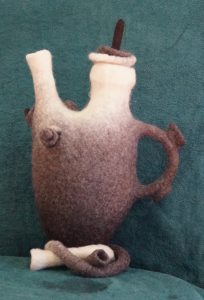
By the end of the first day all the wool was laid out, and felting was due to start in earnest the next day. On Day 2, Juliet joined, and did a rapid catch up of laying out and starting to felt her teapot. Day 2 involved lots of slow felting by rubbing (did I mention no rolling earlier?), and some of the tools that Pam had shown us including tubes with corrugated outsides. Handles were designed and loops added where needed, and as the teapot began to take shape balloons and tubes were inserted early on to help keep the shape. Decorations such as folds, buttons, beads, embroidery, loops, were added on. Day 2 was also teapot legs day: how to cover and felt the legs required for the teapot. Again, this involved some very inventive use of piping…
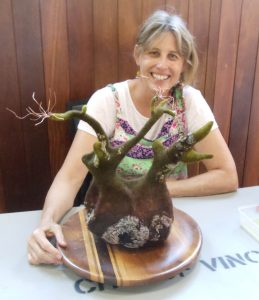
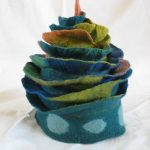
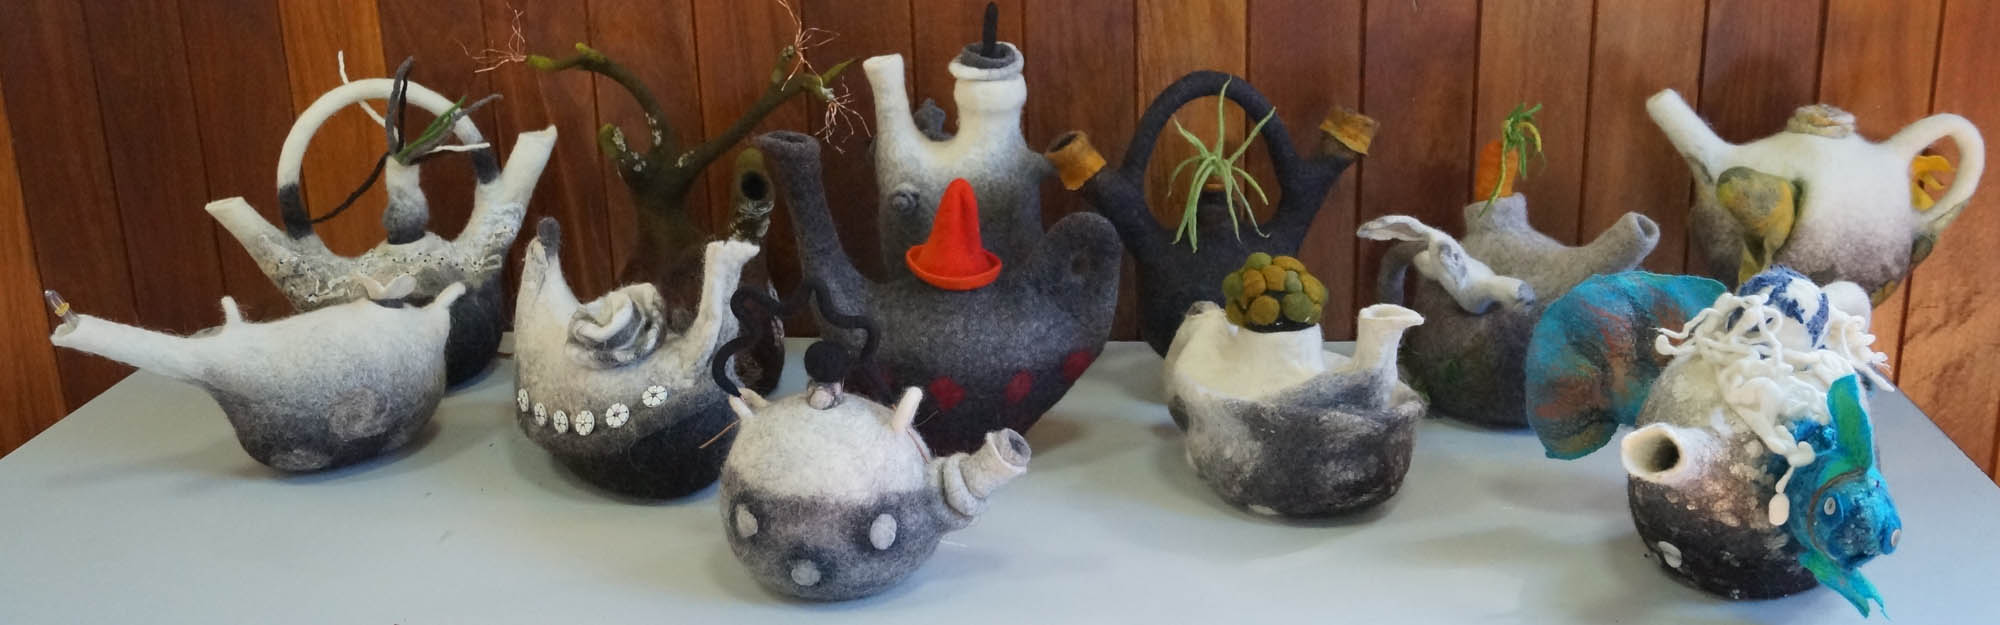
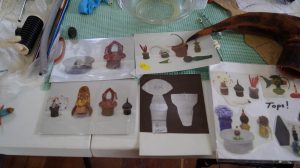 And finally on Day 3 the focus was on creating teapot stoppers made to fit exactly. The creative ideas of feltwest members were not lacking! Stoppers were generated in all shapes and sizes from otherworldly green lumps to a small red hat, others were more teapot shaped!
Finally, Pam spent time explaining the finishing required to make a teapot ready for display: this involves a great deal of time: picking out of small felt lumps that might have been lost in the fulling process, adding extra embroidery or beads, or any other adornments. At this time new tools emerged: doll-needles can be used to attach things, as well as tiny curved needles to attach tiny small beads!
Pam’s background in a wide variety of arts meant she was able to bring lots of tools from different backgrounds to the world of felting: her experiences with wood, basketry, sewing, doll making etc all brought new techniques to the design and making of the teapots. Thank you Pam for a great workshop.