Saturday Felting 21 April, 2018.
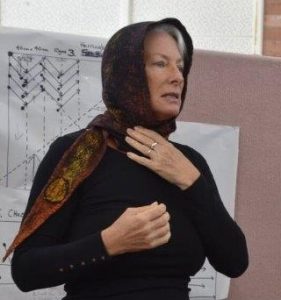
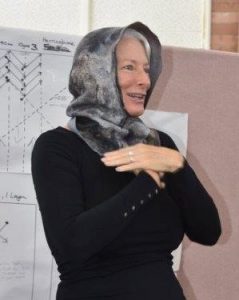
Mini Workshop by Nancy Ballesteros – 9 different ways to layout felt.
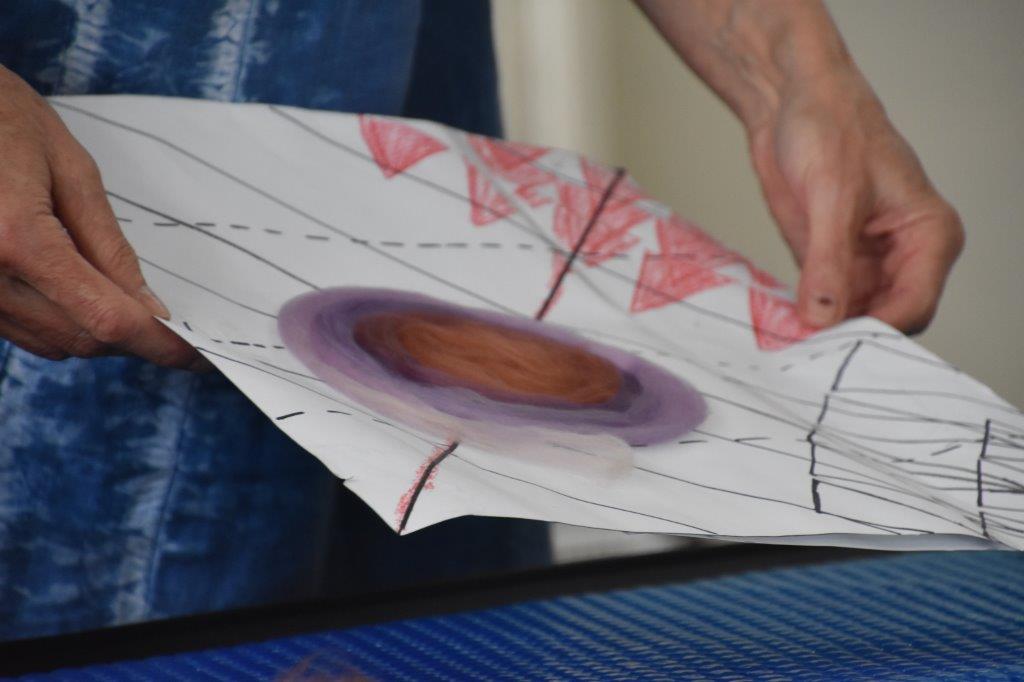
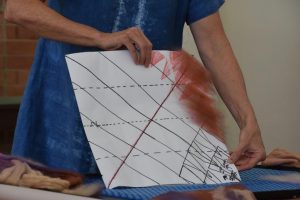
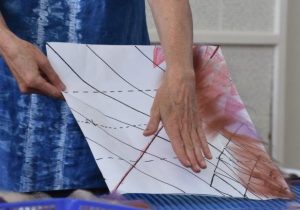
Nancy provided a number of charts as a visual example of the layouts, to show direction of laying.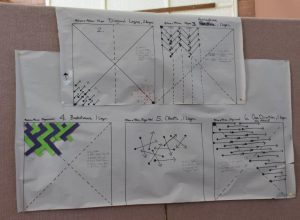
The dots and an arrows to show the direction of laying. The denser end of the wool will be at the dot, and it will be thinning in the direction of the arrow. The next thick end will be laid approximately halfway along where the previous piece is starting to thin. This process will even it out.
Nancy used a paper chart with directional arrows while laying out the felt so that onlookers could see more clearly what she was doing. Obviously when doing this for a method using more than one layer, this will become obscured, so you could use a ruler as your direction guide.

Nancy used 10 grams of wool & produced a sample 40cm x 40 cm for each layout method to provide a clear comparison.
Changing your usual method of laying out can be quite challenging, as it is easy to get into a pattern of doing the same thing.
Nancy suggests splitting the wool into 8 lines length ways where it naturally divides, pulling from the middle of the length, not the end. Lay it out thinly, so that you can see through it to the bubble wrap underneath. (Australia has a reasonably mild climate, we don’t need to lay out thickly as in Canada or Russia!)
Why would we use different methods?
Different methods produce different qualities in the felt. The layout you choose will depend on what you are hoping to achieve, which is governed by what you are going to make with the felt. Does it need to drape to fit the body for example? Diagonal layouts can be really useful for draping in clothing or sculptural pieces. Methods covered were:
Horizontal: Turn over and rotate 90 degrees between layers.
Diagonal: If you want a really sharp edge with this method, try laying a continuous strip along the edge.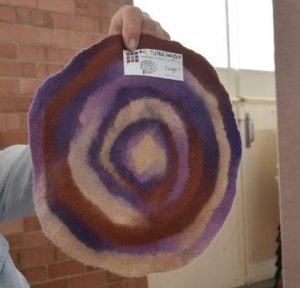
Cobweb: Don’t pull fibres apart, keep in one piece. Not very strong for a garment, but suitable for a scarf.
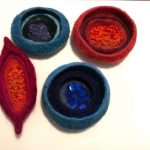
Spiral: Good for coasters.
Radial: Good for flowers, may not sit flat. Don’t allow the middle to get too thick.
Herringbone Chart 3: Provides beautiful elasticity & drape
Basketweave Chart 4: Provides beautiful stretch & drape with more stability than herringbone, with less apparent rows.

Running Bond Chart 6: This avoids the “row” effect that happens with layout No 1. It will shrink more in 1 direction than the other.
Random, Chaotic : Makes a really stable fabric, good for 3D forms. Aim for uniformity of thickness to maintain even shrinkage.
Regardless of the layout method used, Nancy suggests : If using a dryer to assist with the felting process, use it on the cold setting, wrap the felt piece in a towel, tied up, and sealed in plastic. The dryer is for friction, not heat. In order to achieve a very strong felt (in spite of fineness), allowing the wool to dry and re-wetting it and fulling it again, sometimes 2 or 3 times can be useful.
Toss N Tell

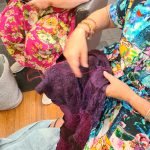
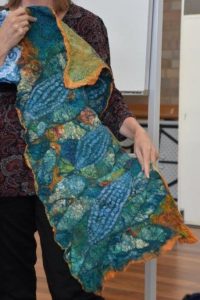
Peta showed her completed satchel from the leather workshop, and her work from Lieko’s workshop the Shell and the Cucumber layouts.


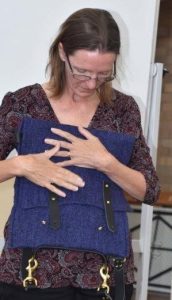
Sue also bought along her satchel completed at the leather workshop
Stacy has been doing an online workshop and has produced a number of beautiful pieces of clothing.