Studio Detritus with Soosie Jobson by Natalya Chvalova

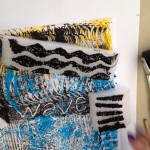
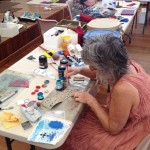
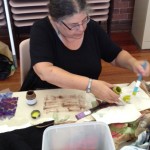
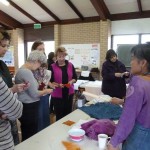
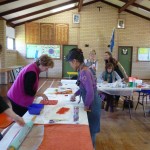
On 1 March we had an absolutely delightful experience investigating Studio Detritus! Started with philosophical  introduction to existentialism and its reflection on Art , further on Soosie often reminded me a magician , playing different tricks with different objects and means.

During the workshop we covered the following :

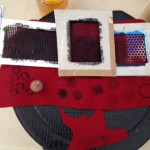
1.Using paints on fabric ( silk paint, Metallic acrylic paint, metallic rub-ons oil paints, etc)

2. Using glue for applications.

3. Using shellac and PVA for adding firmness.

4. Creating and using different sorts of stamps.

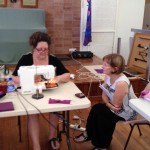
5. Machine embroidery , using different fabric and techniques

6. Different stitching methods.

Personally, I was especially impressed with the method of attaching a beed using sewing machine. That was a real trick!

I would like to express gratitude from  all who attended the workshop for the feast of creativity and skills!

Sincerely,

Natalya Chvalova

Nuno Felt with Alison Gomes by Eleanor Dennis

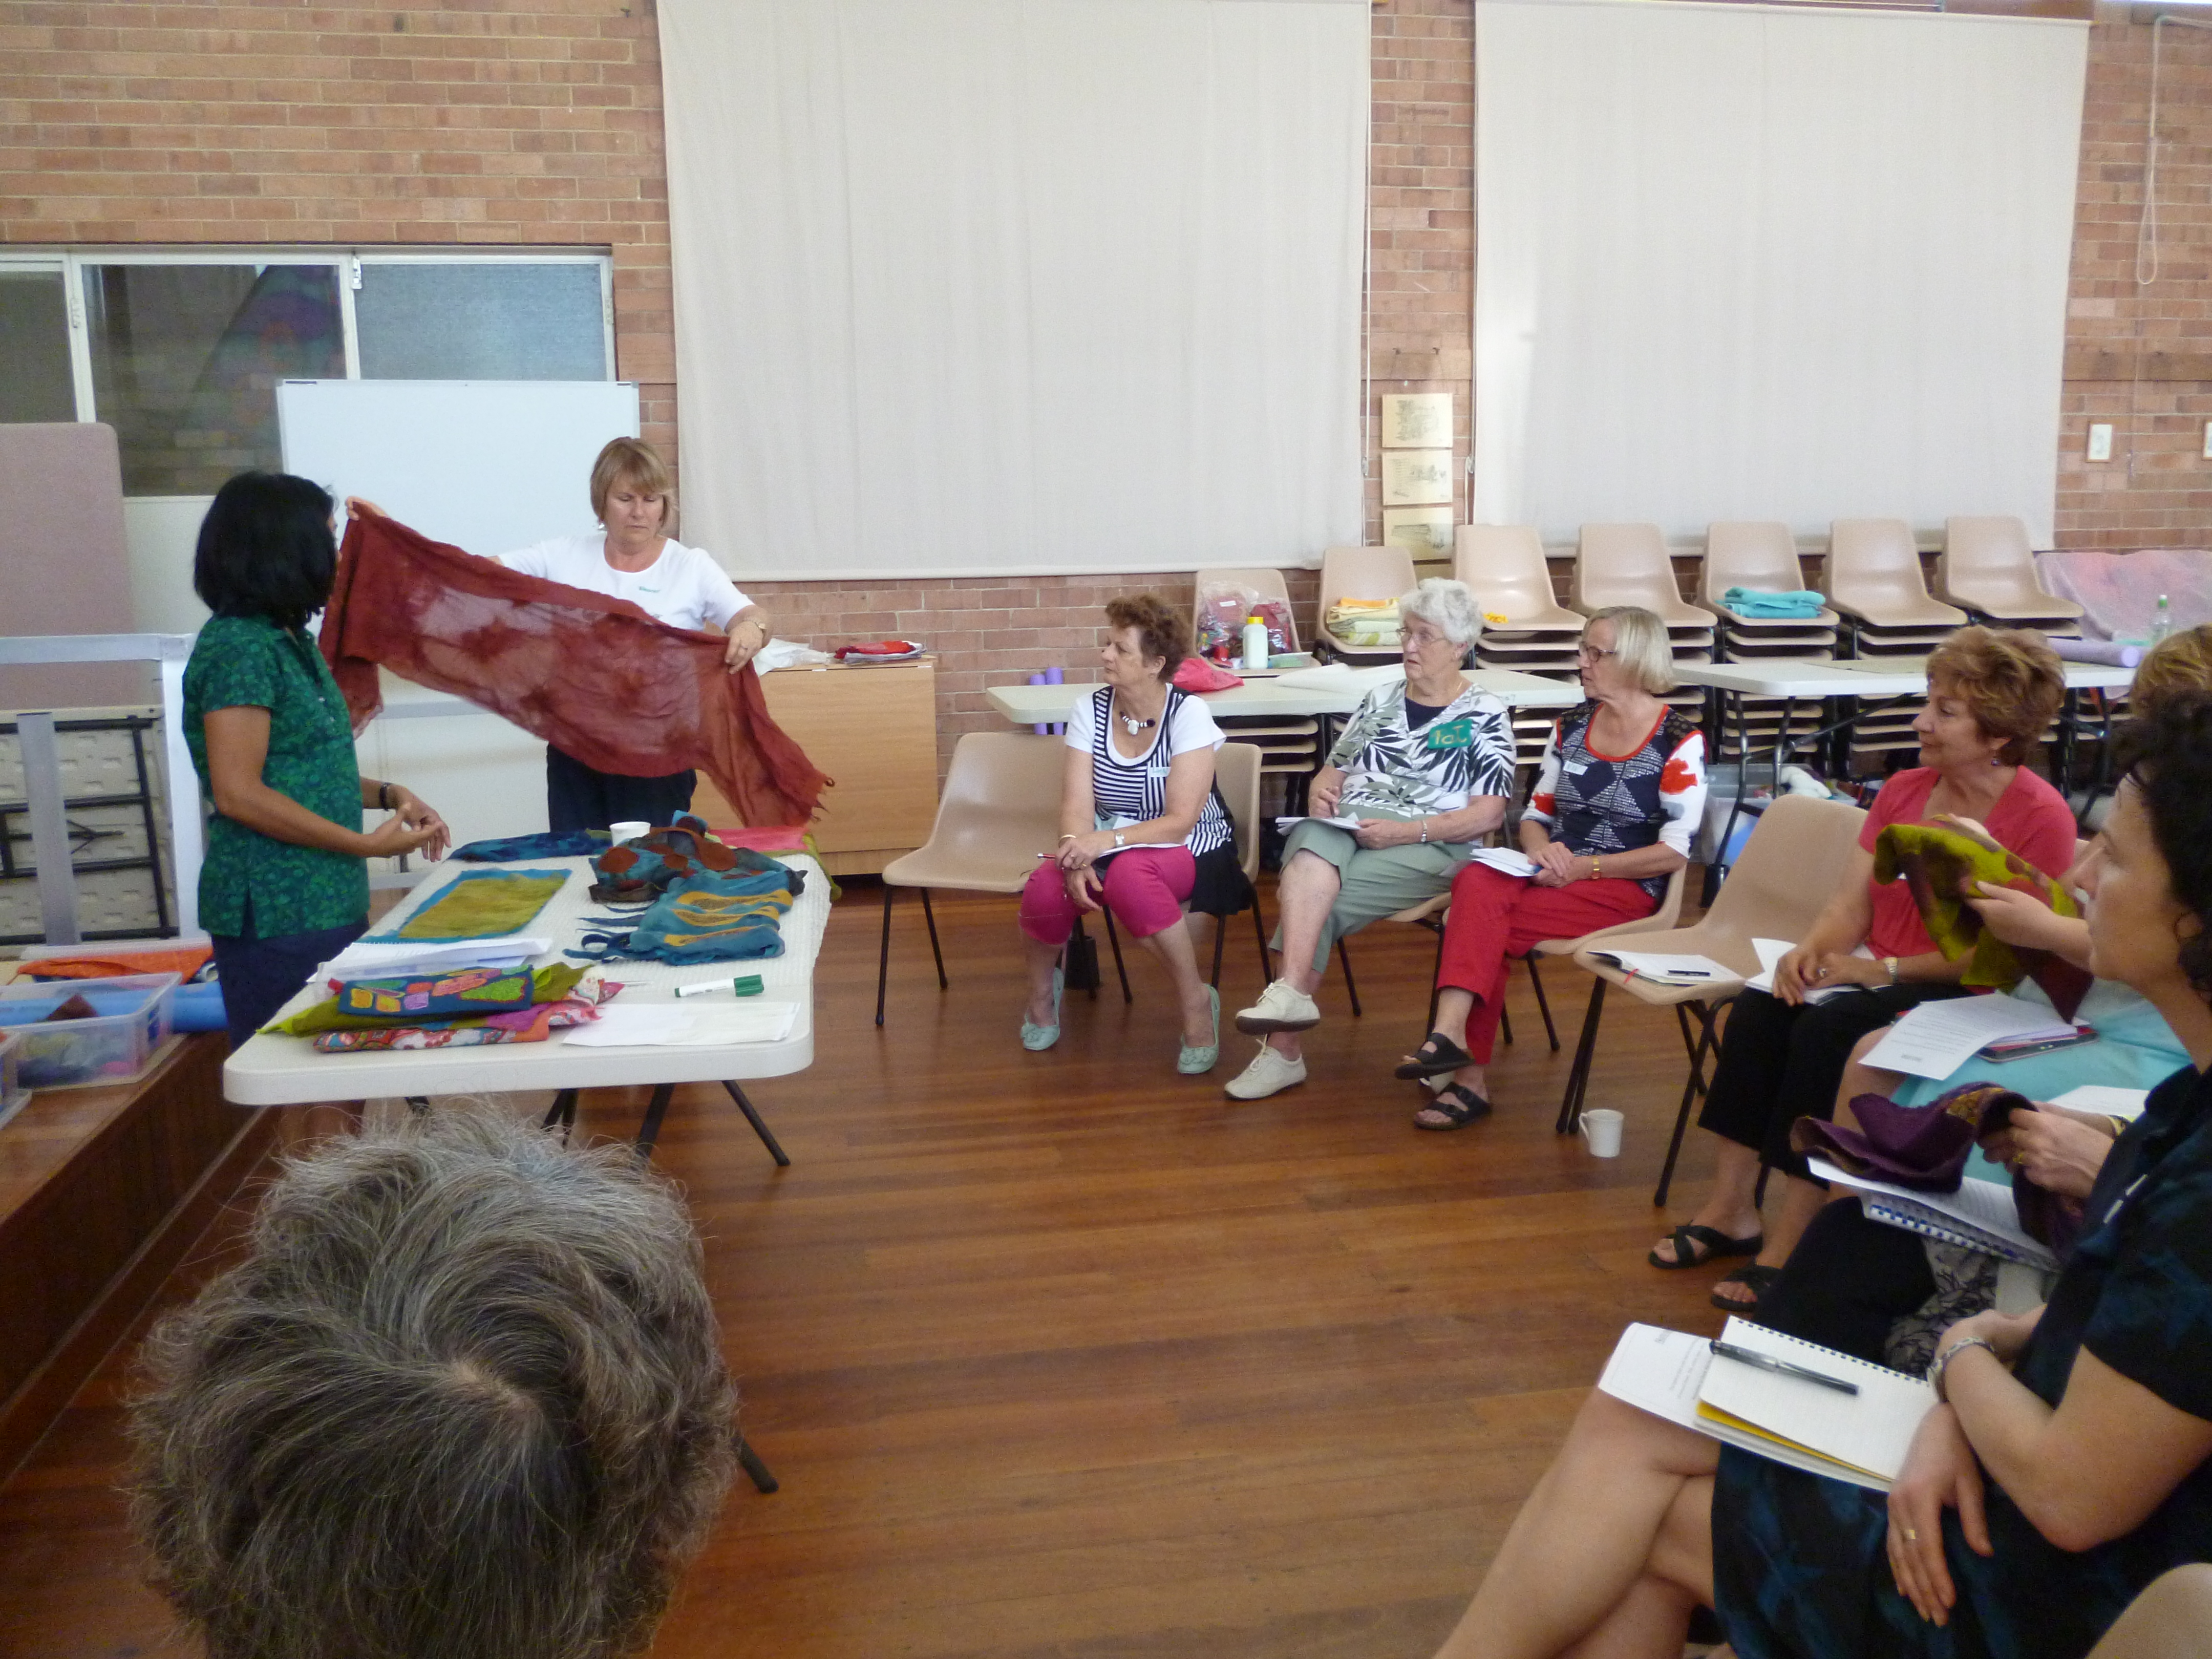
There was a palpable air of excitement as eleven fortunate felters gathered for Alison’s workshop on Nuno felting.   We started with a classroom session and to break the ice, we all introduced ourselves and explained why we loved felting.  It was very obvious from everyone’s comments that Alison’s work is held in very high regard and that everyone was very excited to be in the class to learn from her experience.  No pressure of course for Alison!!

P1020728

Alison explained that she has been felting for five years and loves it.  She gets the ‘DT’s’ if she doesn’t felt most days.  Alison has commandeered the family kitchen table for felting, Monday to Thursday and grudgingly relinquishes it to the family for weekendsJ  Her joy and love of felting is obvious.  Alison loves experimenting and exploring with felt and out of that processes comes some ‘happy successes.’  Alison explained it as  ‘the joy of felting.’

P1020735

Alison demonstrated the four basic techniques of nuno felting:

1)     Wool base with fabric on top

2)     Fabric base with wool on top

3)     Laminating wool between two or more layers of fabric

4)     Making nuno pre-felts to use as patterns on wool rovings, bats or fabric bases.

She also explained the types of fabric that work well in nuno felting and passed around examples of her work that illustrated the various techniques with various types of fabric incorporated in the finished article.  We were able to see and feel the textures that can be achieved.  Fabrics that work well include the open weave silks – chiffon, organza, georgette; devore and silk velvet; rayon; open weave cotton scrim fabrics but use in a double layer; yoryu silk will felt but shrinks in the direction of the longitudinal weave (weavers – is that warp or weft?).  Tightly woven silks will felt with difficulty or not at all.  Synthetic fabrics will not felt, especially synthetic velvet.

P1020730

After a quick refresher on laying out wool and the old chestnut ‘shrinkage’ it was down to work!  Some of us worked on samples and some started their major piece.  After lunch we had a quick session on the use of colour with the instructions to be brave and bold and experiment.  To quote Alison, ‘Wool, like paint can be colour mixed to great effect.’

Then it was back to work to finish items already started and to commence work on a scarf or other item.

P1020729

Take home lessons for nuno felting and felting generally:

the finer you lay your wool the more it shrinks; use warm water; if you add soap to your water bottle it should be cloudy NOT foamy; in winter you can bring your piece to room temperature in the microwave – don’t cook it though!; be gentle; use your hand to ‘dry felt’ fine wool pieces to keep them in place; use wisps of wool over fabric to help them adhere to fabric; BE GENTLE  when fulling; keep checking, stretching when fulling; lift your noodle when rolling to reduce/eliminate creases; don’t roll too tightly; when fulled rinse in tepid water, that gradually becomes colder as the soap washes out.  Lay flat to dry. When your piece is almost dry, iron it face down ir on the back, covered with a towel and on a steam setting. If you are using a felbi bat for motifs, you can line them with wool or use two pieces for more body. Always weight your wool and record it so that you know how much wool you need for the thickness you want.  Alison suggested  30-35 gms of wool for a fine wool scarf with two layers.  Handle rovings as little as possible.  Roll up rovings and store in open plastic bags under dry conditions or paper bags if it is humid.   Cedar wood oil is a good moth repellant.

P1020717

We look forward to the November Show n Tell to see the results of the day.

A huge thank you to Alison for the day.  It was a wonderful day of learning, sharing, fun and new friendships which is, as those of us who are newish to felting, have come to understand as a normal state of affairs!   I’m sure that I speak for other ‘newbies’ when I say that we are very thankfull for the generosity of the tutors and the other felters.

Rug Making with Liz Odd by Eleanor Dennis

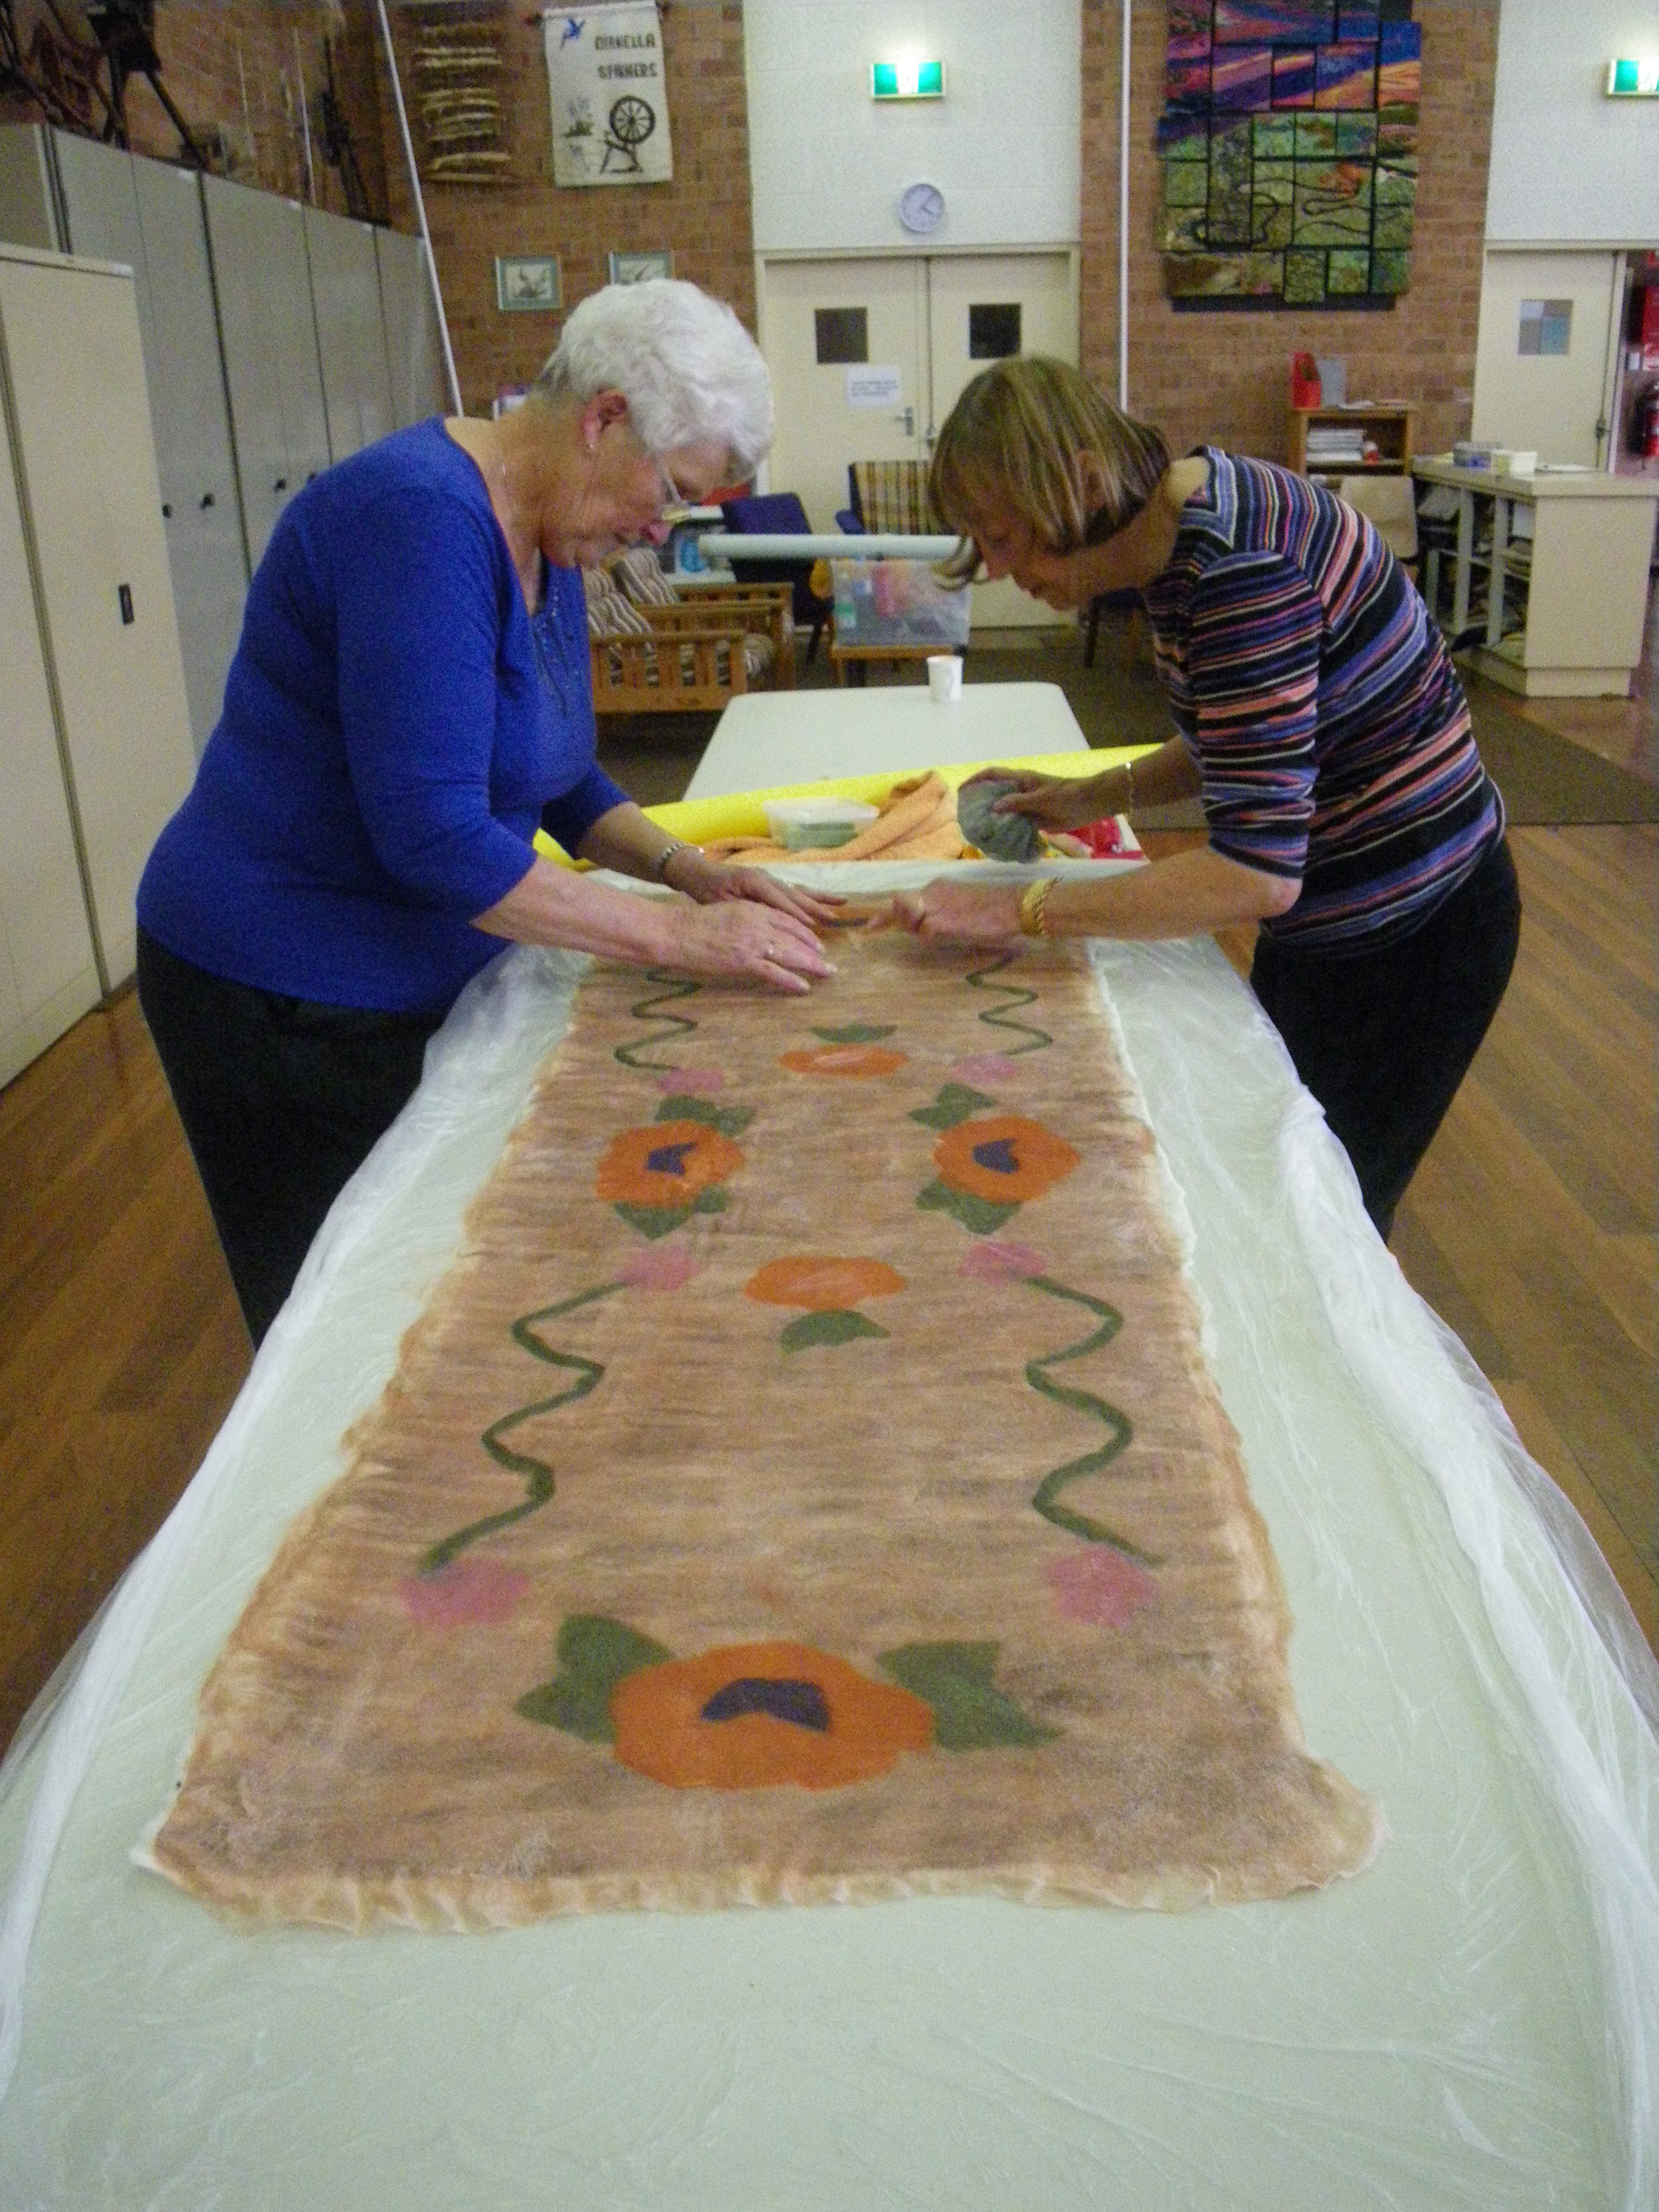
Virginia, Pat, Beth, Sue H and I arrived eager to learn how to make a floor rug or in Pat’s case, a table-runner under the expert tutelage of Liz Odd.

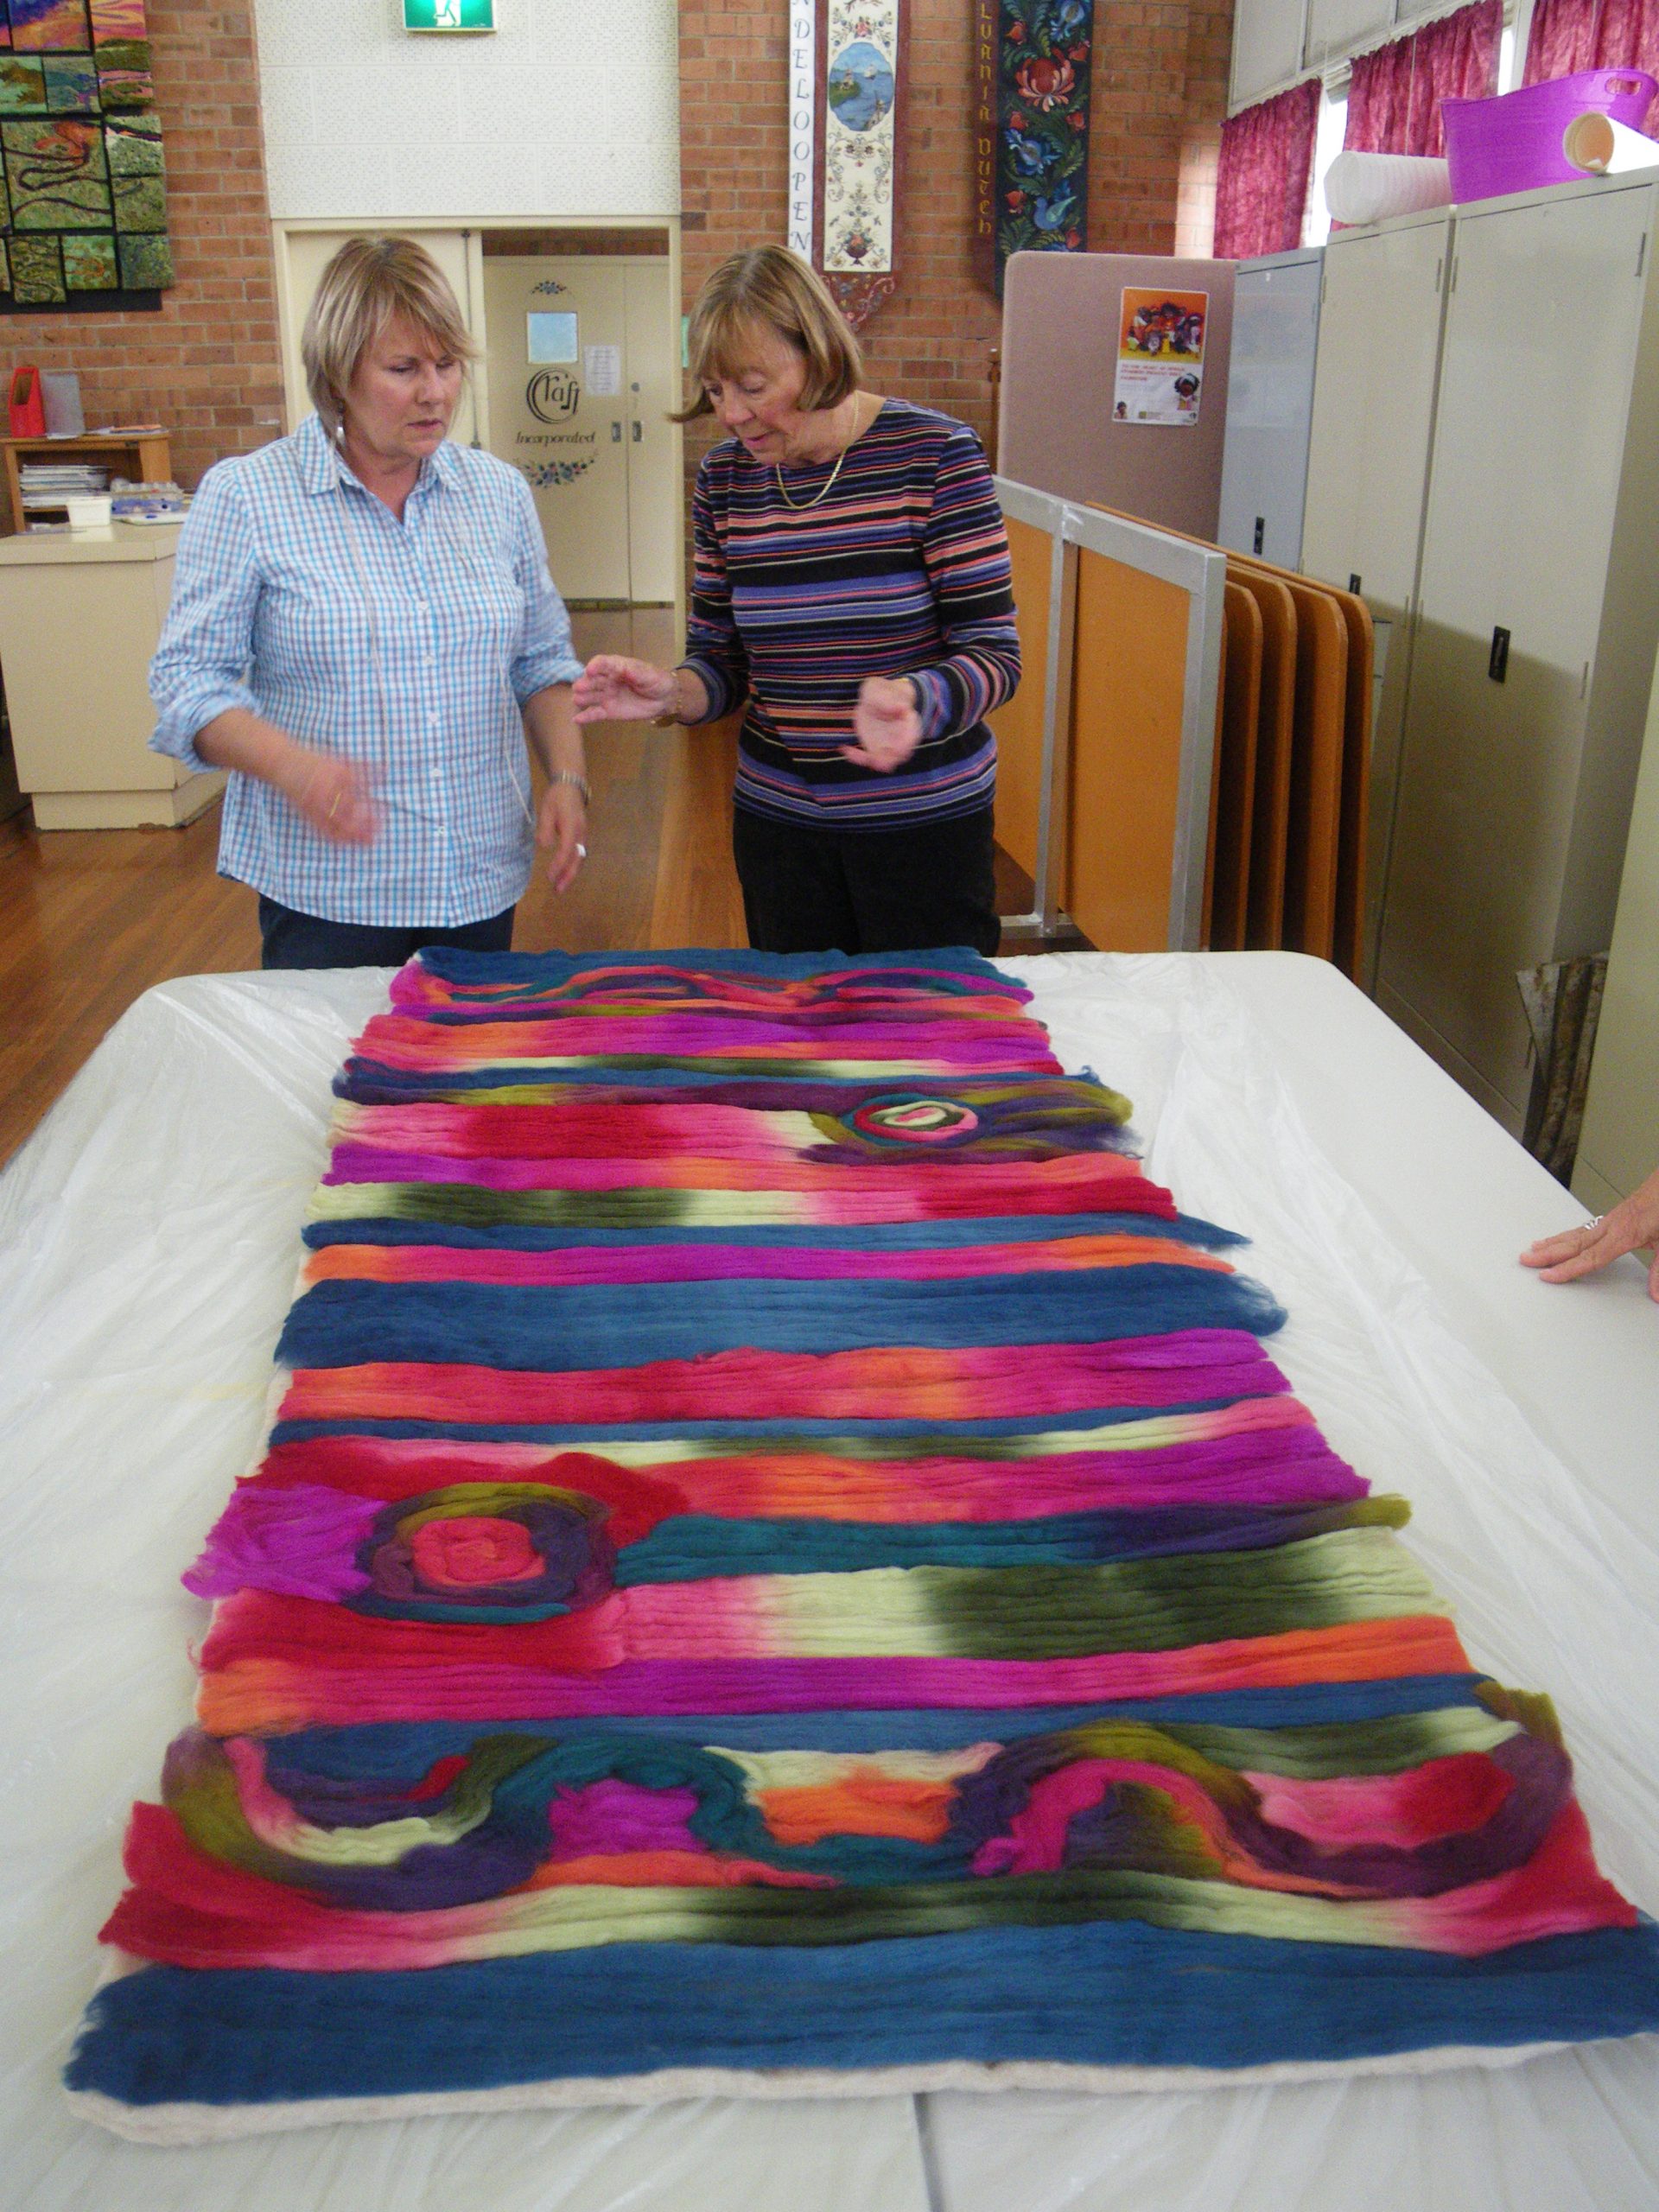
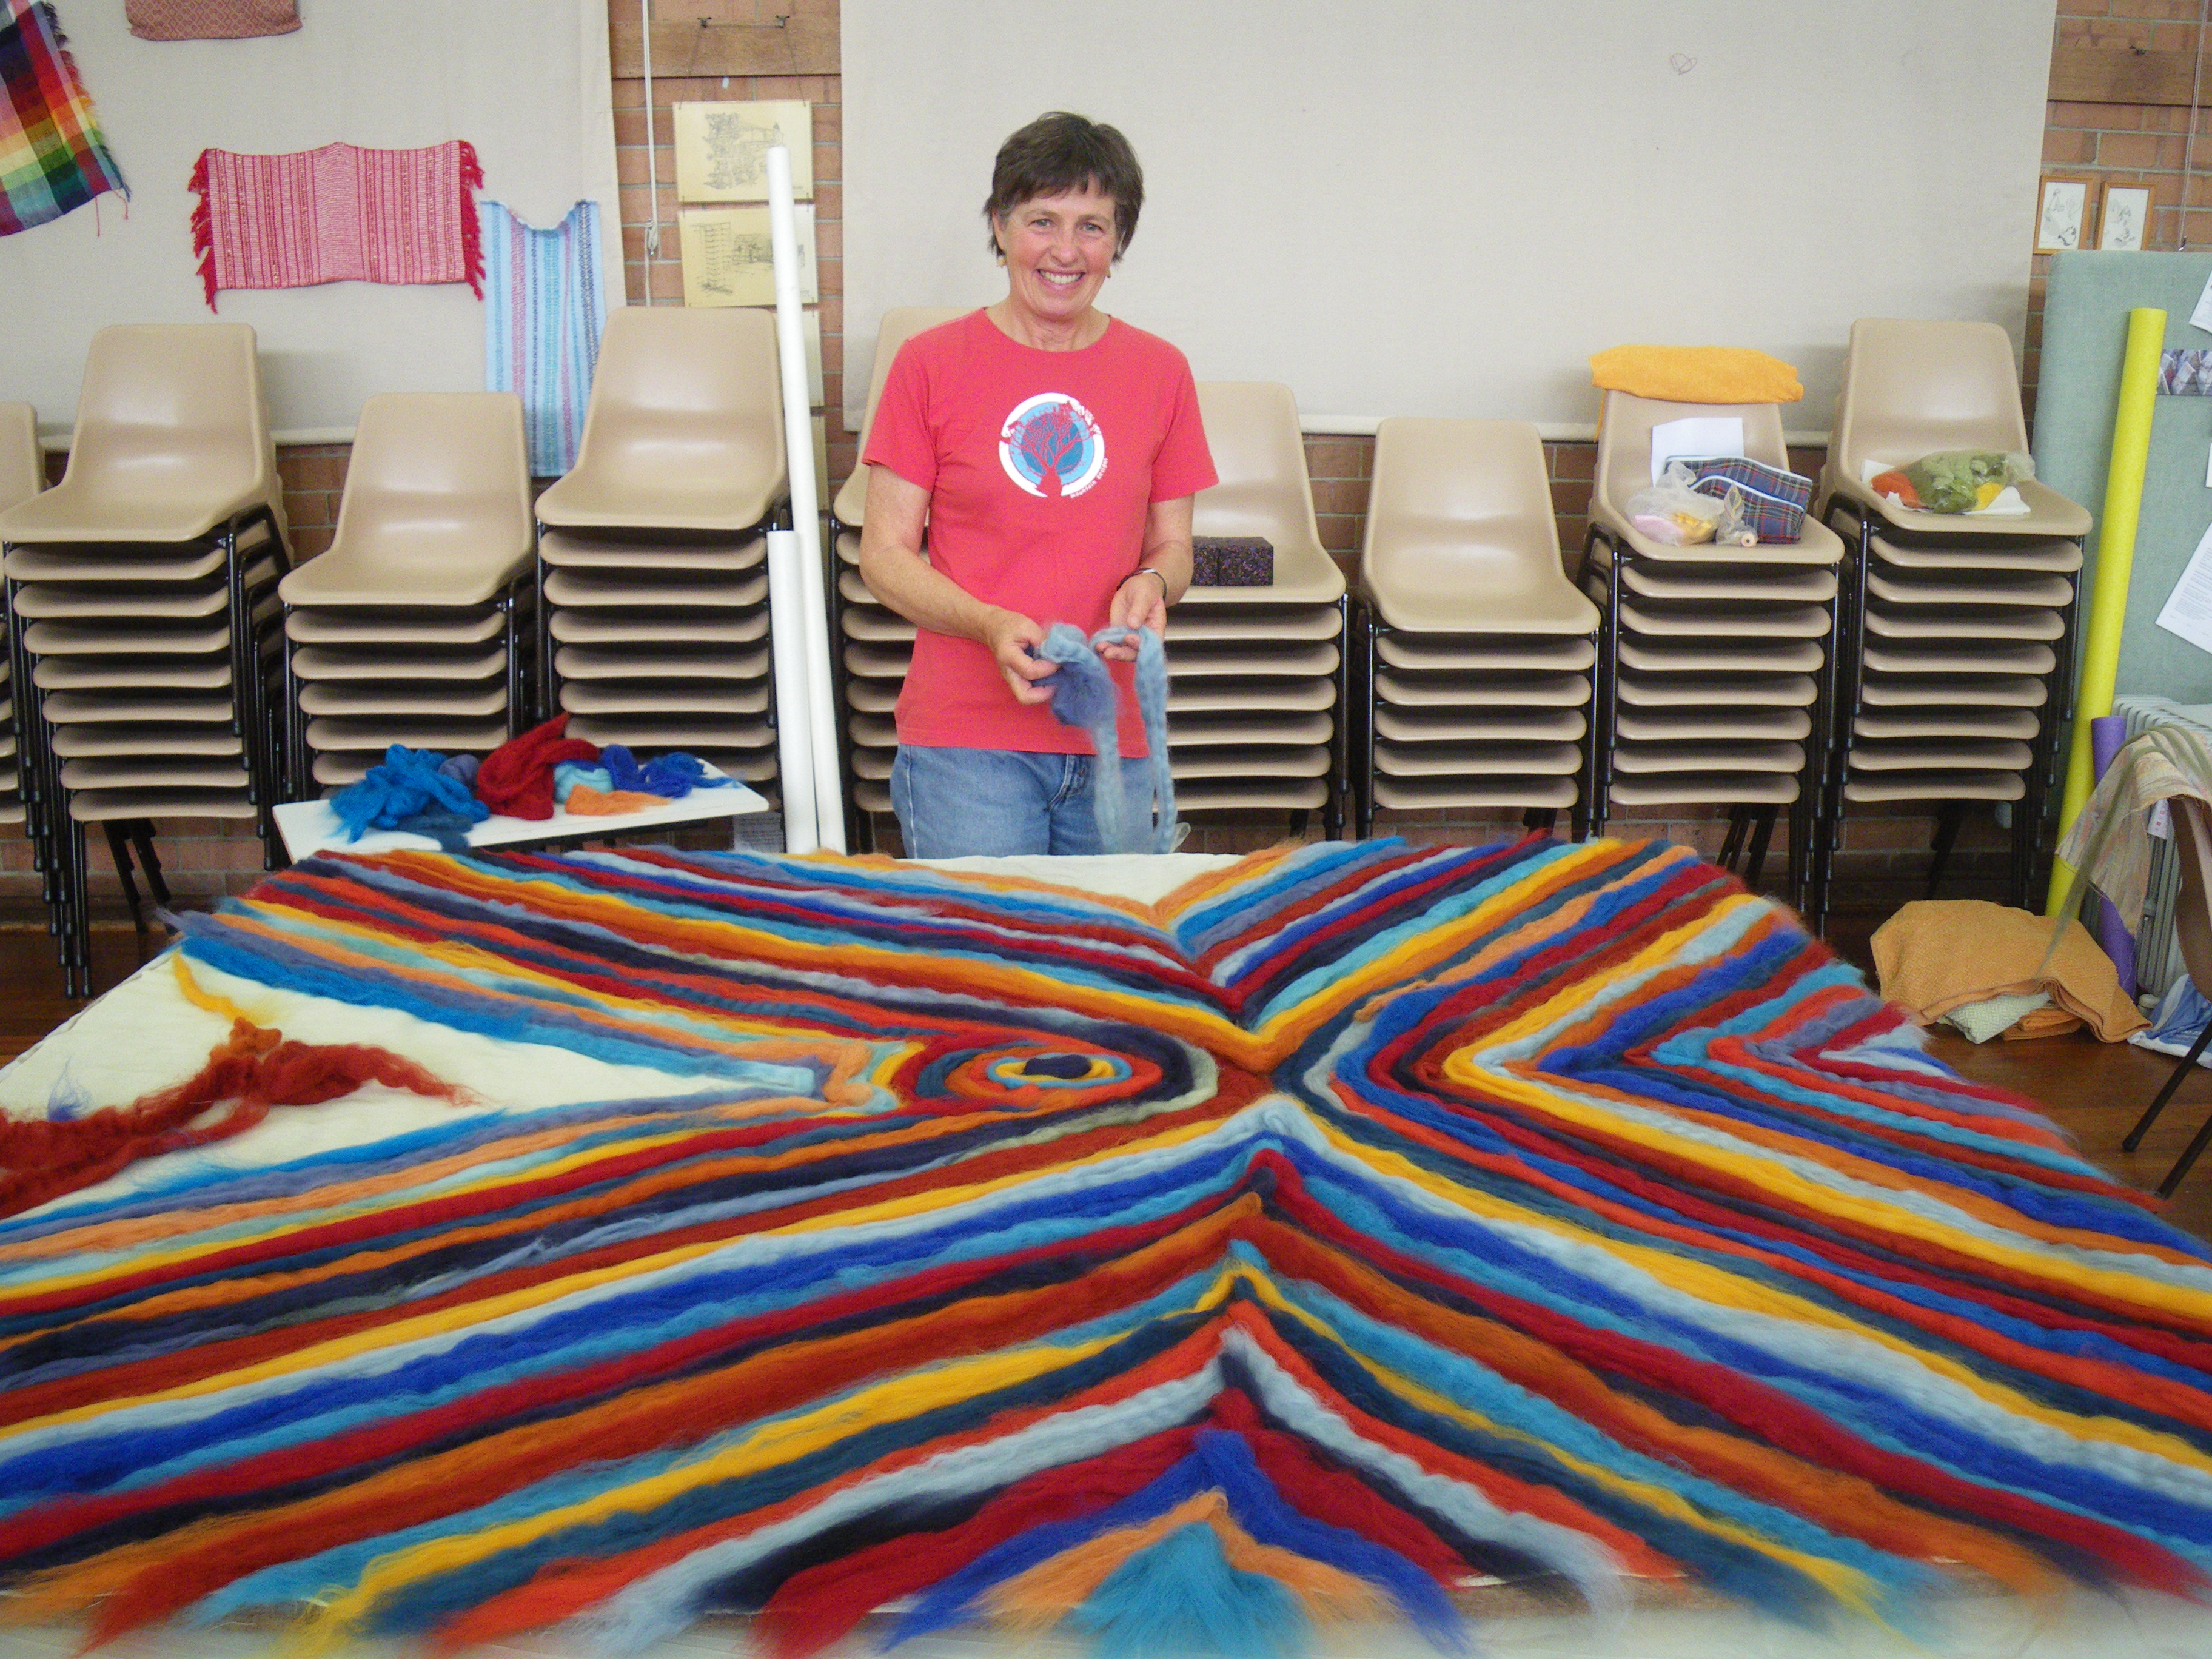
Tables  were set and instructions were handed out by Liz. We had all arrived with an idea of what we wanted to do.  In my case, a simple striped floor mat similar in design to one of Nancy’s creations.  I wanted to learn the technique and not be side-tracked by more complex design or technique.  Liz soon put paid to that!  She showed us various samples of her work and designs from invitations to indigenous art exhibitions and urged us to think about design, colour and use of our pieces.  We could felt both sides with different designs if we wanted too.  As with all felting, Liz made us realize that we could let our imaginations run wild! This led me to change my design whilst keeping the technique simple and to play with shape and colour.  Beth and Virginia decided to felt with different designs the backs of their pieces too.
IMGP6049

Beth had returned to felting after a break of three years and she was flying along, using up materials from her shed. A lovely soft mauve hued bat with lots of brightly coloured pre-felted pieces, scatterings of wool and other embellishments on top and a totally different pattern and colour scheme on the bottom.

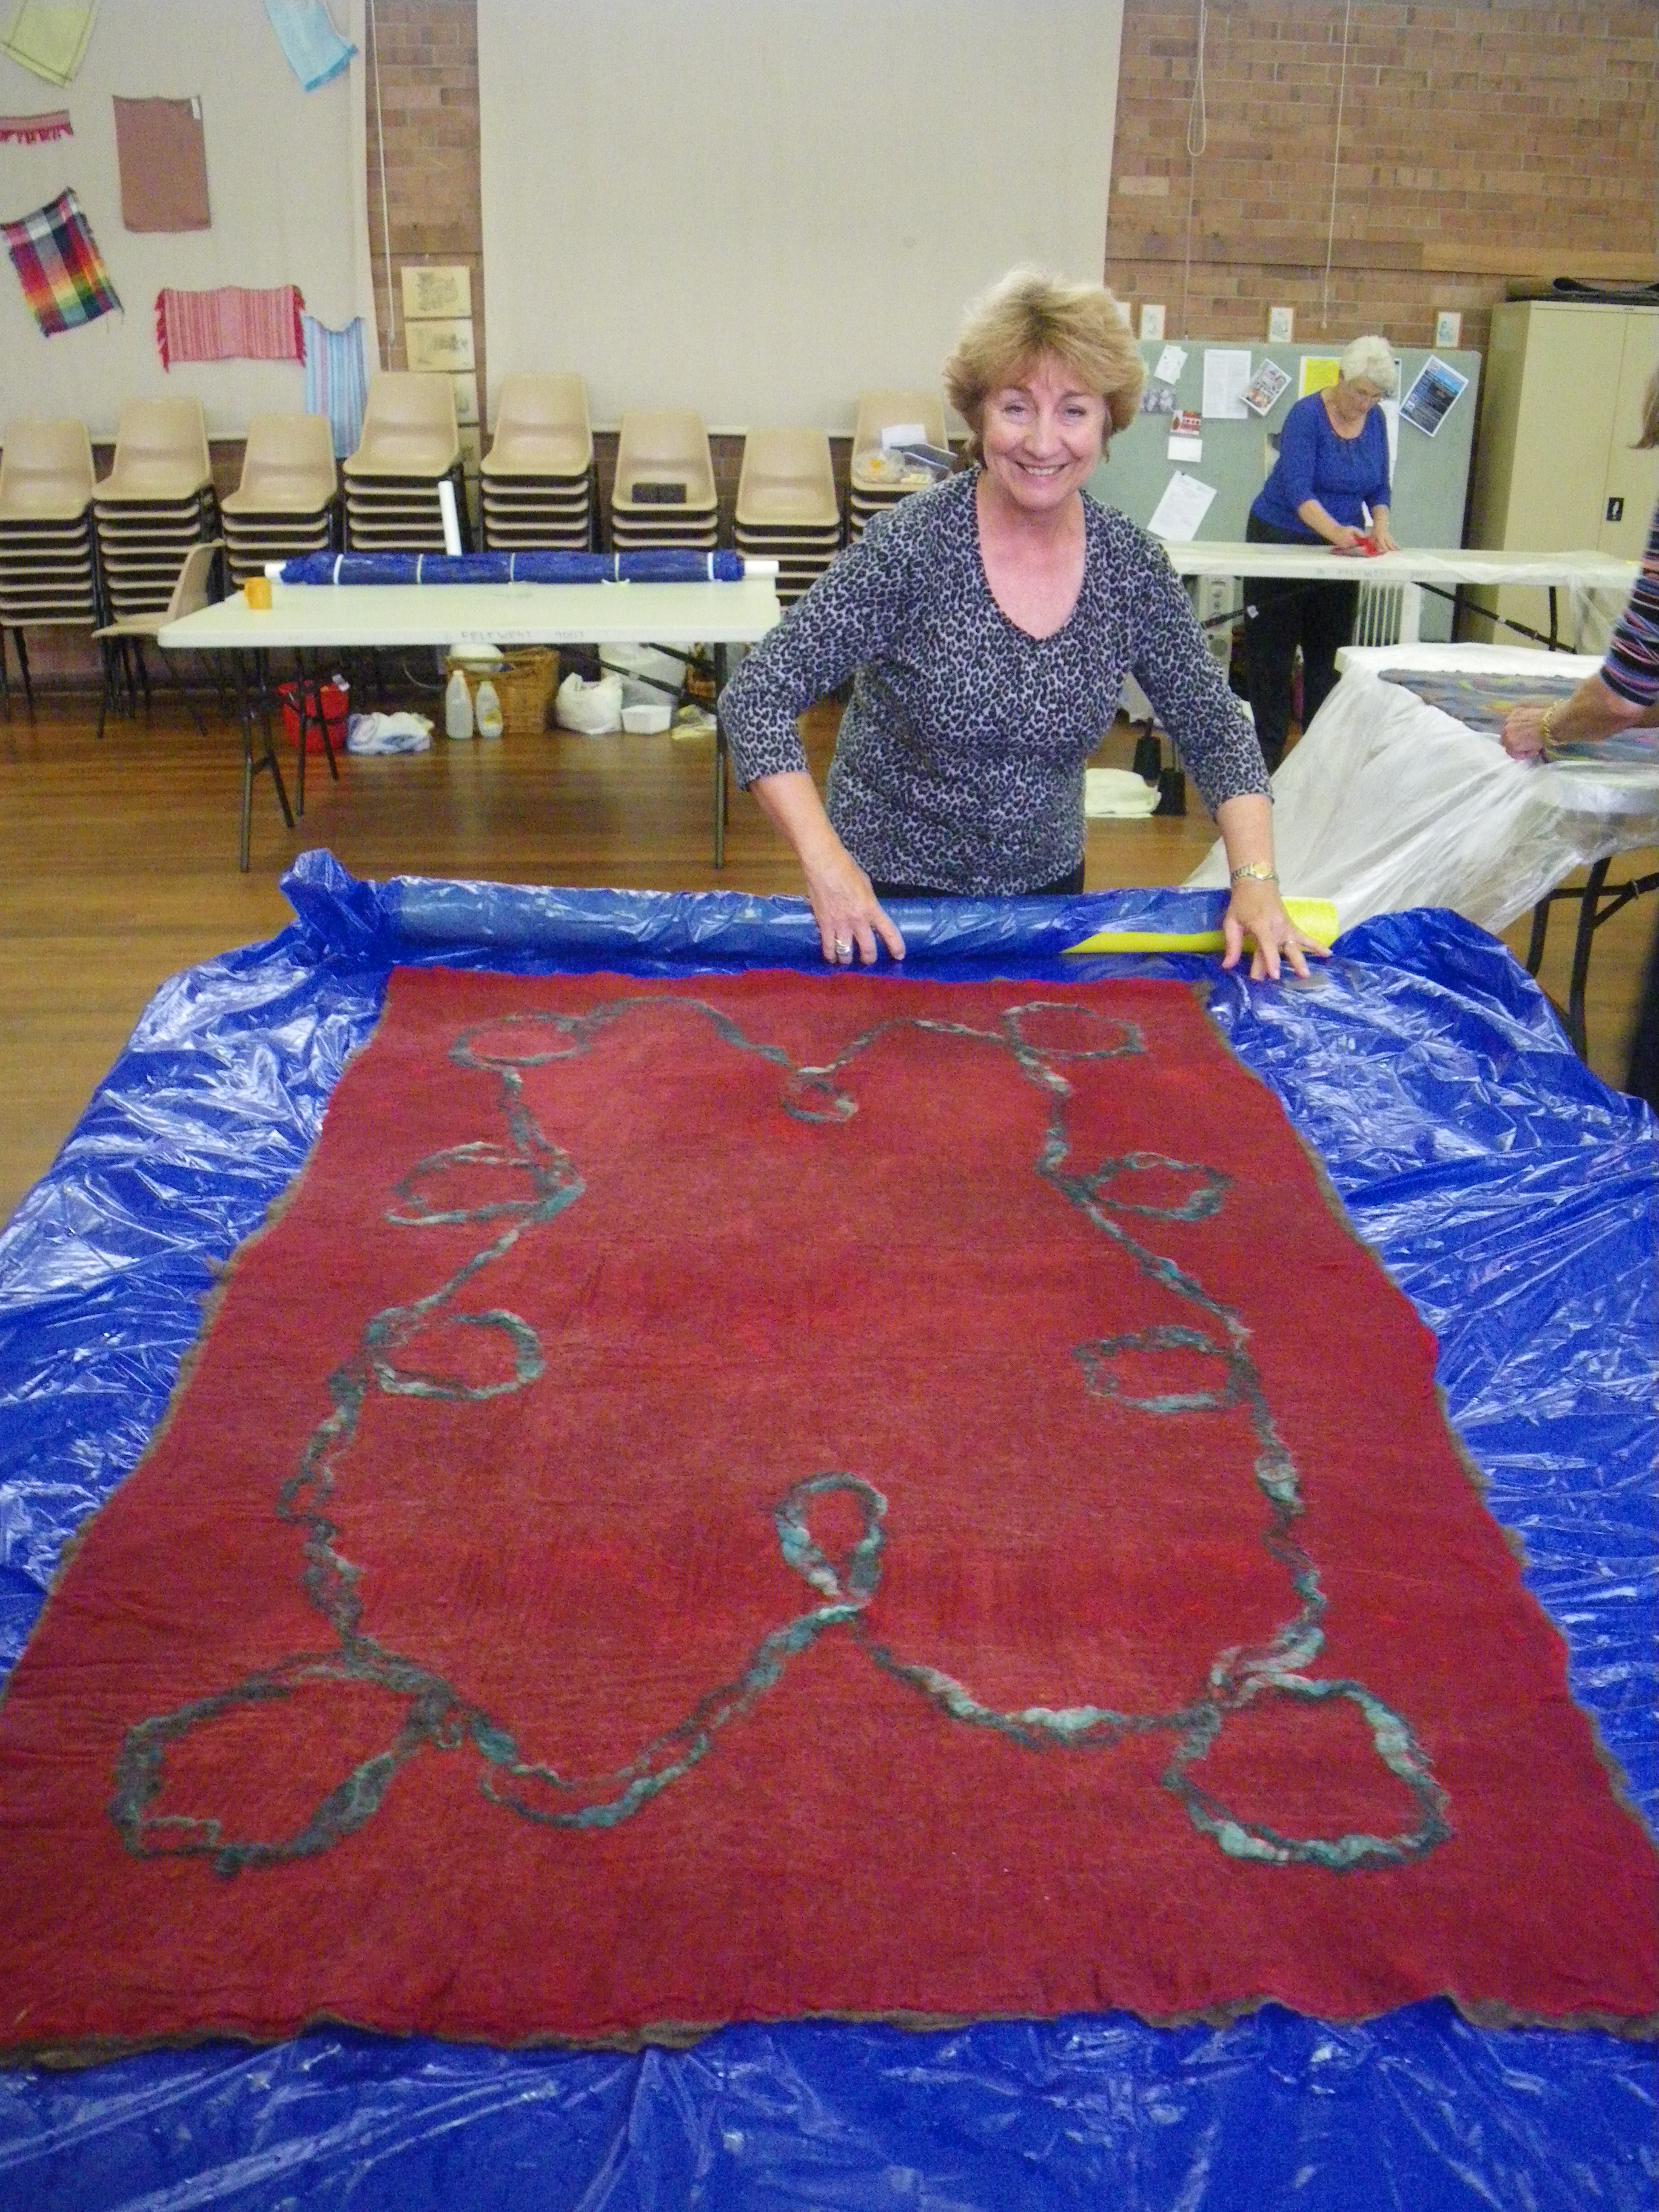
Virginia wanted to make a rug for her living area and she had her design and colours all planned. She started with a ‘Nancy’ bat, then a layer of cotton lawn, topped with a fine layer of wool laid in one direction, topped with a double layer lightweight Felbi bat.  She then laid a scroll like design on top with wool yarn.
IMGP6047

Pat was carefully cutting out her design to use on her table runner and Sue was being very social while she worked out what she wanted to do which turned out to be a stunning rug.

Pat’s table runner was laid on a ‘Nancy’ bat, topped with fabric and then wool and her pre-felt design.

Sue laid out her design on top of a ‘Nancy’ bat. Her rug covered two tables which when dry was easy to manoeuvre but once wet it took two people to lift and carry out to her car!

 As the day wore on the creativity ebbed and flowed and Liz monitored progress, providing useful tips and tricks and hands on assistance such as trimming edges, design advice, placing pieces and wetting down.
IMGP6043

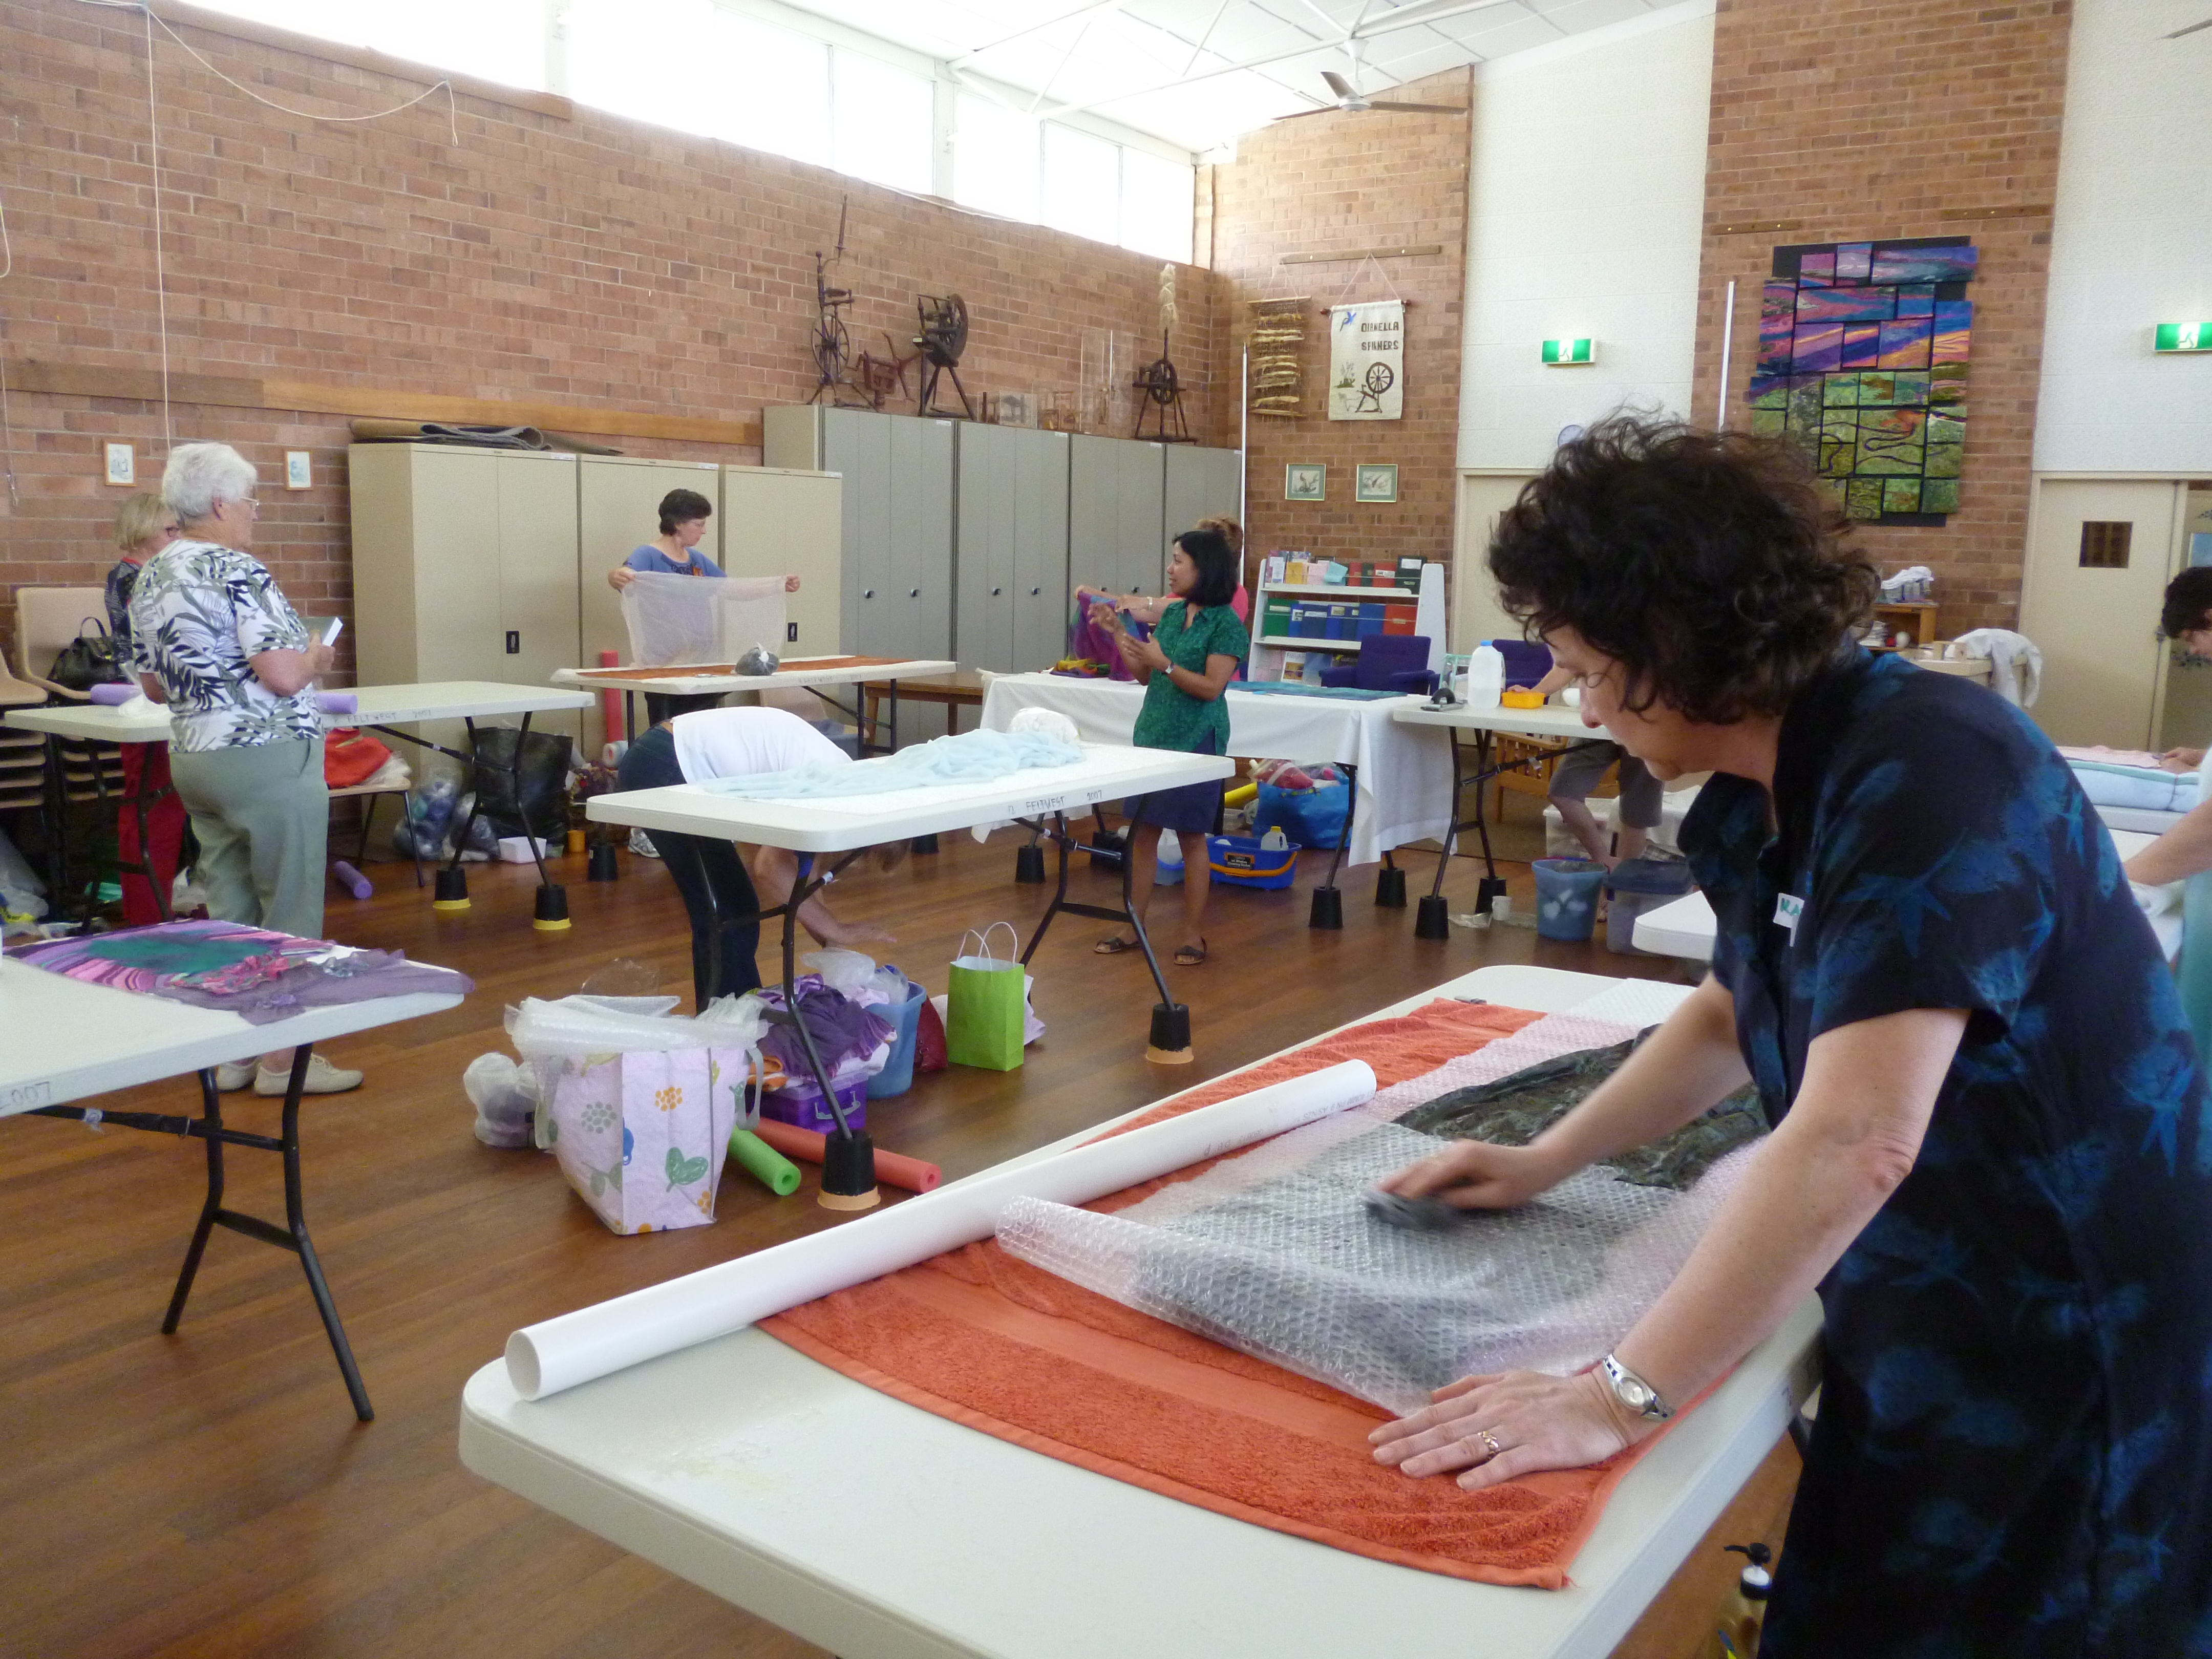
Once we had laid out the design, it was time to dry roll our pieces and then check that the design was still in place and that there were no holes where the bat could come through. Once finished with that process it was time to wet down and finish the felting process, remembering to keep checking, getting rid of excess water and stretching.

The day went all too quickly and we all headed off with our efforts to finish at home.

Everyone had a great time. Lessons learned – positive and negative:

  • If using fabric between your wool layers,  wash it first to avoid issues with different shrinkage rates between wool and fabric, the effect of any water resistant chemical  applied to the fabric and dye running.  Liz suggests washing all fabric before use and making a note if it runs or has other problems.
  • In Virginia’s piece she commented that another layer of wool in a different direction between the bats would have resulted in more even felt and a thicker layer of wool on top would have been preferable.
  • Some of the bats were water resistant in patches and difficult to wet so we ended up with too much water and soap. The only solution is to mop up extra water and soap as it is very difficult to tell which parts of the bat will be resistant.
  • If you have a plastic table similar to the ones we use, use the table edge to get straight edges and rounded corners when cutting and trimming.
  • keep stretching the piece between rolling to get straight edges
  • and for new felters like me, use a tumble dryer to felt big pieces. Don’t over- do it.  If using a tumble dryer, less is better ie keep checking every five minutes for shrinkage and stretch edges to keep it straight.
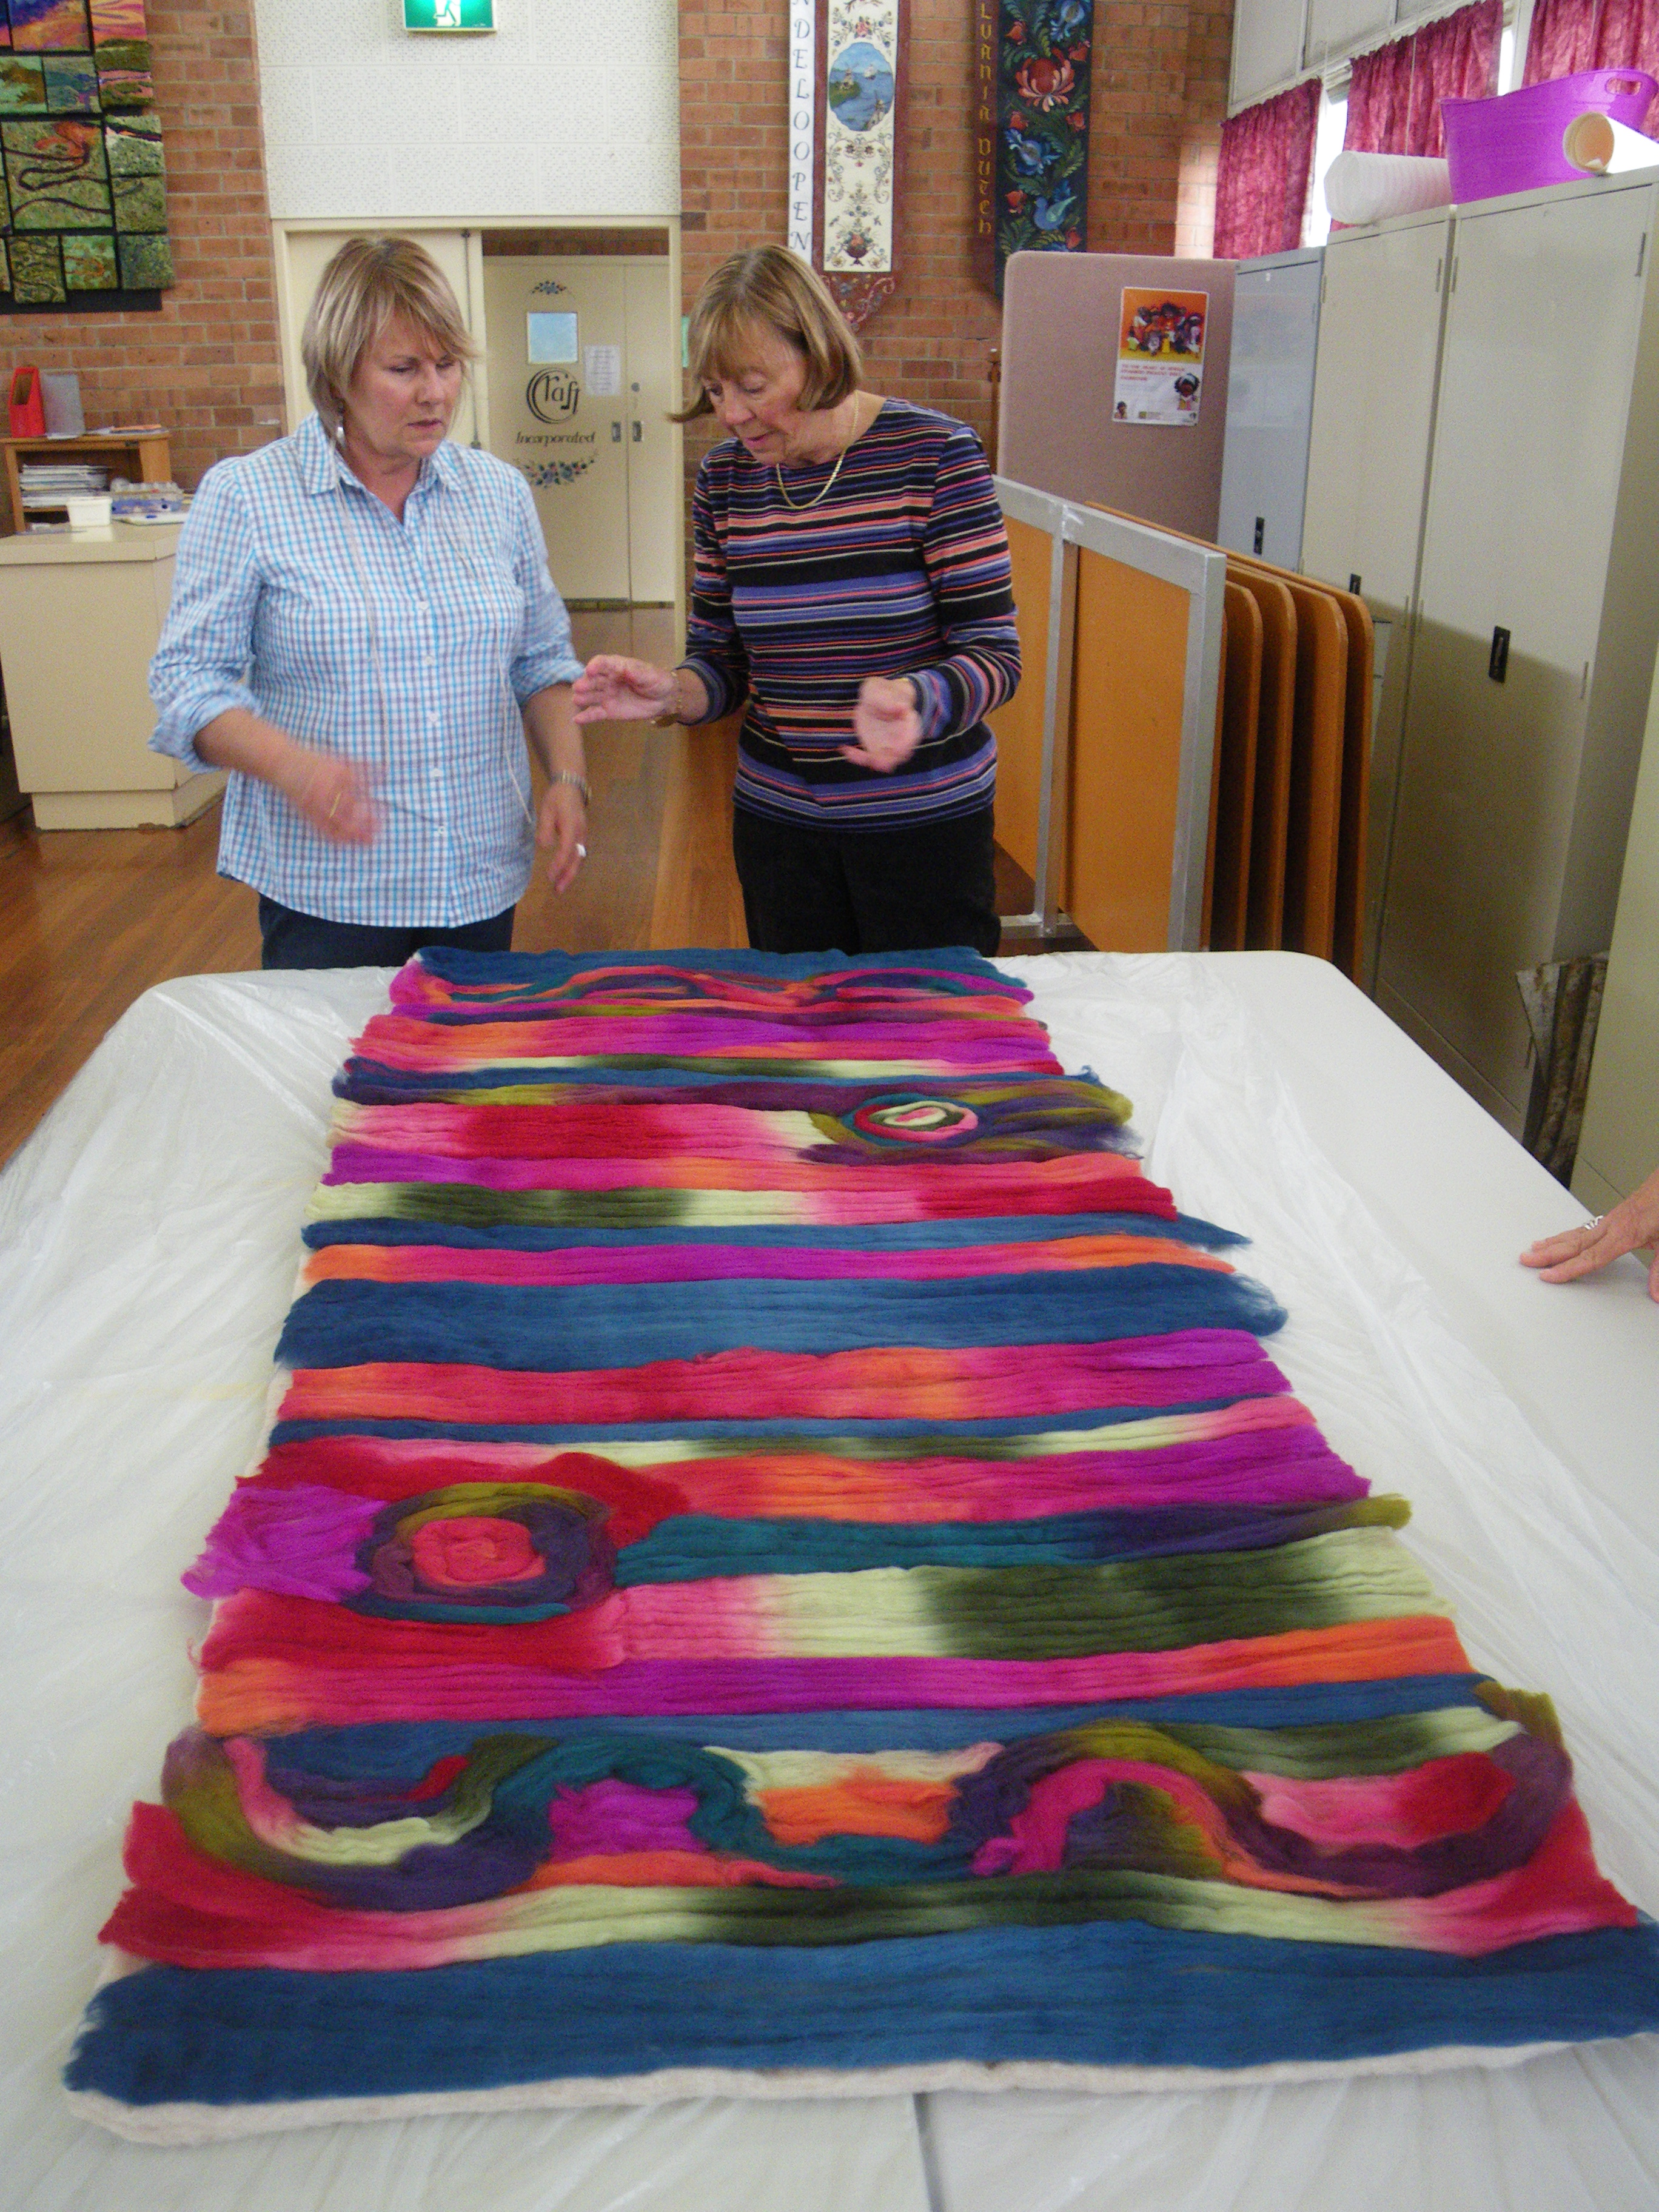
IMGP6041

POST SCRIPT:  At the October Show and Tell, we brought along our pieces for Liz to critique.  Pat had used some stitching on her table runner which brought out the colour and texture of her table-runner.  Sue was not present so we weren’t able to see her stunning rug.  Beth decided that she was going to stitch hers too to bring out the colours and add texture. Virginia’s was finished and looked lovely and mine needs some more felting to harden the edges.

A huge thank you to Liz who not only provided great tutoring in class but followed up with each of us after class to offer advice and help.

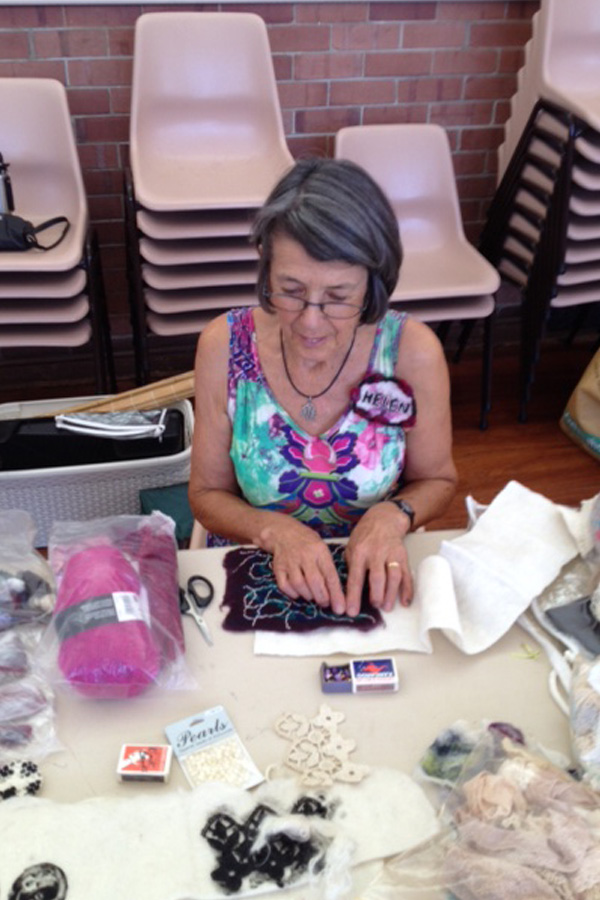
IMGP6037

Leiko Uchiyama Review by Virginia Campbell

Sample Making of Pine needle Felting – One Day Workshop

Sunday 22 September was a typically damp and windy spring day but that didn’t dampen our enthusiasm when we arrived at 9am to set up for our one day workshop. Most of us had already attended Toss n Tell the previous day when we had the opportunity to meet Leiko and to see and  listen to her  inspiring slide presentation of her diverse felting work and learn of her journey to become an international felting artist and tutor. We had also at Toss n Tell seen some of the work which had been done by fellow FeltWest members at Leiko’s workshop during the previous two days.
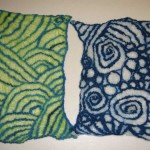
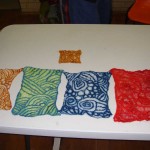
In our workshop we were concerned to make two samples using a technique which Leiko called “ Pine Needle Felting”, and which she had developed after watching pine needles fall onto snow in her native Japan and observing the interesting patterns they made.

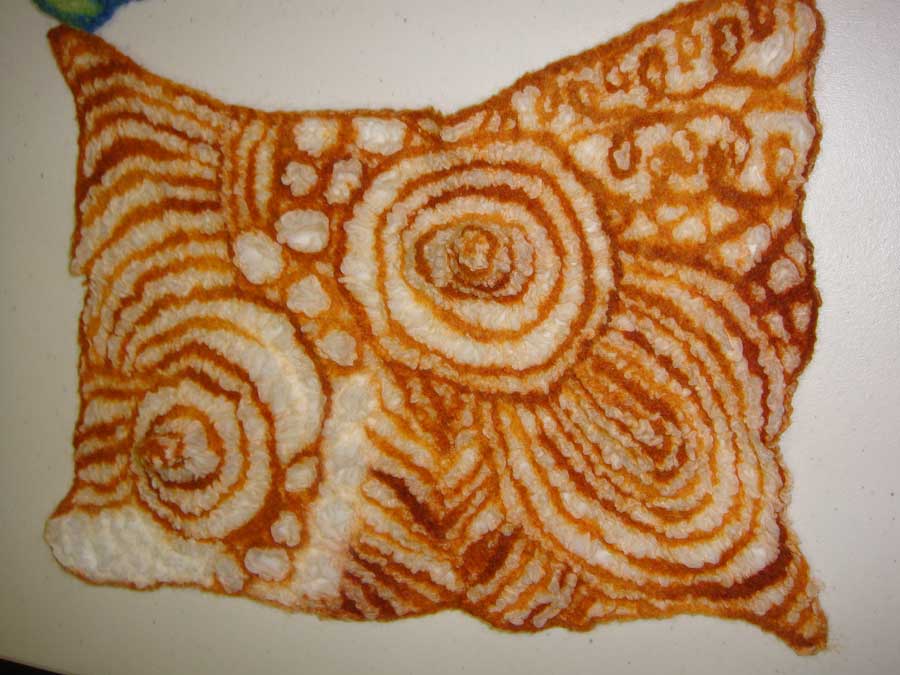
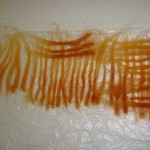
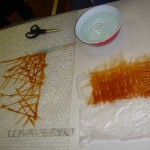
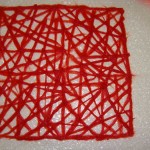
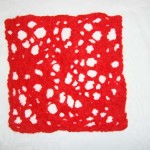
To make the first sample we used only very fine merino wool (under 19 micron merino). Leiko showed us numerous examples of her work using this technique, firstly with fine merino wool and then with mixed silk and fine merino wool (comprising 20% – 50% silk). Unfortunately there was insufficient time to use the mix of silk and merino wool at the workshop, but the technique is the same. Our first step was to take fine threads of dry wool from the middle of a handful of roving (cut on both ends, about 20cm long) and place the fine strands firmly in rows on a plastic surface. When one row is completed, you place another row on top of that row but at right angles to the first row. You thus build up a collection of strands of wool of equal thickness and equal length which you are going to use in your piece. These strands are the “pine needles”.  While I used only one colour in my sample, I thought the finished pieces where the wool used was of two or more colours or a gradation of one colour, displayed the technique more clearly.

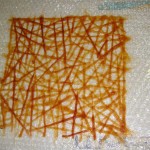
Before laying out, first decide the size and shape of the piece you wish to make, and mark it out on bubble wrap with the bubble side up. Turn the  bubble wrap over and commence to lay within the marked shape. Laying out comprises taking a pine needle from your pile, dipping it into soapy water and laying it on the bubble wrap. It is advisable to first make the border of the piece with the pine needles and then lay the pine needles in a random pattern within the border. Laying out is completed when you are satisfied with your pattern, including the size and evenness of the holes which have been created by the random laying of the pine needles. Japanese chopsticks, a knitting needle or fine pair of scissors are handy to push the pine needles into position while you are laying them out.

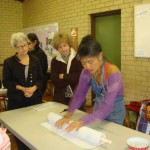
We rolled the samples up in the bubble wrap around sticks/pvc piping approximately 2 – 3 cm in width and tied the rolls with pieces of elastic to keep the designs firm and secure. If you are making a much larger piece you would use a stick with a wider circumference. When the piece was holding together, the stick was removed and more rolling was done in the bubble wrap (initially very gently with no pressure being applied), followed by throwing and fulling of the piece.

The square I laid out measured 25 X 25 cm. At the conclusion of felting it measured 14 X 14cm. The amount it shrinks is determined by the amount of wool you lay and how closely you place the pine needles together (and how large are the corresponding holes in your piece). It is recommended that when trying out this technique you make a sample first so you can determine how closely you need to lay the pine needles to achieve the size and shape of the holes you want overall.

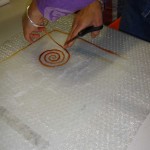
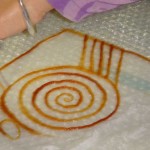
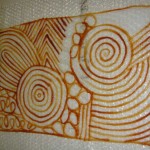
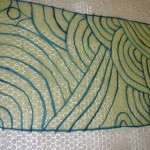
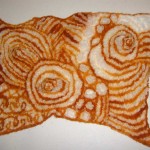
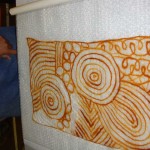
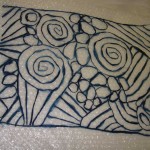
The second sample required the same preparation of pine needles but these were laid on top of soft fine silk fabric, not directly on bubble wrap. Again, the pine needles were separately dipped in soapy water before they were laid. After using the pine needles to make a border, the remaining pine needles were used to create patterns on the silk fabric within the border – spirals, curves, wavy and straight lines, circles – whatever takes your fancy. It’s like drawing in wool and our workshop group found it absolutely absorbing. Spacing between the lines created by pine needles joined end to end depends on the finished effect you want. The closer the pine needles are laid, the more the piece will shrink and the less the fabric will be visible. Again, scissors, a Japanese chopstick or a knitting needle are useful to shape the wool pine needles into the desired pattern. Rolling and finishing of this sample was as described above for the first sample.


We had an enjoyable day learning the pine needle technique together. Creating samples freed us from the pressure of trying to make and finish a larger piece in one day and we had time to relax a little more and concentrate on learning method. Leiko was a patient, well organized, generous and informative tutor and I’m really looking forward to seeing larger interpretations of her technique from our workshop participants at forthcoming Toss n Tell meetings. Leiko kindly left behind for us a copy of her beautiful book “Felt” which contains many inspiring images of her gorgeous work, and this copy you can now find in the FeltWest library.