

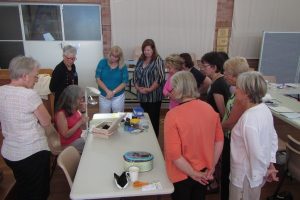
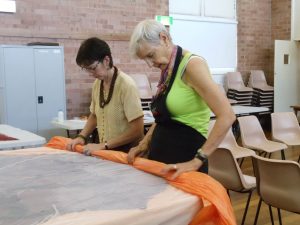
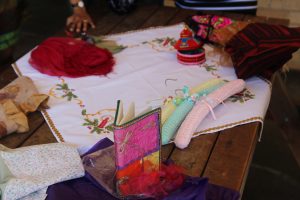
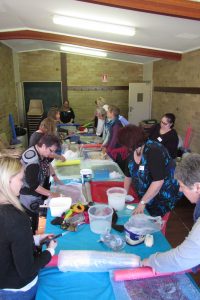
Despite the beautiful autumn day outside, participants happily spent the day concentrating on precise placement and stitching with colourful beads and sequins, using a range of techniques. Chris provided stunning examples of her own work and some prepared samplers to illustrate the day’s teaching, as well as a range of reference books.


A huge range of seed beads, elongated bugle beads, sequins and fancy beads are available at different prices, but all have their uses depending on the overall impact wanted. Chris generally uses ordinary polyester thread, but glove thread is also useful. Threads can be waxed with beeswax if desired, to improve tension and reduce thread wear.
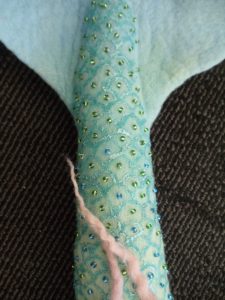
Beads can be attached using simple running stitch or back-stitch. generally with double thread. Single and double needle couching allow several beads to be laid down, perhaps in non-linear shapes, and then held in place by stitching back and forth across the initial thread line. Whip stitch is perpendicular to the line of travel, resulting in the beads being on an angle.

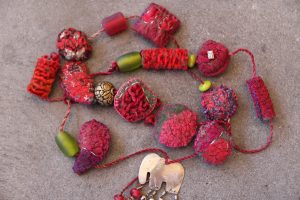
Sequins can create a great effect on felt as they don’t sink in and disappear and can be stacked, along with beads to create a sense of height. Possible stitches are backstitch or stab stitch. A selection of sequins and beads can be lined up on the needle and secured to achieve a raised loop.
Chris taught the complicated methods of attaching large sequins or feature beads using the Even-count Peyote technique, and of creating a rosette of sequins. Once completed, these intricate ‘jewels’ certainly create a very impressive focus point on any piece.
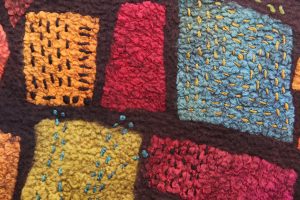
Towards the end of the day Chris discussed, by reference to her sampler, how the stitches taught so far could build up to complex designs.
Important techniques learnt during the workshop include:
- When threading the very fine beading needles, take the needle to the thread, not the other way around. Sounds crazy, but it works!
- Avoid stitches that are too short as this can lead to the beads sitting up awkwardly.
- Every few stitches make a securing stitch. This prevents the loss of lots of beads if the work is accidentally snagged.
- A tidy reverse side to your piece can be achieved by sewing on a backing and binding the edges, or beads can be attached on both sides of a piece, or using a thread the same colour as the fabric will make stitching less obvious on the reverse of the piece.
The scene in the hall was one of contented, quiet concentration and gentle conversation along the tables. Everyone went home happy and full of inspiration for adding spice to future textile projects. Thanks Chris for a wonderful day of learning.

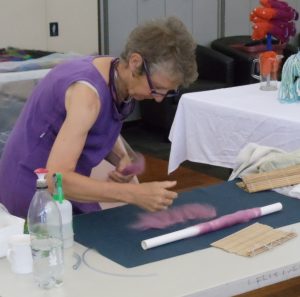


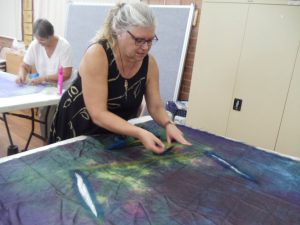

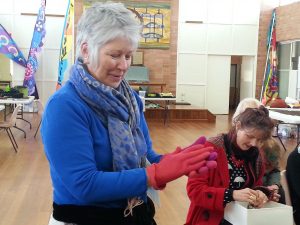
 s to use and how to use them effectively, we wetted out the work before commencing the initial rolling. One of her great tips was the use of tee-shirt strips to tie the bundle for rolling.


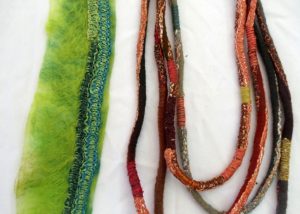
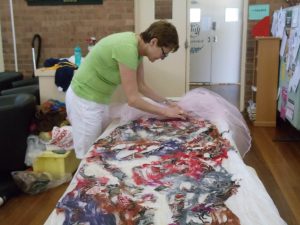
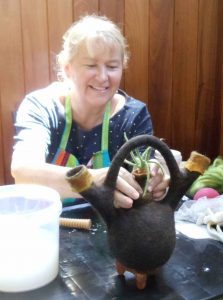
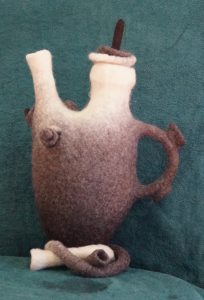
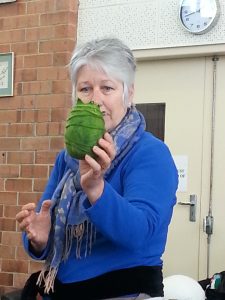
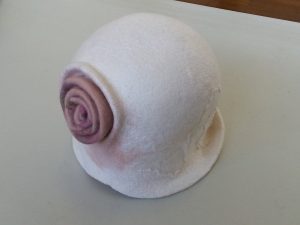
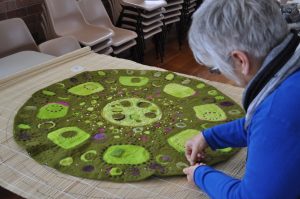
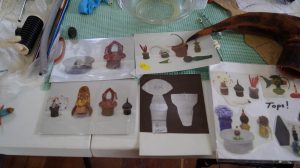 And finally on Day 3 the focus was on creating teapot stoppers made to fit exactly. The creative ideas of feltwest members were not lacking! Stoppers were generated in all shapes and sizes from otherworldly green lumps to a small red hat, others were more teapot shaped!


 ne of her fabulous bags.


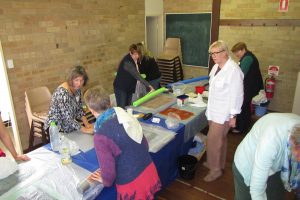


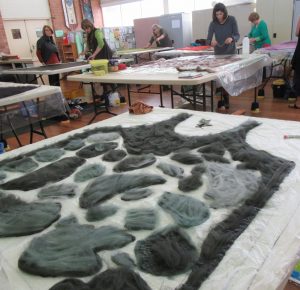


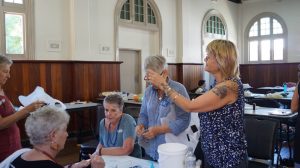
 out the workshop, on every
 thing from laying o
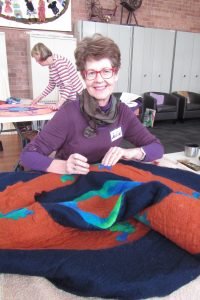 ut wool tops, to ge
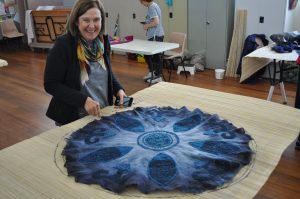
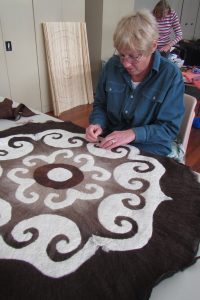 tting an even edge around the mandala, at the end.

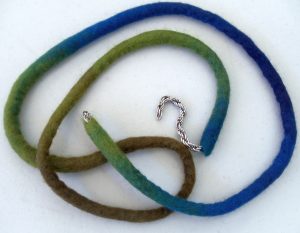
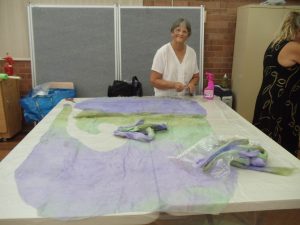
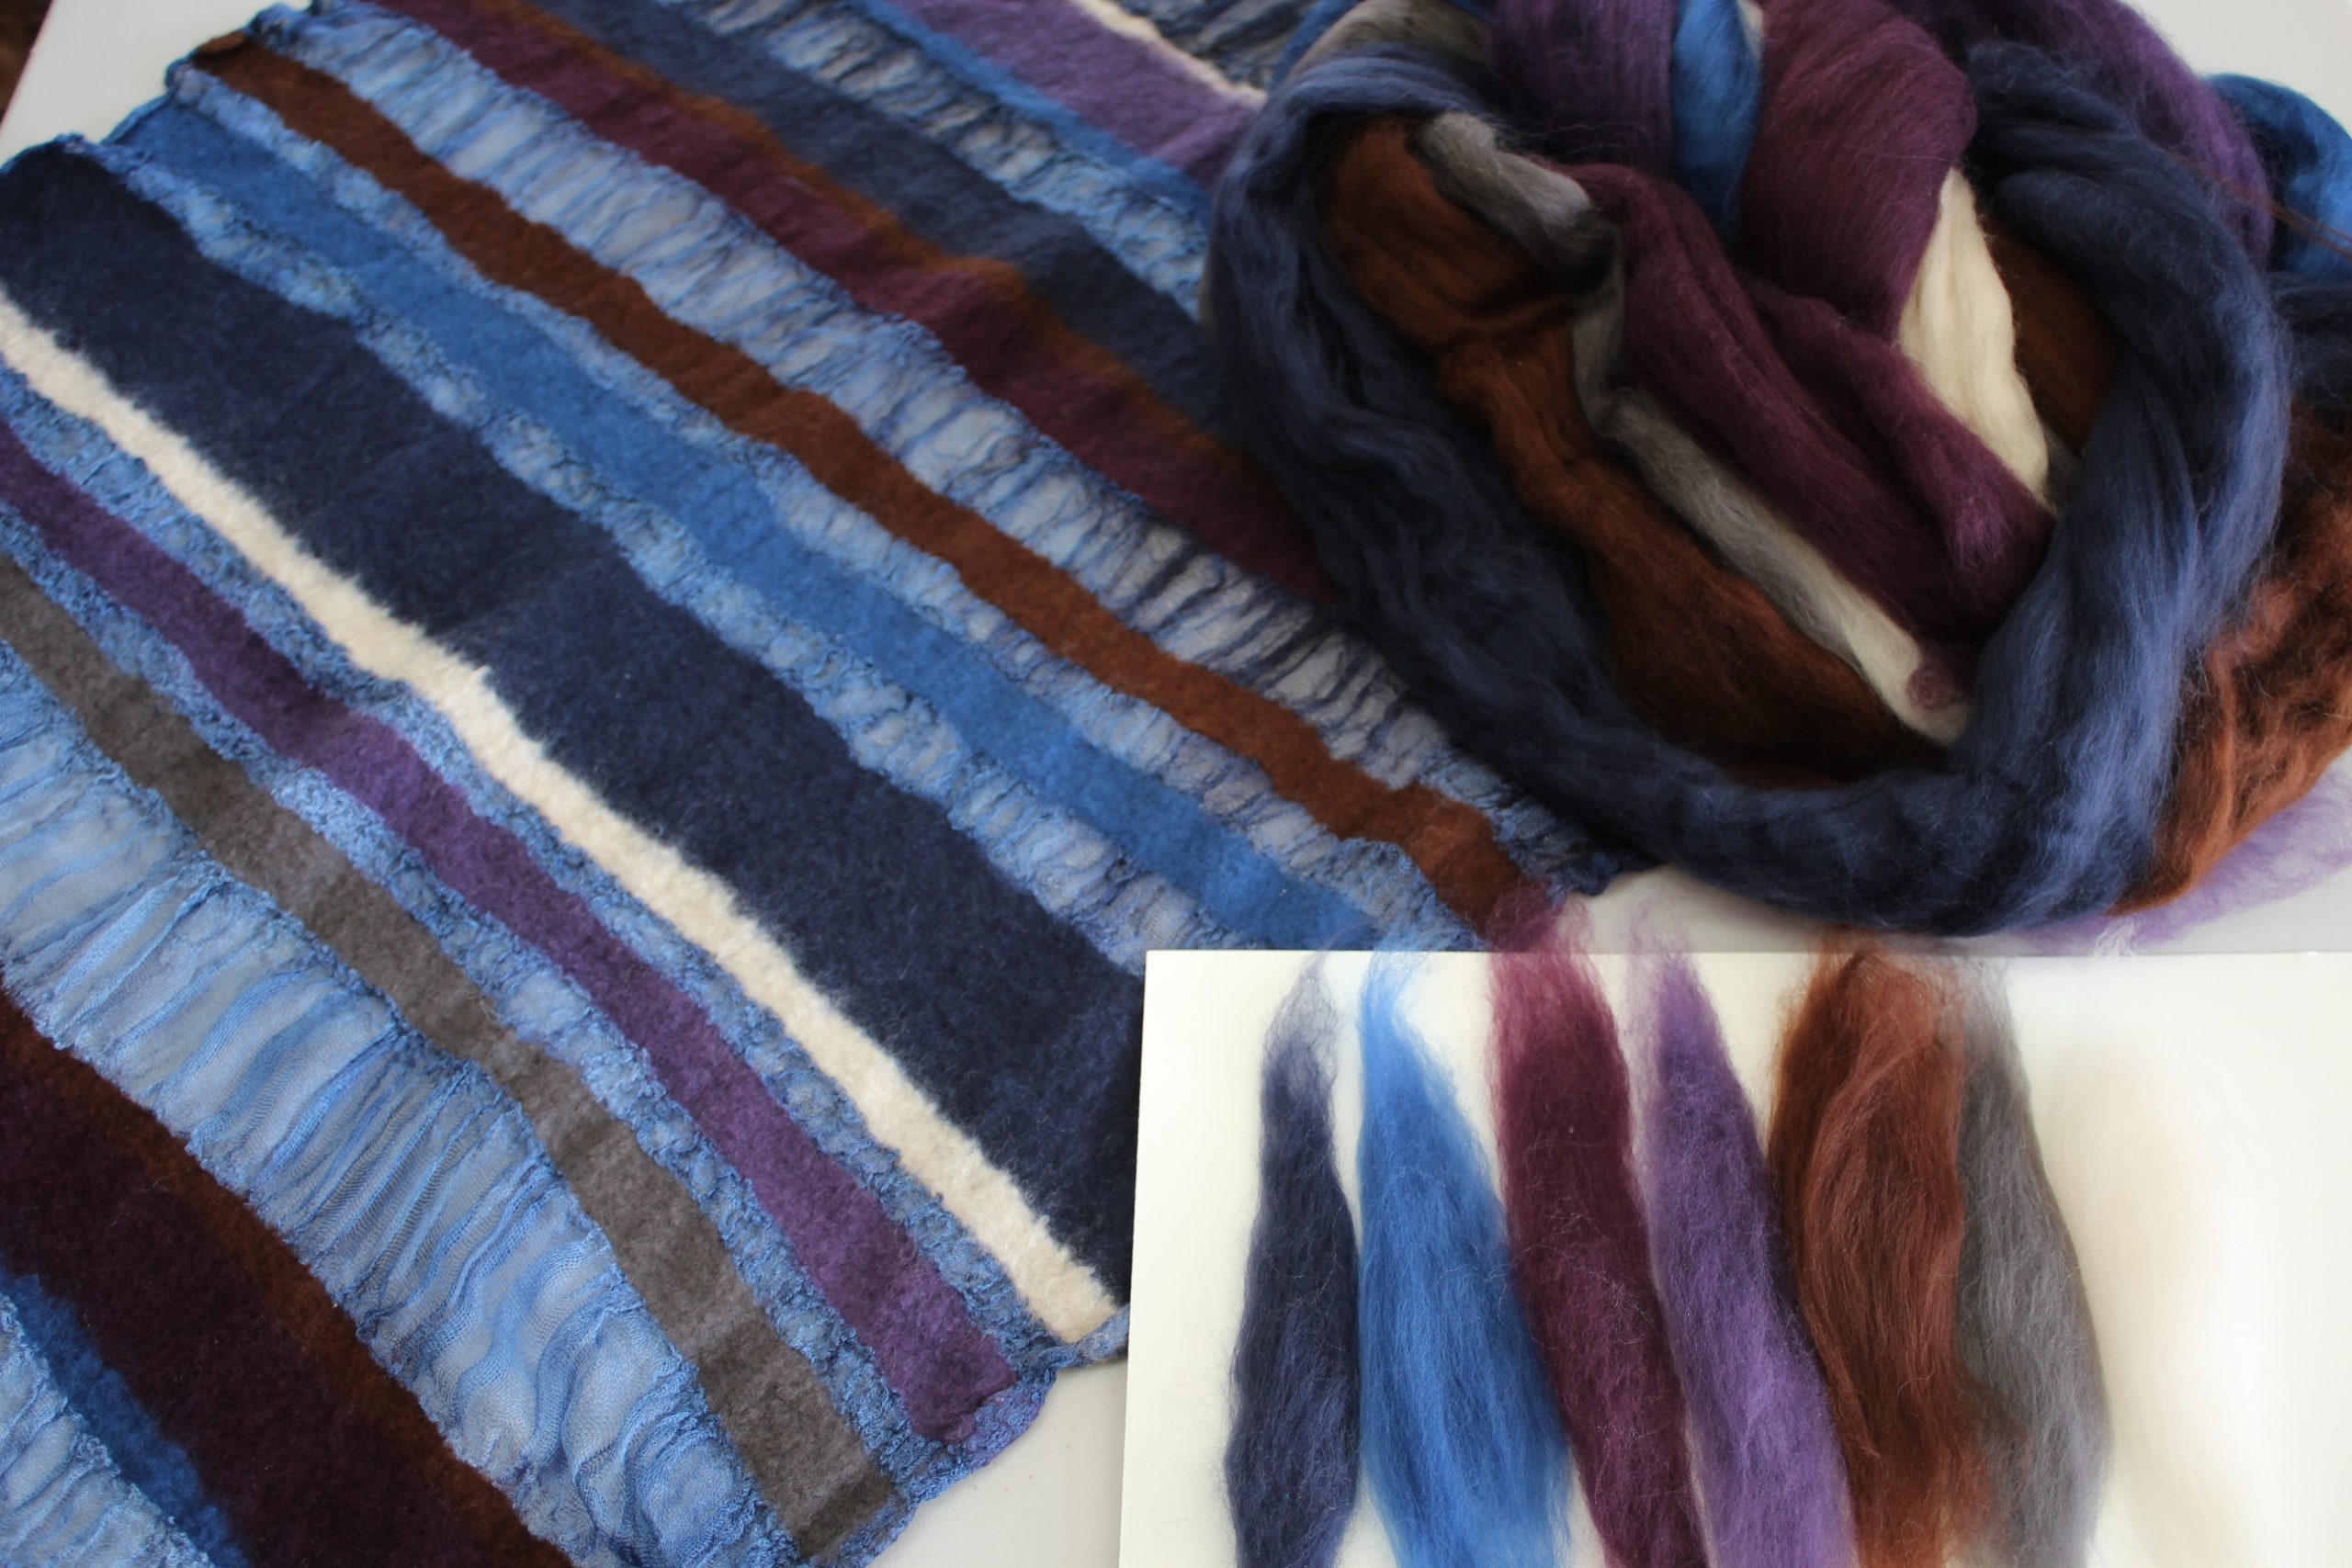
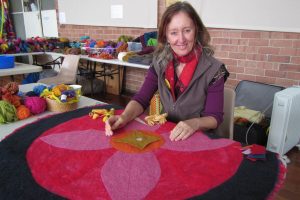
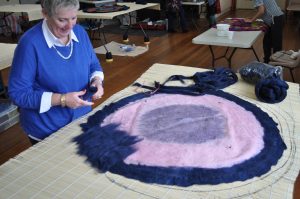
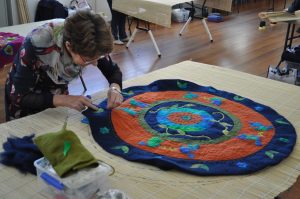
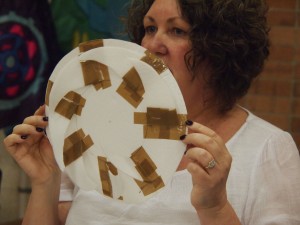 These made us eager to know all about how to construct our projects that we had mentally prepared. We were so keen to get started.
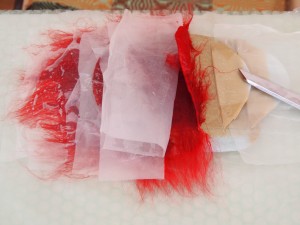 I have to say, the sky is the limit in what can be created.
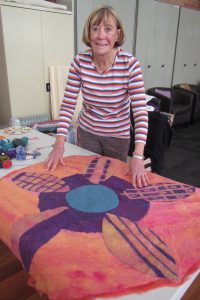
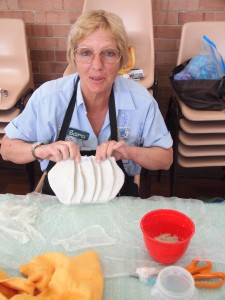 Soosie has given me the taste to be creative again. I started my projects for the Exhibition and I do not want to stop, thanks to Soosie.