Sample Making of Pine needle Felting – One Day Workshop
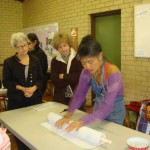
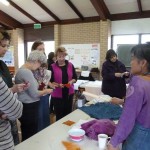
Sunday 22 September was a typically damp and windy spring day but that didn’t dampen our enthusiasm when we arrived at 9am to set up for our one day workshop. Most of us had already attended Toss n Tell the previous day when we had the opportunity to meet Leiko and to see and listen to her inspiring slide presentation of her diverse felting work and learn of her journey to become an international felting artist and tutor. We had also at Toss n Tell seen some of the work which had been done by fellow FeltWest members at Leiko’s workshop during the previous two days.
In our workshop we were concerned to make two samples using a technique which Leiko called “ Pine Needle Felting”, and which she had developed after watching pine needles fall onto snow in her native Japan and observing the interesting patterns they made.
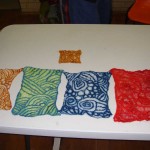
To make the first sample we used only very fine merino wool (under 19 micron merino). Leiko showed us numerous examples of her work using this technique, firstly with fine merino wool and then with mixed silk and fine merino wool (comprising 20% – 50% silk). Unfortunately there was insufficient time to use the mix of silk and merino wool at the workshop, but the technique is the same. Our first step was to take fine threads of dry wool from the middle of a handful of roving (cut on both ends, about 20cm long) and place the fine strands firmly in rows on a plastic surface. When one row is completed, you place another row on top of that row but at right angles to the first row. You thus build up a collection of strands of wool of equal thickness and equal length which you are going to use in your piece. These strands are the “pine needles”. While I used only one colour in my sample, I thought the finished pieces where the wool used was of two or more colours or a gradation of one colour, displayed the technique more clearly.
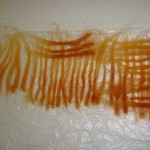
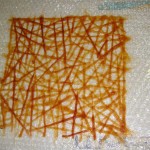

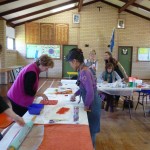
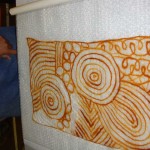
Before laying out, first decide the size and shape of the piece you wish to make, and mark it out on bubble wrap with the bubble side up. Turn the bubble wrap over and commence to lay within the marked shape. Laying out comprises taking a pine needle from your pile, dipping it into soapy water and laying it on the bubble wrap. It is advisable to first make the border of the piece with the pine needles and then lay the pine needles in a random pattern within the border. Laying out is completed when you are satisfied with your pattern, including the size and evenness of the holes which have been created by the random laying of the pine needles. Japanese chopsticks, a knitting needle or fine pair of scissors are handy to push the pine needles into position while you are laying them out.
We rolled the samples up in the bubble wrap around sticks/pvc piping approximately 2 – 3 cm in width and tied the rolls with pieces of elastic to keep the designs firm and secure. If you are making a much larger piece you would use a stick with a wider circumference. When the piece was holding together, the stick was removed and more rolling was done in the bubble wrap (initially very gently with no pressure being applied), followed by throwing and fulling of the piece.
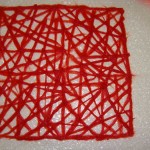
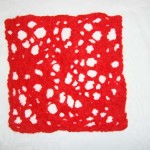
The square I laid out measured 25 X 25 cm. At the conclusion of felting it measured 14 X 14cm. The amount it shrinks is determined by the amount of wool you lay and how closely you place the pine needles together (and how large are the corresponding holes in your piece). It is recommended that when trying out this technique you make a sample first so you can determine how closely you need to lay the pine needles to achieve the size and shape of the holes you want overall.
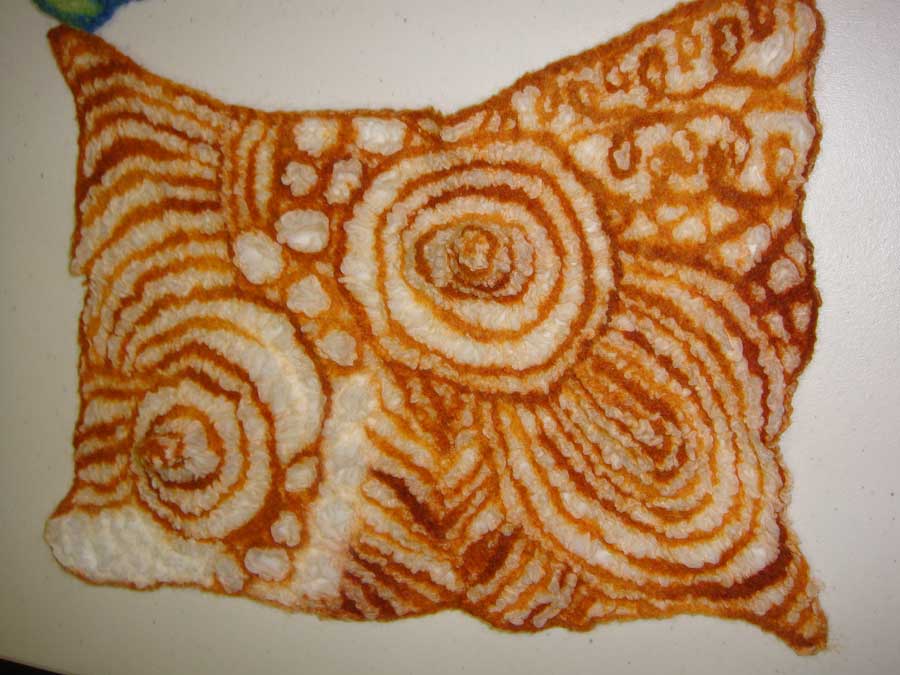
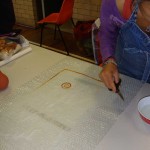
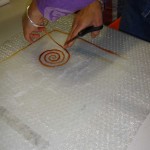
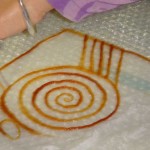
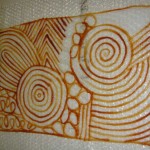
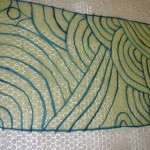
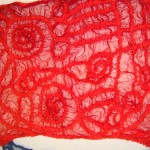
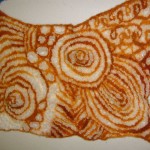
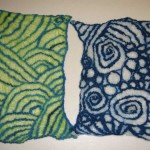
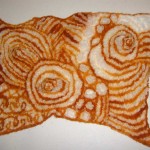
The second sample required the same preparation of pine needles but these were laid on top of soft fine silk fabric, not directly on bubble wrap. Again, the pine needles were separately dipped in soapy water before they were laid. After using the pine needles to make a border, the remaining pine needles were used to create patterns on the silk fabric within the border – spirals, curves, wavy and straight lines, circles – whatever takes your fancy. It’s like drawing in wool and our workshop group found it absolutely absorbing. Spacing between the lines created by pine needles joined end to end depends on the finished effect you want. The closer the pine needles are laid, the more the piece will shrink and the less the fabric will be visible. Again, scissors, a Japanese chopstick or a knitting needle are useful to shape the wool pine needles into the desired pattern. Rolling and finishing of this sample was as described above for the first sample.


We had an enjoyable day learning the pine needle technique together. Creating samples freed us from the pressure of trying to make and finish a larger piece in one day and we had time to relax a little more and concentrate on learning method. Leiko was a patient, well organized, generous and informative tutor and I’m really looking forward to seeing larger interpretations of her technique from our workshop participants at forthcoming Toss n Tell meetings. Leiko kindly left behind for us a copy of her beautiful book “Felt” which contains many inspiring images of her gorgeous work, and this copy you can now find in the FeltWest library.